• This community needs YOUR help today. We rely 100% on Supporting Memberships to fund our efforts. With the ever increasing fees of everything, we need help. We need more Supporting Members, today. Please invest back into this community. I will ship a few decals too in addition to all the account perks you get.


    Sign up here: https://www.muzzleloadingforum.com/account/upgrades
  • Friends, our 2nd Amendment rights are always under attack and the NRA has been a constant for decades in helping fight that fight.

    We have partnered with the NRA to offer you a discount on membership and Muzzleloading Forum gets a small percentage too of each membership, so you are supporting both the NRA and us.

    Use this link to sign up please; https://membership.nra.org/recruiters/join/XR045103

New Traditions Build

Muzzleloading Forum

Help Support Muzzleloading Forum:

This site may earn a commission from merchant affiliate links, including eBay, Amazon, and others.
Even if they fit loose in the existing dovetails you should be able to use the ones you have.
There is no rule that say's they have to fit perfectly un-aided.
It's a simple matter to use a small punch and peen the ends of the dovetail down against the tenon when it's installed.
If you use a pointed punch,, metal from the dovetail can actually be driven into the tenon like a cold weld.
 
necchi said:
Even if they fit loose in the existing dovetails you should be able to use the ones you have.
There is no rule that say's they have to fit perfectly un-aided.
It's a simple matter to use a small punch and peen the ends of the dovetail down against the tenon when it's installed.
If you use a pointed punch,, metal from the dovetail can actually be driven into the tenon like a cold weld.


Yeah.....what he said. :thumbsup:
 
Hi everyone. Thanks for the replies.

Here is the skinny on the subject. Me being a rookie decided that I did not need a drill press and vice to hold anything straight to drill. I was skilled enough to drill 2 little holes by hand, and I did.

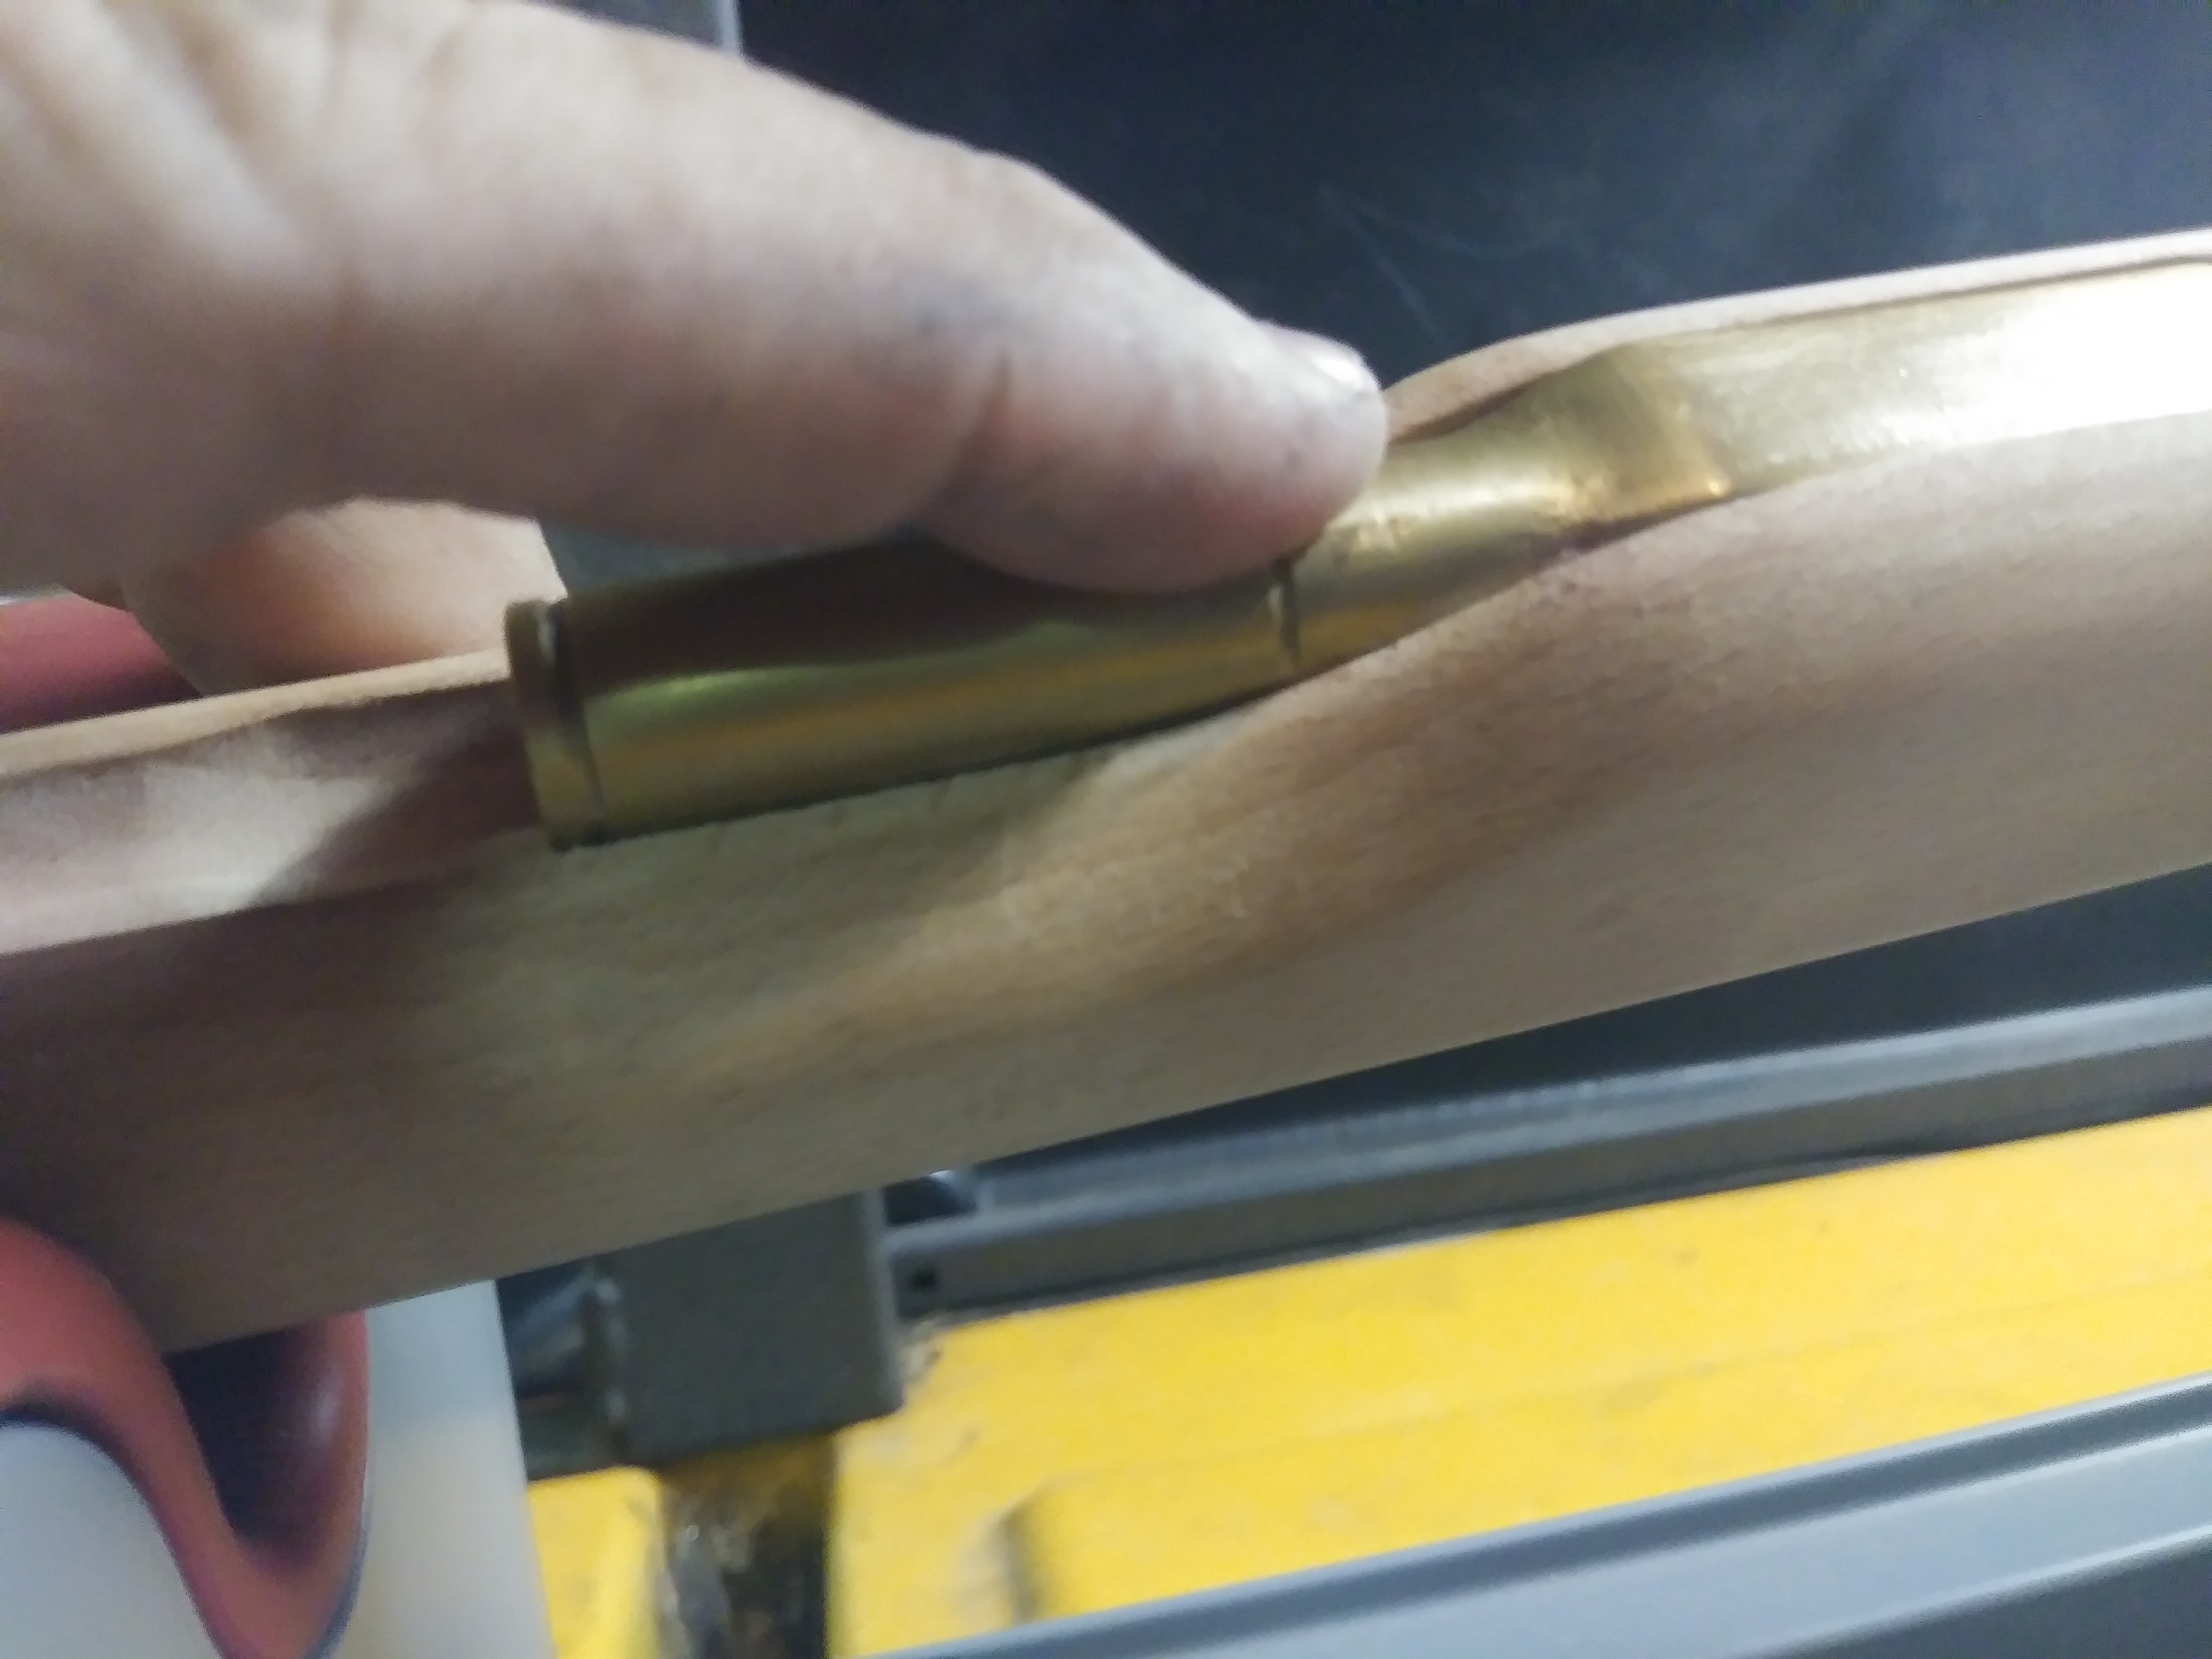
Long story short, the holes are not straight and I end up beating the holy hell out of the gun to get my pins in and they are loose as hell. I did peen the dovetail part of the barrel and it wasn't good enough. They are still loose. Shim stock might work. Tenons are cheaper. When I beat the hell out of the pins to get it all back together, the tenons are moving and destroying the stock.

So suffice to say, now is the time to stop and fix it right. New tenons, drill big holes, insert wooden dowels and let dry a couple days and reshape to fit stock. One said dowels are set, I can then re-drill the tenons properly this time and where the dowels are in the stock, I plan on inlaying something like a dark wood or brass or something over the area to hide the rookie fix.

Nothing in this adventure was Traditions fault. It was all mine being a rookie. Lessons learned. Fix tenons, fix badly drilled wood, cover up with fancy inlay, never tell anyone of my rookie mistake and move on. lol
 
Hello everyone, long time since my last reply.

This build is still going. I have had major life events since my last post. Back surgery and including my son passing away almost 3 weeks ago.

I started to sell the gun and be done with it but he wanted me so bad to get this gun done so he could go shoot it with me. So in his honor, I am back in action and working on this muzzleloader!

I was advised to move the front thimble back and reshape fore end to match the contour and size of the nose cap, Check and done. I had some inletting issues as well in the butt plate as well as the toe plate and I have since worked on that. Done and check. Is it perfect? Nope! That is how my work will be identified. :grin: Shellac sticks or some of the sawdust it produced mixed in with the intended stain will fix that I am sure, well it will band-aid it.

Another issue I had was not wanting to round edges, I savagely beat up my brass. I'm not a fan of brass anyhow so I am going to blacken it. But first, I had to smooth and polish it all. That is still in the works. Arthritic fingers be damned! I do not have any buffing wheels so it is all by hand.

As for the tenons issue I mentioned, that has been resolved as well. I played hell getting new ones but I got them. I was fully prepared to use shim stock.

I have not been out yet today to the shop but when I do, Ill grab a couple shots of the rifle. It is nothing special compared to what some of you all have shown but it is mine. I am excited once again for it.

Oh also, them big blocky side rails Traditions leaves all the way down the fore stock, well, I contoured that as well. No more sharp edges on my hands. It is now rounded off nice and smooth except down by the lock. Flat needs to be flat and round needs to be round.

Take care all pics to come soon. Thanks again to everyone for all of the awesome tips. I truly did take the all to heart and run with it. I can not wait to go fire this thing and do my boy (well he was 22 so young man) proud!
 
DjPorkchop said:
Shellac sticks or some of the sawdust it produced mixed in with the intended stain will fix that I am sure

Congratulations on your progress!

The butt plate is one of the first things your eye naturally gets drawn to both aesthetically and functionally and thus special care should be given to it.

What sort of issues did you encounter inletting the butt plate and toe plate that can't be resolved with a little more time fitting them?

You should probably post pictures before you go shellacing and saw dusting your rifle because the "fix" often times looks worse than the original problem when not done correctly.
 
You have had a VERY rough year. Losing a parent is hard enough, but losing a son is even worse. I know I speak for everybody here when I say we are all sorry and offer our condolences for you, and will be proud to render any assistance we can for you.
 
Just keep at it and it will come together.

My heart goes out to you on the loss of your son. I lost a teenage daughter almost 30 years ago and still miss her. I can also tell you it gets better with time.
 
Thanks for the kind words everyone. My lovely wife and I sure do appreciate it. It means a lot to us. And thank you all so much for tips on this build.

I'll share some pics. Please pardon the mess. This is my first build and I am finding out wood working takes a bit more skill than I thought.

Before:
N6j84qM.jpg


After (per someone suggestion) :
BC01eWp.jpg


Notice I rolled the edge? Lesson learned, don't sand without plate on the wood. Can it be fixed?
3JL7wrx.jpg


Back thimble area need sanded more or something. It is literally sticking up in the air at the back. it is not level or flush. And screw is exactly where it is supposed to be.
CtELZsl.jpg


Should I contour this wood to match the thimble shape some more?
0GtqoY3.jpg


Thanks for taking a look everyone. I appreciate any thoughts and opinions and tips. :hatsoff:
 
Hair dryer bit the dist on me. SO I bought a cheapo heat gun today. Does everyone use a low heat or a high heat to raise the grain?

I am real close on this. Been working on it for months now. Time to get it done and move on. My next up is a pair of pistols hopefully.
 
I don't use anything at all but water when I raise the grain on the guns I build.

Wet it, walk off and let it dry, determine the direction that feels rough and sand against the rough direction with new sandpaper.

IMO, there's no reason for hurrying the process by using a heat gun or hair dryer.
 
I agree with Zonie, but if you have some inexplicable compulsion to use the heat gun, use the lowest setting.

Good luck with your build!
 
I don't really need to use hot air. I just have nothing else to do. I don't work so I get bored. I roll around on a stool in my shop and while waiting I dream up 10 years worth of projects I wish I could do. So it is a matter of just keeping going I guess. But as hot as it is now days, I probably don't need any added heat.

I am still trying to figure out what to do about that rolled corner by the buttplate and whether or not I should try to inlet some more to close the gap a little.

Wife told me to sand it, map torch it (we both like the look), and finish it and go shoot. lol She is tired of me dragging my feet on it. My youngest boy is itching to go shooting.
 
DjPorkchop said:
Does everyone use a low heat or a high heat to raise the grain?
I pour boiling water from a tea-kettle on the stock to raise the grain.
 
Sorry all, as per my other post I just raised from the bowels of the forums, health went way South on me and computers and everything else took a backseat in my life. I am back at it again and my kids decided it was time for me to get the rifles out and try to start living once again. I didn't mean to leave anyone hanging here whom had offered me advice. I thank you all!

Since this post, I did get this rifle built. I really badly need a .50 cal crown tool but I simply can not justify the cost of it for 1 rifle. I attempted a file job and well, need I say more? Good thing it isn't a show piece! At least now every time I pick it up the sharp edges of the barrel don't gash my hands open to the point of having to go to the ER for stitches (yeah, it was dang near that bad).

This rifle all in all didn't turn out bad at all but I absolutely hate the way Traditions chose to use them 2 little bitty pins to pin the barrel to the stock. I much prefer the 1 wedge Hawken style of my CVA. I really do not use this rifle hardly ever due to not wanting to remove the barrel to clean it. I'm just not a fan of it. It is the Shenandoah I believe it is called. I'll put some finished pics of it up if I get the chance here soon like. I am playing catch up on so many websites I have been absent on over the years and keeping track is getting harder and harder. lol
 
I lost my Dad almost 4 years ago and it was a tough one, so I understand how hard that can be. Here is a Traditions Shenandoah rifle kit I did a few years ago. It was my first rifle kit and I learned a lot, but it is definitely not perfect by any stretch. The most important part of the build was my being able to research and apply what I learned to the build.
 

Attachments

  • muzzleloader and flag.jpg
    muzzleloader and flag.jpg
    311.8 KB · Views: 0
I agree, the learning and research part sure was worth it. I loved applying what I learned and even more so being able to apply it whilst making custom additions to the build. It sure was a lot of fun.
 
Back
Top