• This community needs YOUR help today. We rely 100% on Supporting Memberships to fund our efforts. With the ever increasing fees of everything, we need help. We need more Supporting Members, today. Please invest back into this community. I will ship a few decals too in addition to all the account perks you get.


    Sign up here: https://www.muzzleloadingforum.com/account/upgrades
  • Friends, our 2nd Amendment rights are always under attack and the NRA has been a constant for decades in helping fight that fight.

    We have partnered with the NRA to offer you a discount on membership and Muzzleloading Forum gets a small percentage too of each membership, so you are supporting both the NRA and us.

    Use this link to sign up please; https://membership.nra.org/recruiters/join/XR045103

Kibler kit assembly and carving

Muzzleloading Forum

Help Support Muzzleloading Forum:

This site may earn a commission from merchant affiliate links, including eBay, Amazon, and others.
Its the accumulation of hundreds of these little tricks that separate the men from the boys.

Dave are you planning to put a maker's mark on the rifle?
 
Hi Simon,
I've thought about that. I figured since one of Jim Kibler's CNC machines did 90% of the work, I thought I would sign it with my name and the serial number of that machine. 😈 Just kidding. I am planning on signing it and engraving "Braintree Hill" which is my shop.

dave
 
Hi Simon,
I've thought about that. I figured since one of Jim Kibler's CNC machines did 90% of the work, I thought I would sign it with my name and the serial number of that machine. 😈 Just kidding. I am planning on signing it and engraving "Braintree Hill" which is my shop.

dave

Make sure to include the software version number!

But yes anyway you want to sign it would be nice!
 
I would second Pathfinders comments and again thank you for taking the time to provide a dialogue to go with the photos. You have a real talent in how you do things and what your thoughts were.
 
Hi,
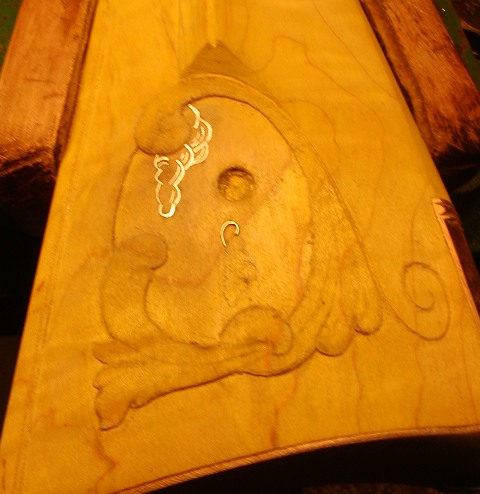
I started on the wire inlay. The scene within the cheek piece carving will be a brass sun face surrounded by brass wire rays. Then there will be silver clouds partly blocking the sun. It will have a naïve folk art style. First, I removed the inlays. I drilled the holes for the pins that will permanently attach them and used the holes to pop them out with an awl. I glued them to wood for engraving.


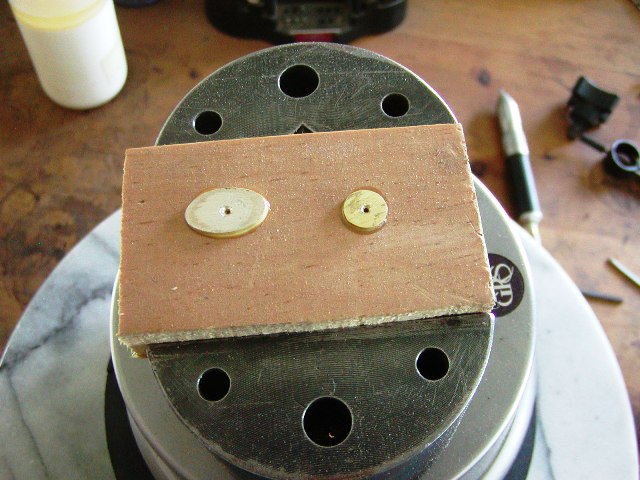
It'll engrave them and then after permanent installation, I'll touch up the engraving with them on the rifle.

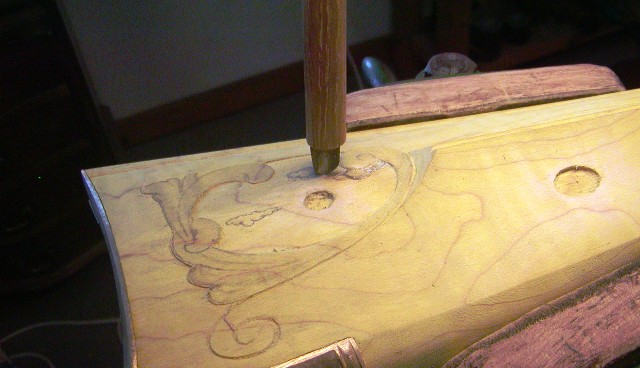
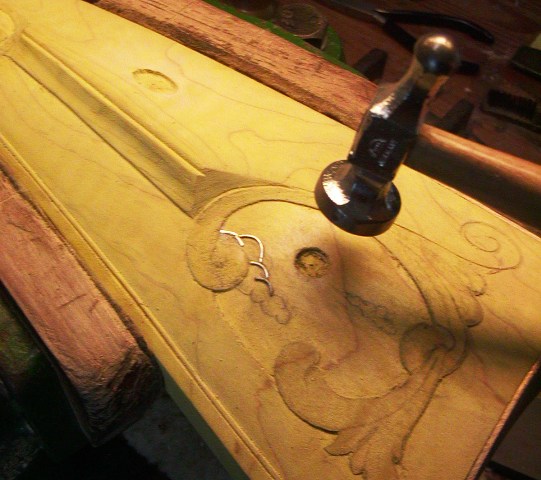
Here is the penciled design.


Every time I drew clouds they looked like floating dog *^*%$ but I kind of like them so floating dog *^*%$ it is. :D

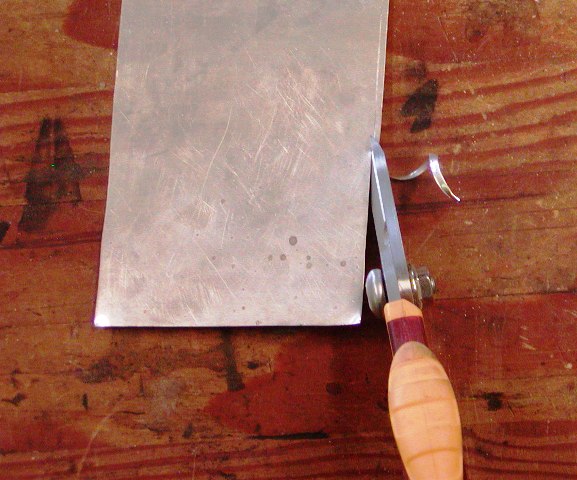
I am starting out with 0.013" thick fine silver wire. That is quite thick but I want that width for the upper edges of the cloud, which represents the area most in the sunlight. The rest of the inlay will use 0.008-0.006 sterling ribbon. My goal is the fine silver will be bright white providing a bright halo effect around the edges of the clouds while the more gray colored sterling will actually provide a bit of shading. I wrestled with using engraved silver inlays for the clouds. My plan is if I am not happy with the silver wire, I can dig it out and inlay solid silver sheet over the incised cuts.

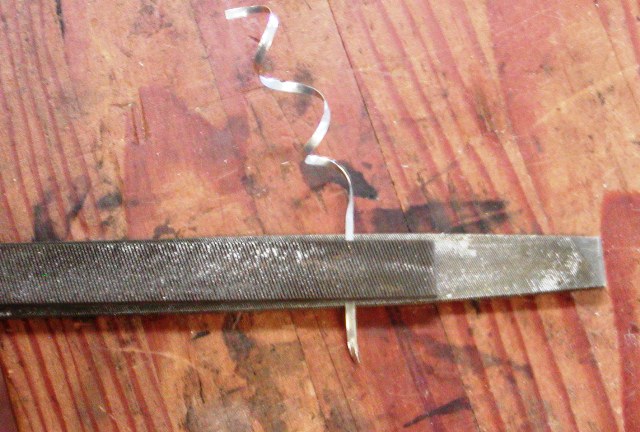
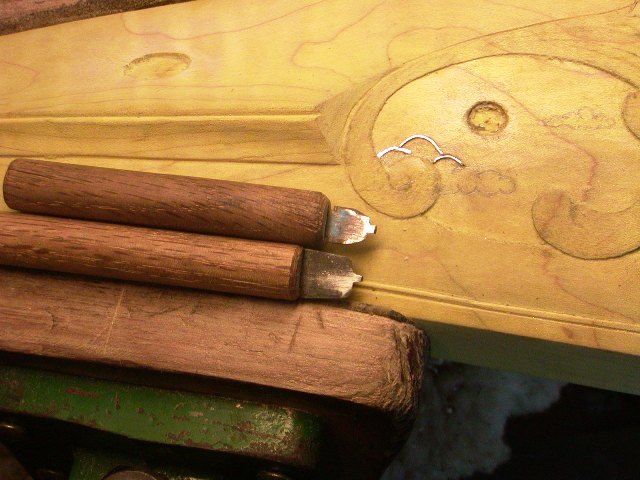
My wire inlay tools are simple. I use incise chisels made from hack saw blades. Many folks use curved gouges and flat chisels for stabbing in the designs. Frank Barlett used sharpened screw drivers. I cannot work effectively with those tools for this task. I need to huddle over the work and have short handled tools that I can place with precision.


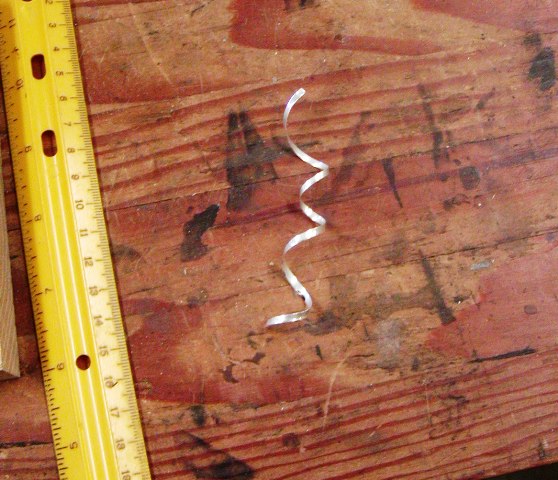
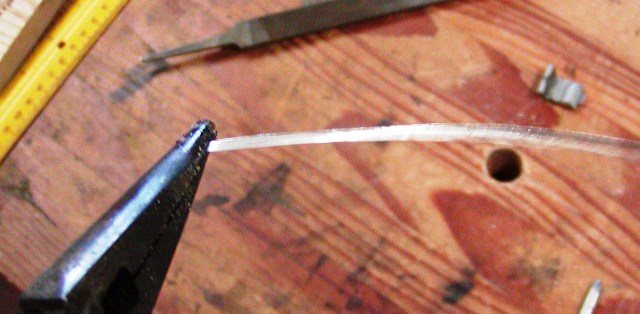
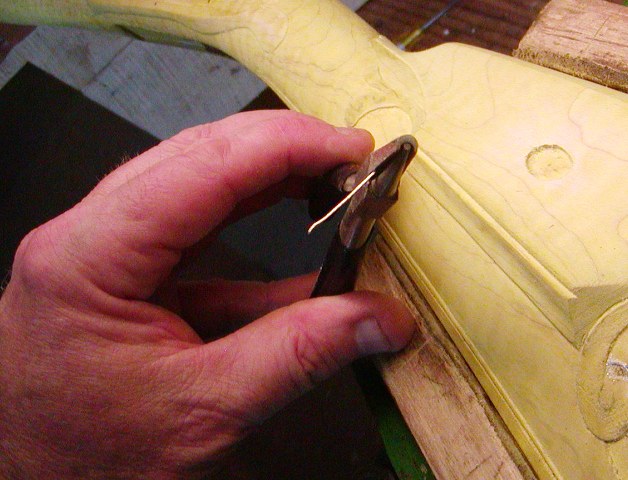
I have some special pliers that help me a lot. They form different diameter curves in the metal ribbon before I insert them in the wood.


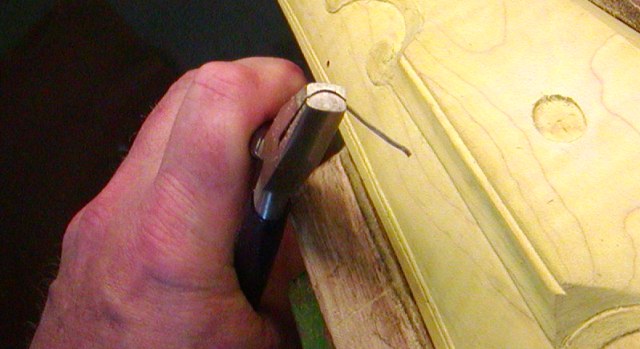
When the ribbon is placed in the incised cut, you need sharp flush cut pliers to snip it off to length.


Then just tap it in with a hammer.

I'll show cleaning it up and finishing it off in the next post.

dave


Are the plier and other tools something you make?
Hi Norman,
They are purchased from Rio Grande jewelry supply (www.riogrande.com). You can easily do the same thing just by having some metal or wooden pegs of different sizes to wrap the ribbon around. I just find the pliers to be a little more flexible for shaping the wire before inserting it. I have a great video of Frank Bartlett, one of the best wire men ever, working on a rifle. He used a screw driver sharpened for making the incised lines, then used the shaft for bending the wire when needed, and then the top of the handle to tap the wire in place. He essentially used one tool, which almost never left his hand. Frank could decorate an entire rifle with extensive wire inlay in 1-2 hours. I am not at that level yet. I go a bit slower and use more tools.

dave
 
Hi,
I finished the sun and clouds wire inlay. The wire ribbon used on most original long rifles was pretty thick stuff. You can get 0.014" and 0.008" thick sterling silver and brass ribbon from MBS. However, I prefe much thinner stuff for finer work and especially on British guns. So I buy silver sheet 0.005-0.006" and cut my ribbons. I just scribe a line marking out a ribbon 1/16"-3/32" wide and cut it with shears.


Of course it comes out in a curly cue shape that has to be straightened out so I draw it between two coarse files pinched together.


I am using 0.006" thick sterling for the small cloud. I incise a section and then shape and tap in the wire.


When working with closely spaced parallel lines or converging lines, I find it is best to incise one section, tap in the wire and then incise the parallel or converging line. The reason is the wire in place acts as a support for the thin wood left in place preventing it from getting chipped out when you incise the second line. After the wire is tapped in place I wet the stock with water to swell the wood and lock the wire in place. Then I dress off the excess height of wire with files and sand paper. If you are using fine silver, which is soft, use care when dressing it off because it can sort of smear creating a fuzzy look. Use fine files and with fine silver, try to file along its length rather than across. I engraved the sun face and permanently attached it to the stock with epoxy and a tiny counter sunk brass screw in the middle. Then I dressed off the screw head and touched up the engraving. Finally, I added the brass wire sun rays, cleaned it up and it was done.


dave
 
Dave, seeing you mentioned it being soft silver, when cleaning and detailing the rifle is there anything I should avoid that could long term damage the inlay or metal engraving?

The Canary !@#$ Is singing and would hate to quiet it.
 
Hi Simon,
No. Just buff with a soft cloth occasionally. The brass and silver will tarnish with the brass and sterling tarnishing the quickest because of the copper content. Many folks like that patina but if you want to polish it up, get Simichrome jewelry polish. Just put a thin smear on a soft rag, that's all you need, and rub the silver and brass. I like the way the clouds came out. The thick fine silver really glows and will contrast the sterling. If I can get the staining right, there will be a light halo of color around the sun.

dave
 
Hi,
Finished the wire work on the cheek piece side. I added some fine silver wire to thicken the front edges of the small cloud, which gives it a little more mass and a bright edge reflecting sunlight. I more or less copied a Moravian star on one of Christian Oerter's rifles but did it in wire rather than solid silver. The wire matches his engraving. I am going to put some wire on the patch box side, then finish all the carving. Since the owner lives in Florida, maybe I'll do a hurricane scene, or the Little Mermaid from Disney World, or some old guy playing golf. :D After that, stain.


dave
 
Hi Norman,
They are purchased from Rio Grande jewelry supply (www.riogrande.com). You can easily do the same thing just by having some metal or wooden pegs of different sizes to wrap the ribbon around. I just find the pliers to be a little more flexible for shaping the wire before inserting it. I have a great video of Frank Bartlett, one of the best wire men ever, working on a rifle. He used a screw driver sharpened for making the incised lines, then used the shaft for bending the wire when needed, and then the top of the handle to tap the wire in place. He essentially used one tool, which almost never left his hand. Frank could decorate an entire rifle with extensive wire inlay in 1-2 hours. I am not at that level yet. I go a bit slower and use more tools.

dave
Wow😮
 
Hi,
Finished the wire work on the cheek piece side. I added some fine silver wire to thicken the front edges of the small cloud, which gives it a little more mass and a bright edge reflecting sunlight. I more or less copied a Moravian star on one of Christian Oerter's rifles but did it in wire rather than solid silver. The wire matches his engraving. I am going to put some wire on the patch box side, then finish all the carving. Since the owner lives in Florida, maybe I'll do a hurricane scene, or the Little Mermaid from Disney World, or some old guy playing golf. :D After that, stain.


dave

If you are thinking of additional scenes I am a fan of age of sail ships, not sure if that was common on a gunstock back then. Sail ship in a hurricane Gail, while the the other side is sunny with clouds.

All the ideas sounds fun, except the golf, see too much of that haha
 
Back
Top