- Joined
- Nov 26, 2005
- Messages
- 5,010
- Reaction score
- 9,944
Hi,
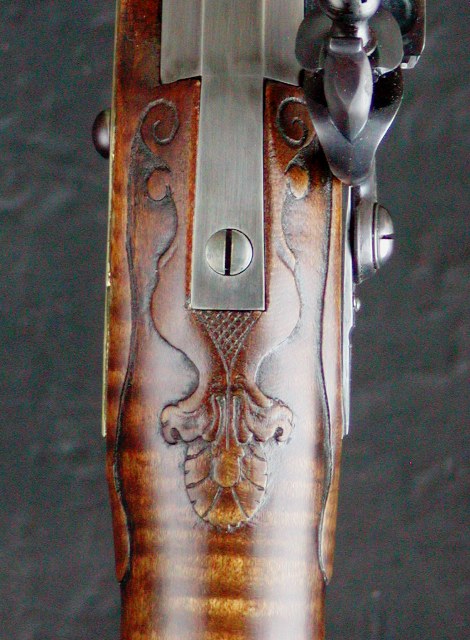
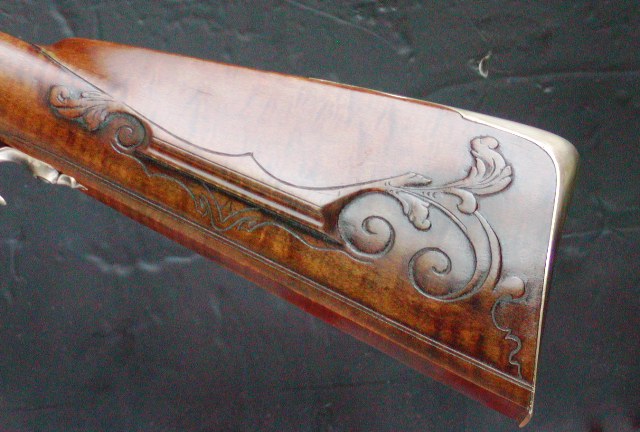
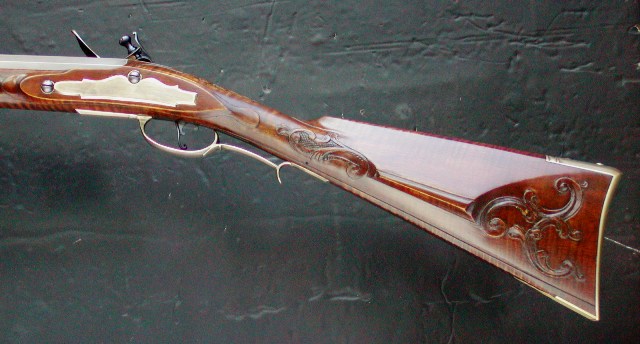
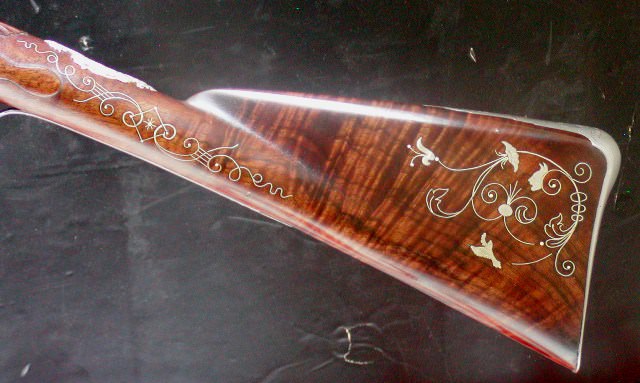
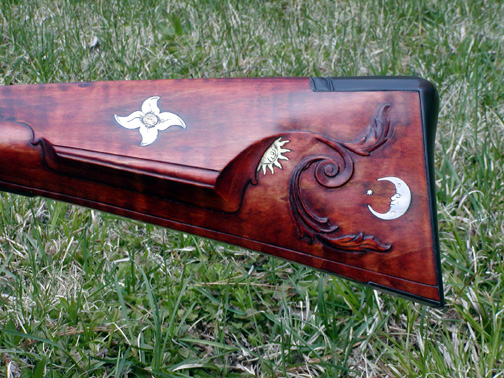
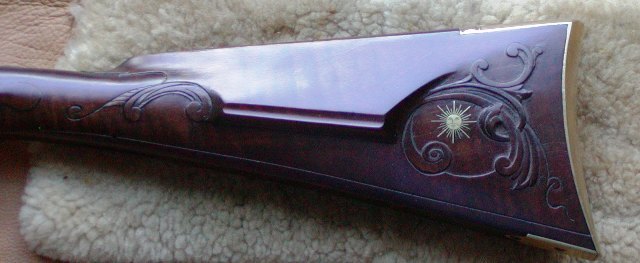
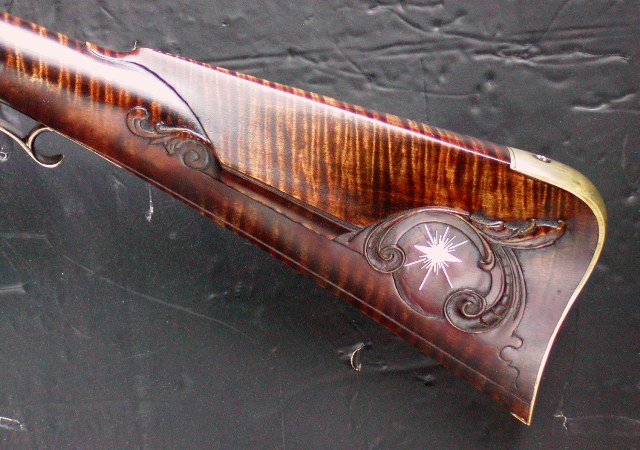
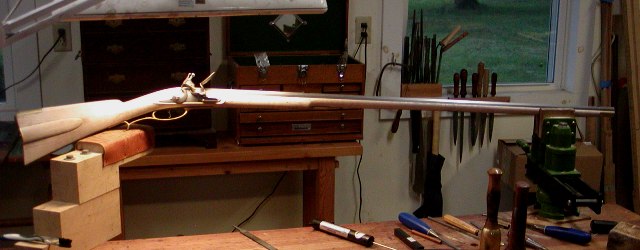
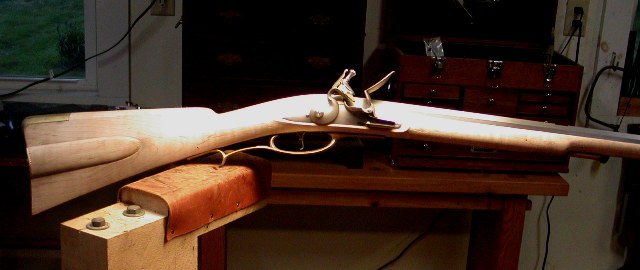
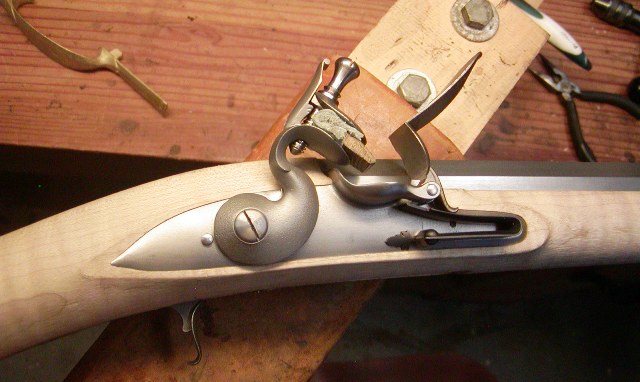
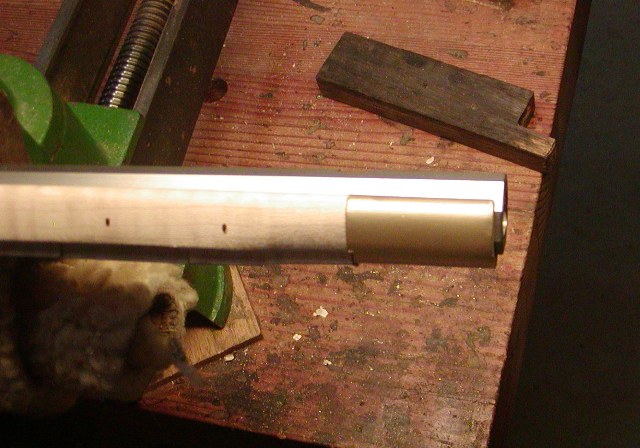
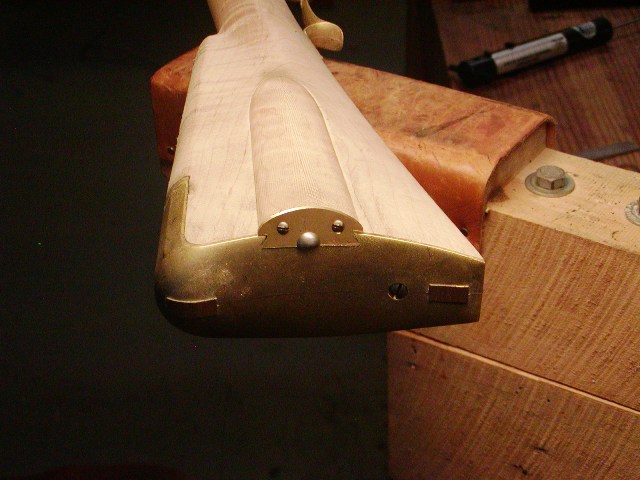
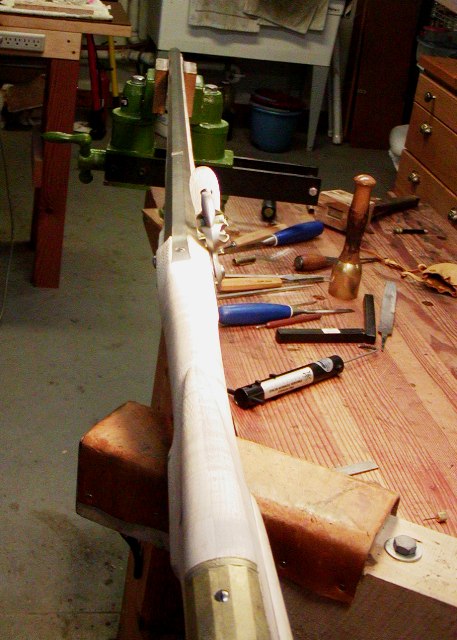
A forum member asked me if I would assemble and decorate a Kibler colonial rifle kit. I agreed to do it because, although I am familiar with the kits and examined them closely, I've never built one. So I decided to take on the project. The Kibler kit is phenomenal. Jim and Katherine anticipated every need and designed the kit so it could be built on a kitchen table by someone with very few tools and skills. You have to work really hard to ruin one of these kits. Anyway, so I got the kit late Saturday and opened the box Sunday morning. I then got to work on it at 7:30AM on Monday and almost finished the entire assembly by 5:00 PM. All that remains for assembly is pinning the nose cap, installing the sights, and fitting the ramrod. The time required included 2 walks of my dog Willow, a 45 minute phone conversation with the client, some play time with Willow, lunch, a short nap after lunch, and a grocery run. I don't think it took me more than 4.5 total hours of gun work to assemble the gun with the most time consuming task making and fitting the brass plate on the end of the patch box. I have not fitted the trigger guard and won't until all detailing of the stock architecture is done. However, it would only take me 15 minutes or so to fit it. Here is the rifle.

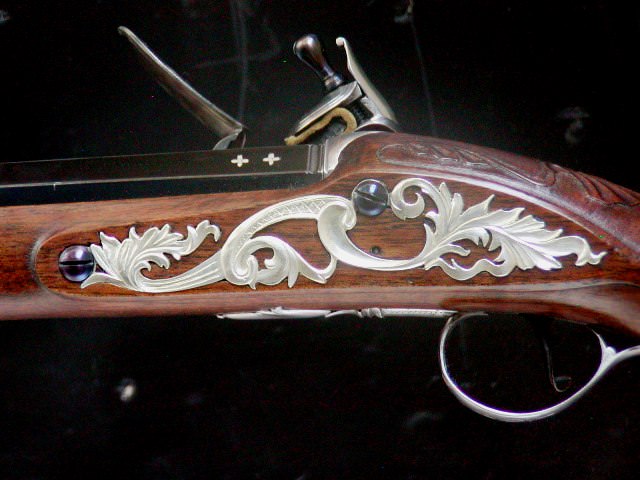
So the next step is how do I turn this common and mass produced canvas into my own signature piece. I can only do so much because the architecture is fixed by Kibler. Let's see what happens.
dave
A forum member asked me if I would assemble and decorate a Kibler colonial rifle kit. I agreed to do it because, although I am familiar with the kits and examined them closely, I've never built one. So I decided to take on the project. The Kibler kit is phenomenal. Jim and Katherine anticipated every need and designed the kit so it could be built on a kitchen table by someone with very few tools and skills. You have to work really hard to ruin one of these kits. Anyway, so I got the kit late Saturday and opened the box Sunday morning. I then got to work on it at 7:30AM on Monday and almost finished the entire assembly by 5:00 PM. All that remains for assembly is pinning the nose cap, installing the sights, and fitting the ramrod. The time required included 2 walks of my dog Willow, a 45 minute phone conversation with the client, some play time with Willow, lunch, a short nap after lunch, and a grocery run. I don't think it took me more than 4.5 total hours of gun work to assemble the gun with the most time consuming task making and fitting the brass plate on the end of the patch box. I have not fitted the trigger guard and won't until all detailing of the stock architecture is done. However, it would only take me 15 minutes or so to fit it. Here is the rifle.
So the next step is how do I turn this common and mass produced canvas into my own signature piece. I can only do so much because the architecture is fixed by Kibler. Let's see what happens.
dave
Last edited:
")