- Joined
- Nov 26, 2005
- Messages
- 5,018
- Reaction score
- 9,972
Hi Nick,
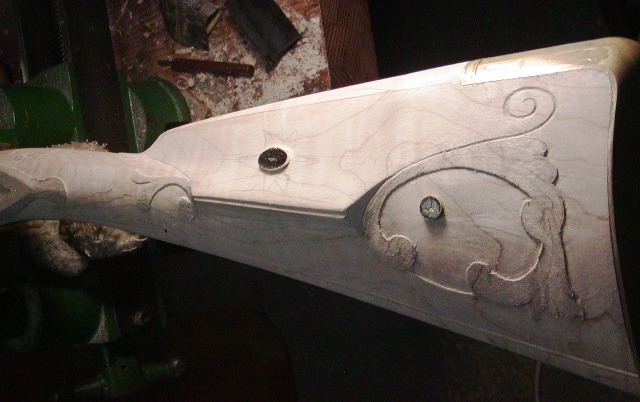
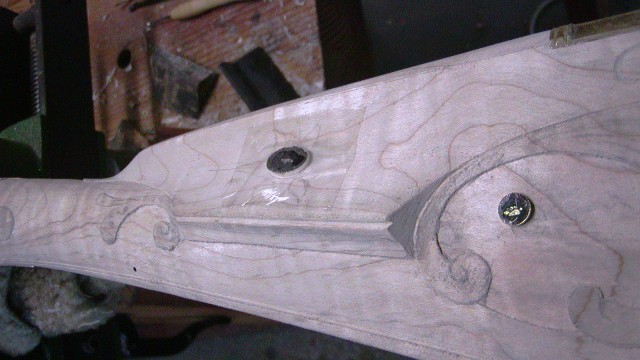
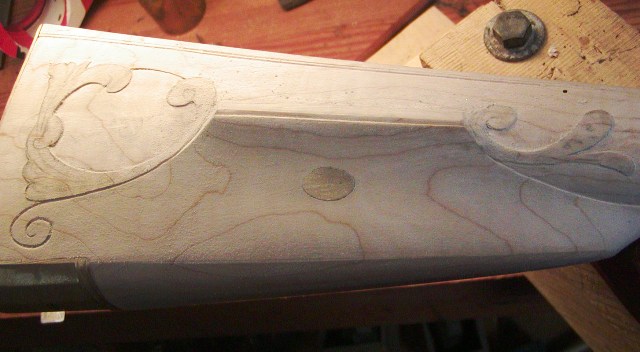
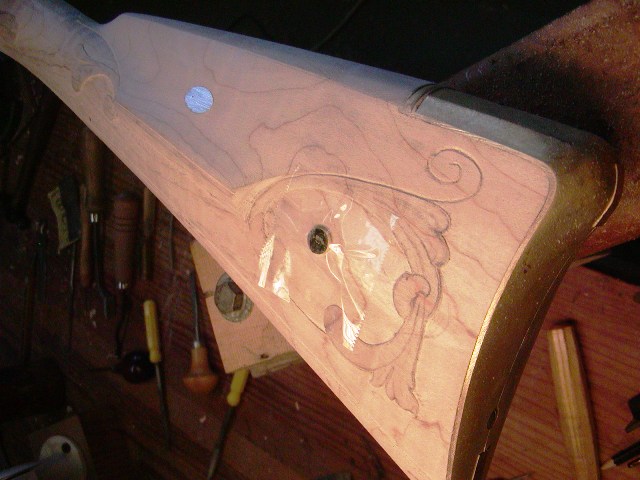
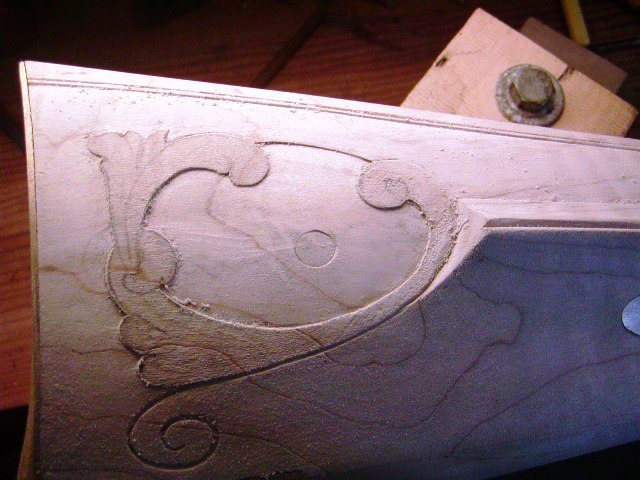
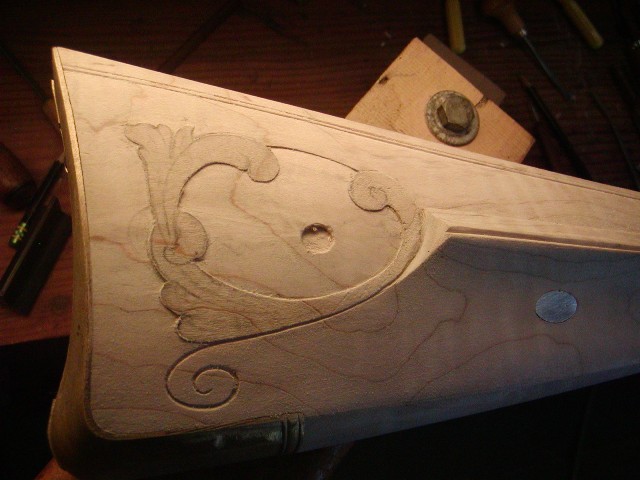
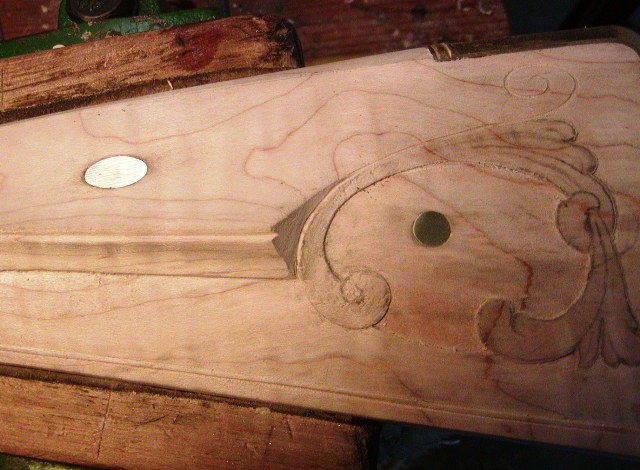
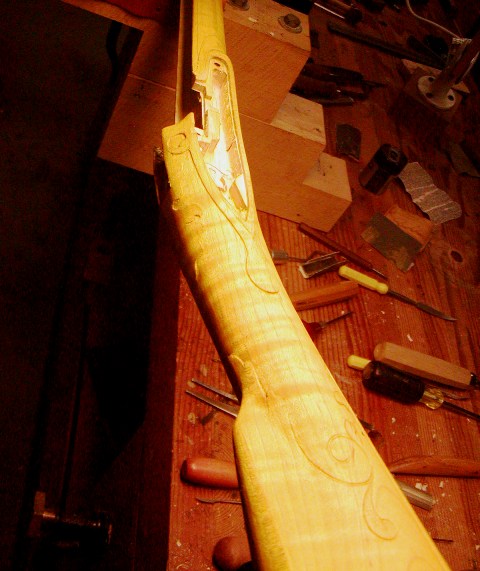
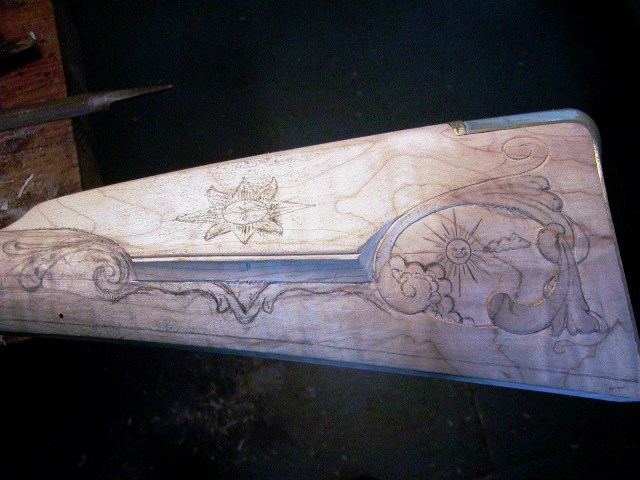
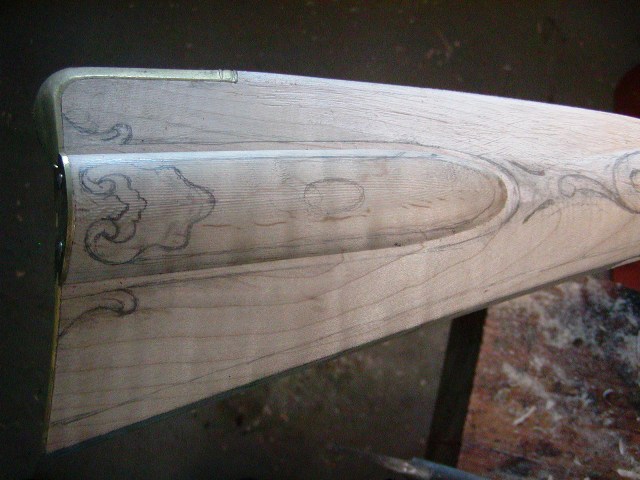
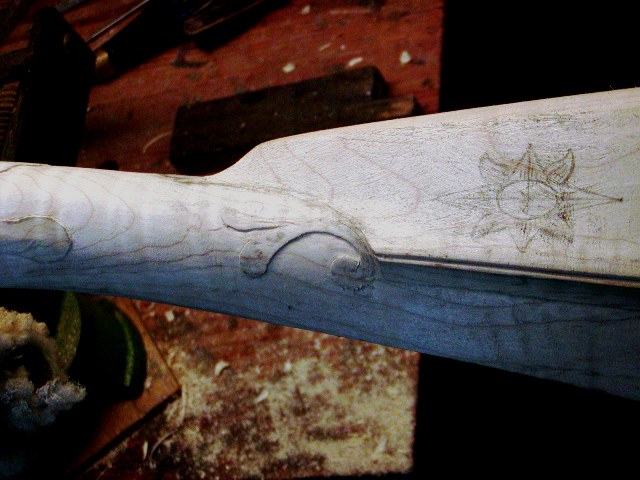
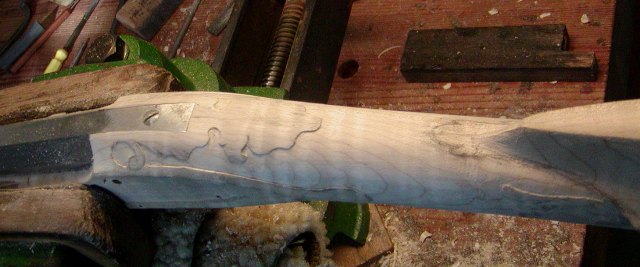
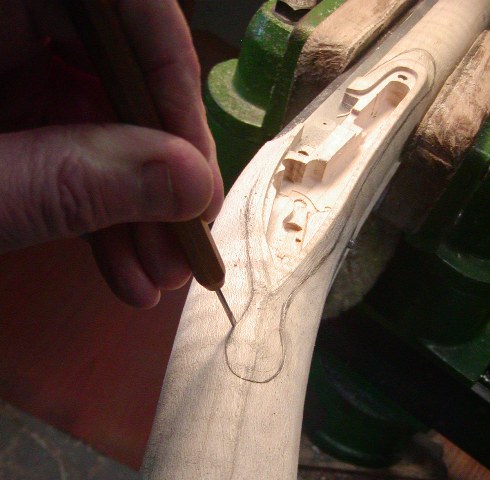
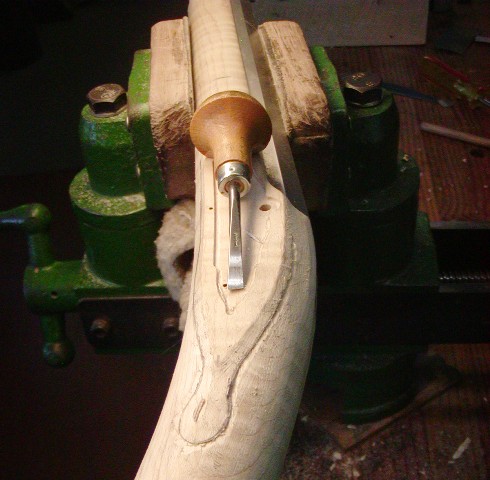
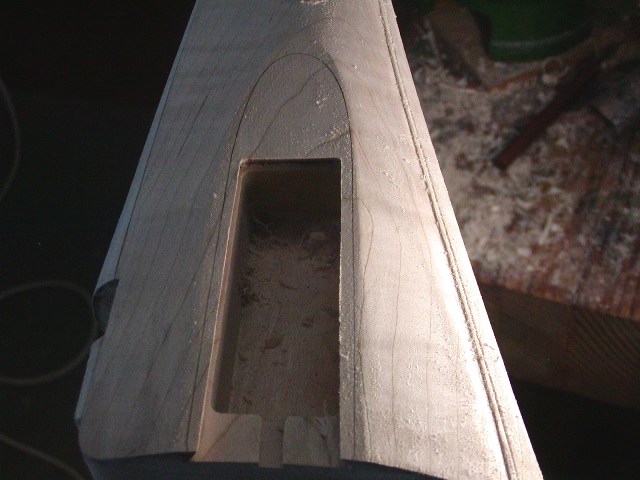
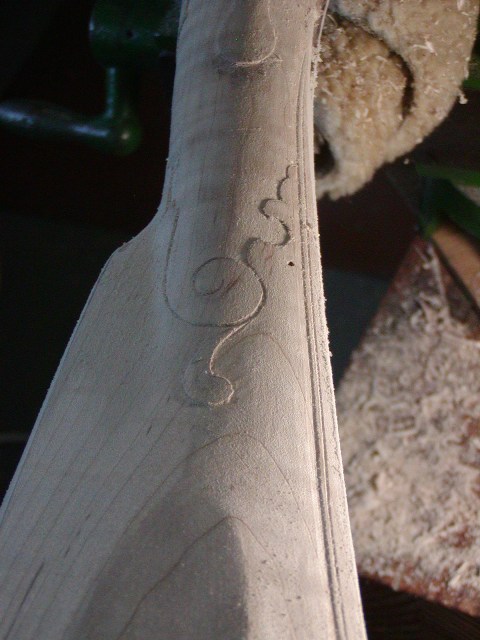
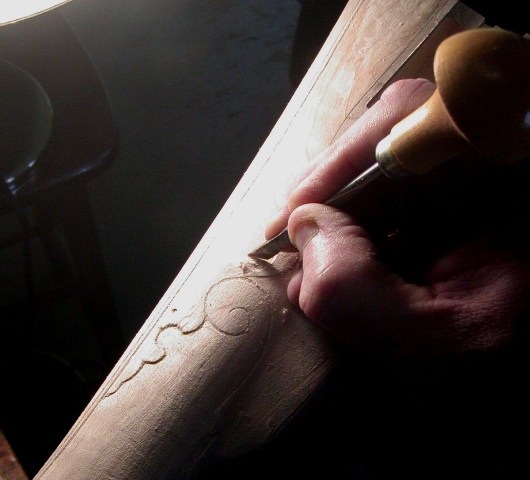
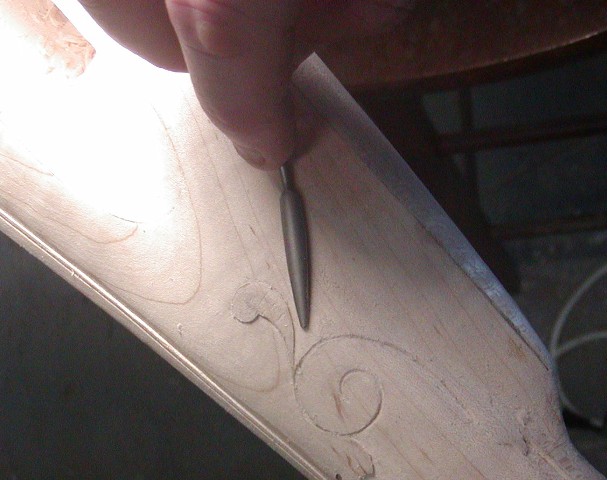
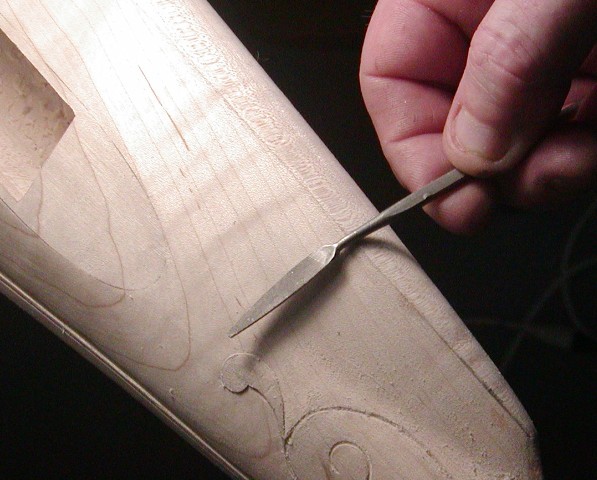
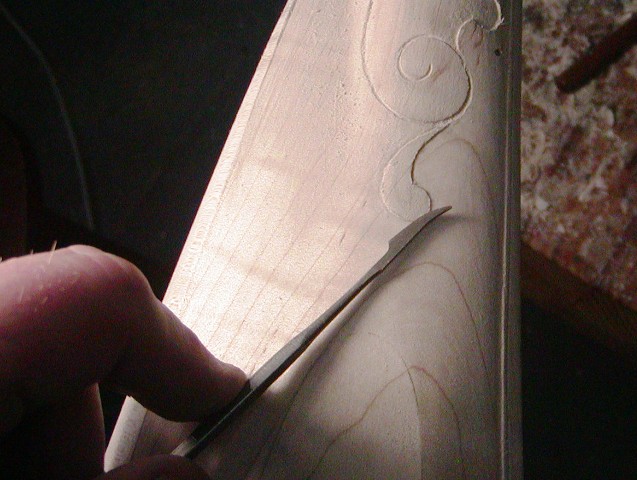
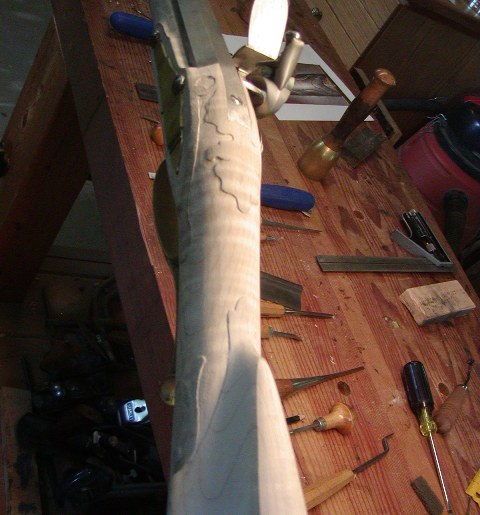
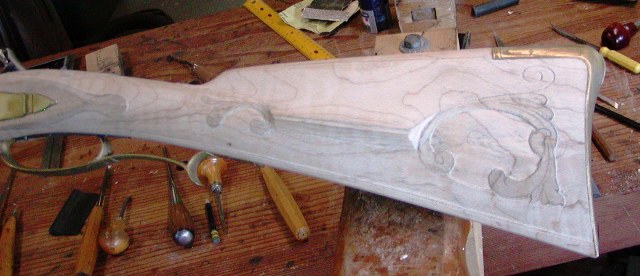
I think the carved aprons and lock moldings on the early Brown Bess was just a fashion. There are some firearms historians writing in the mid 20th century that decided it had to be to add strength to the stock. However, that was a red herring in my opinion and it must not have been very effective because the Brits got rid of the lock carvings by the very next pattern (1742). Perhaps the apron elevated the tang but what for? Not for aiming and that part is not the weak area needing strengthening, the lower wrist where the thumb plate and hole drilled through the stock is far more critical. I think it was just fashion and tradition. Some of those older firearms "historians" were obsessed that every feature had to have a practical purpose despite lots of evidence to the contrary. Decorating many useful objects to some extent was a feature during the 18th century.
dave
")


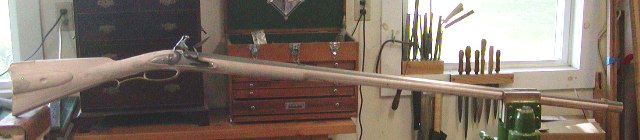
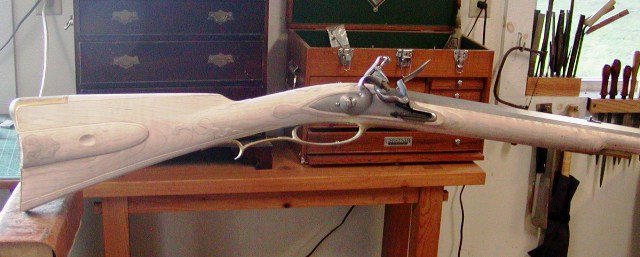
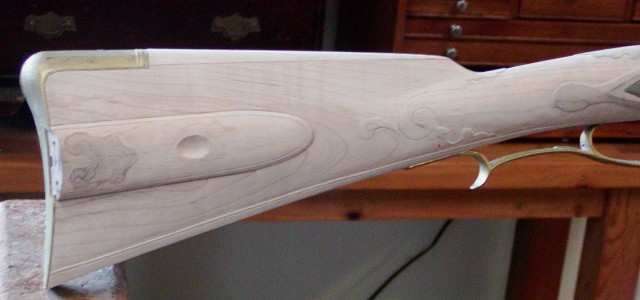
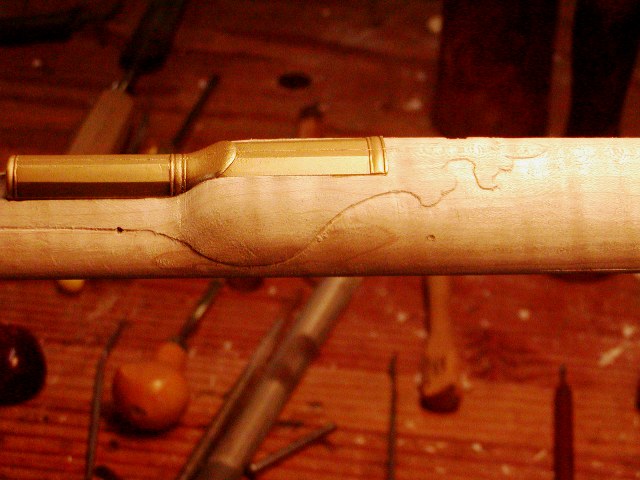
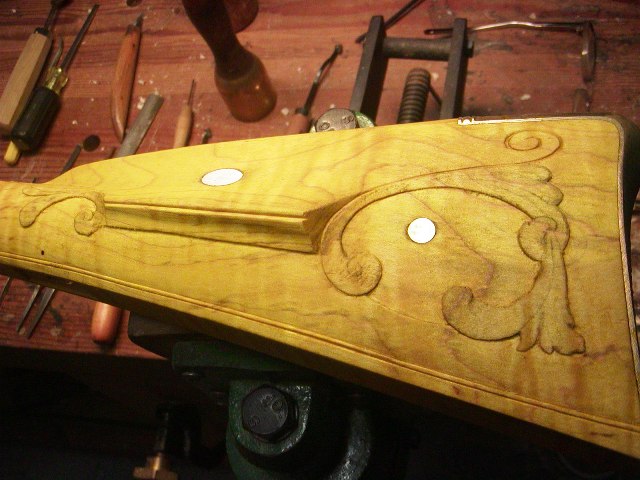
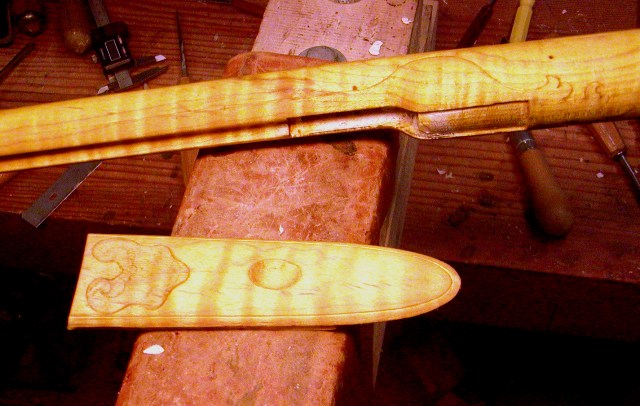
 Of course it all gets scraped off but it will be loud and gaudy while it lasted. We'll call it a Canary Kibler!