• This community needs YOUR help today. We rely 100% on Supporting Memberships to fund our efforts. With the ever increasing fees of everything, we need help. We need more Supporting Members, today. Please invest back into this community. I will ship a few decals too in addition to all the account perks you get.


    Sign up here: https://www.muzzleloadingforum.com/account/upgrades
  • Friends, our 2nd Amendment rights are always under attack and the NRA has been a constant for decades in helping fight that fight.

    We have partnered with the NRA to offer you a discount on membership and Muzzleloading Forum gets a small percentage too of each membership, so you are supporting both the NRA and us.

    Use this link to sign up please; https://membership.nra.org/recruiters/join/XR045103

Attaching brass to a colonial patch box

Muzzleloading Forum

Help Support Muzzleloading Forum:

This site may earn a commission from merchant affiliate links, including eBay, Amazon, and others.
Joined
Sep 12, 2008
Messages
32
Reaction score
64
I've been working on 54 Cal Kibler colonial stocked in Cherry. This is my second Kibler kit ( there may be a third, a 54 cal woods runner, in the future) , the first was a 45 cal. SMR also stocked in cherry.
Everything on the colonial coming together, so far, as good as the SMR.
However, there is a little more wood and metal work to do on the colonial then on the SMR and I've had a few mistakes but I hope no one notices them .

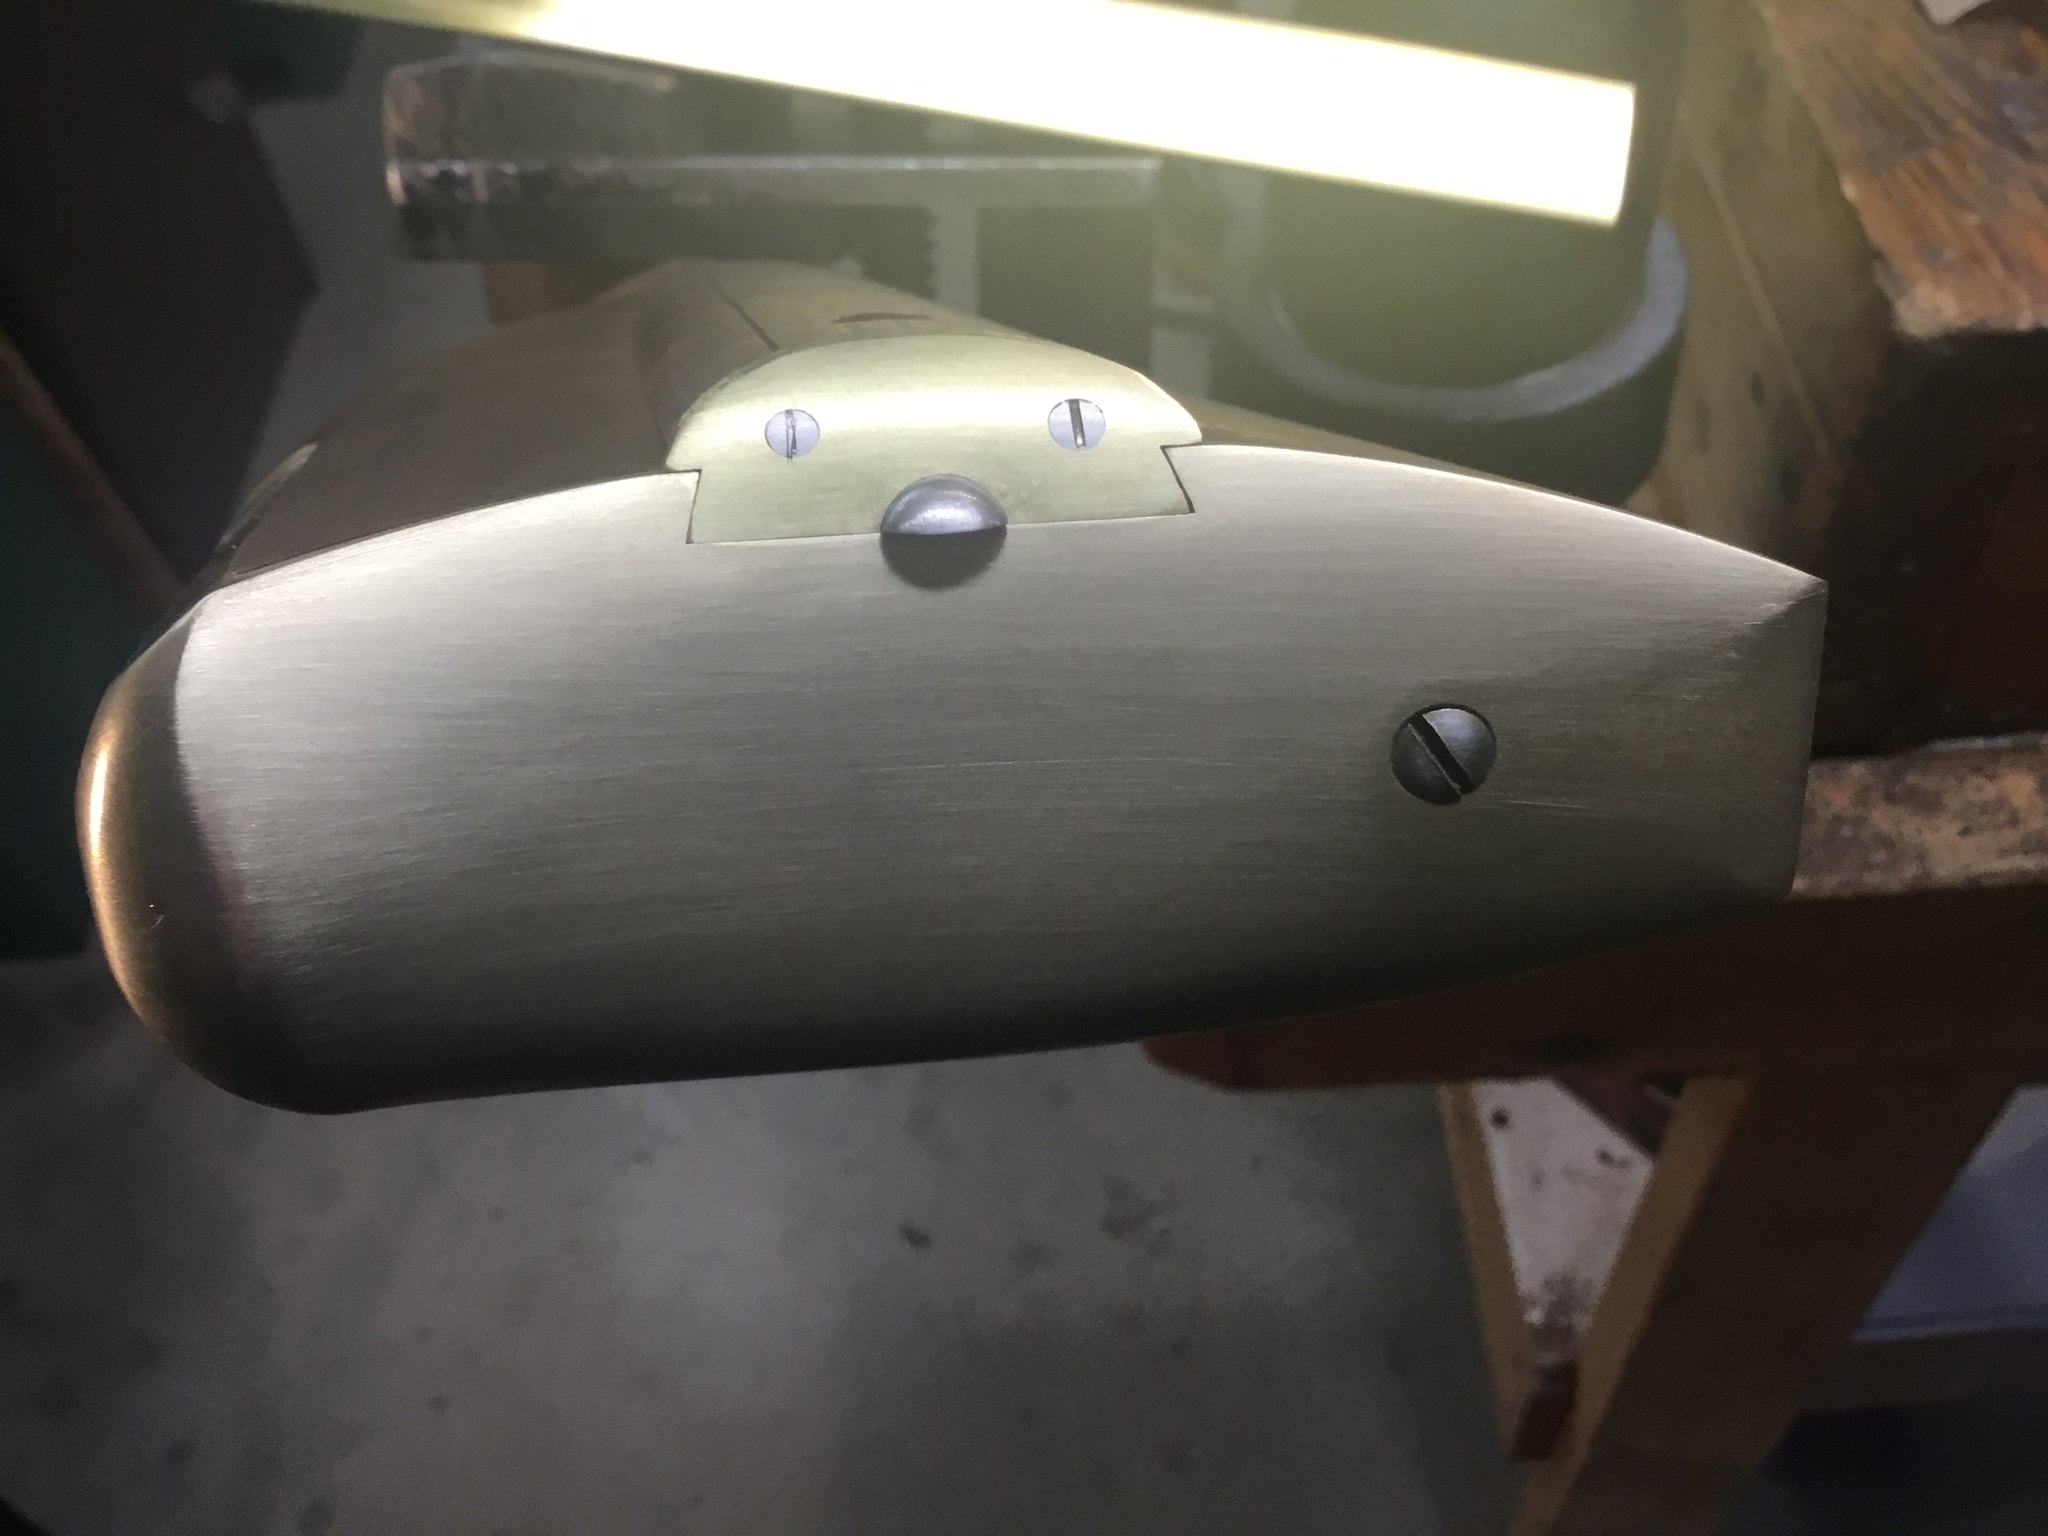
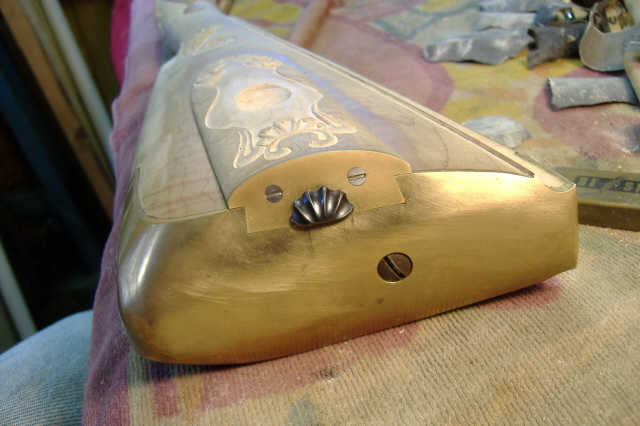
I've already fitted the patch box to the butt plate and I'd like to add brass on the end of patch box.
My question is, how do you attach the small brass plate that's included in the kit, I assume that's what it's for, to the end of the wood patch box ?
I've already filed the patch box end to accommodate the plate with the catch.
I know it's screwed on.
But, What holds the plate in place while you drill the screw holes ? Would you advise epoxy the plate on, then drill ?

Is there a video or tutorial somewhere on the forum ?
 
I have used a dab of cyanoacrylic - super glue - to hold brass to wood for drilling screw holes. Some heat, as from a hot iron, will pop it loose.
You will need to remove some wood from the PB lid - the thickness of the brass.

Was polishing a side plate that I had super glued to a piece of wood, using my Foredom - plate got hot enough to free itself from the wood very quickly!
 
I measure the width needed for the holes in the brass, then drill. Hold in place on the lid, mark the locations with a pencil. Then file the brass to match your contours.

Not a Woodsrunner, a rifle I built a few years ago. This is what could happen when I get carried away with brass. There is no reason a person couldn't tart up a Woodsrunner like this,.
1708193611095.png
 
Some don't realize what Kibler provides is a base for building a rifle, only limited by your own imagination.
That is the truth, for sure. When I get there with my Colonial, I hope to do that piece justice.

So far, though, that buttplate is taking a bit of time to get looking pretty (sprues were easy enough to file out....but mine had a few stray sand grain inclusions that are taking longer to get rid of).
 
I managed to give my "fancy" lid a brass back end....but I realized I had ended up taking a bit too much off in the fitting stage. Mine back end has some small gaps between it and the butt plate when installed (D'oh!). Still, considering this is my first kit and I'm pushing myself from the get-go (carving, molding lines, insetting and this brass work), I'll gladly accept a few growing-pain lumps along the way ;)

Still needs polishing to get the last of the marks off it, but....
20240225_171254~2.jpg

20240225_171243~2.jpg
 
I managed to give my "fancy" lid a brass back end....but I realized I had ended up taking a bit too much off in the fitting stage. Mine back end has some small gaps between it and the butt plate when installed (D'oh!). Still, considering this is my first kit and I'm pushing myself from the get-go (carving, molding lines, insetting and this brass work), I'll gladly accept a few growing-pain lumps along the way ;)

Still needs polishing to get the last of the marks off it, but....
View attachment 299731
View attachment 299730
Wipe a bit of Titebond II across the gap, and sand with fine sandpaper. The gaps will disappear, and stain fine.
 
Wipe a bit of Titebond II across the gap, and sand with fine sandpaper. The gaps will disappear, and stain fine.
If the gaps were just in the lid/brass connection (which is actually quite tight....most of the line is due to it getting dirty as I worked on it) or that couple of little tear-outs I managed to make, I'd be happy.... No, I overcut the dovetail when I made sure it wouldn't stick, so as a result I have a couple small gaps (one on each side) between lid and buttplate (I matched the brass end plate to the dovetail, so it carried through). Live and learn.
 

Latest posts

Back
Top