Yeah . . .Hi Capnball,
No worries about decorating the rifle my friend. I've got the chops for this job.


dave
I guess your work is
OK
Jim in La Luz


Yeah . . .Hi Capnball,
No worries about decorating the rifle my friend. I've got the chops for this job.
dave
I'm facing that quandary right now. Ordered my Kibler without the wooden patchbox, and am trying to decide between emulating the F. Klette rifle or the John Sheetz (Staunton) rifle. I'm not sure if trying to emulate the Sheetz rifle would be "correct" for this rifle, and it would also require reshaping the stock for a different butt plate.I am curious Dave about your thoughts on wether this rifle would be more correctly fitted with a metal patch box instead of the wooden lid?
I always have seen the wooden patch box as a way to suggest the rifle is from the pre 1770 time frame while the architecture is more appropriately later. I am not an expert at this at all...but I am trying to learn as fast as I can!


Thanks for you input Dave. I have to agree about the Sheetz design (I laid it on the stock and my immediate thought was it was too long).Hi Guys,
Wow, lot's of good questions.
Mike, so much depends on the style of the rifle. Lehigh Valley guns usually had the wrist wider than the height at the tail of the lock and then it transitions toward the comb to higher than wide. Some are circular and others are taller than wide. I would say most early guns were slightly taller than wide, so almost round and later, as butt stocks became thinner the wrist became considerably taller than wide. By the 19th century that was probably the norm.
Brazos, a metal or wooden box is fine for this gun. Metal boxes go back well before the Rev War, particularly in Reading and Lancaster. Generally, those patch boxes were simpler than the later "golden age" period and almost always had few or no piercings and many (not all by any means) were two piece. With respect to wooden patch box lids, they likely were more common on colonial-made rifles because the European traditions were still strong among the rifle smiths. But wooden lids get lost easily. The brass patch box lids are attached by the hinge and are not at risk of loss. There is a colonial or Rev War period rifle attributed to Adam Haymaker that has lines very similar to Kibler's kit and it has a very simple and attractive wooden patchbox lid.
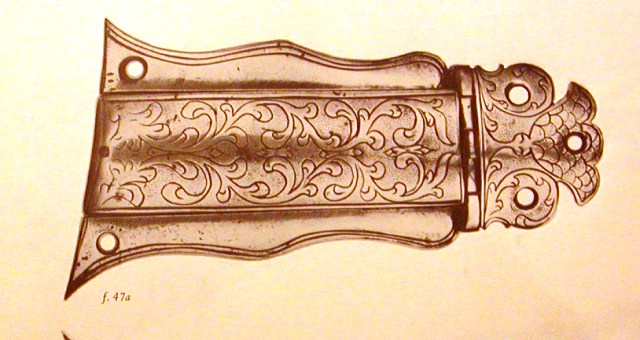
Nameless Hunter, I believe you want a brass box that is not too long and does not extend too far into the wrist for the Kibler stock. Here is an early Dickert box that I think might look really good.
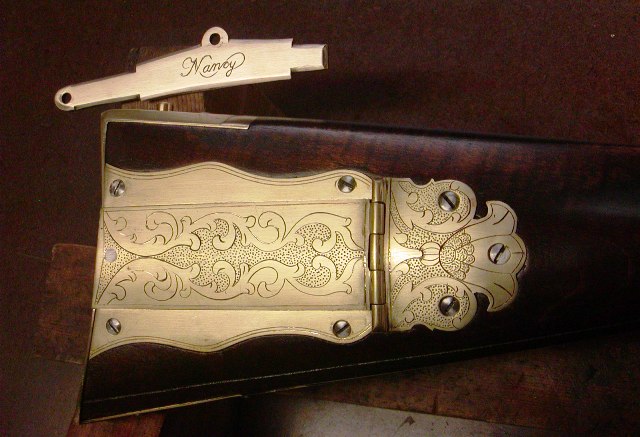
Here is my version of it:
Or even this Reading box:
Your Klette box might also work pretty well but I think the Sheetz design doesn't fit well.
dave
Wow. That little bit of adjustment does make a big difference.Hi,
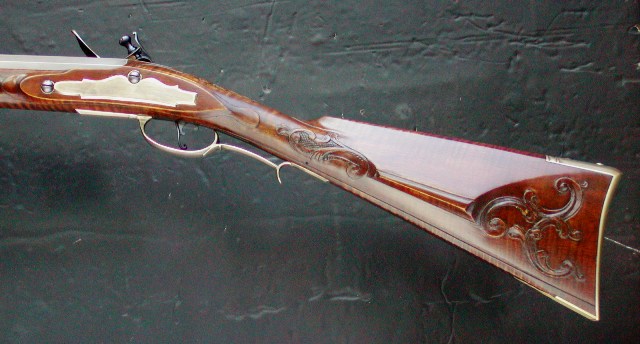
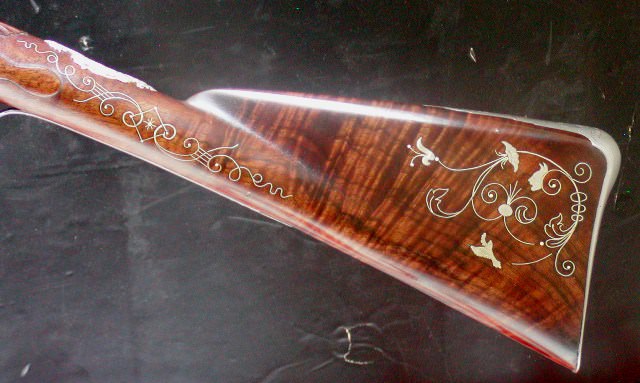
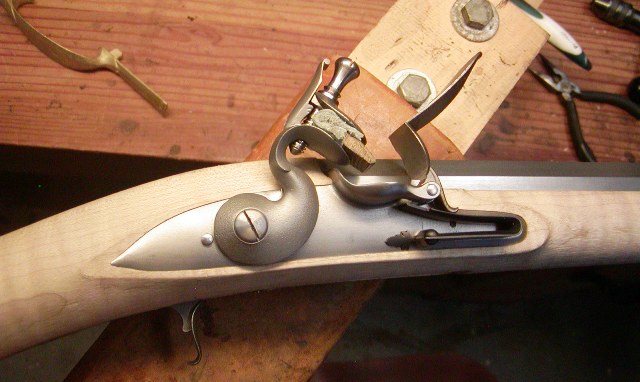
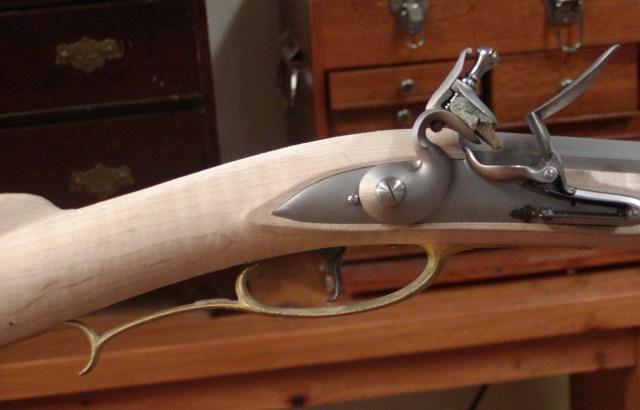
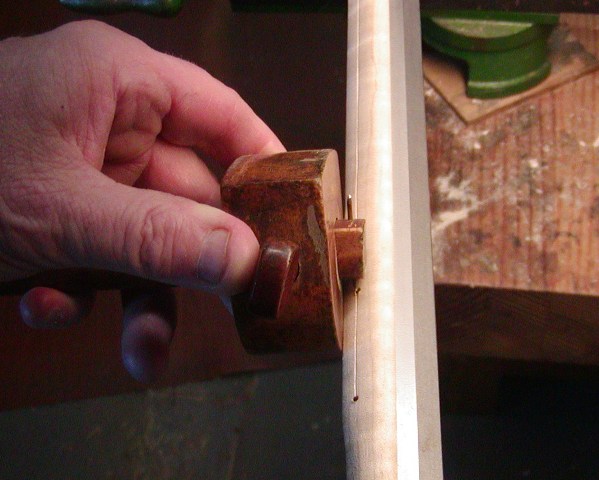
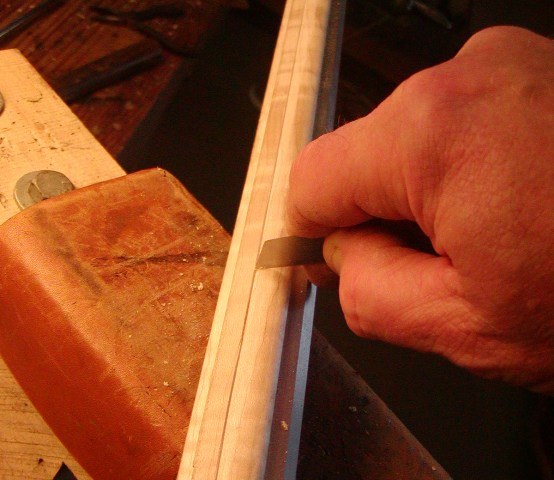
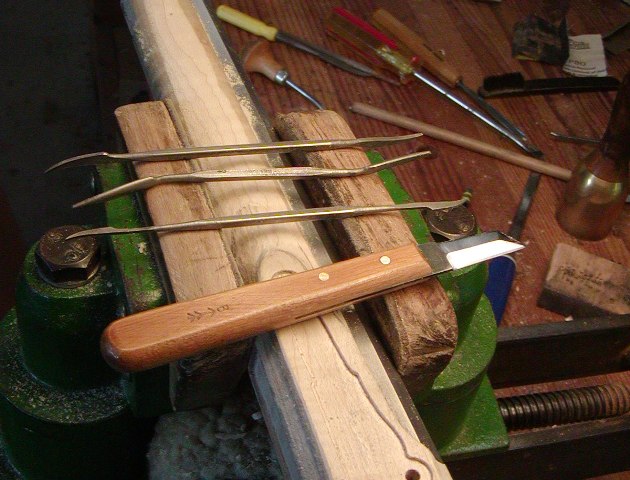
Thank you all for looking, your compliments, and as always I appreciate your encouragement. This is a fun project and that is what matters to me. I don't do this work to make a serious living (which is really hard to do) but because I am challenged and learn stuff. It keeps old age dementia at bay. I finished the assembly today although I slowed a bit as I tweaked the stock architecture a bit. Forward of the lock, the stock is as perfect in my eyes as one could ever make. I will do nothing there except cut in ramrod channel moldings and carving around the rear pipe tang. It is the lock and wrist area that my design eye diverges from Jim Kibler's. The stock is very "deep throated" on the bottom and thick at the top by the barrel tang. Now let me be clear, I get the architecture that Jim designed and admire it. It has a very solid, stand up, business like appearance. However, my taste is a little slimmer in the throat that I believe is more elegant and historically consistent. So I bent the barrel tang down just a little. I did that by simply holding the tang in a vise and using the barrel as a lever, bent the tang a little. No heat, not muss, no fuss. Simple.
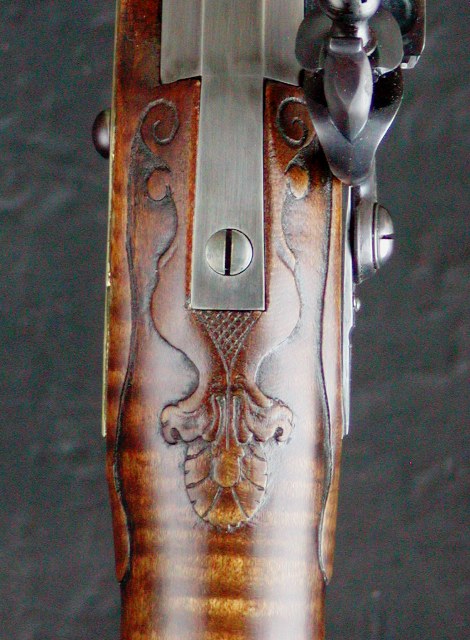
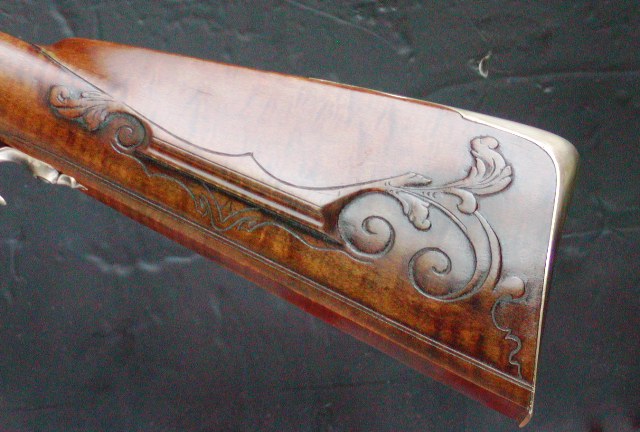
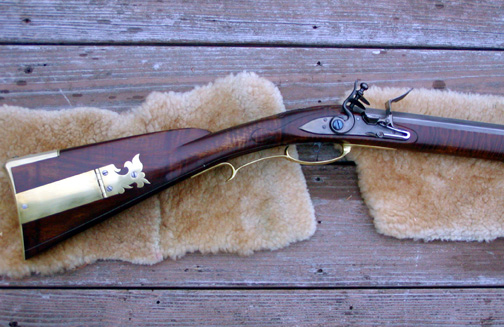
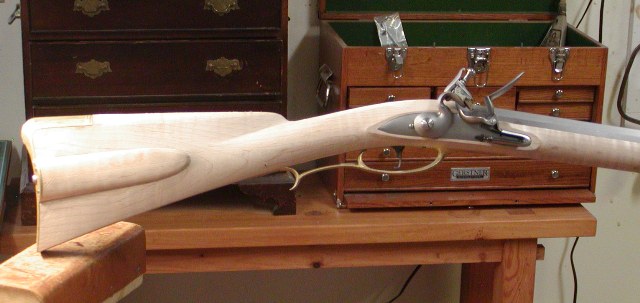
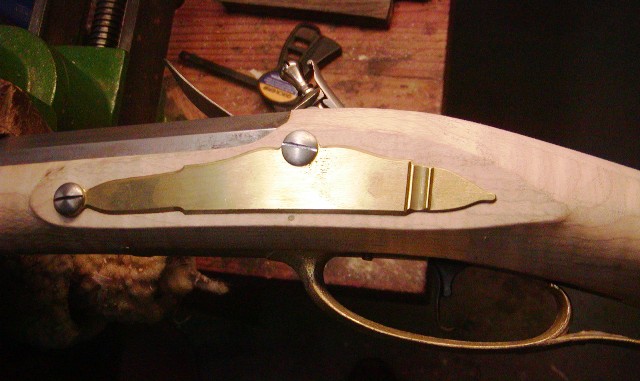
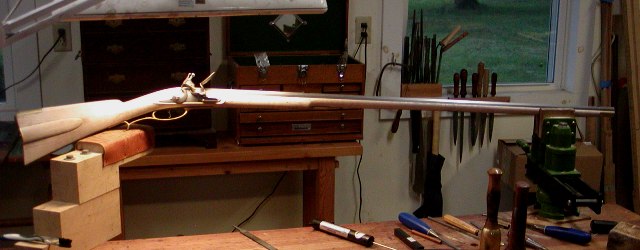
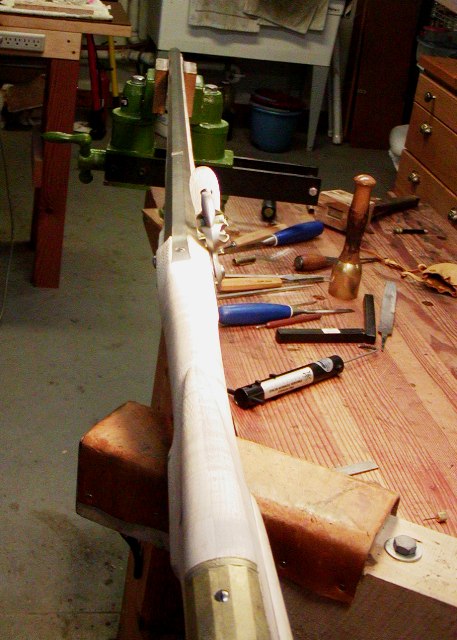
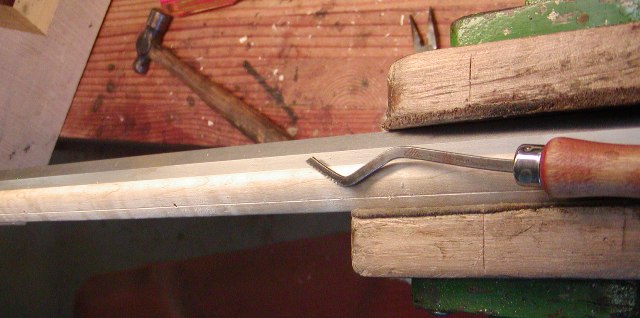
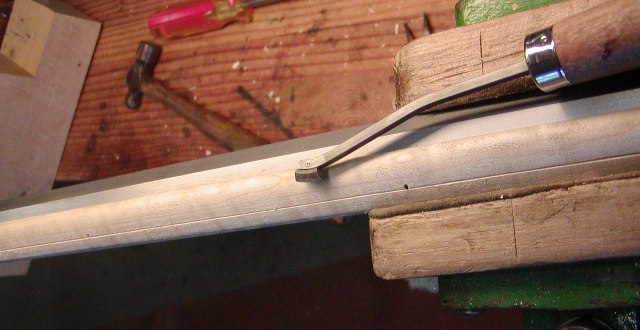
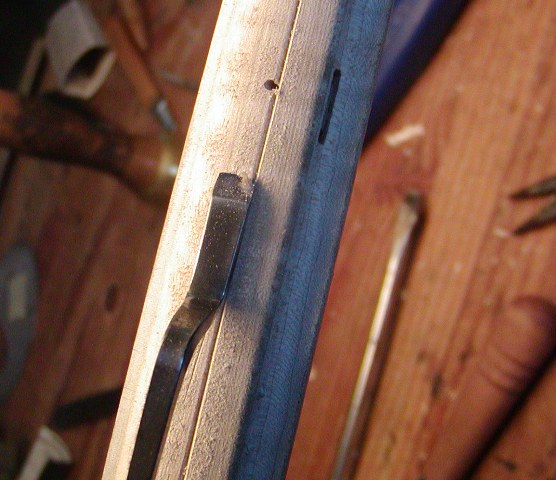
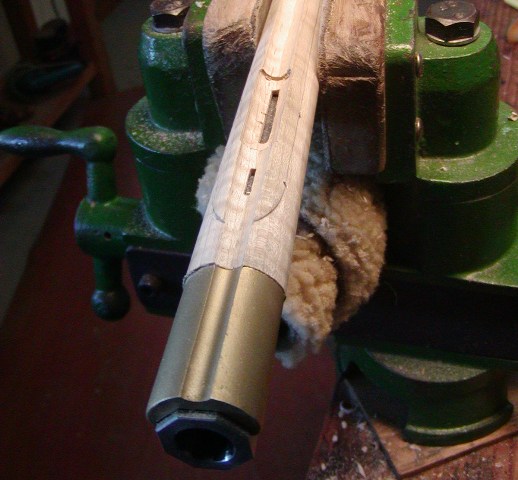
Then I inlet the tang deeper in the stock to accommodate the bend and rasped and filed the stock on top of the wrist accordingly. However to get the profile right, I also had to take off from the bottom and there lay a problem. The trigger plate needed to be inlet deeper but the trigger pin hole is fixed. If the plate went deeper, the trigger would hang out higher above the plate, which would not work very well. So, I filled the pin hole in the trigger with weld and then redrilled it after modifying the stock. My goal was to reduce the throat of the stock a bit and to create a straighter line from the tang down to the comb. It is not straight but straighter than the original profile. I believe that enhances the profile a lot. I won't do more because carving around the tang will change things a bit so I have to anticipate the effect of the carving on the profile. Here is the rifle as it stands and I icluded a previous photo to show the changes I made.
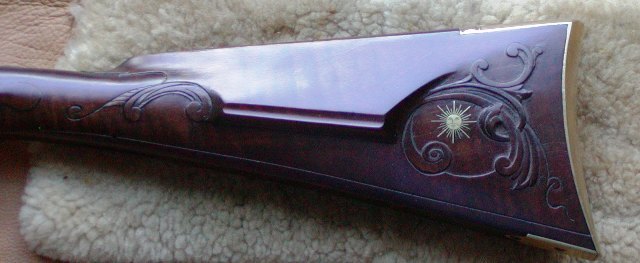
Before:
After:
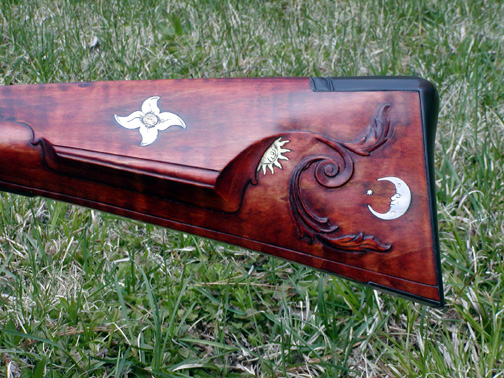
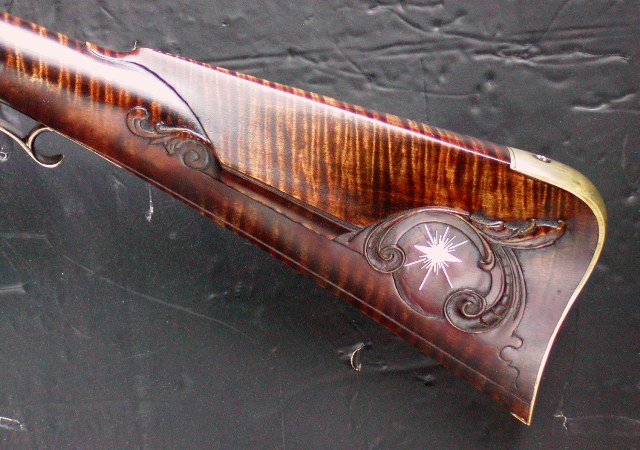
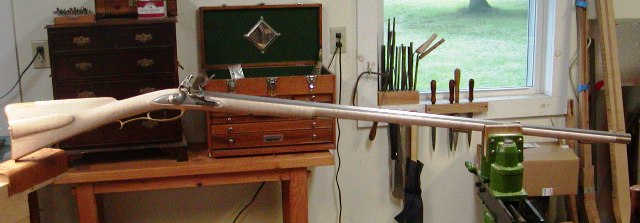
Here is the rest of the rifle as it stands.
dave
 It's always interesting how one "little" change made one place then flows to something else though! The results here are well worth it.
Wow Dave you work fast and your work is emaculate! I built a Kibler SMR so I know the inletting is pretty much done for you but it took me much longer to finish all the metal. How in the world did you get all the metal finished so fast? Do you use power tools to clean everything up?Hi,
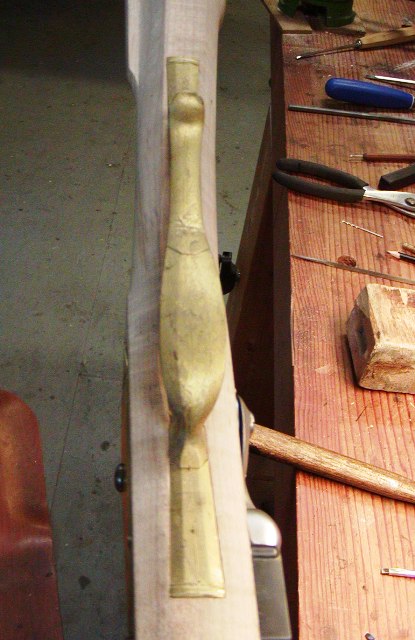
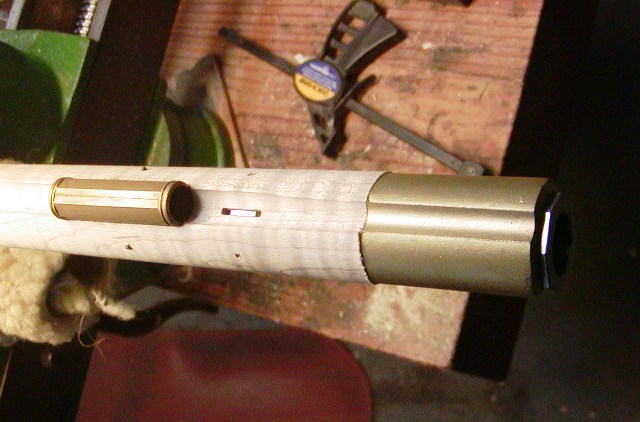
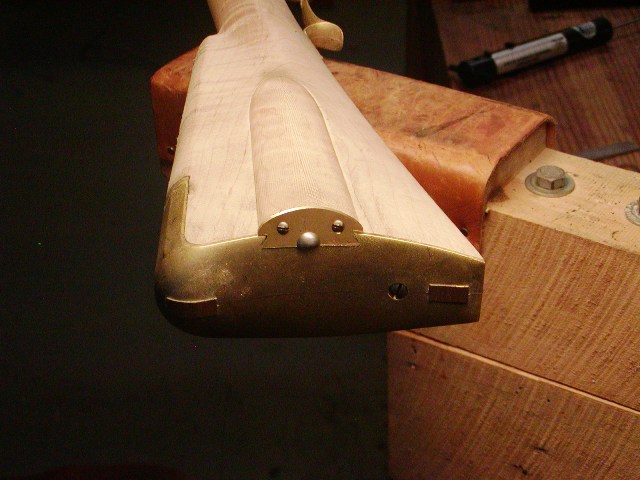
A forum member asked me if I would assemble and decorate a Kibler colonial rifle kit. I agreed to do it because, although I am familiar with the kits and examined them closely, I've never built one. So I decided to take on the project. The Kibler kit is phenomenal. Jim and Katherine anticipated every need and designed the kit so it could be built on a kitchen table by someone with very few tools and skills. You have to work really hard to ruin one of these kits. Anyway, so I got the kit late Saturday and opened the box Sunday morning. I then got to work on it at 7:30AM on Monday and almost finished the entire assembly by 5:00 PM. All that remains for assembly is pinning the nose cap, installing the sights, and fitting the ramrod. The time required included 2 walks of my dog Willow, a 45 minute phone conversation with the client, some play time with Willow, lunch, a short nap after lunch, and a grocery run. I don't think it took me more than 4.5 total hours of gun work to assemble the gun with the most time consuming task making and fitting the brass plate on the end of the patch box. I have not fitted the trigger guard and won't until all detailing of the stock architecture is done. However, it would only take me 15 minutes or so to fit it. Here is the rifle.
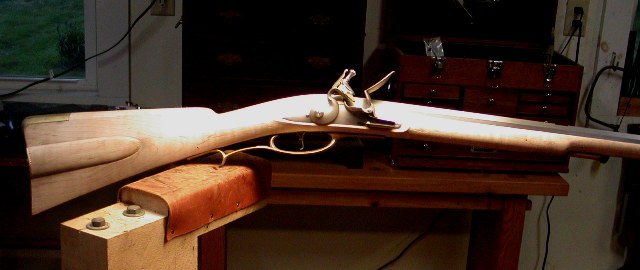

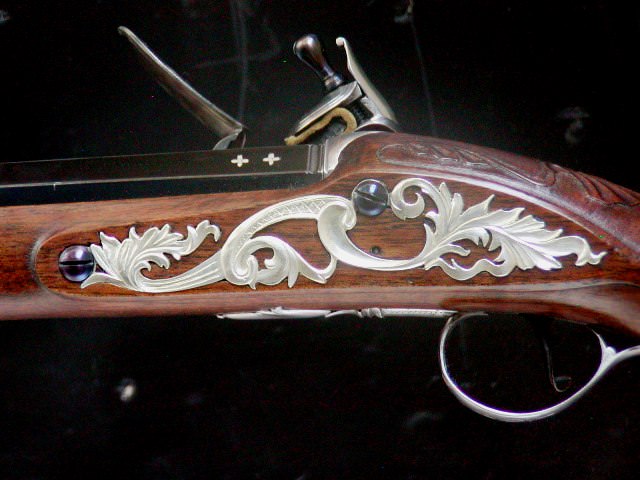
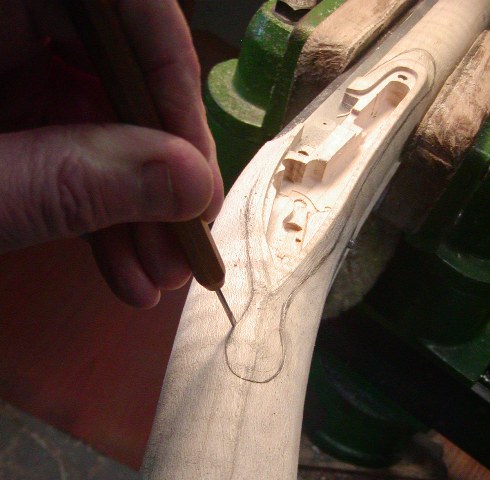
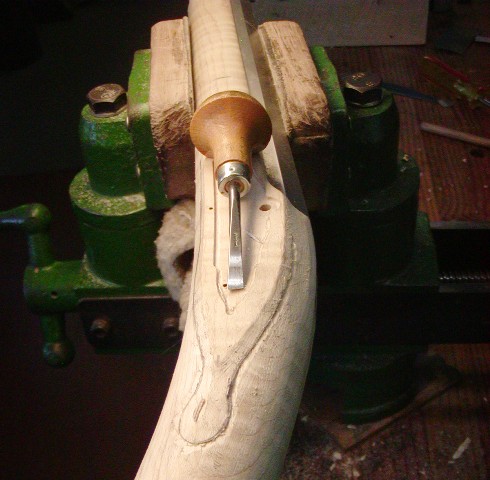
So the next step is how do I turn this common and mass produced canvas into my own signature piece. I can only do so much because the architecture is fixed by Kibler. Let's see what happens.
dave


I haven't been a member of this forum for very long. However, I have seen waaay too many pictures of rifles you've built to ever believe you could get anywhere near being "over your head".Thanks Jim! Sometimes I just wonder. Can I do this? Am I in over my head? Keeps me up at night.
dave
Only by my farts, Dane, which are in fact, humbling.Stop it Dave! If these guys knew you, they would be forever humbled!
Enter your email address to join:

