


user 48679
54 Cal.
- Joined
- Sep 15, 2020
- Messages
- 1,661
- Reaction score
- 2,156
.
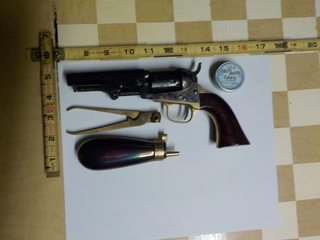
As noted in my earlier thread, I wasn't totally satisfied with the case I made for my Uberti 1849 C&R, thinking I made it too big for the gun.
So, I decided to fashion a smaller, compact case, more in keeping with the size of the gun.
Ergo:
Step 1: Determine the needed interior case dimensions.
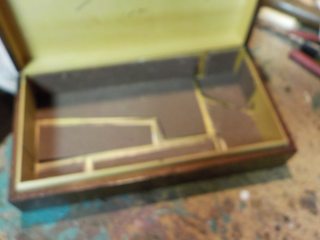
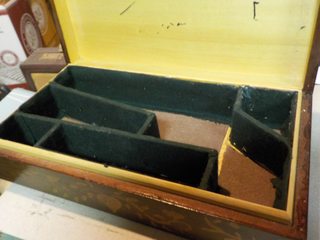
Step 2: Cut, fit & glue up a box of the correct interior size, or acquire a box suitable for your project - I found an old nick-knack box to strip the interior for conversion to a pistol case
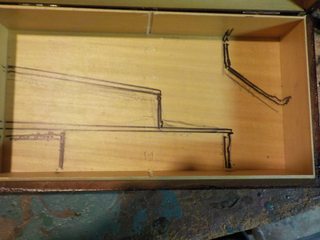
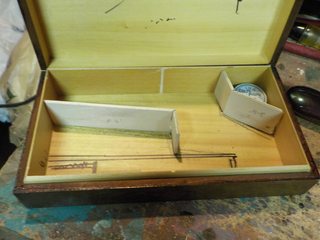
Step 3: Transfer the interior dimensions/partition design to the inside of the box floor
Step 4: Cut wood partitions from a thin board (I ripped this one from a larger sheet)
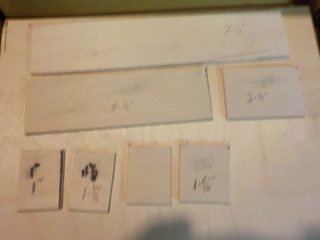
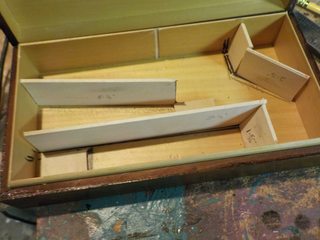
Step 5: Dry fit/cut/adjust the partitions into the floor of the box
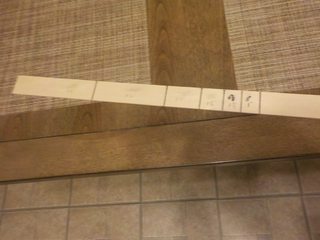
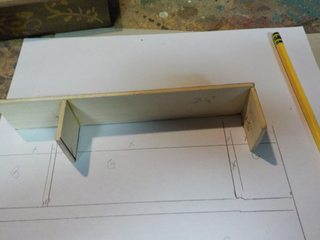
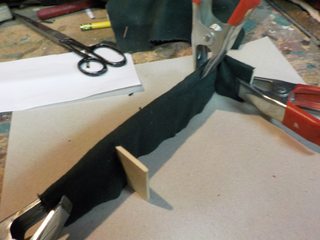
Step 6: Upholster the partitions in the material/color of choice, starting with a paper template as a guide for cutting the upholstery material
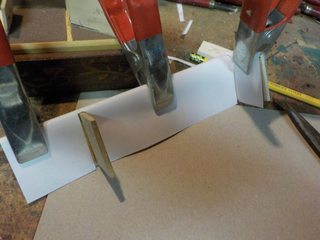
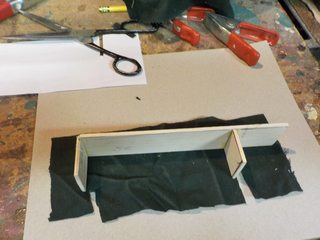
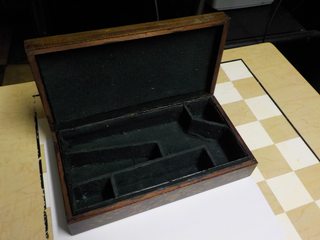
Step 7: Cut & glue padding material for the bottom of each section, leaving clear space for gluing the partitions in place
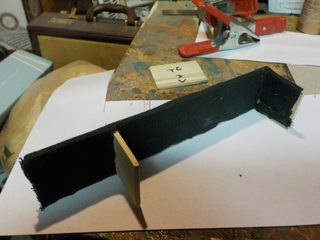
Step 8: Glue the upholstered partitions in place, and follow up with cutting paper patterns & material for the floor of each section, gluing in place.
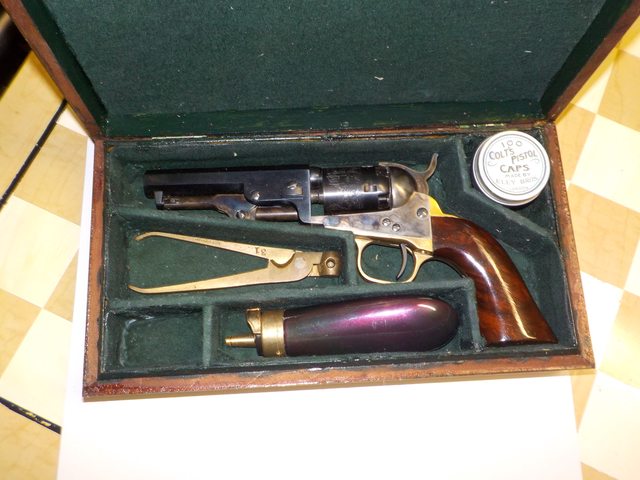
Step 9: Upholster the inside of the lid, if desired
Step 10: Wait a day for adhesive fumes to evaporate, then place your stuff inside & enjoy
As noted in my earlier thread, I wasn't totally satisfied with the case I made for my Uberti 1849 C&R, thinking I made it too big for the gun.
So, I decided to fashion a smaller, compact case, more in keeping with the size of the gun.
Ergo:
Step 1: Determine the needed interior case dimensions.
Step 2: Cut, fit & glue up a box of the correct interior size, or acquire a box suitable for your project - I found an old nick-knack box to strip the interior for conversion to a pistol case
Step 3: Transfer the interior dimensions/partition design to the inside of the box floor
Step 4: Cut wood partitions from a thin board (I ripped this one from a larger sheet)
Step 5: Dry fit/cut/adjust the partitions into the floor of the box
Step 6: Upholster the partitions in the material/color of choice, starting with a paper template as a guide for cutting the upholstery material
Step 7: Cut & glue padding material for the bottom of each section, leaving clear space for gluing the partitions in place
Step 8: Glue the upholstered partitions in place, and follow up with cutting paper patterns & material for the floor of each section, gluing in place.
Step 9: Upholster the inside of the lid, if desired
Step 10: Wait a day for adhesive fumes to evaporate, then place your stuff inside & enjoy
