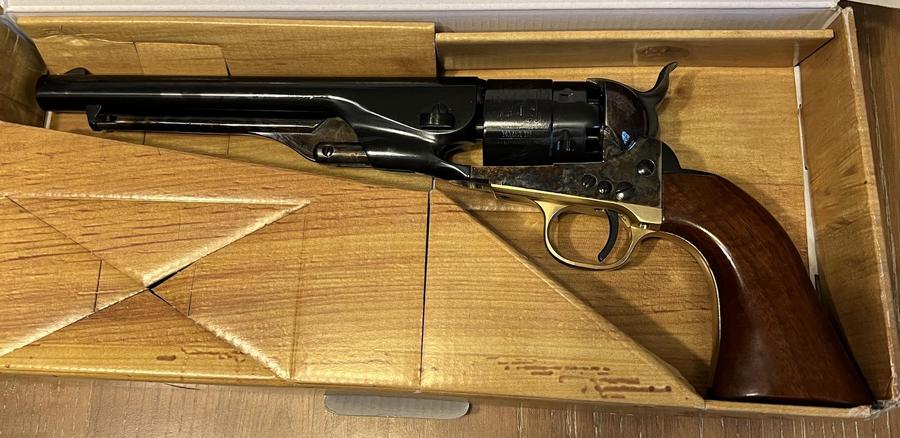
Got this in the mail yesterday. Broke it down and cleaned the packing grease off of it, gave it a coat of Ballistol and wiped it down again.
This is my firs C&B revolver and I'm excited to get it to the range.
My next project is the grips. I like wood, but don't like the shiny finish, so I'm going to strip the finish and just go with one coat of stain followed by a few coats of tung oil.


![IMG_3987[1].JPG](https://cdn2.imagearchive.com/muzzleloadingforum/data/attach/290/290938-IMG-3987-1-.JPG)
![IMG_3988[1].JPG](https://cdn2.imagearchive.com/muzzleloadingforum/data/attach/290/290939-IMG-3988-1-.JPG)