- Joined
- May 6, 2014
- Messages
- 16,892
- Reaction score
- 15,311
I agree a couple of those “welds” might be brazing and that will show up as a yellowish/brass color and sometimes a slightly copper looking color, depending on the brazing rod used.
Out of many dozens of TIG weld beads I've had to file down over the years from the exact same type of welding rod, exact same time of metal used to make the recoil lugs to be welded on and original receivers; I can't even remember how many various colors I've seen from the heat of the weld. I do know that the outer skin of the weld is always extremely tough/hard and often we used small “dremel type” rotary abrasive stones to “crack though” that hard outside skin of the weld. After we got through that, we could file as normal. We also used carbide or diamond files to crack through that outer skin. Fairly cheap carbide or diamond files can often be found at gun shows or tool or other trade shows. While these are usually Chinese made and not the quality of American made, they will certainly work for cleaning up the weld beads shown in the link.
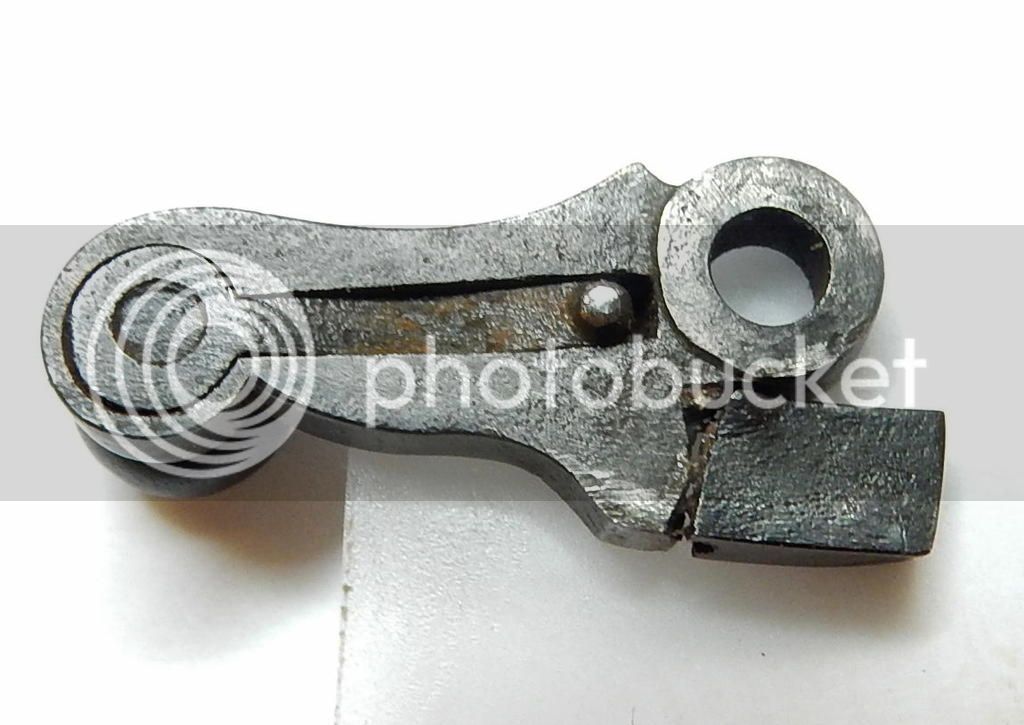
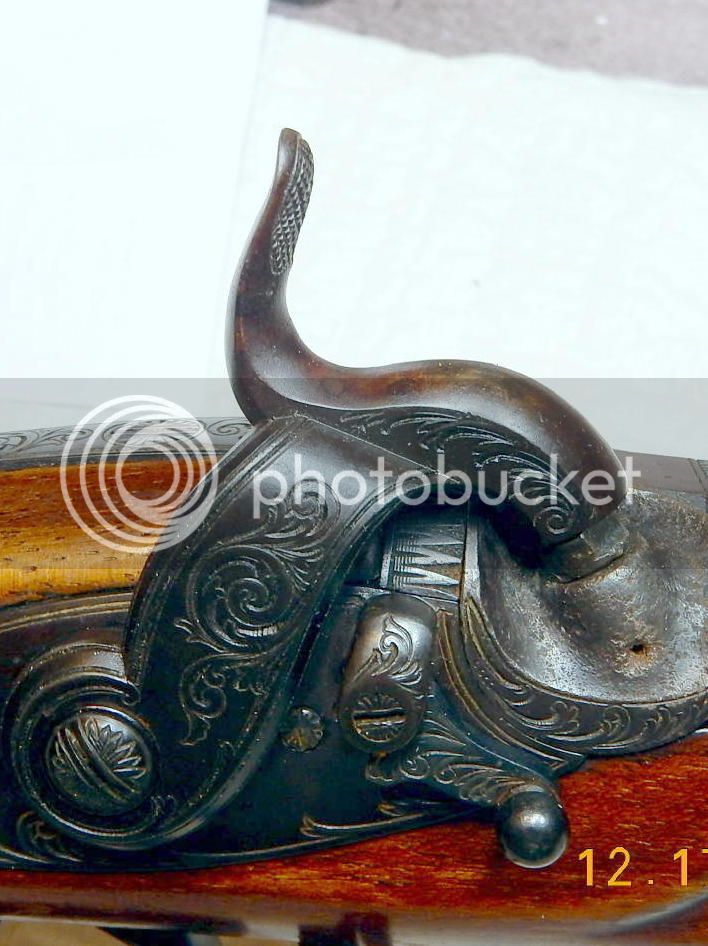
Once the welds are cleaned up to the surrounding surface, you may need to do or have done a little bit of engraving on the safety. Good photos taken now will help with this after it is welded. However, I doubt that you will need a major amount of engraving done.
Once the metal is cleaned up and any necessary engraving done, you will need some cold blue to blend the weld back into the surrounding metal. I most strongly recommend Brownell’s Oxpho Blue for this and the 4 oz. jar is MORE than enough for this job. Just one tip for using this stuff, always dip a CLEAN Q Tip into the bottle and never, Never, NEVER dip a used Q Tip back into the bottle. This because it will contaminate the rest of the bottle and make it go bad well before you use it up. http://www.brownells.com/gunsmith-...luing-chemicals/oxpho-blue-reg--prod1072.aspx
Gus
Last edited by a moderator:


