fjrdoc,
As far as the barrel finish goes, I have been experimenting some with the last several rifles I have built. I wasn't looking for a "dark grey" patina, but not a brown and not a blue...I'm not quite sure what I came up with, but I like it....so far. Here are some variations on the same theme on 3 different rifles.....
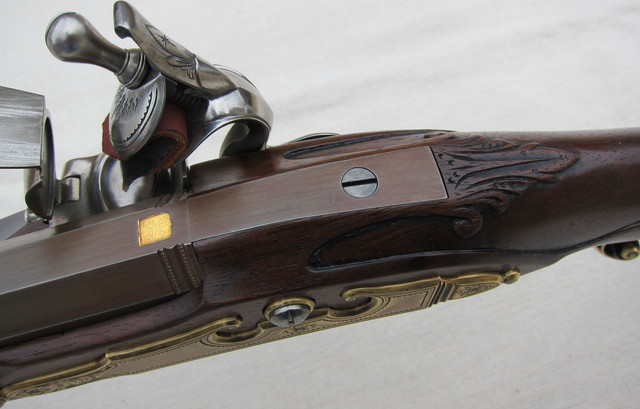
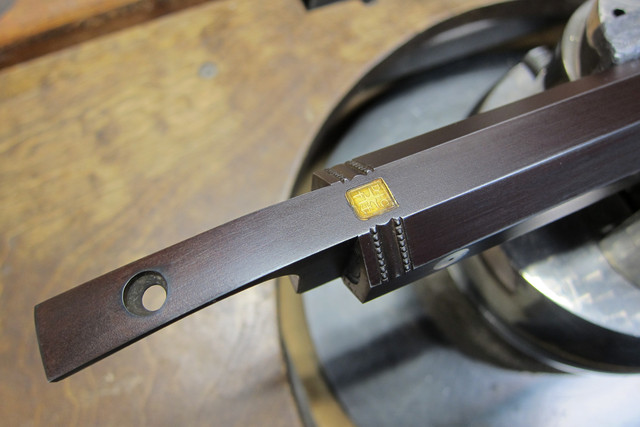
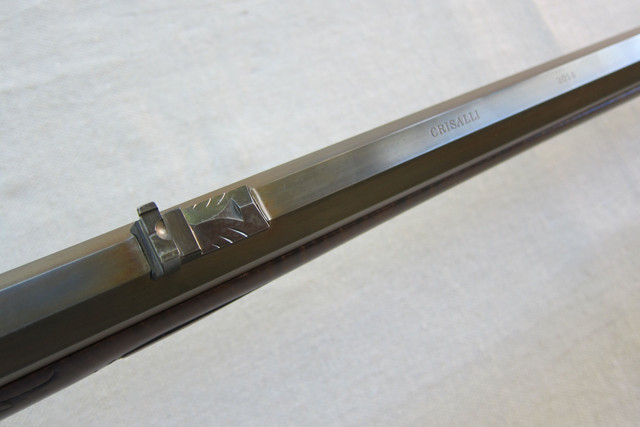
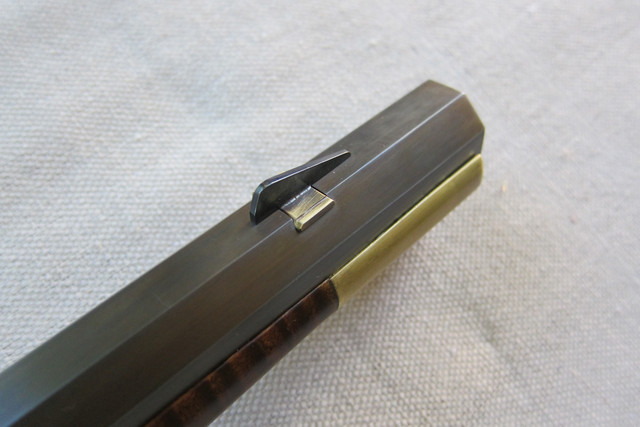
The process is as follows: I start a rust brown exactly as I would for a plumb brown finish. I use a damp box and do one, two, or three, rust cycles of Laurel Mountain Forge Barrel Brown carding with a brass wire tooth brush each cycle. The number of cycles depends on if I want the final finish more grey / blue or more bronze / brown. Once I have a couple of brown cycles on it, I handle the barrel with latex gloves. I take the barrel and put it on the bench. I cover the bench top with a plastic trash bag taped down. Now I scrub the barrel with a small, maroon ScotchBrite pad (2" x2") soaked in one of the cold blue solutions (Oxpho-Blue, Dicropan T-4, Historic House Parts Brass Ager) until I get the barrel to look like I want it. If you only give it two browning passes and do not dwell too long with the cold blue, the barrel comes out with a slight golden tone. More browning passes and not much ScotchBrite rubbing and it comes out a little more brown. Rub it a little more with the cold blue, and it takes on a darker, bluer tone. I did one where I subsequently rubbed all the finish off the edges with a dry ScotchBrite pad, and that looks OK too (a little more "worn") but I figure use and handling will take care of that fast enough anyway.
Hope this helps
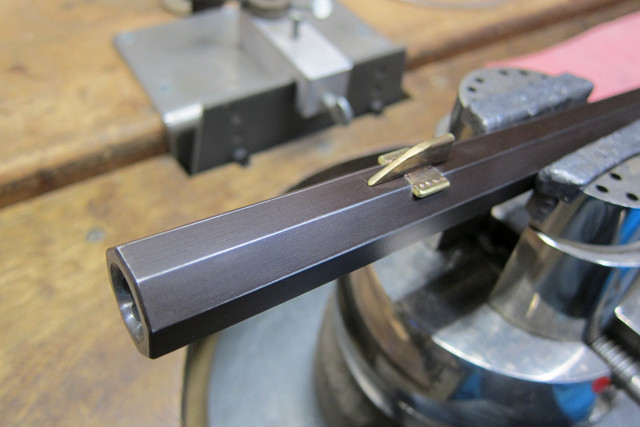
PS The brass is just polished and then darkened with Historic House Parts Brass Ager (
Brass Darkening Solution - 8 oz.). Then rub it back a little with fine Scotch Brite.


")
