• This community needs YOUR help today. We rely 100% on Supporting Memberships to fund our efforts. With the ever increasing fees of everything, we need help. We need more Supporting Members, today. Please invest back into this community. I will ship a few decals too in addition to all the account perks you get.


    Sign up here: https://www.muzzleloadingforum.com/account/upgrades
  • Friends, our 2nd Amendment rights are always under attack and the NRA has been a constant for decades in helping fight that fight.

    We have partnered with the NRA to offer you a discount on membership and Muzzleloading Forum gets a small percentage too of each membership, so you are supporting both the NRA and us.

    Use this link to sign up please; https://membership.nra.org/recruiters/join/XR045103

I finally started my golden age Lancaster build.

Muzzleloading Forum

Help Support Muzzleloading Forum:

This site may earn a commission from merchant affiliate links, including eBay, Amazon, and others.

megasupermagnum

45 Cal.
Joined
Aug 13, 2020
Messages
546
Reaction score
454
Location
Aberdeen, South Dakota
I have had the stock in the new shop for a month and a half now, as was recommended, and I finally decided to start on it today. I've been dreading starting. We all want perfection, well I finally came to terms that my first build will not be perfect. Thankfully most went well today. I did small steps, beginning with removing the breech plug. That thing was fitted way too tight, I'll have to address that next. I like snug, but needing a three foot cheater bar was a bit much. I now have a nice mark on a barrel corner where a second wrench to hold it must have slipped a little. Oh well, I don't have to worry about making it look good for a long time. I then successfully fitted the barrel nicely in the stock. It seems the stock is warped slightly, so I'm now going to be storing the stock with the barrel clamped into it. It's not much to look at yet, but it is a start. I'm still not sure what I want to model it after. In the Kentucky Rifles & Pistols 1750-1850 book, page 80, B made by Christian Siple is a nice looking rifle. It is one of my favorites I have found in the book, and fits the time period I'm after. I will be using a double set trigger is about the only difference. Hopefully I'll have another update soon.

20210421-185142.jpg


20210421-185242.jpg
 
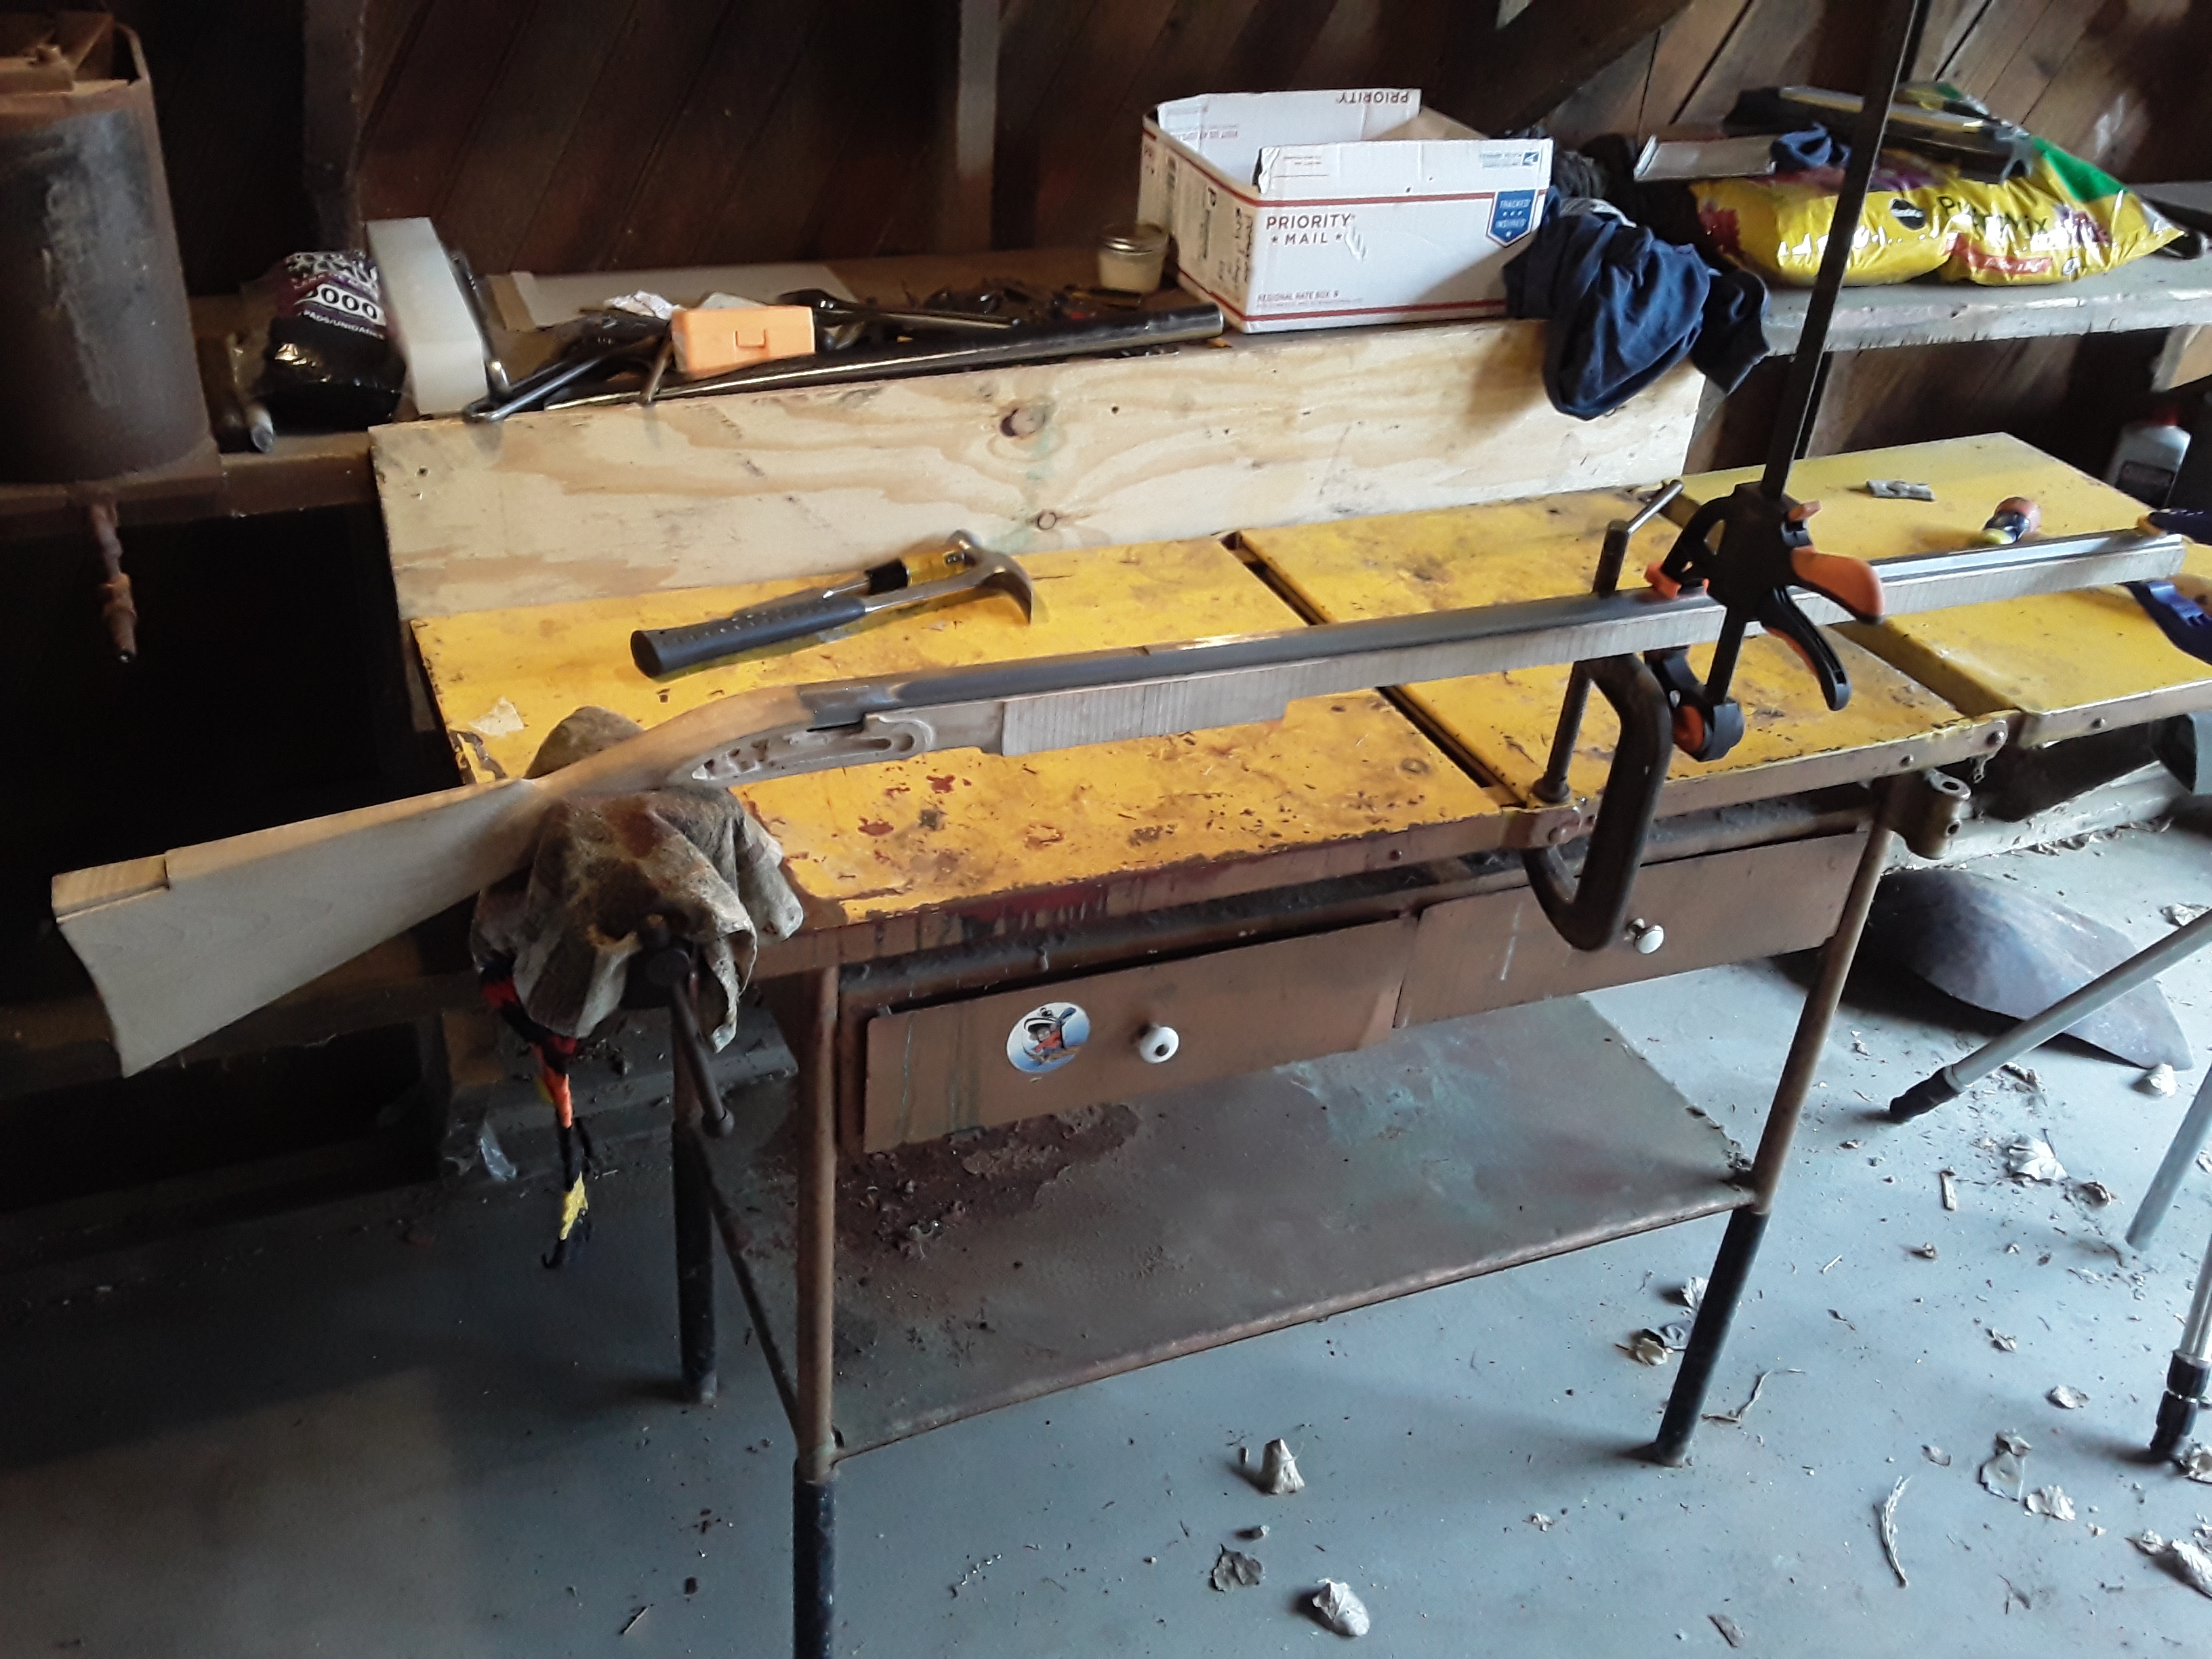
I made a little progress here and there since May, but today and tomorrow is the first time I've dedicated an entire weekend to working on this. I'm taking a break right now, grilling some salmon and swordfish. After, I'll get back to it, and work on it most of tomorrow as well.

A while back I did get the breech plug fitted better. It was not hard to do at all. I messed around with some parts, played with the lock some. I'm really excited to see how this performs, because this Jim Chambers deluxe siler lock seems incredible. I've only played with it in my hands, but it seems to have a good trigger, and when it goes, don't blink or you will miss it. This thing has a serious spring it in. This sparks twice what my Thompson Center did, and that might not be giving it enough credit.

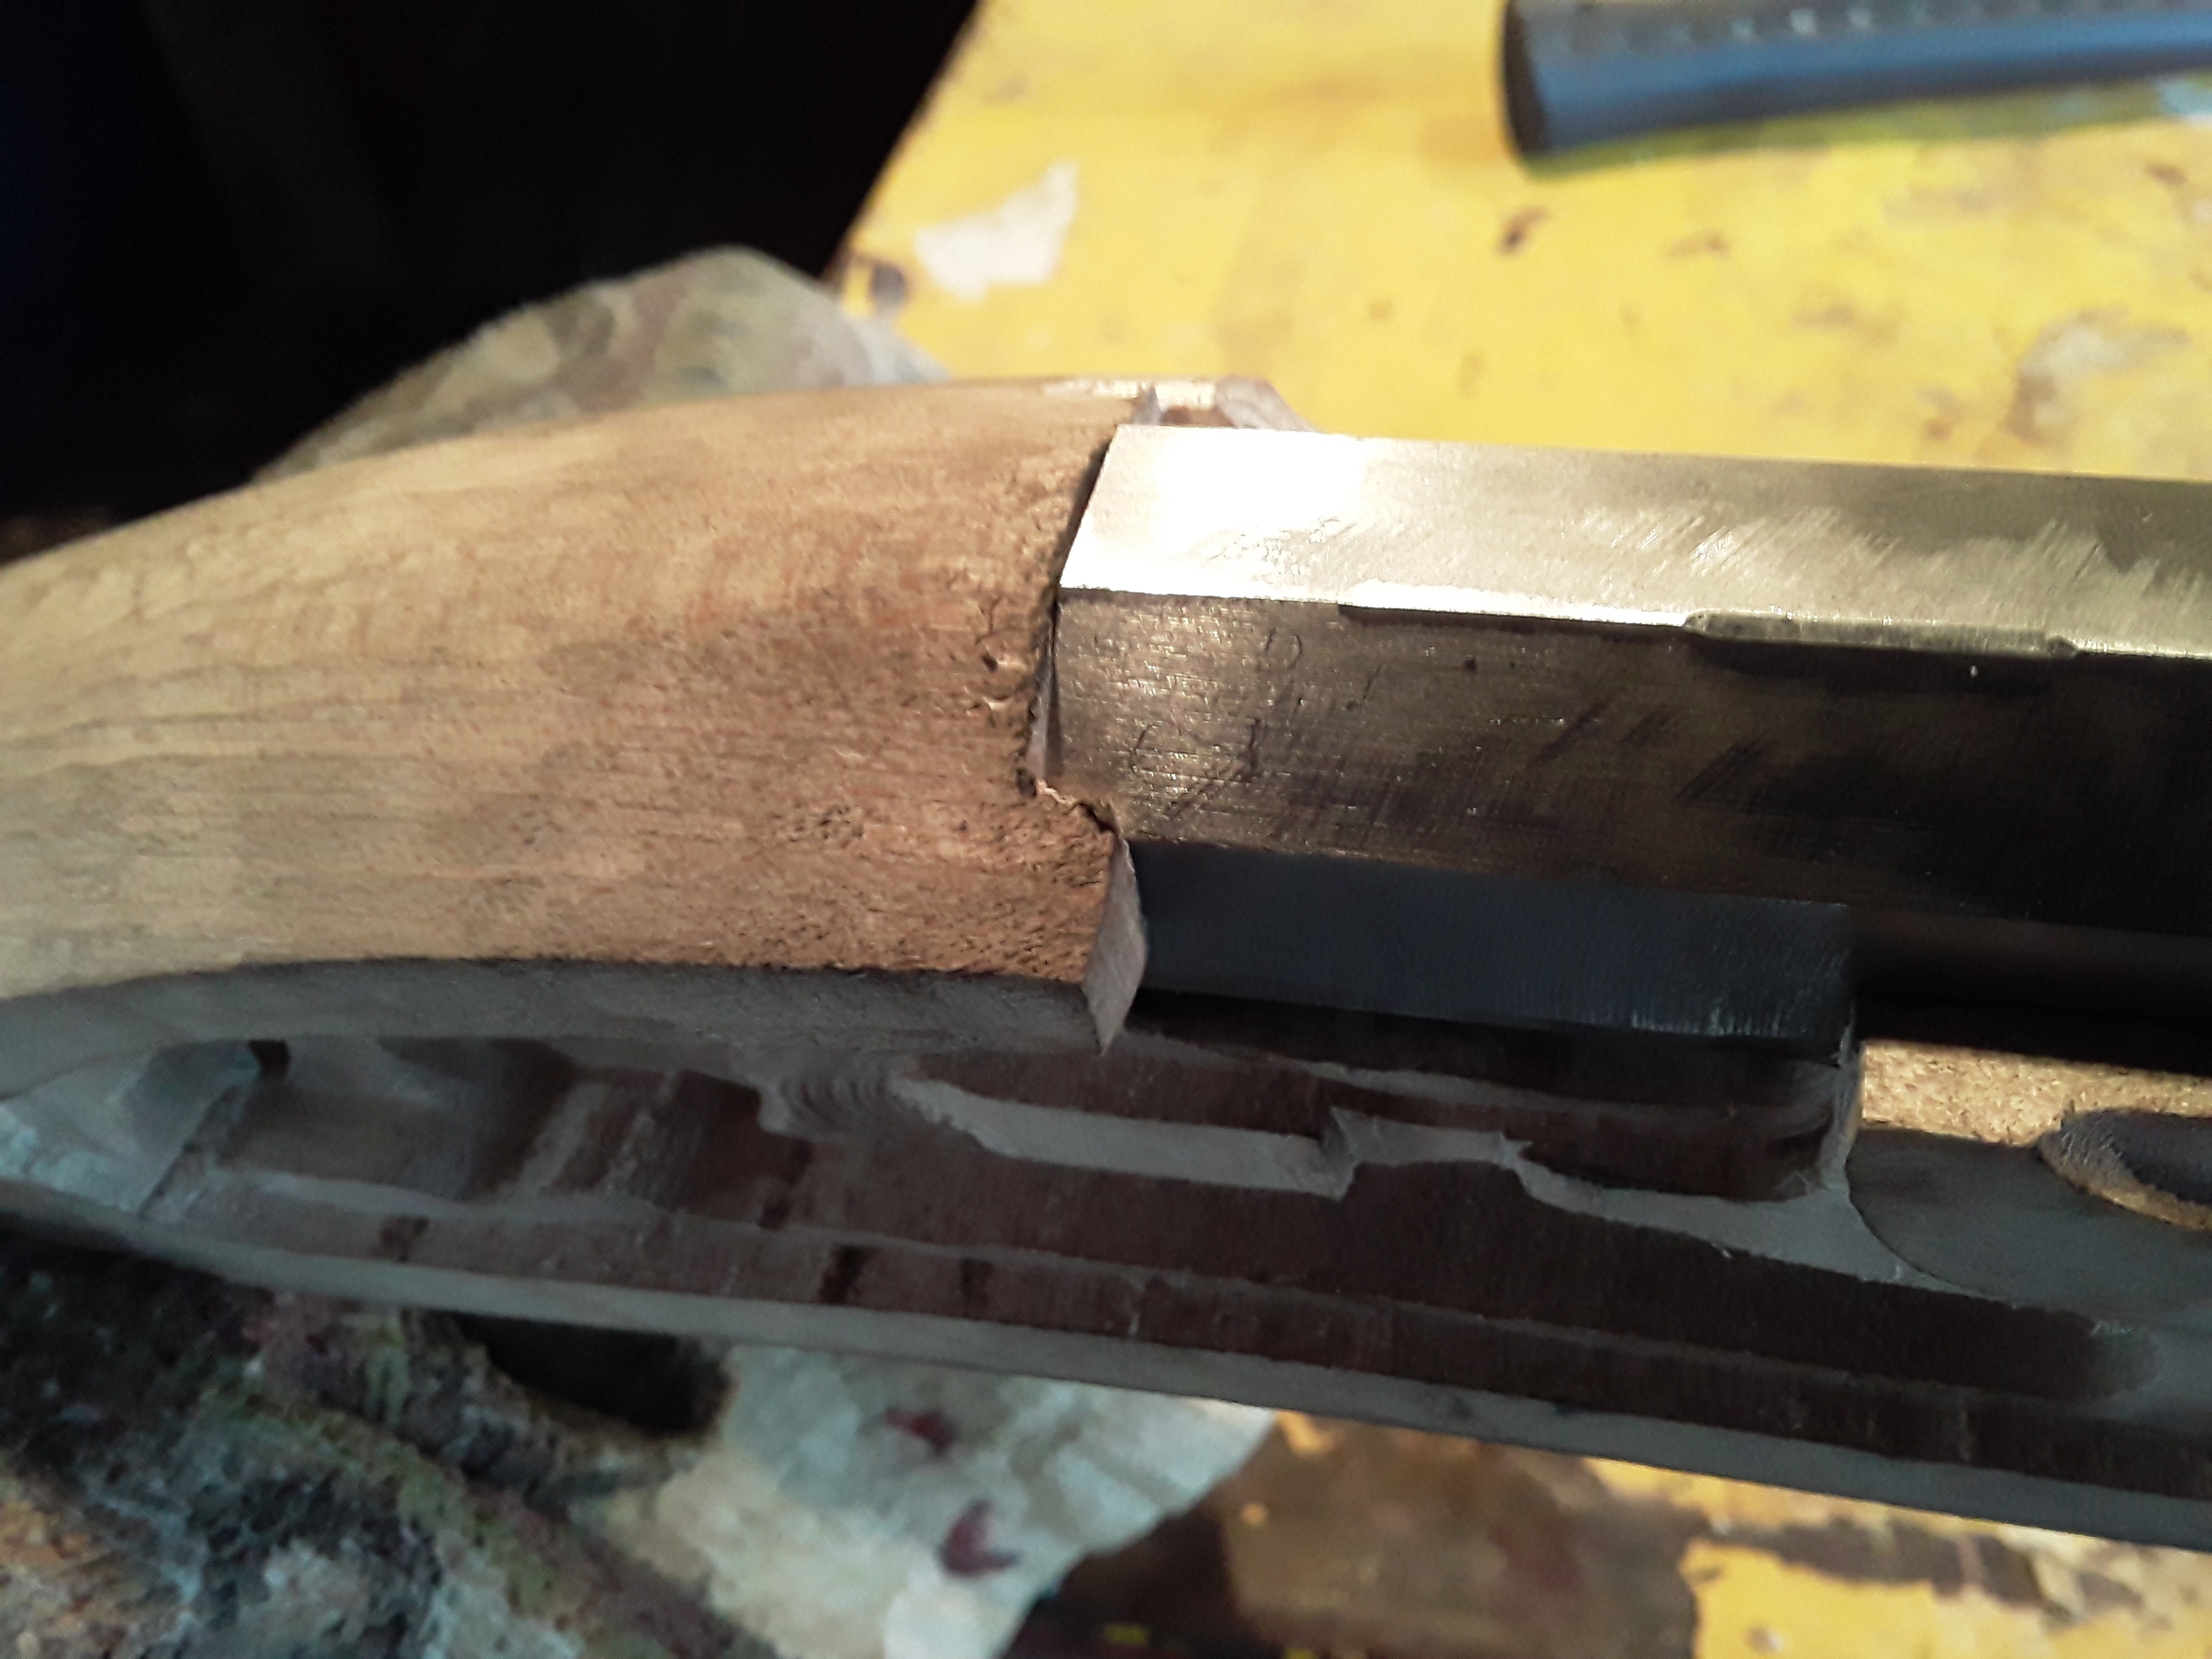
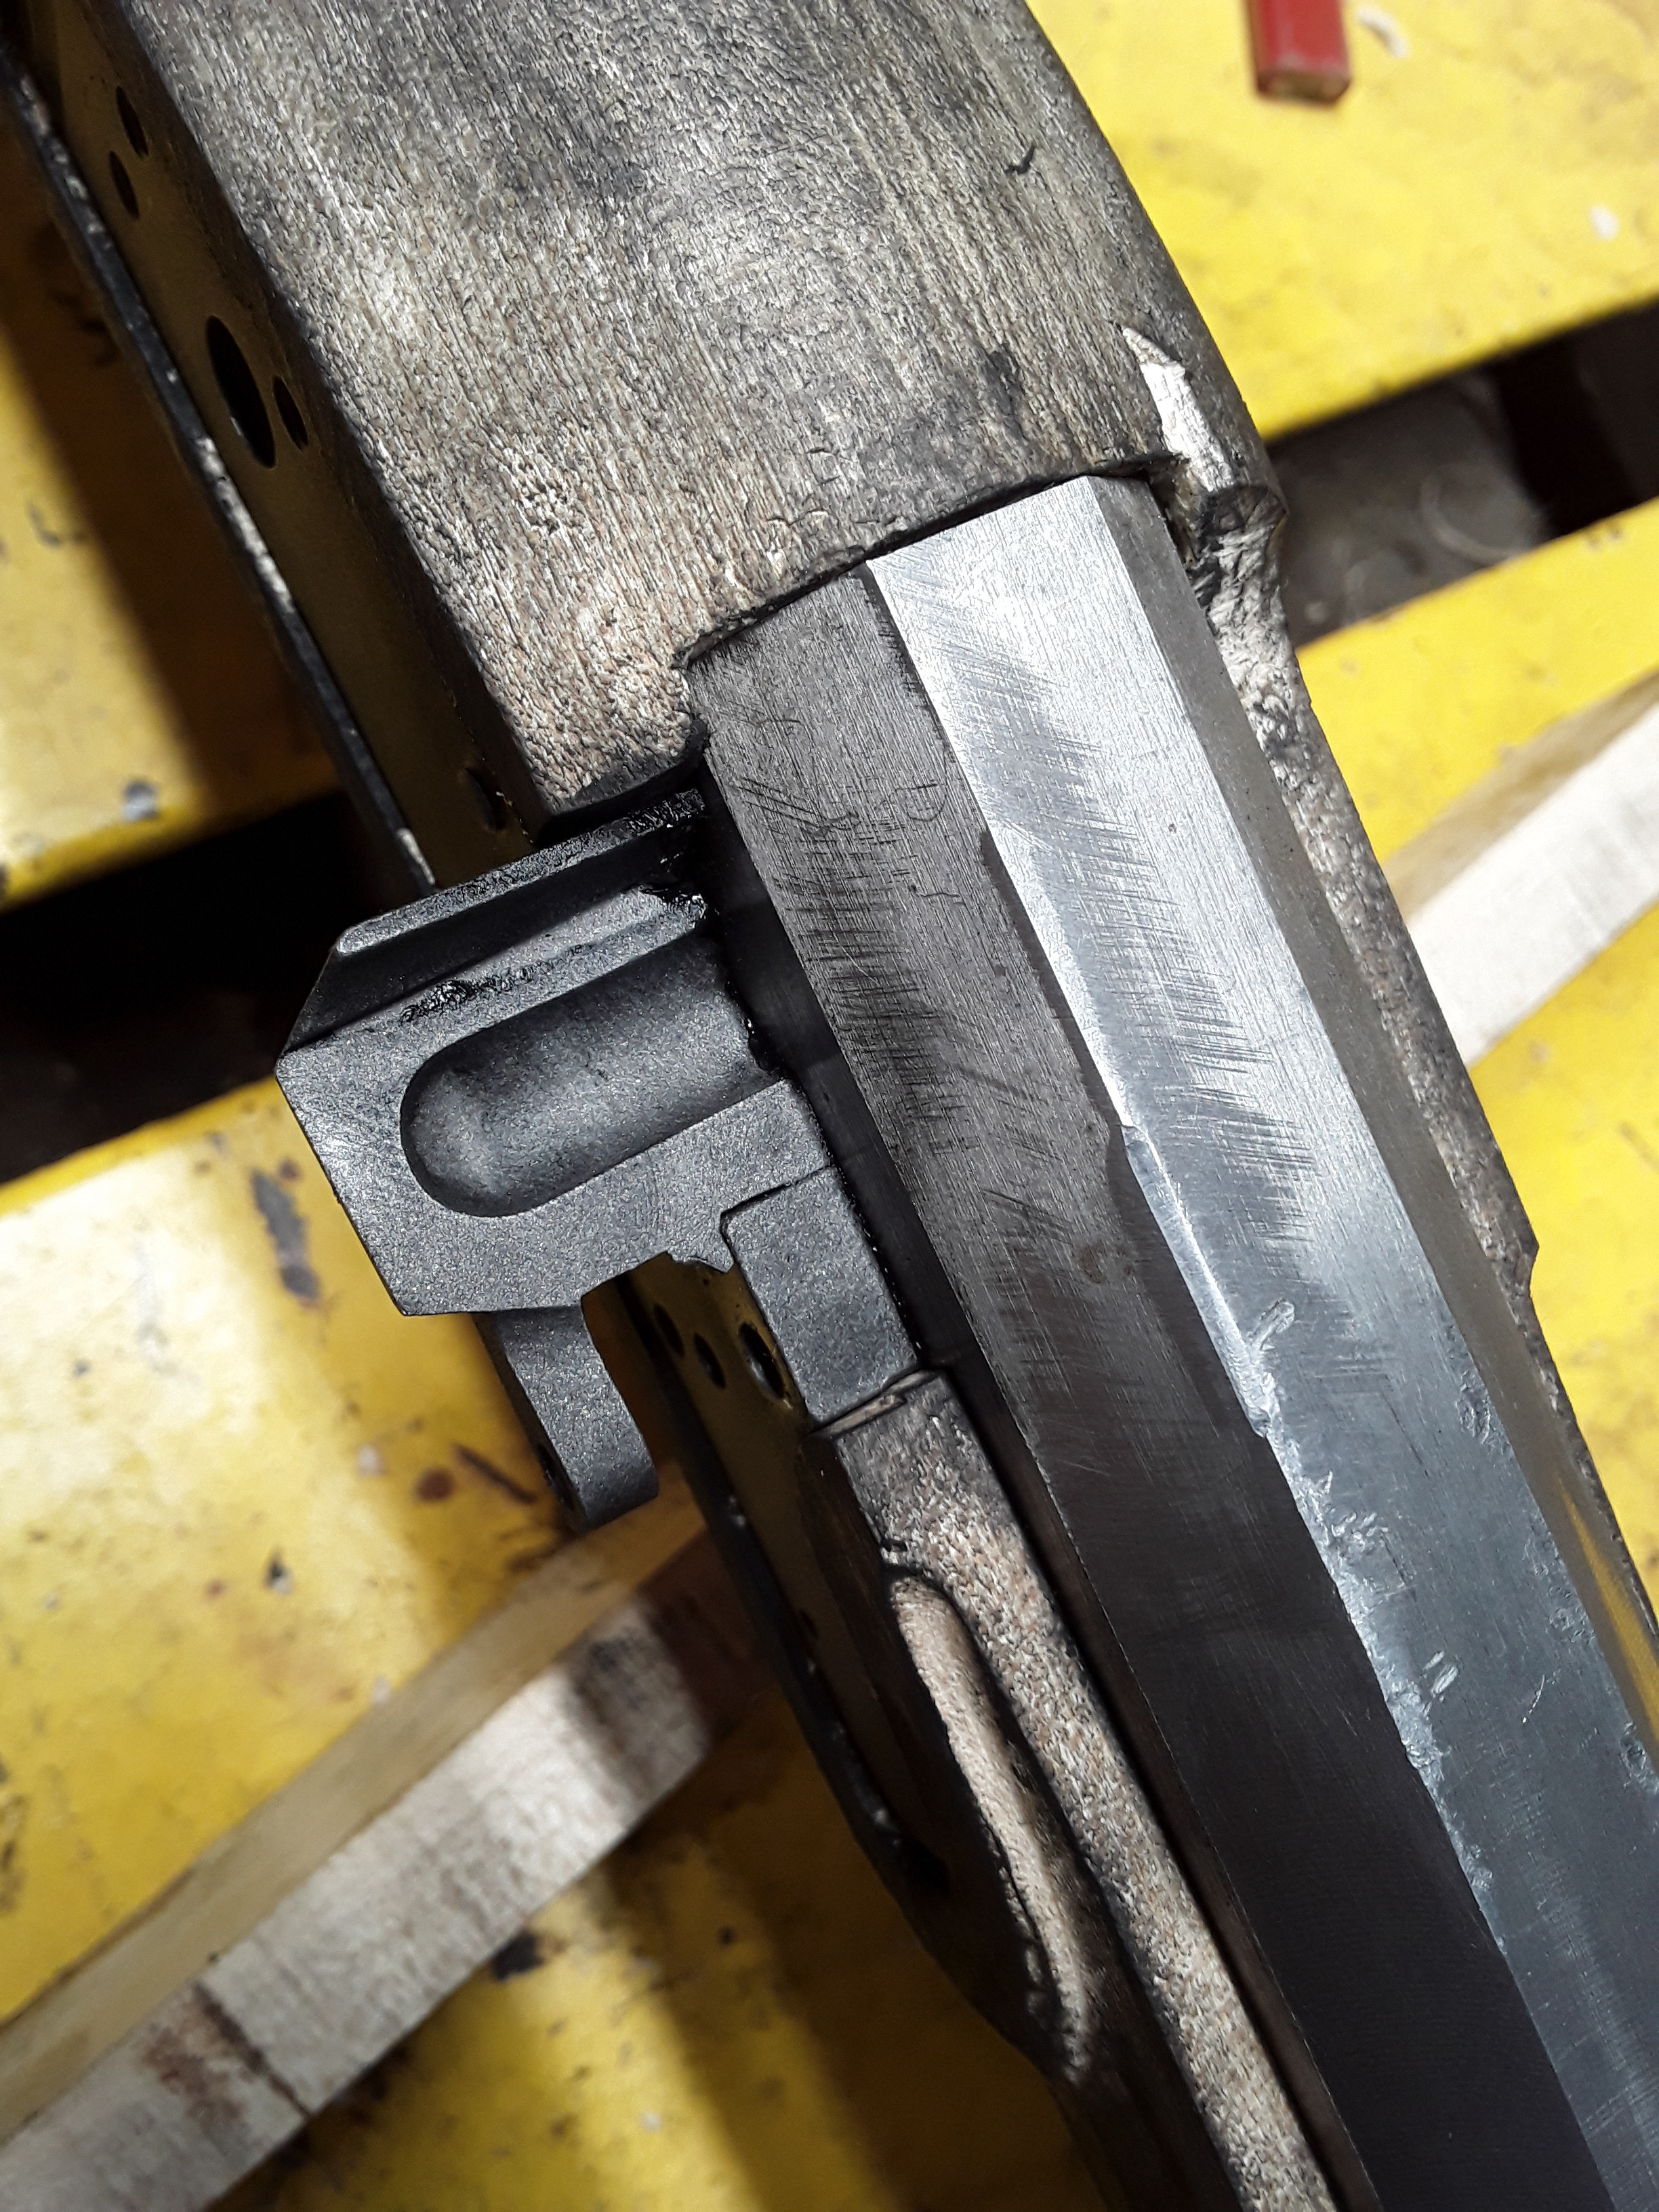
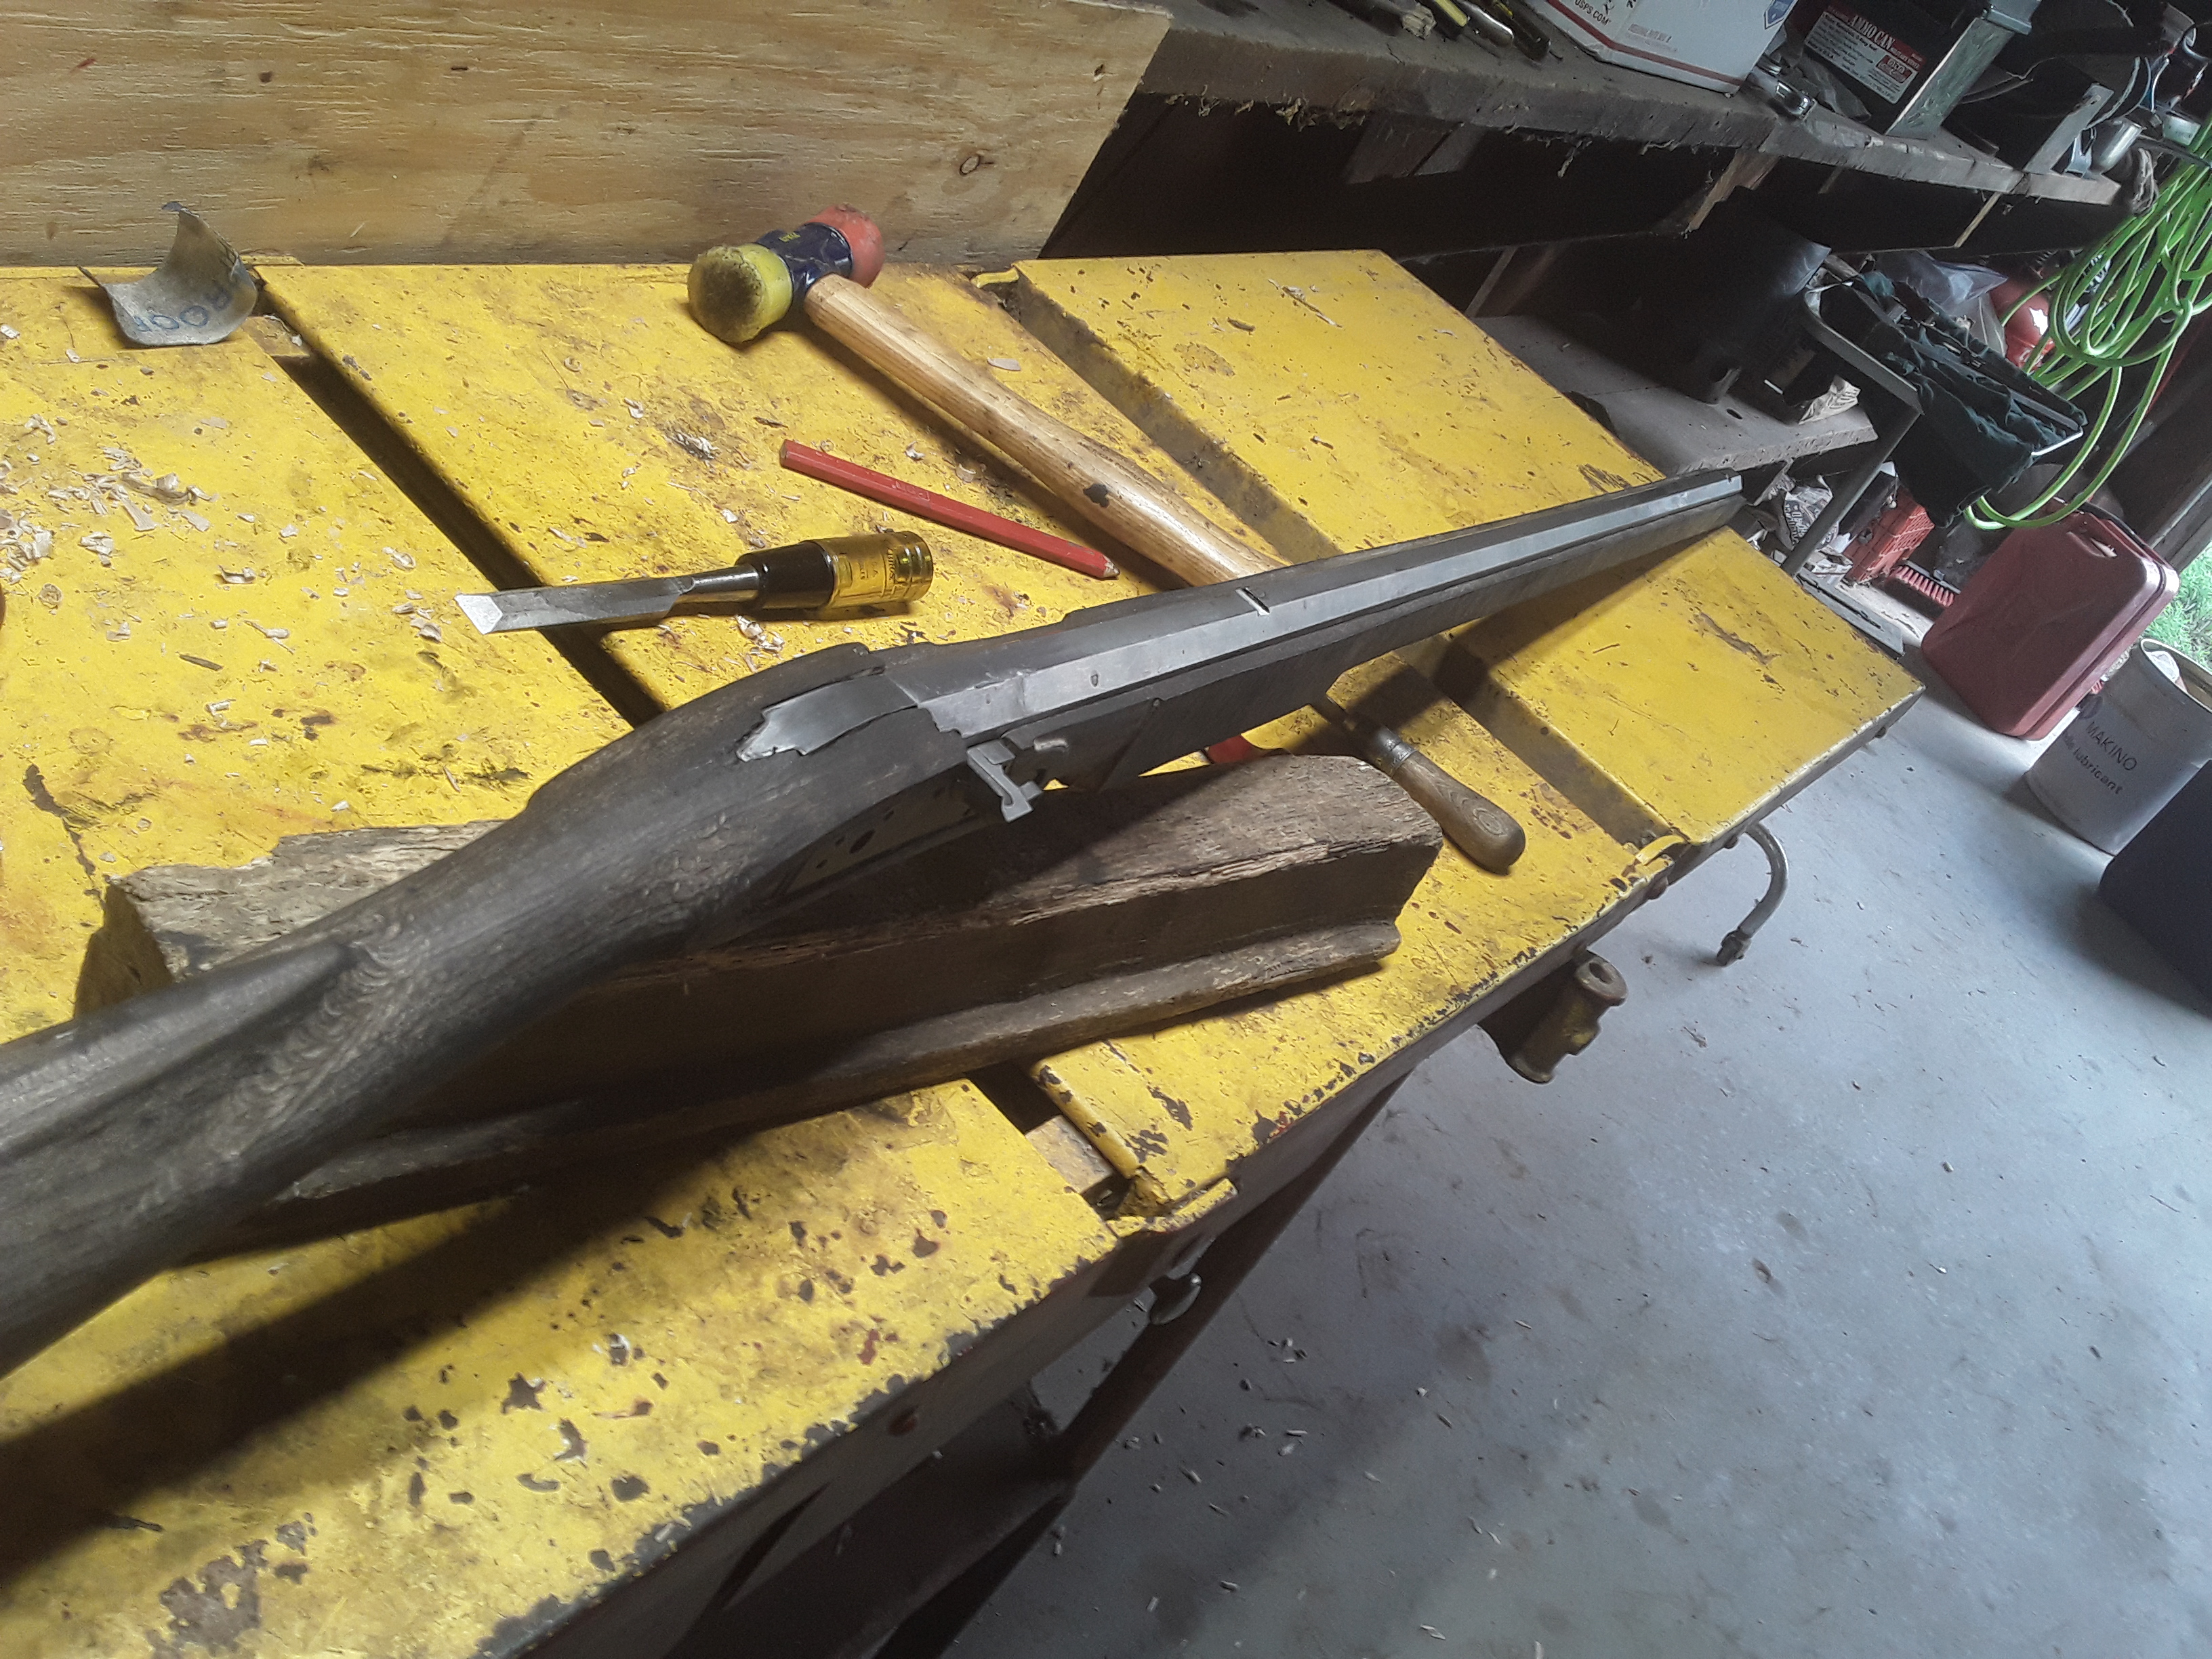
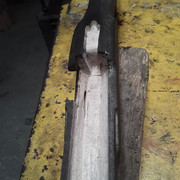
Today I decided to tackle the barrel first. It kind of fit before, but over time I decided it was way too tight, and wasn't right. I now know it still isn't right. I carefully removed material until the barrel set into the stock with only a gentle squeeze to seat it. This was no small task for me. It probably took me three hours.

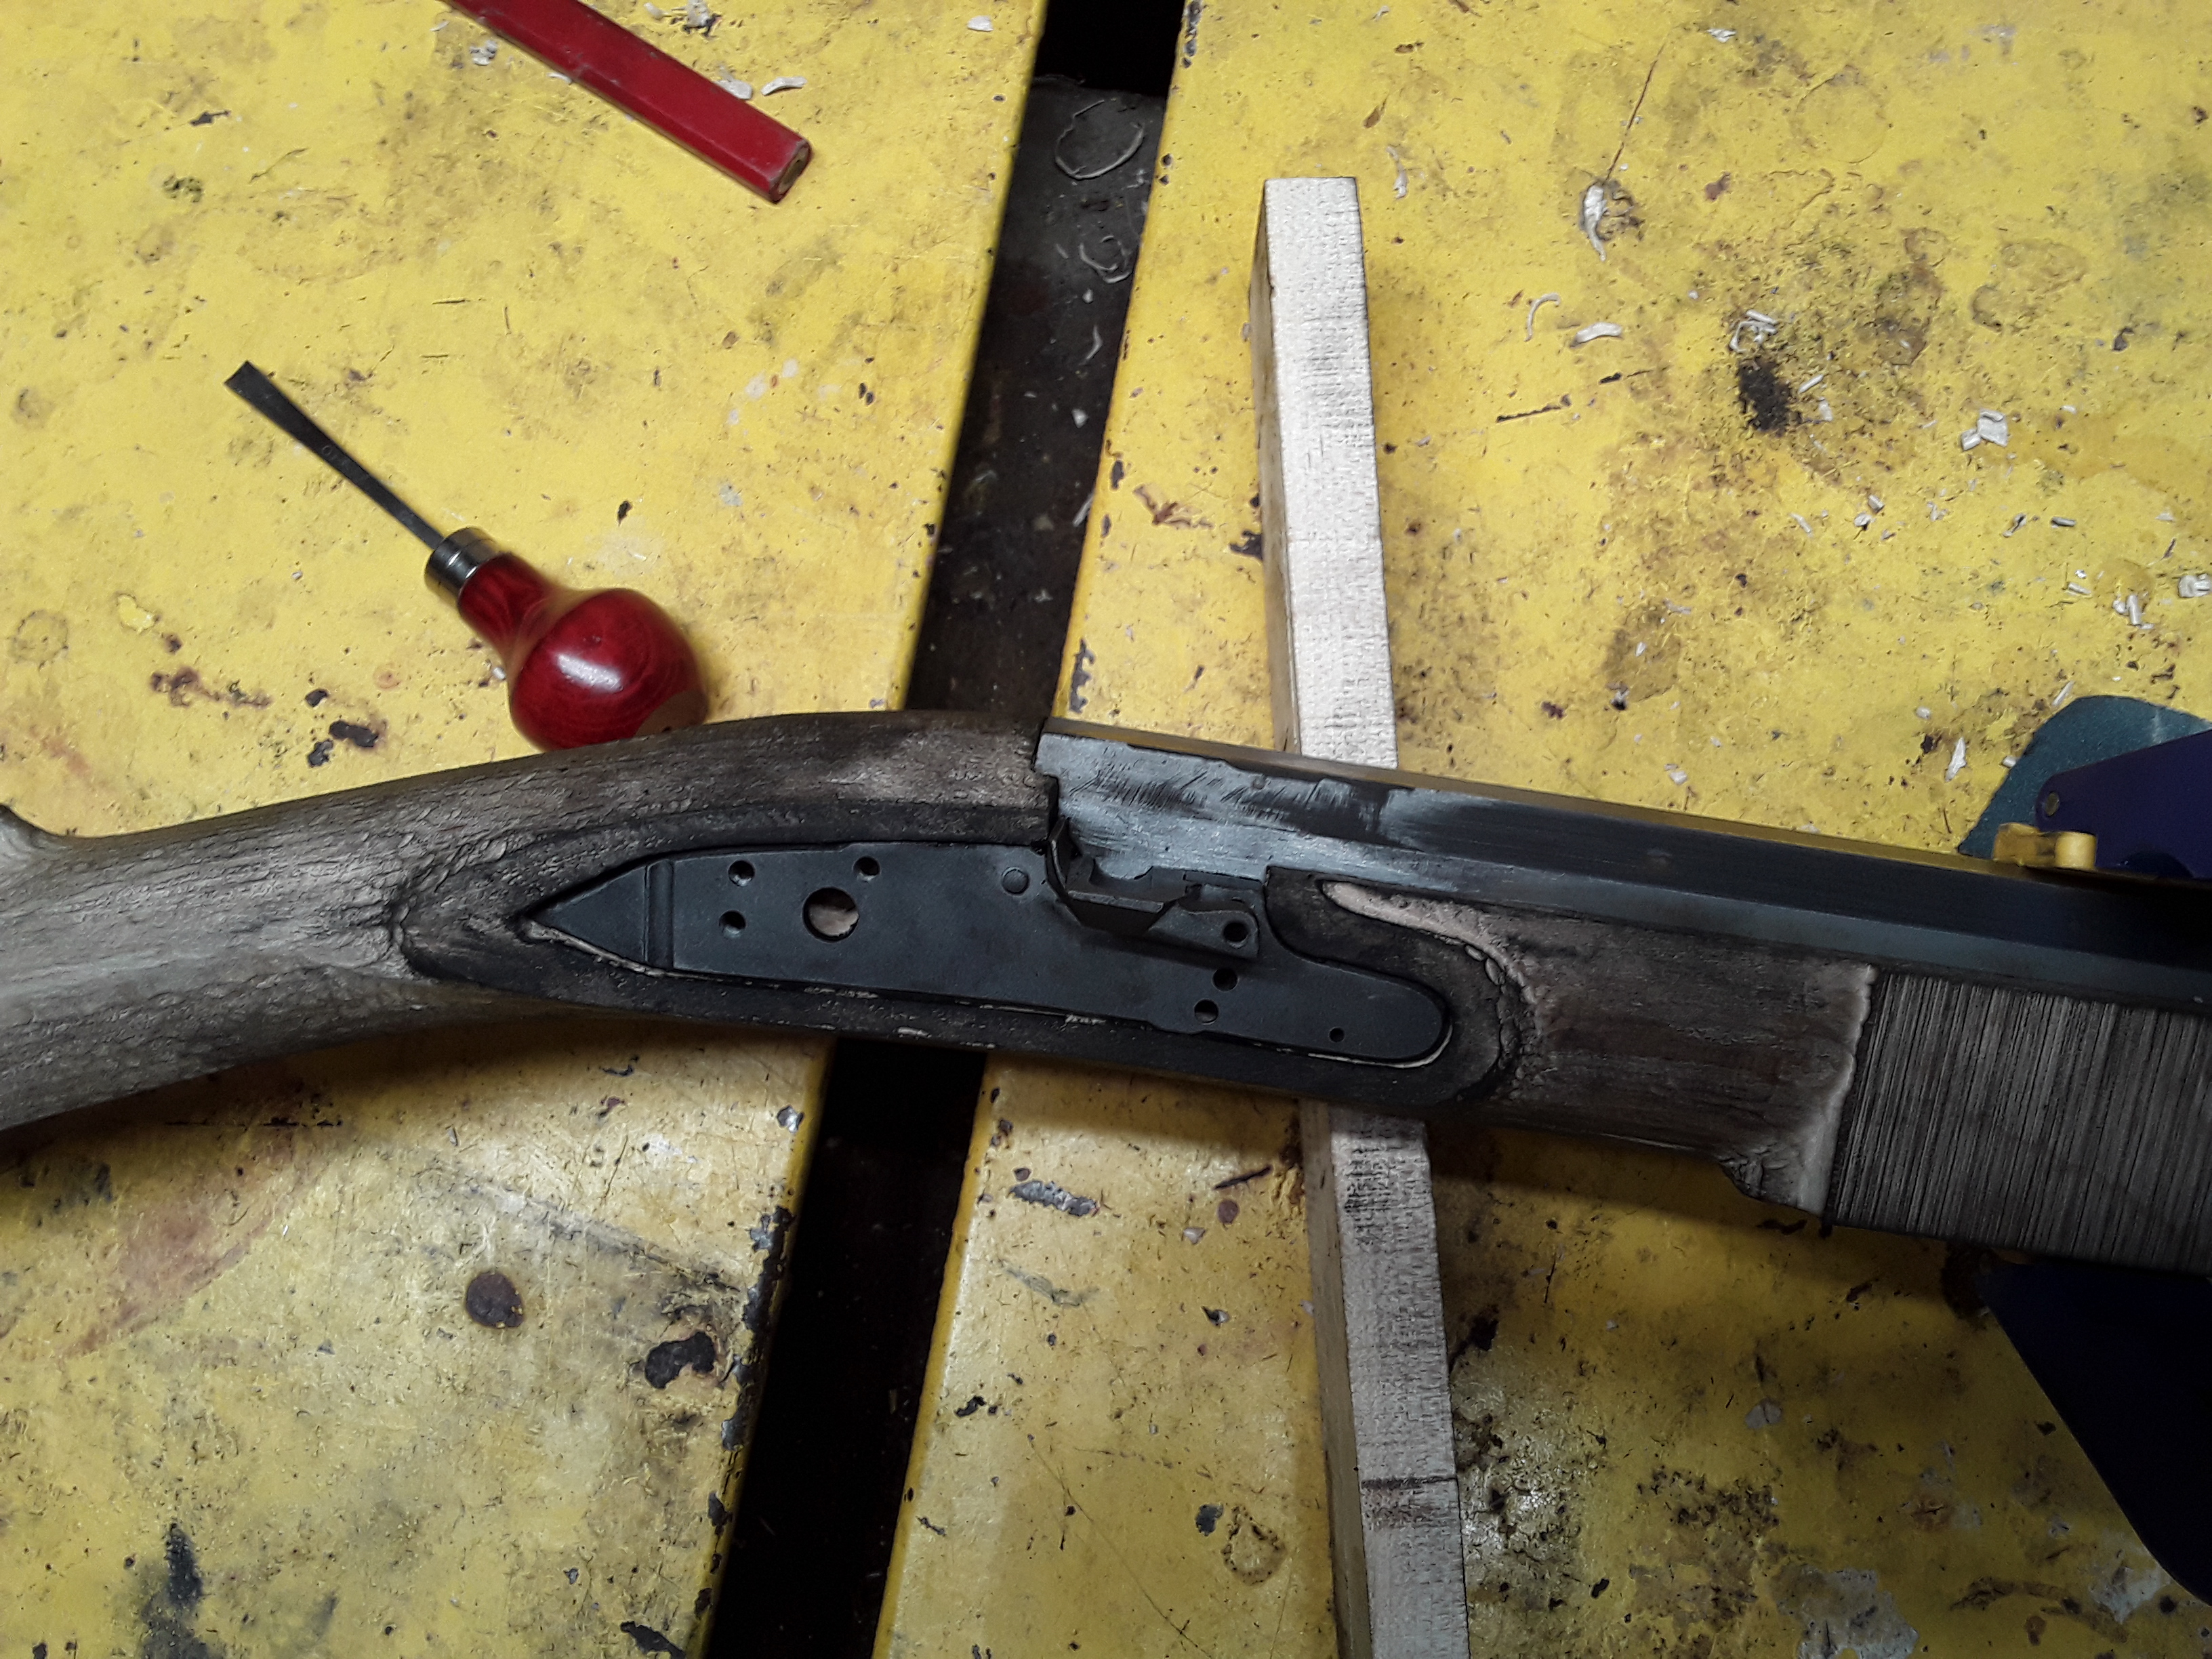
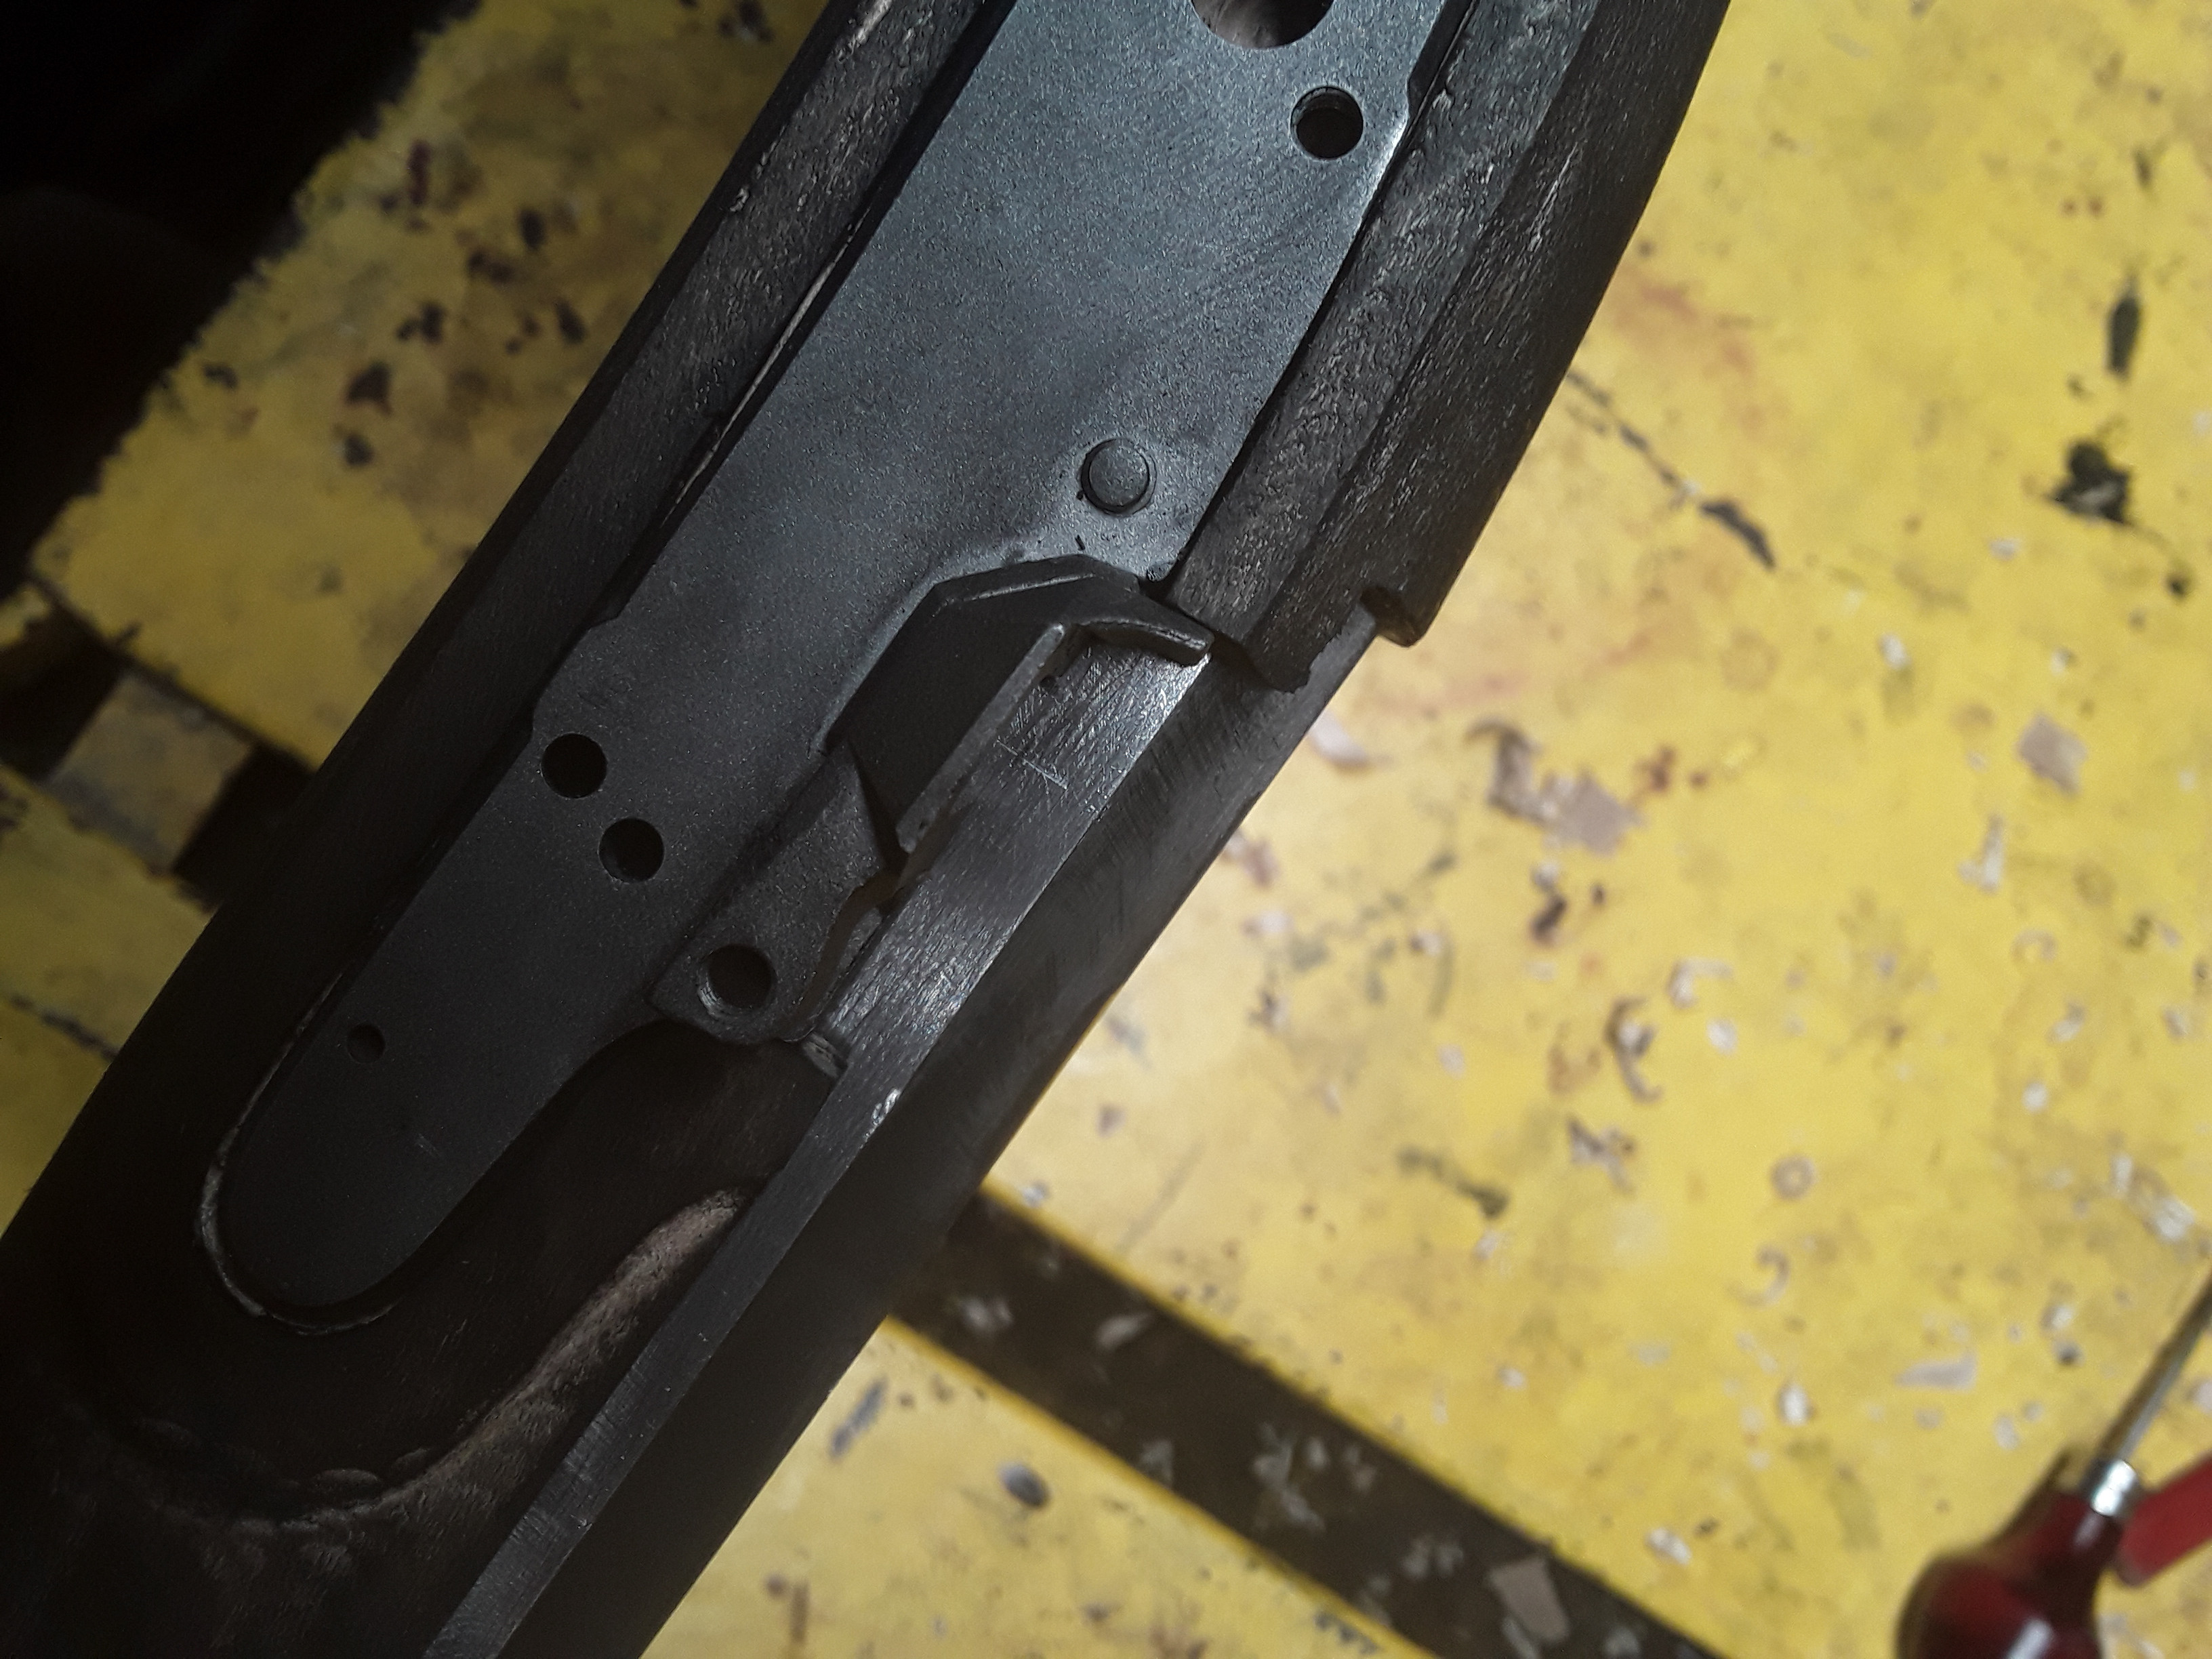
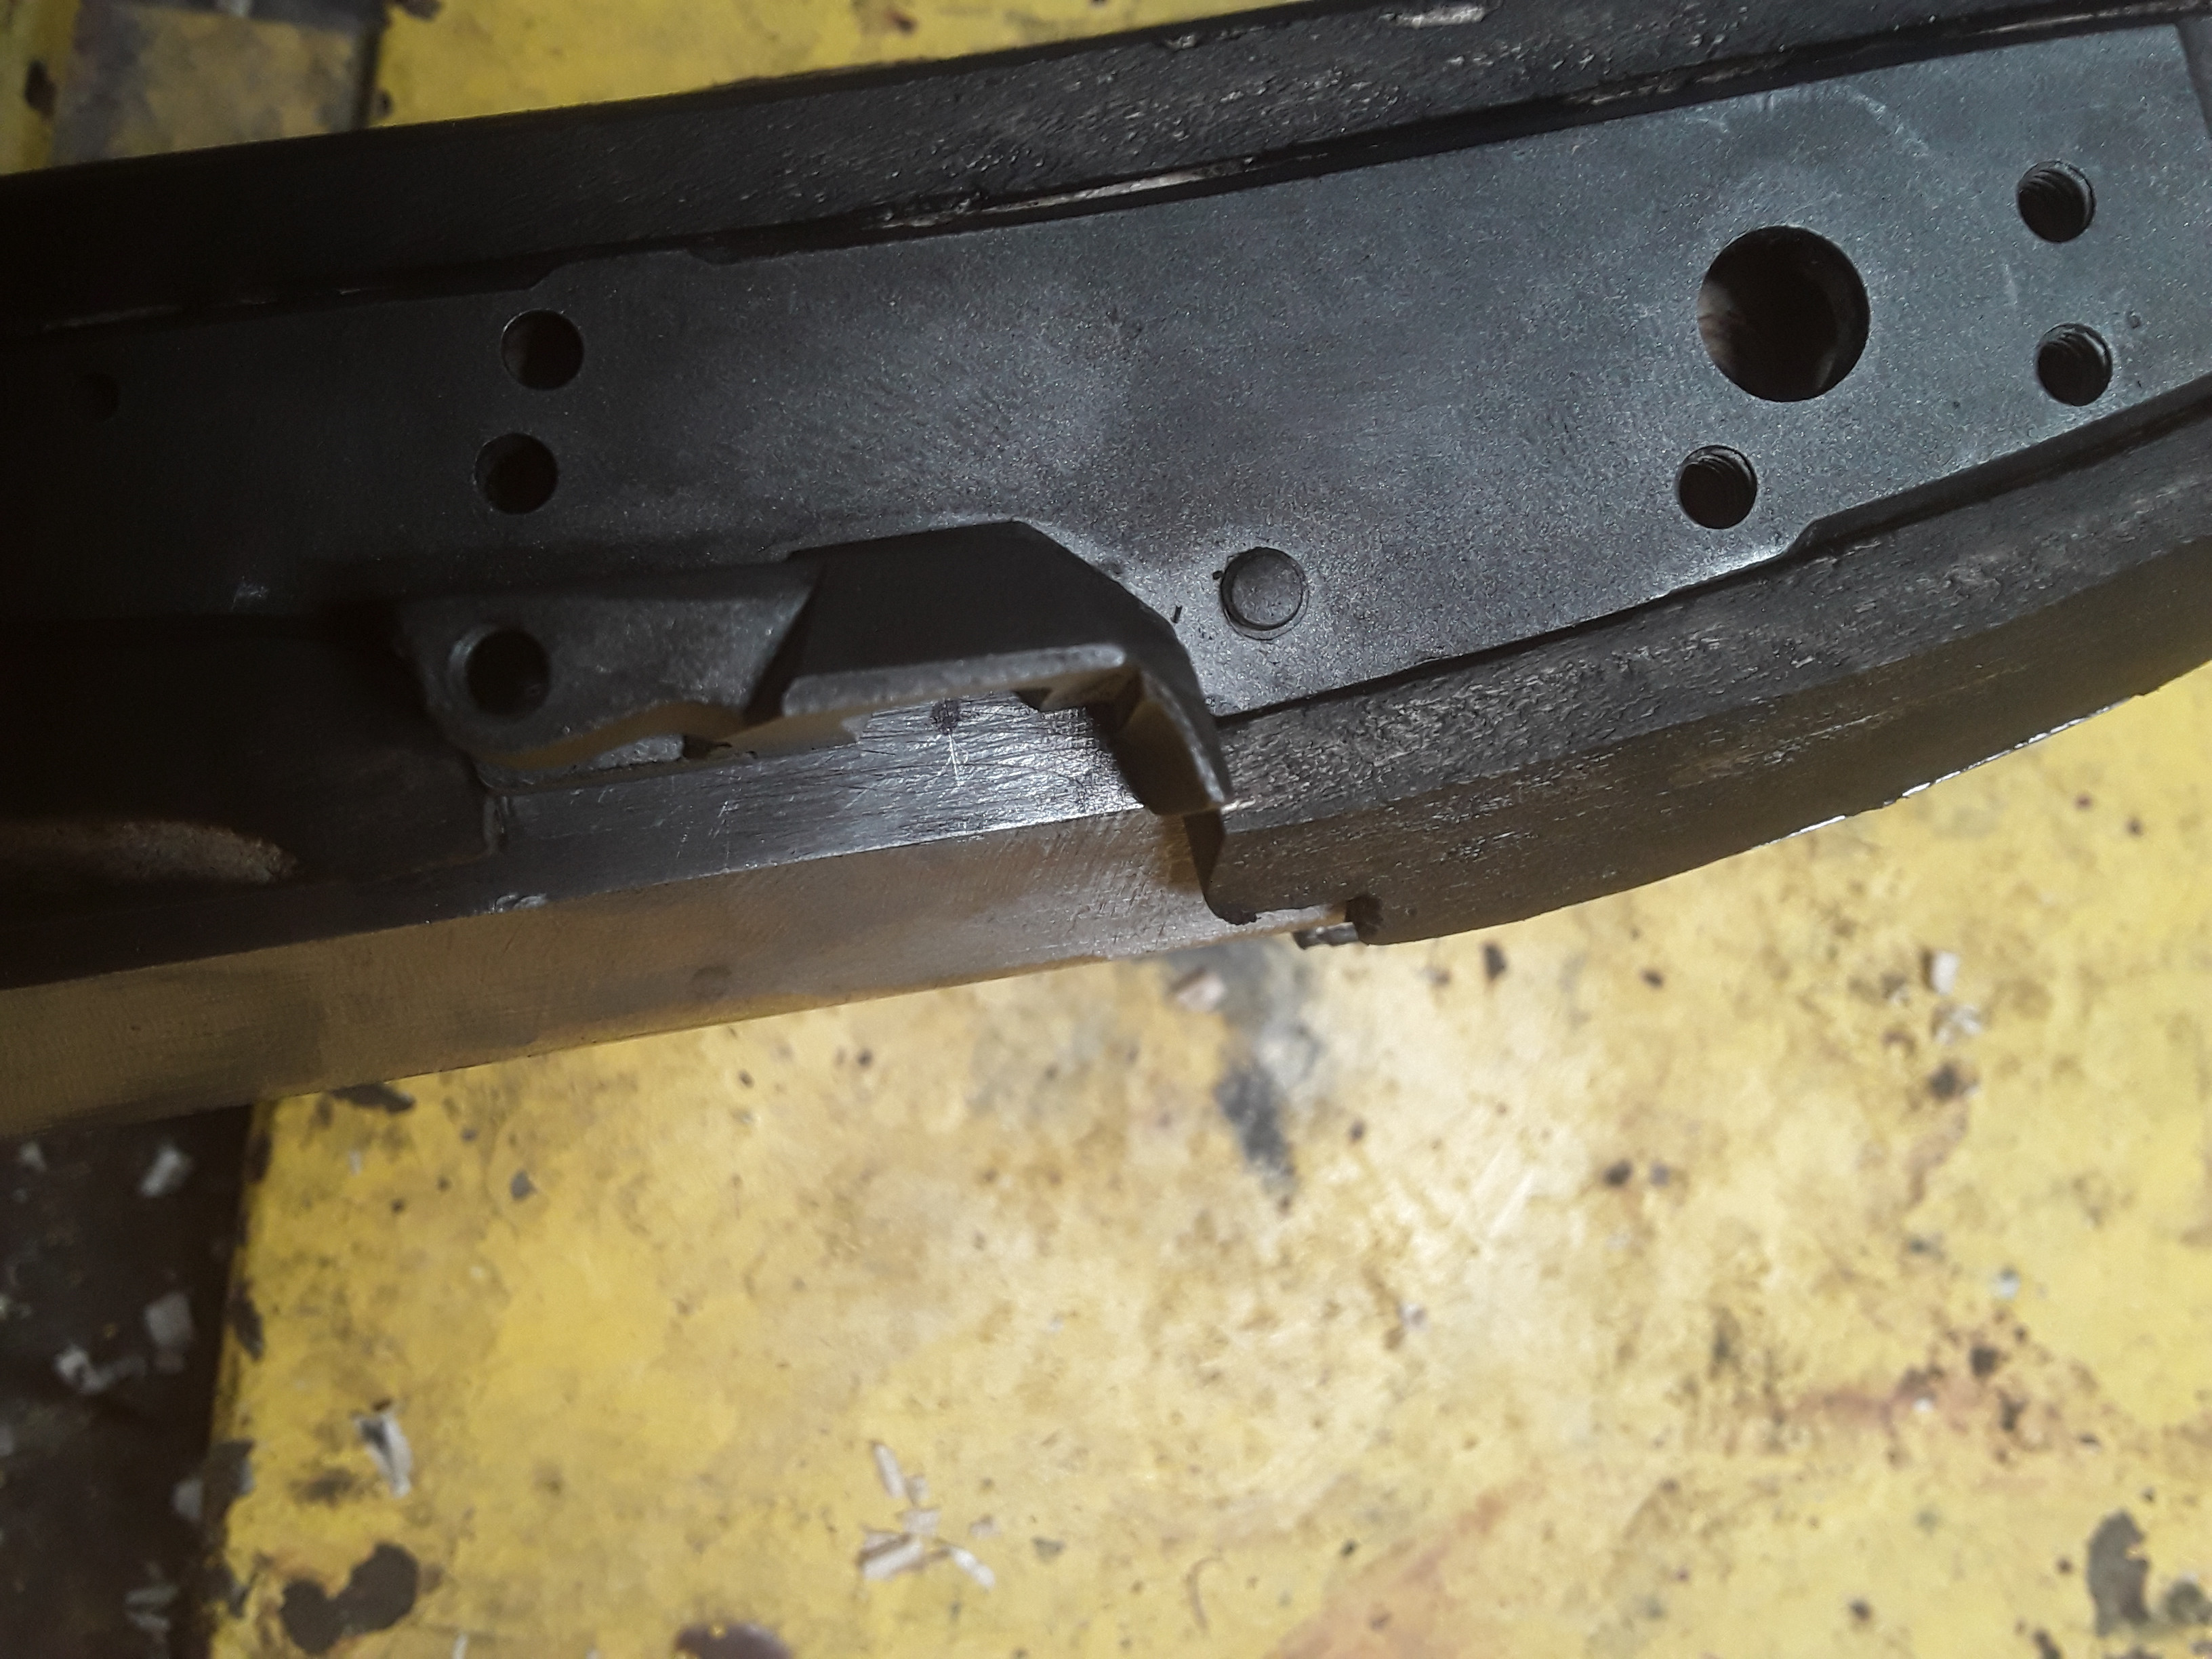
After that, I started on the lock. I took it all apart, and found that with no work, the lock plate pretty much fit right in the pre-inlet spot. This was good and bad, good for me in this case. The bad being I had no say at all on the position, the lock is going there, no ifs ands or buts. The good is that it is about where it should be, and if I had put the lock where I wanted it, things may not go smooth later. I did have to take a bunch of time to deepen the spot. This took about two hours before I was happy. This was the very first time I did honest inletting, and I feel I learned a bunch. It took me some time to get the feel on how to get a smooth cut, which direction I could go, and how to keep it all level. My biggest problem was I couldn't really get the inletting black to do me much good. I've seen in videos, people install parts and it leaves a nice big blotch where it hits. I couldn't get it to transfer as well. I could see it, but it was not super obvious. A lot of it I did more by instinct, than looking for the black. It turned out pretty good. It may look like there is a gap around the plate in the picture, but that is just the contrast, due to so much inletting black on my hands, and all over the stock because of it. It isn't perfect, but I did better than I thought I would. It has a nice tight and square fit to the side of the barrel, which is the most important thing to me.

Now my issue is that the pan is not exactly where I want it to end up on the barrel. I think this will be ok, as I don't think I've got the barrel in exactly where it should be. You can see the back of the barrel is definitely sitting higher than the front. I took some measurements, and I need it to sit about .075" lower in the rear, and I want to bring the entire barrel back about .075" rearward. This should put my flash hole dead center on the flat, and with my 1/4" bushing, should clear the breech plug face with just a little room to spare, exactly where I want it. My only concern is due to the swamped barrel, I hope it doesn't start to get loose in some spots, although I'm not too worried. I'm not scared of a little bedding either. I don't anticipate this being too much time.

I'll have to check the book on what is the next step, but I'm guessing it is going to be inletting the breech plug.

20210710-193710.jpg


20210710-193746.jpg
 
Sounds like you know this already but first build excitement and all I figure it's worth mentioning .....the next step is setting the barrel back where it needs to be before inletting the breech plug.
 
According to the book I have, it said to do the barrel first, then the lock second. My guess is this works better with a non-inleted stock blank, roughly cut out. Since mine was pre-inlet, I think it would make more sense to do the lock very first thing, since everything else on the rifle is built around that dimension. Oh well. I got the barrel set back where it needs to be, and after supper, I'll work on getting the back end to set lower.
 
According to the book I have, it said to do the barrel first, then the lock second. My guess is this works better with a non-inleted stock blank, roughly cut out. Since mine was pre-inlet, I think it would make more sense to do the lock very first thing, since everything else on the rifle is built around that dimension. Oh well. I got the barrel set back where it needs to be, and after supper, I'll work on getting the back end to set lower.
I learnt the hard way. I did not have the lock when I inlet the barrel and pinned it.
You definitely need to do the Lock first.
 
Getting the lock plate inlet and setting against the barrel is necessary with a pre-inlet lock mortice. You don't want to do lock internals yet though. You need to get the barrel where you want it, tang inlet and barrel dovetailed and pinned. Then drill and tap the lock plate for your lock bolts. After that you're ready for lock internals, trigger, etc....
 
Getting the lock plate inlet and setting against the barrel is necessary with a pre-inlet lock mortice. You don't want to do lock internals yet though. You need to get the barrel where you want it, tang inlet and barrel dovetailed and pinned. Then drill and tap the lock plate for your lock bolts. After that you're ready for lock internals, trigger, etc....
That is good advice.
 
Well I ended up watching a movie, but went back out to finish the barrel. No kidding about doing the lock first, I basically restarted the entire barrel channel over. It took about 3 hours again. This seems like a major oversight, straight out of the "recreating the American longrifle" book. In the first picture you can faintly see the cross I put on there as the ideal spot for a touch hole, and I'm pretty much there. I anticipate it will move back a tiny fraction when I do the tang tomorrow. Up and down is fine, I'm not going to worry if it's not centered on the flat to the nearest .001", it's pretty dang close as it is. My fingers sure feel all that work though, as I said, I more or less restarted the barrel channel back to front.

Tomorrow I'll shape, and inlet the tang first thing. The barrel is dovetailed already. I'm not sure why, but getting the barrel lugs dilled and pinned has had me worried for a while. Hopefully that goes smooth. Drilling and tapping is my specialty, no worries there, it's the woodwork that is new to me. If I can get the barrel fully mounted, lock fully inlet and screwed in, and triggers fully inlet and screwed in tomorrow, I'll be very happy. That would be huge actually. I don't like the butt plate I have, so I ordered another today. I'll dink with some smaller stuff like getting the nose cap and ramrod guides on during the week. My goal is to have this a gun-in-the-white by the end of the month.

20210711-020113.jpg


20210711-020210.jpg
 
Good luck! Take your time, you'll get lots of help here. I gotta ask though, why is the stock so black?
 
Forget about that in the white by the end of the month goal. Let it take as long as it is going to take. The goal is to do the best job that you are capable of doing. Time don't matter. At every step take a look and think of how you could make it better. If that means an extra 20 hours of work, then do it. Think of 50 years in teh future. Do you want your grandchildren to say that grandpa really did a good job on this rifle or do you want them to say Wow, Grandpa must have built this really fast.
 
It’s really hard to see inletting black when the whole stock is covered with it.
A very small amount is all that’s needed. An old tooth brush, or solder paste brush, and dabbed on will work well.
Sounds like you need to use a lot less, and keep a rag around to wipe your hands off.
That jar should last for a dozen guns.
 
I just finished filing the breech plug to a slight taper, and am going to inlet that now. The stock is black because I get inletting black on my hands. I started with a tiny amount at first from a Q tip. No-go. I worked my way up to where I was dabbing it on with a cotton ball, and I could get a tiny bit of transfer. I should say, where I can get rub, it shows up great. The sides of the part, it transfers great. The bottom of the part that doesn't have any rubbing, it does not. This is Jerrow's inletting black. I'm not impressed at all. I'm going to try some candle soot today.
 
Getting started is always tough, but as they say "every journey begins with that first step". Now that it's over, just plug on. You will make mistakes, just have to deal with them as they come.
 
Wow, long day today. I didn't do nearly what I hoped, and yet, I got done more than I thought I would. I went a little on the perfectionist side, and took a lot of time making sure the lock was perfect, the barrel was exactly where I wanted, and that the tang was exactly how I wanted. With about 7 hours of work in, I'm calling it a day.

Inletting the tang proved quite the challenge, but I got it. I never did settle on one rifle exactly what I want to model after, but I liked the look of this tang from a golden age rifle. Then I spent hours bringing the barrel to the exact spot, with perfect contact all around. The biggest hazard was the area of the tang was easy to chip if I was not careful. There are a couple chips, but I think they will come out with stock shaping. As you can see in the second picture, the dot is the theoretical perfect touch hole spot, and it is as perfect as I can get. The big scare for me was bringing the barrel down some more, I ended up opening a hole into the lock area. I know this is pretty much to be expected, but I'd be lying if I didn't have a 3 second heart attack. I wasn't going to before, but seeing just how thin and frail this could be when all is said and done, I'm opting to bed the tang and first 6" of barrel or so. I would simply feel a lot better about the strength of the area with some Devcon. So as of now, the tang, barrel, and lock plate are done. I'll bed the tang area tomorrow, then figure out pinning the barrel.

Yes, the stock looks dark in the pictures. It is not nearly that bad in person, and cleans off easy enough. I did have better luck with the inletting black, and none with the candle. I found the best thing for getting a transfer on the bottom, was to lightly tap the part with rubber mallet a number of times.

20210711-185827.jpg


20210711-184411.jpg


20210711-185916.jpg


20210711-185855.jpg
 
Last edited:
I finally found the Devcon, but unfortunately it has become very thick in storage. I only did 2 or 3 stocks, plus a couple small jobs it, about 1/3 is left. The real big shock was when I went to see about buying more. WOW! Did the price go up that much, or did I really pay that much a couple years ago? I'm not paying $75 for something I can't use all of before it goes bad.

Instead I'm going to try Marine-Tex. I'll check a couple hardware stores in the morning, otherwise I'll order it, and it will be here when it gets here. I have a race I can do this weekend, so I'm still not sure if I want to race, or work on this rifle yet.
 
Hi,
I urge you not use either of those products rather use Acra Glas from Brownells. It can be left clear or tinted, stays liquid for a long time as resin and separate hardener, can be thinned with acetone, and most important of all, releases with heat. It is far better for long barreled muzzleloaders than any other product. You only need a varnish thin coat to strengthen the barrel channel unless your inletting is sloppy. A coat of paste wax on the barrel is all you need for a release agent although a heat gun helps to remove the barrel.

dave
 
Started using Permatex Prussian Blue when working as a tool and diemaker and it does a good job on wood also. It isn't absorbed into the wood and the clean up is very easy.......actually, don't even specifically clean it off....seems to disappear w/ the final sanding before finishing.

Seeing I often take photos during the build, the Permatex doesn't "dirty up" the stock...the soon to be finished BC wasn't "cleaned up".....Fred
P1010002.JPG
 
I think you've taken to using inletting black in a unique direction. Most of us inlet the part to be inletted, not the whole stock. But whatever works I guess.
 
Back
Top