Jethro224 said:
Are y'all ready to finish this project?
Here we go.
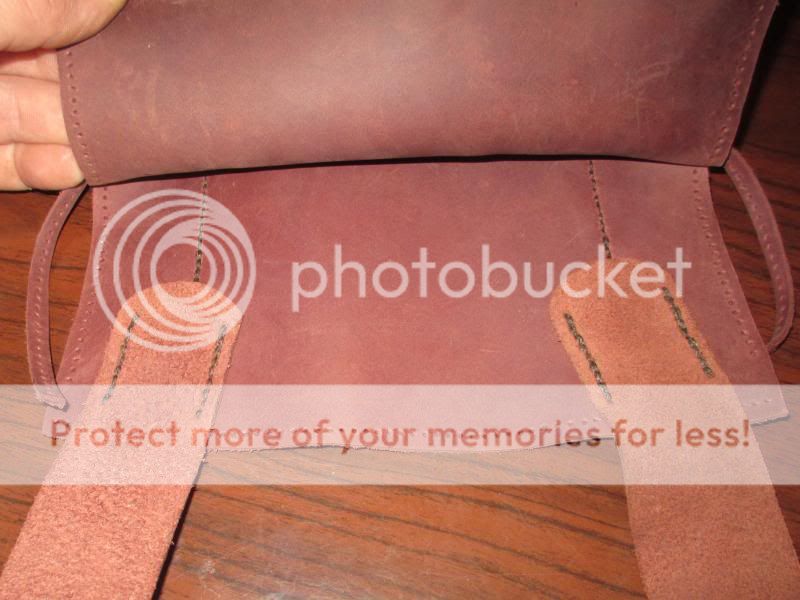
Now we gotta sew them strap ends in while it's still easy to get to 'em. This is probably the highest stressed area of the whole thing so I double stitch the entire seams. Sew 'em on with the finished side against the finished side of the back panel.
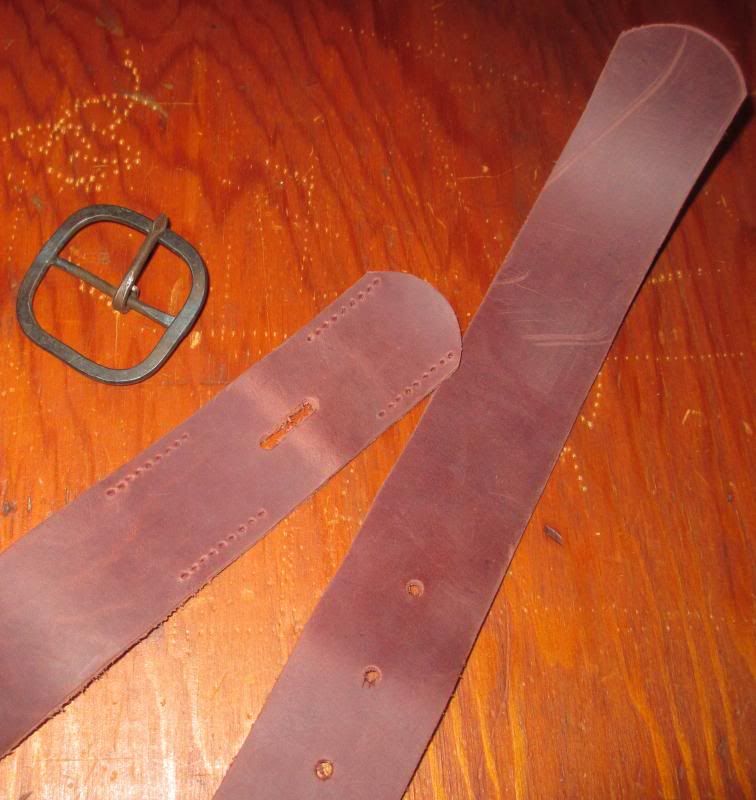
Almost done. We still need to cut the strap to length, put a buckle on, and punch a few holes for adjustment. I like the buckle on the back and a couple of holes shorter and longer than where I intend to buckle the strap. This bag gets a forged iron buckle made by Steve Baxter.
I use my hole puncher to make a slot about 3/4 inch long where the tongue of the buckle goes thru. They make a tool for this...
Just wanted to mention something you already know, but some others may not realize. The two pics above illustrate it nicely.
On your straps, you ran stitches along the length of the straps, but did not run them across to form either a "U" or Square/Rectangular "box." When I began sewing belts, bags, etc., etc.; I did not have a mentor to teach me and
I thought that using a square or rectangular "box" of stitches would reinforce the stitching at these critical points and look better. I got away with this for quite some time, BUT I finally found out why it should not be done in high stress areas.
I did a nice "rectangle box" of stitching to hold the buckle on my 18th century waist belt I had made from 4-5 oz. vegetable tanned leather. The stitches going across or perpendicular to the length of the belt wound up weakening the leather and it failed at the edge furthest from the buckle and I had to replace the belt. Those "cross the length stitches" actually sort of sawed the belt leather in half. (Actually I re-sewed it for a younger lad with a smaller waist than mine. He got a belt for the price of a buckle and I learned a valuable lesson. Good deal for both of us.)
Gus


