agab6601 said:
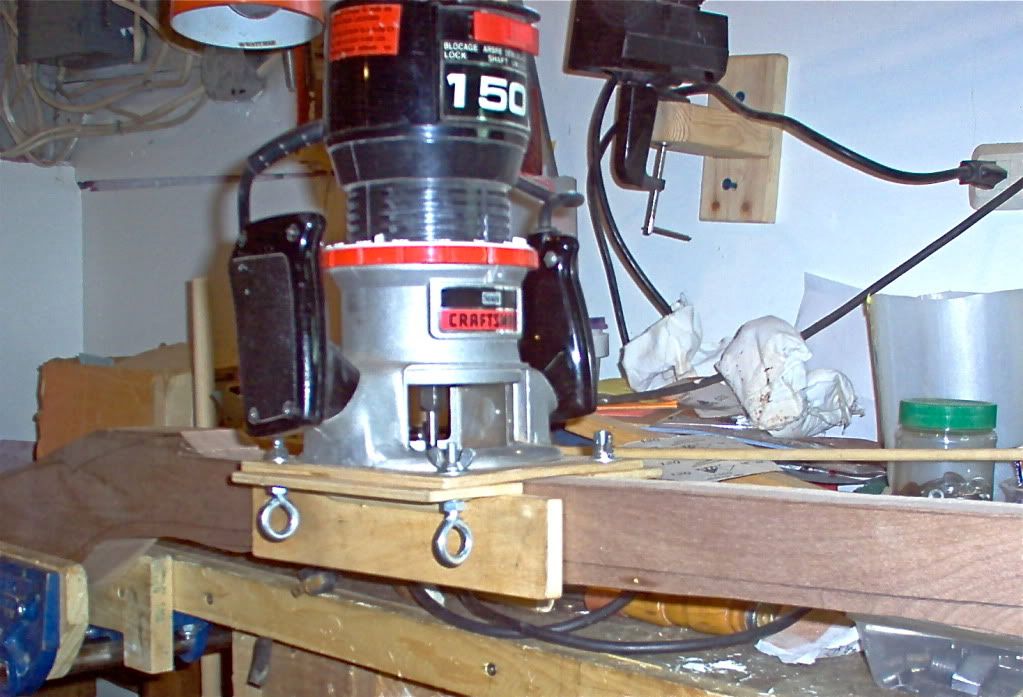
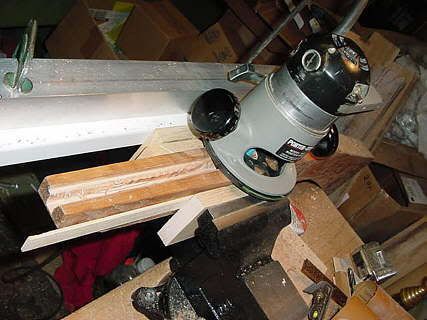
Actually I would love to know how to do it by hand but a lot of people say to use a router, it makes me nervious expensive wood + highspeed bit = fancy firewood..
So if you can explain how to do it by hand and the tools and methods I am all ears at least two of them.
I just did my very first barrel completely by hand. It's actually not as hard as it seems. The trick is to go slow! You simply can't rush it. I have spent countless hours on it and it turned out pretty good. Now thanks to Stophel, I get to do it again. :grin:
I followed the sequence given in "The Art of Building the Pennsylvania Longrifle" by Chuck Dixon. First I cut down to approx. half the barrel in depth, then I cut the center groove down to the bottom of the barrel, then did the angled flats.
Here's another tip: Don't waste too much time on the angled flats. They do not need to be in full contact with the barrel. In fact, many original builders actually just rounded the side flats to save time. The only place the barrel needs to fit well is the bottom flats and the side flats.
As far as tools, I used a few basic gouges and chisels from Flexcut. I found it much easier to use a shallow gouge to remove wood than with a straight chisel. I then used a scraper to flatten everything out. The scraper was also handy for the side flats.
The hardest part of the job I thought was laying out the lines on the top of the blank (I used a swamped barrel). Once you get that done, it's fairly easy to stay within the lines, but the lines have to be dead on. There's probably many ways to do this, but what I did was draw the centerline down the length of the stock. Then I clamped the barrel down centered on the centerline. I got a disposable razor blade from a barber's straight razor and glued it a popsicle stick. Then I traced the barrel, holding the razor tight against the side flats of the barrel. This cut a hairline into the stock which I then followed with a pencil. It worked out real nice and I have a nice tight fit all along the side flats. If you do a search, I posted a picture of that razor thing a while back. If you have a straight barrel, you could probably get away with just drawing two parallel lines on the top of the blank.
Good luck and let us know how you make out. I personally feel that doing the barrel channel by hand really is part of the whole experience of building an 18th century rifle. I won't say that I'll never use a router in the future to save time, but I think doing the job by hand is an excellent way to start and learn an appreciation for the lost art that we are trying to recreate.
A lot of people dread the barrel inletting phase because it is so time consuming, but I actually enjoyed it. There was a certain peacefulness in the many hours spent "spooning" wood with the gouge.
One more thing, I started out using inletting black, but that stuff was terrible. Thanks to advice on this forum, I now use a "hurricane" lamp and that works wonderfully.


")