• This community needs YOUR help today. We rely 100% on Supporting Memberships to fund our efforts. With the ever increasing fees of everything, we need help. We need more Supporting Members, today. Please invest back into this community. I will ship a few decals too in addition to all the account perks you get.


    Sign up here: https://www.muzzleloadingforum.com/account/upgrades
  • Friends, our 2nd Amendment rights are always under attack and the NRA has been a constant for decades in helping fight that fight.

    We have partnered with the NRA to offer you a discount on membership and Muzzleloading Forum gets a small percentage too of each membership, so you are supporting both the NRA and us.

    Use this link to sign up please; https://membership.nra.org/recruiters/join/XR045103

Got my kit in today

Muzzleloading Forum

Help Support Muzzleloading Forum:

This site may earn a commission from merchant affiliate links, including eBay, Amazon, and others.
I will help you IF... it is a rifle style I am familiar with. Email me at [email protected] . In the Subject like put Pecatonica Kit, so it don't go into spam.

Keith Lisle

Sam this is the best offer and advice you have, or will ever get, besides letting him do it for you. :thumbsup:
 
yeah i have been told that before lol i just e mailed him, sorry i haven't been on much here in the last week, been pretty busy. so far i have the lock fit into the mortise but have not drilled any holes yet, not sure on placement. also how do i post pictures???
 
Sam, go to the "Using the Forum" category. There is a video tutorial there by bioprof on how to do it :thumbsup:
 
Ok so i was working on the gun last night and i went to install the breech plug and the match marks will not line up, cant get it to move any more... the marks are only about a 64th of a inch apart and just wont move anymore, so now what??? take it out and file down the end of the barrel a little?
 
You could but....is it mating fully against the breech shoulder? Remove it and check to see if the plugs face is square. If it is apply some transfer dye to the the breech plug face and reinsert it and tighten it down again.

Remove it and check to see if you have complete transfer of dye to the shoulder in the barrel. If you do, you have a good seal and you can take a hair off the plug (as this is a better choice than trying to file the barrel). If not then you are not getting it to seat completely and you likely need a bigger wrench or a cheater bar.

Are you pushing the wrench or leaning down on it? You will get more force leaning on it....make sure your bench is secure as you may have to exert a lot of force.

The marks obviously lined up at one point.

Good luck, J.D.
 
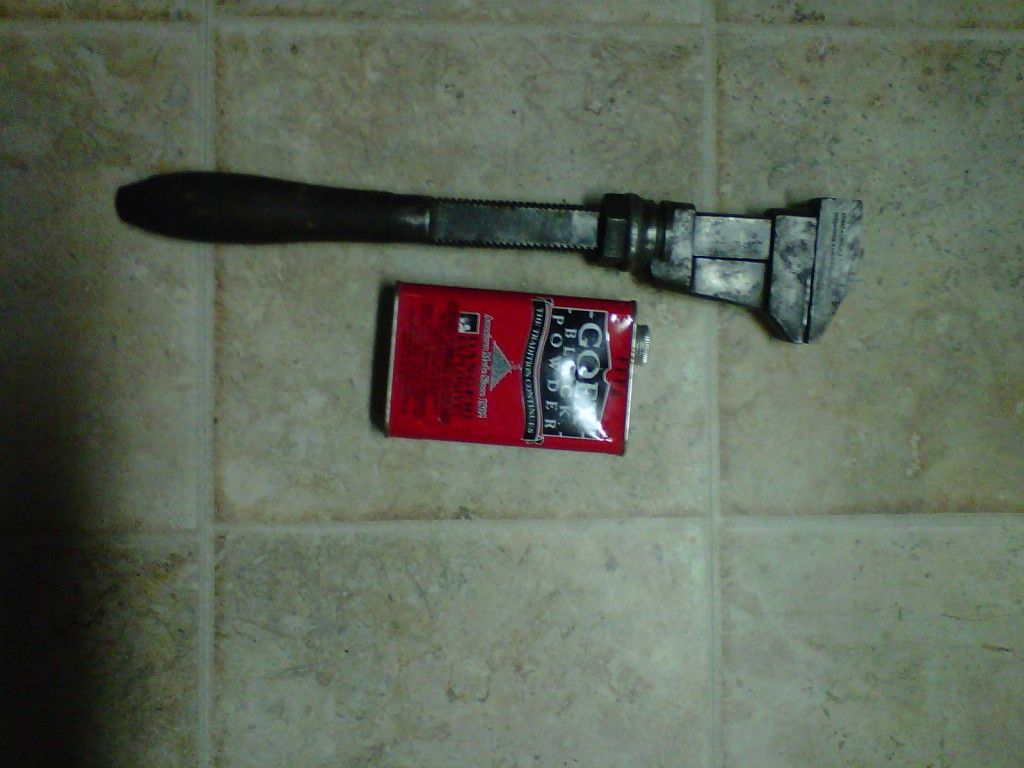
Ok roger that... 2 things, 1, good point about filing the plug not the barrel, sounds simple but i wasnt thinking of that. 2, i have been watching this video that VTSmoker has sent me and the guy installed the breech plug with a pair of 8" channel locks so i guess i was assuming it should be very easy to set in place, guess that guy is built like pop-eye lol. I will get it in a better vice (mine is on the crappy side) and use a cheater bar first to see if i cant get it to go the last little bit, if not then blue it and if see if it's making full contact, if i have to file then file the plug but only if i really need to and it sounds like i shouldn't.
 
Haven't watched that video but installing a breech plug to seat on a good crush seal should require something much more substantial that channel locks....a good 10" crescent or ford wrench (or monkey wrench, i.e. pipe wrech with smooth jaws) at least. Channel locks??? Really???

Now, a cheater bar isn't necessary to get a good seal, provided everything is right, but a heavy vise properly mounted to a secure work bench should be.

What are you using between the jaws of the vise and the barrel?

Enjoy, J.D.
 
I was using wood, oak to be exact. Crush seal??? I don't have one of them, should I?
 
Crush seal is not a thing, it is a condition you create when you tighten the breech plug face into the barrel breech shoulder. In other words, the two surfaces are essentially mating or becoming one....i.e. no gap of any kind.

I hope that's clear enough. J.D.
 
yeah ok that makes sense i understand that, i thought your meant like a crush gasket like for a exhaust manifold. so what about drilling the lock/stock?
 
Sam86 said:
so what about drilling the lock/stock?
I'm not clear what you are asking for here. Did we change gears or something? :idunno:

Oh, and by the way, be careful using wood to line your vise jaws with....it has been know to split at the worst times, especially under the torque that can be applied while breeching a barrel. Brass/bronze liners or thick aluminum angle iron works better. Wrapping lead sheeting around the barrel will work too.

Enjoy, J.D.
 
keep that in mind on the wood... what i mean is the screws that hold the lock in place, they come in from the left side of the gun, through the stuck and into the lock. i know i will need to tap the lock with a 8/32 tap and i know the general area where the screws go but where exactly do they need to be.
 
Sam:
Follow this link. It will give my method of installing the lock screws and should guide you in determining where the screws should be.
http://www.muzzleloadingforum.com/...p?tid/224494/post/609060/fromsearch/1/#609060

When I mention the locks bolster, I am referring to the raised area on the upper inside area that will contact the side of the barrel when the gun is assembled.

The rear screw will be going into this raised material and the amount of material isn't very large.
You will want the screw as far back as possible to minimize its interference with the barrels breech plug but not so far back that there isn't any material around the screw threads.

Look at your lock and you'll see what I mean.
 
Last edited by a moderator:
Follow Zonie's advice but don't forget to use your side plate as a guide. This is usually pretty critical on an FDC....or you will end up making a new one.

Enjoy, J.D.
 
jdkerstetter said:
Follow Zonie's advice but don't forget to use your side plate as a guide. This is usually pretty critical on an FDC....or you will end up making a new one.

Enjoy, J.D.
Just went down that road myself....
 
Your right.
The sideplate is needed for finding possible locations for the front lock screw.

Some sideplates designs are very fixed in where the front screw can be while others are much more forgiving.

Unless I am trying to duplicate an exact rifle, I try to use the more forgiving designs.

One style has a rather long forward end on it.
The sides of this area are parallel making it pretty easy to modify to match the forward screws location.

The idea here is to select a forward screw location on the lockplate that won't cause the screw to interfere with the ramrod or the forward bend of the mainspring and either matches the radius on the sideplates forward end or is behind it, closer to the rear screw.

Once the thru holes are drilled thru the stock wood, drill a hole for the rear lock screw into the sideplate matching the shape of the plate in that area. This hole should match the size of the hole in the wood.

Now, color the back face of the sideplate with a black felt tip marker on the forward end.

Place a drill bit that matches the forward hole thru the stock into the forward hole from the lockplate side.
The pointed end should be pointing towards the sideplate.

Mount the sideplates rear hole on its screw or on another drill bit that fits the hole and then swing the forward end of the plate so it is roughly in line with the forward lock screw hole.

Push the drill bit against the inside surface of the sideplate and then rotate the sideplate up and down. This will scribe a line on the marked surface showing exactly where the forward hole needs to be drilled.

Once the forward hole is drilled thru the sideplate it is a easy matter to round off the front of the sideplate so it will be concentric with the front lock screws head.
 
I am going to step out of this, as I like to go by certain steps in a build & this is not going in a sequence that I am used to doing... Not saying it is wrong, just not the build sequence I do it.

That being said, I think it best you get the barrel in the stock, the tang bent & shaped & inlet with the barrel,& the barrel pinned to the stock. BEFORE.... ya go drilling any holes in the lockplate & stock.

By having the barrel in & pinned, you have it stationary in place & now actually know where the holes will have to go, rather than guessing where they should be.

Good Luck with your build.

Keith Lisle
 
I agree. That's why I was a bit confused when the question was posed.

Sam,

Have you even gotten the breech plug to seat yet? Inlet it yet? How about the tenons soldered on and inlet? Pins installed? My point is that you have hours of work before you have to worry about lock bolts.

Don't get ahead of yourself. Building a gun is like eating an elephant...one bite at a time.

It's proper to lay out the whole build ahead of time but then procede with each operation as if it were seperate....step by step.

Have you gotten any books on building ordered? It's important so that you can read through and understand all the steps so you don't back yourself into a corner. This stuff can go south in a hurry.

How about the TULLE fusil-de-chasse blueprints? At only $6.50 from Track they are a must have....and it looks cool hanging in the shop.
http://www.trackofthewolf.com/Categories/PartDetail.aspx/304/3/PLAN-TULLE

Go slow now and enjoy the ride! J.D.
 
Last edited by a moderator:
SU1HMDQxOTgtMjAxMjA5MTItMjM1MC5qcGc.jpg


Here is my breach plug wrench. It's called a steam wrench. There are many types of this style wrench and it has worked well for me. Also there are breach plug wrenches that are made to be bolted or clamped to the breach plug.

Before you file the plug or the bbl remove the plug and inspect it. Look for a burr on the on the plug or the barrel. If you have a burr just file to clean it up. You do not want to file to fit as it has already been indexed or fit and marked from the factory.

To remove the plug it is a good idea to tap your wrench to get it started. A too small and ill fitting wrench will slip disfiguring the plug, bbl, and most likely your fingers and knuckles.

To install the plug get a big wrench that fits well. Make sure your not crushing the top edge of the plug or tang. You can pad it if you want with soft material but make sure if you do, the padding does not cause ill fitment where the wrench will slip.
You only want the wrench for that last little bit. With my big wrench that last little bit is effortless and I have control so I can stop before I go too far.

You have to remove and install the plug several times to check the gas seal, to fit the bbl to the stock and lastly for the vent.

That is not a pipe wrench. A pipe wrench has too much slack and teeth as it is designed for round pipes. A pipe wrench will not work.
 

Latest posts

Back
Top