• This community needs YOUR help today. We rely 100% on Supporting Memberships to fund our efforts. With the ever increasing fees of everything, we need help. We need more Supporting Members, today. Please invest back into this community. I will ship a few decals too in addition to all the account perks you get.


    Sign up here: https://www.muzzleloadingforum.com/account/upgrades
  • Friends, our 2nd Amendment rights are always under attack and the NRA has been a constant for decades in helping fight that fight.

    We have partnered with the NRA to offer you a discount on membership and Muzzleloading Forum gets a small percentage too of each membership, so you are supporting both the NRA and us.

    Use this link to sign up please; https://membership.nra.org/recruiters/join/XR045103

Chambers Kit Arrived!

Muzzleloading Forum

Help Support Muzzleloading Forum:

This site may earn a commission from merchant affiliate links, including eBay, Amazon, and others.
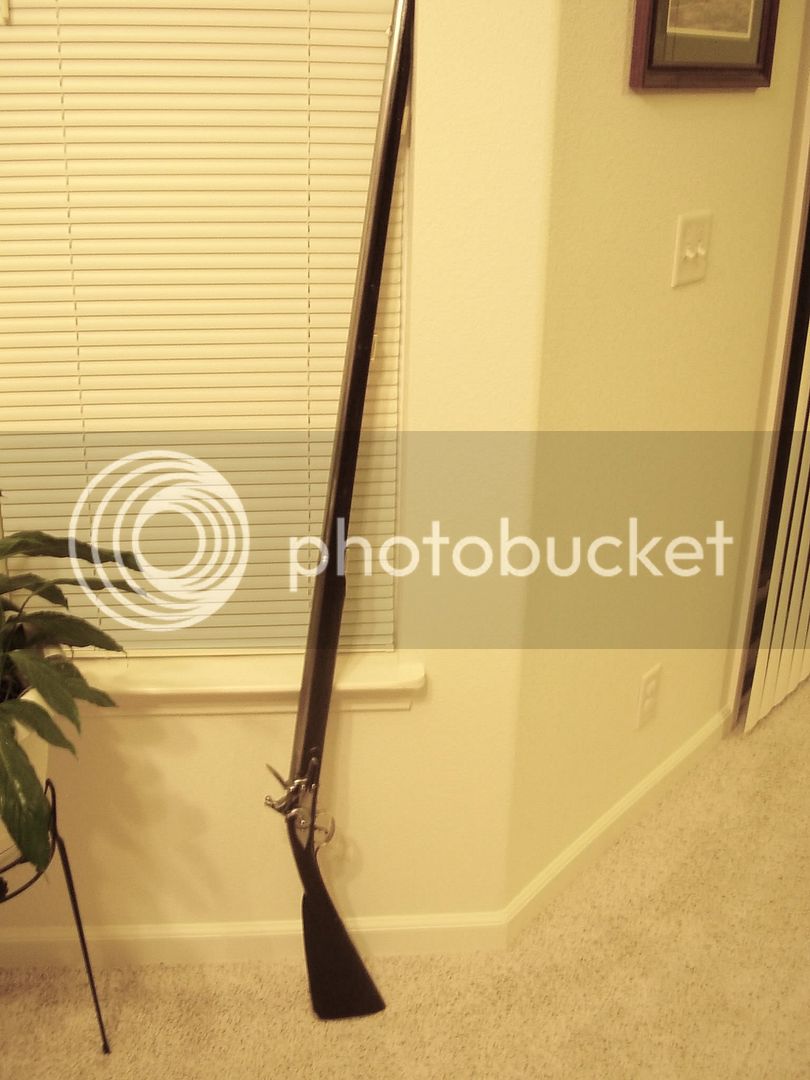
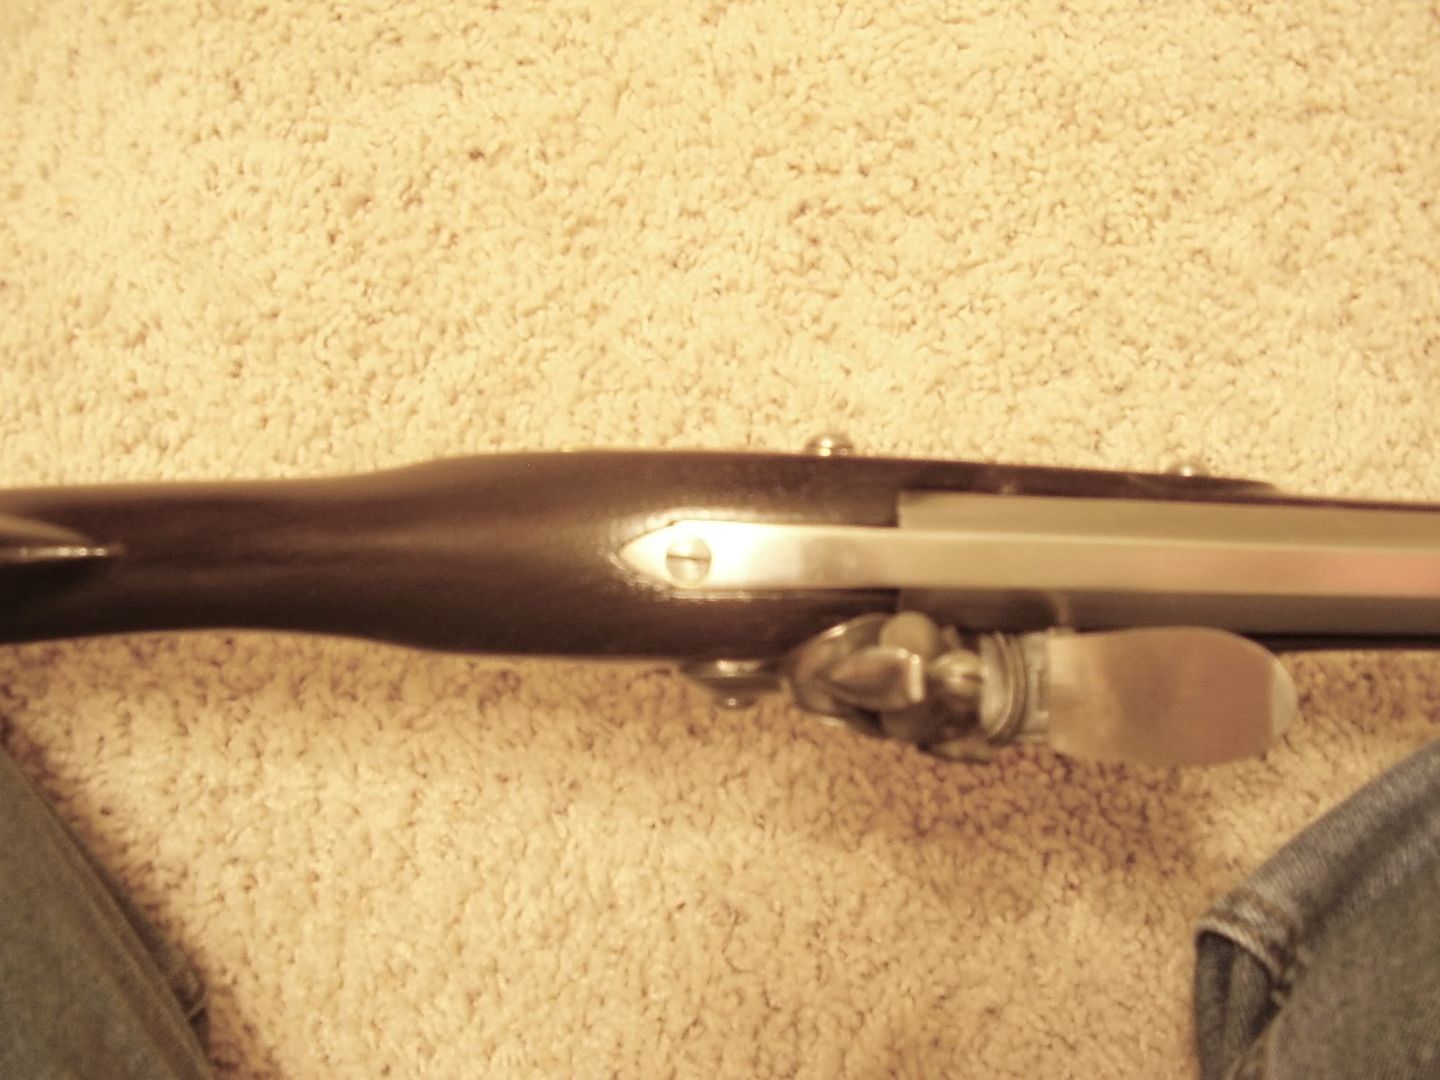
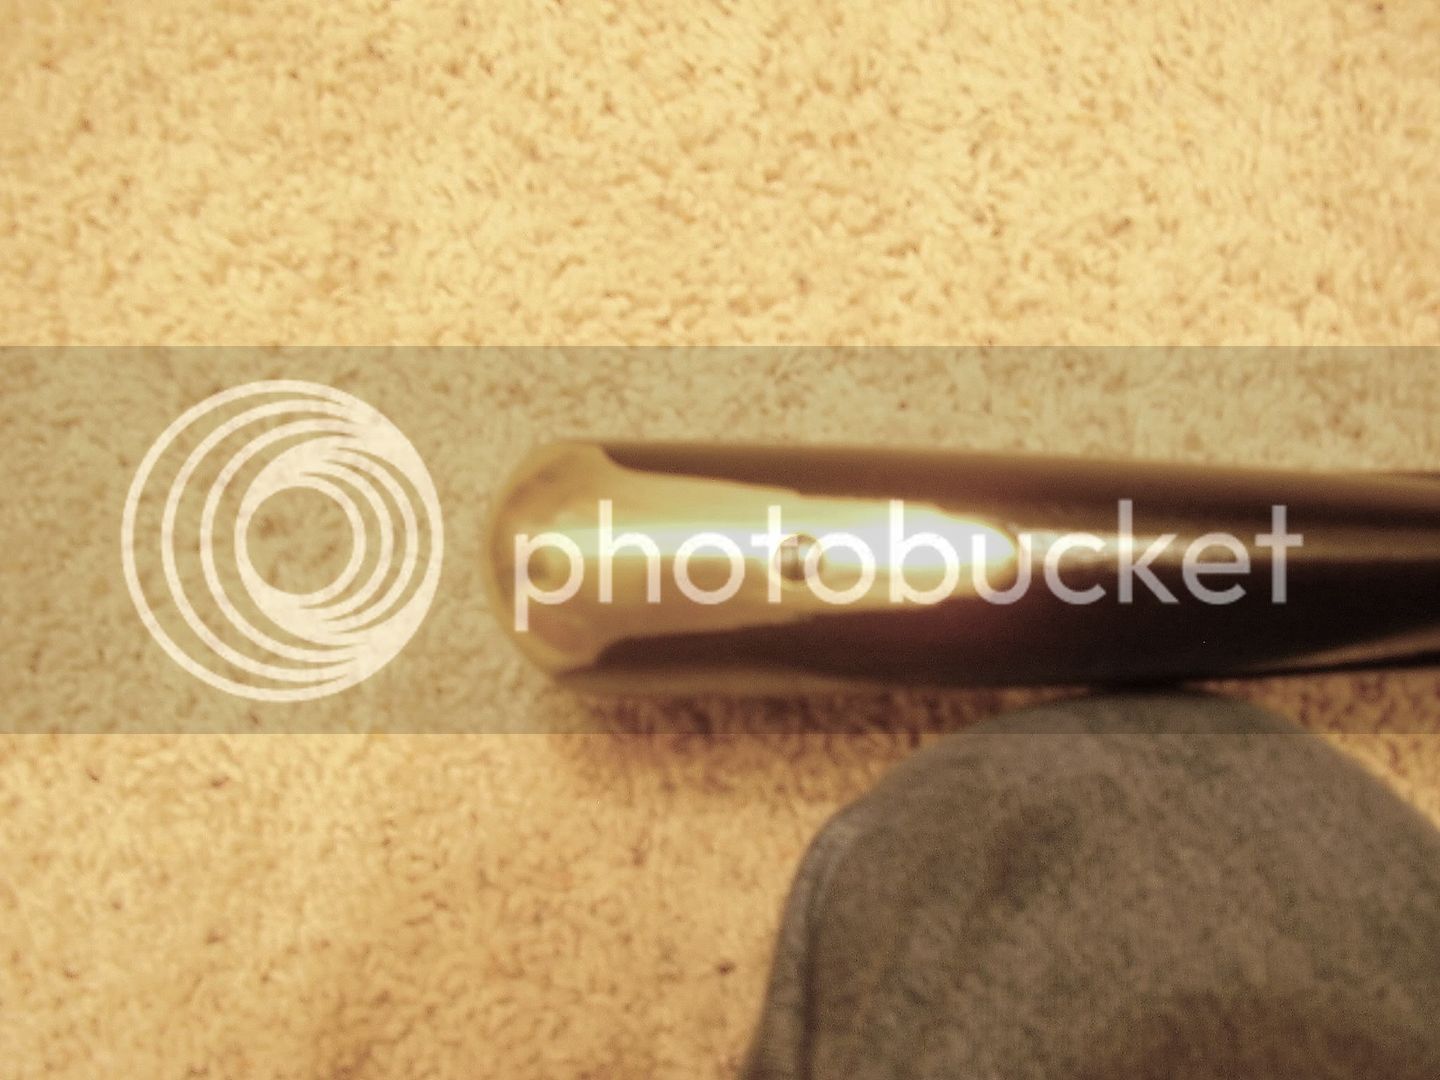
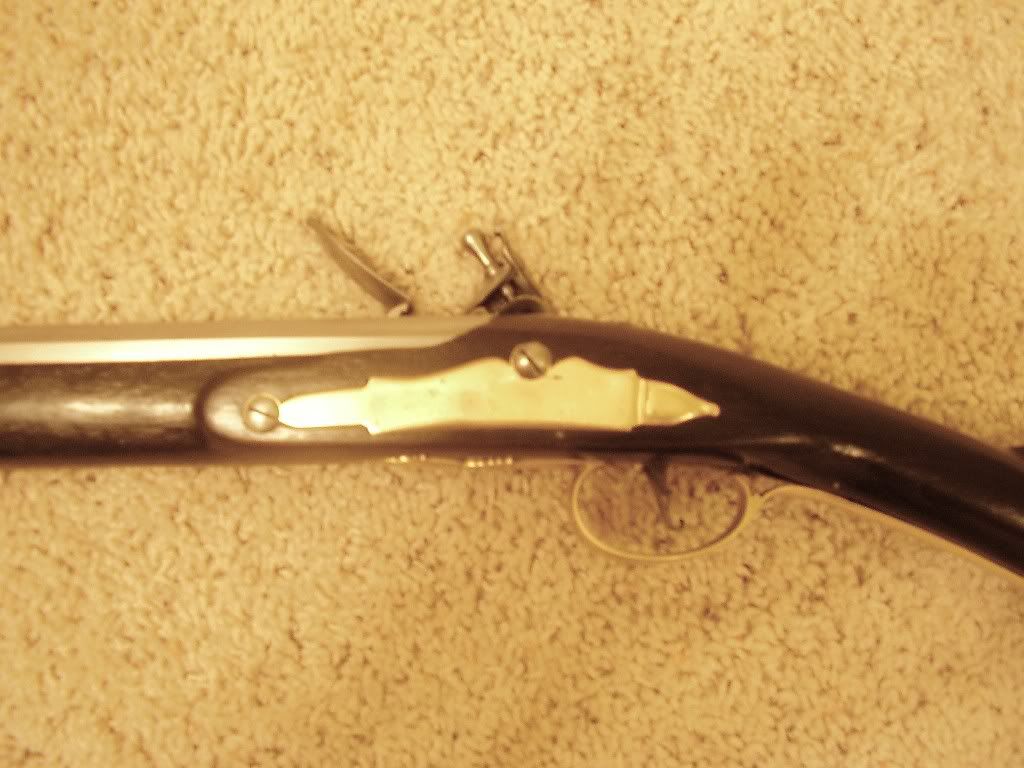
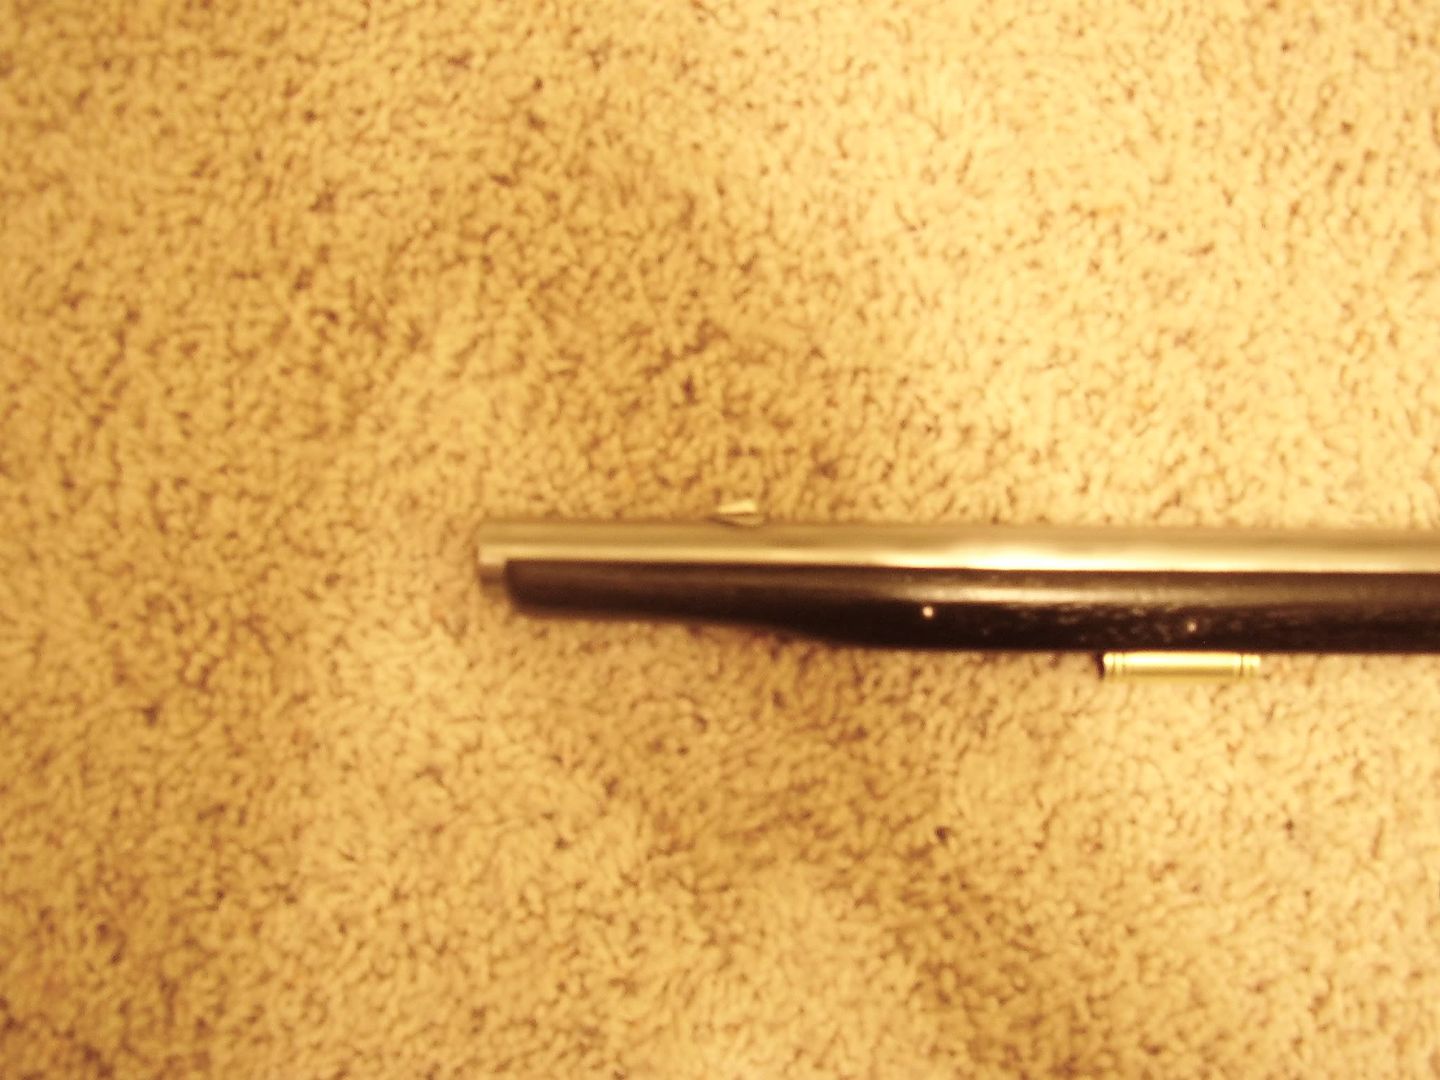
Well I got the sideplate inletted, the lock set, the barrel channel finished and put in all the thimbles. I shaped the entry thimble similar to what the stock was preshaped. It turned out really well. I need to pick up a 8/32 tap today so I cna run the bolts before the final metal to wood fitting. I want everything buttoned down before I file away. I will try to post some pictures when I can.

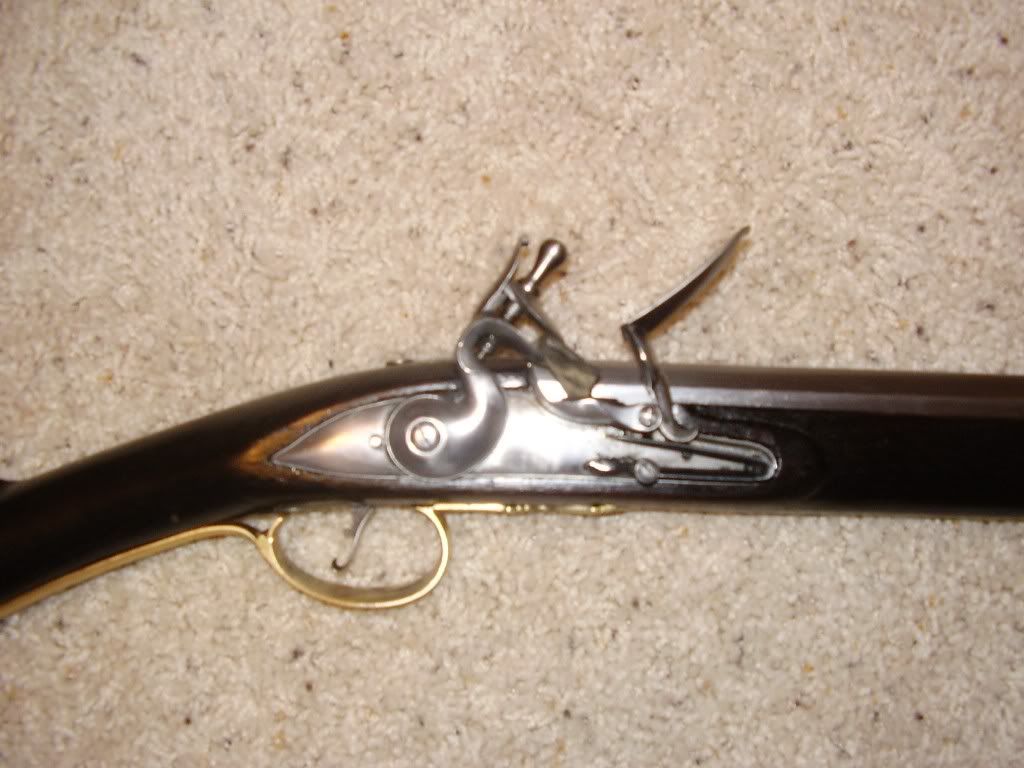
I would have to say so far, the lock gave me the most trouble. The bridle was a little off square, and I did not notice it while trying to fit to the barrel. I got it filed and straightened out now, but need to screw it in place to make sure there is absolutely no gap. Matt
 
Cody said:
However, the fact that the problem is there is BS IMO. The lock bolt interfering with the RR is a newbie mistake. There's no excuse for it. That's why I said i would have it without the side plate inlet so it can be placed properly. If, for some reason, the web is not thick enough for the bolt, it is acceptable to file a notch in the bottom of the barrel to clear the bolt. It is NEVER acceptable IMO to have a bolt interfer with the RR. Sorry for the rant but this issue really gets under my skin.

Cody

Cody,

It is almost a given that, when you buy a Chambers Pennsylvania Fowler Kit, the lockbolt will go right thru the ramrod hole.

Just a design flaw that should be fixed.

Also the reason that I hardly ever build from a kit.

Randy Hedden
 
I think you both have a good point that this is a flaw that needs to be sorted out by the designer, but if you do have this problem it is easily remedied, by 1) taking real care to drill the hole right up against the barrel, and 2) filing a notch right round the middle of the bolt. That did it fine for me.
 
I guess it might be a good idea if one is ordering a kit from Chambers to ask that the lock, the sideplate and the stock be left undrilled?

All of the Pecatonica "kits" I've built do not have these holes drilled so it is up to the builder to measure and lay out the ramrod hole location before drilling the lock bolt holes.
This puts the responsibility on the shoulders of the builder but if he/she does their job right the holes will not interfere with the ramrod. :)
 
Zonie said:
I guess it might be a good idea if one is ordering a kit from Chambers to ask that the lock, the sideplate and the stock be left undrilled?

All of the Pecatonica "kits" I've built do not have these holes drilled so it is up to the builder to measure and lay out the ramrod hole location before drilling the lock bolt holes.
This puts the responsibility on the shoulders of the builder but if he/she does their job right the holes will not interfere with the ramrod. :)

Actually, No. The holes are not drilled. However, with the sideplate inlet, the hole location is predetermined. In the case of the Chambers penn fowler, pre-determined in the wrong place. You can see in this pic that the front of the sideplate is about 3/32" low putting the bolt into the RR channel. With the plate inlet, there's no way that I'm aware of to locate the hole higher.
fowlersideplate.jpg


Cody
 
Thanks for the information. :)

Makes me wonder if one can order the stock without having the sideplate Pre-inlet? That would solve that potential problem. :)

That would also allow the builder to decide which sideplate to use.
All of the guns I've built are very close matches to original guns whos pictures are in various books. The freedom to select the one which comes closest to matching the original is part of the fun, as I see it.
 
This is exactly like my York, so I wonder if it's a small design flaw across the range. I'm thinking of ordering a fowler soon so will mention it and see what they say.

It's a pity becuuse the design and quality is so great in general with the kits.
 
I just found this sideplate problem with my kit, the front bolt doesn't bother the ram rod channel, but the top bolt was in the wrong place to engage the lock. It was well below the bolster plate and a little too close to the hammer. I ended up angling the bolt slightly to engage the bolster plate. I am not sure this was the best option, but it worked. I was a little upset to have to fix a mistake I didn't make myself :( and i can make plenty of those on my own thank you.

I drilled and tapped the tang to the trigger plate tonight, at least that went really well! I made a center post to help guide the drill bit and it worked great.

I also silver soldered the tennons and site to the barrel. That went really well, I took the advise I got here and tinned both pieced and then placed them together and re-heated. Seems to have bonded well, I took my center puncha nd hammer and gave them a few taps and nothing came loose. A very scientific method of testing strength of course :grin:

Overall I am very pleased, but am finding a few problems with the machine inletting being a little off. Oh well, next time I will just have to build one from scratch......maybe. Matt
 
oh the joys of a pre-carved stock. If time is money... it's eaiser for me to build from a blank. A milling machine and bandsaw make things easy.
 
Slowpoke said:
oh the joys of a pre-carved stock.

Yup. My first 6 rifles were from a blank. Then I assembled, I think, 3 precarves ( 2 chambers and a GPR kit). That's enough for me. Working from a blank takes longer but really isn't any more difficult, in some respects it's easier. Like was said, i can make my own mistakes just fine, i don't need to pay someone to make them for me.

Cody

BTW, I was looking at the pic I posted. I can't believe that plate isn't engraved :shocked2: :shake: :shake: . I remember now, my plan was to do an 18th century rendition of a hunter (to the right of the lock bolt), shooting a riseing bird or maybe a rabbit (to the left of the lock bolt) but didn't like showing the left side of a right handed shooter. Making him shoot backwards (either left handed or shooting to the rear) just seemed wrong. I gotta get that plate back and put SOMETHING on there. That just looks rediculous.
 
The Chambers' kits can be ordered w/o the sideplate inletted, but then the kit can't be returned if something is askew. If the front lock bolt is made to miss the RR hole, then a new sideplate would have to be made by the assembler so the side plate location doesn't look screwy. I had this same problem w/ a Chambers' Early Lancaster kit but seeing it wasn't off that much, I just grooved the bolt. If I order another Chambers' kit, I'll omit the sideplate inletting. Otherwise, the kit went together w/o any further hitches........Fred
 
Cody,

If you just can't get the side plate back... I'll be happy to send you one for the fowler I am working on for you to engrave!! and the butt plate .... and the thumbpiece...and the entry thimble!! :bow: :thumbsup: :v
 
DrTimBoone said:
Cody,

If you just can't get the side plate back... I'll be happy to send you one for the fowler I am working on for you to engrave!! and the butt plate .... and the thumbpiece...and the entry thimble!!

Anytime, just send 'em on up :)

Cody
 
Well I just put the first coat of oil on tonight! I figure a few more days and I will be shooting it. I stained the stock with vinegar stain till is was almost black, looks great with the brass!

I emory clothed all mill marks and casting marks off the components and buffed them to a high shine. Everything really turned out well.

Probably the most nerve racking was taking the stock down so thin, but it really looks good. I made short work of the stock with a sure form rasp.

I did put a white lightening in. I could not no matter how hard I tried, banged and heated; get the breech plug out. Not wanting to chance damaging the barrel, I measure CAREFULLY and saw the hole was well ahead of the breechplug face. I drilled tapped and inserted the liner with no problems. It sits perfectly flush inside the barrel.

As soon as I get a few more coats of oil on I will post some pictures. Not too bad, 6 days of working on it after work and it is almost completed. My last one took much longer, but I was more confident and really dove into this kit. The lock bolt/side plate alignment problem was the only one I encountered.

Oh, I solved the round stock problem! I used all the 1/16" drill bit shafts I broke! LOL, good metal and worked great for pinning the trigger.

Can't wait to fire it off. How many here proof their guns prior to firing? I doubt too much would happen with these modern steels but one never knows......

Thanks, Matt
 
MattS,
I would never proof a Getz or any of the other barrel makers' barrels. If it were necessary we would be regularly hearing that these barrels were failing. Truth is, they aren't. In this age of litigation the makers are using materials and methods that will give you a barrel with a great deal of margin for safety. Don't take a chance on ruining an expensive barrel by proofing it.
God bless.
volatpluvia
PS. You really DID make short work of that gonne!
 
Matts I realy envy your gun building telents.I have put a CVA kit together and bought guns in the white that I finished,but the Chambers kit I have my eye on is still real scary.
Looking forward to your picture.
:winking: Rocky
 
Well I just got some #6 shot and my horn out. I hope to go shoot it for the first time tomorrow! Hopefully I don't blow myself up :grin:

I can hardly wait to try it out. I am going to make up some paper loads, some wads and patched roundball. My buddy is going to loan me his .60 gang mold to cast up some buck and ball.

I am courious to see how this compares to my rifle as far as recoil and I am really wanting to try some birds! Too bad dove season is so far away, may be clay pigeons for a while.

Watch out bushytails, quail, ducks and bucks! I have been reading a lot on the smoothbore forum on loads and technuiques. I am going to start out around 70 grains fffg and 3/4-1oz shot (will probably use my powder measure to measure shot). Same powder charge with PRB and see what she does. :thumbsup:

Matt
 
Hello all,

I saw Matt's gun today at a shoot. He did an exceptional job on it!

Charcloth
 
Back
Top