Another member and I were discussing the Gunmakers Drill Jig that is offered by several suppliers and I got to thinking that I should post a discussion on how I use this handy little tool.
Because I'm describing the use of the jig that I made its use may be slightly different from the store bought ones but if you follow my directions I'm sure you will be able to see how they apply to one of those.
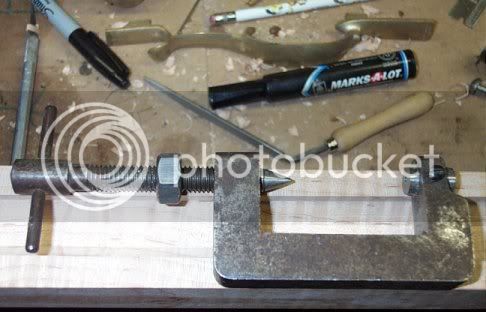
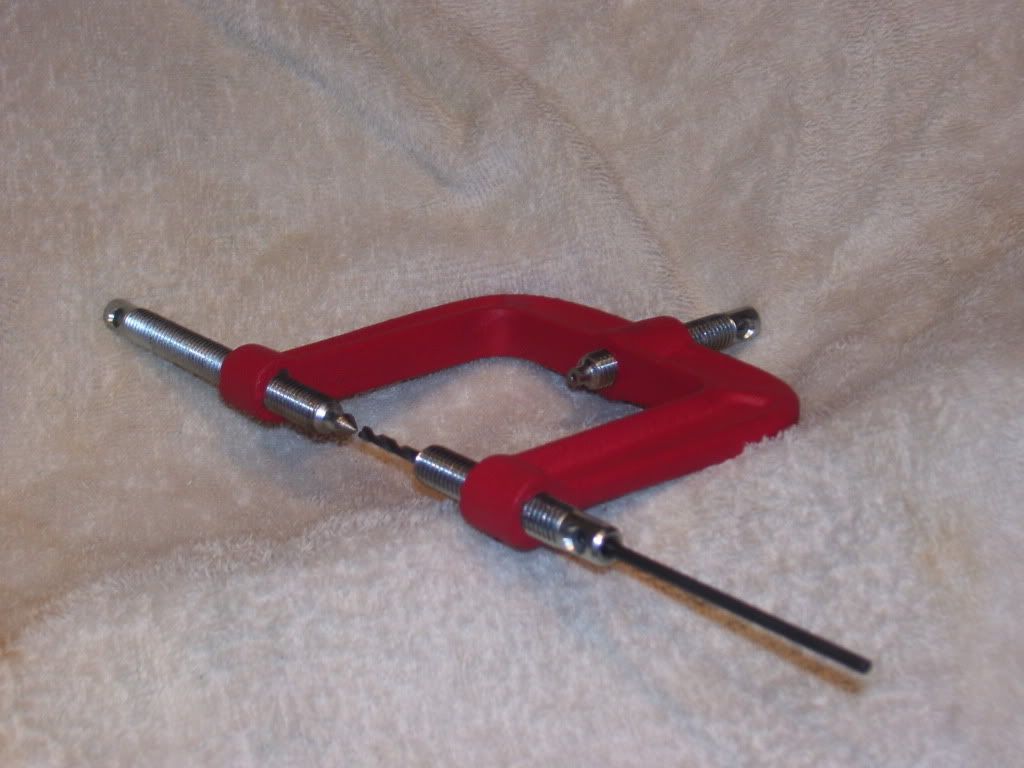
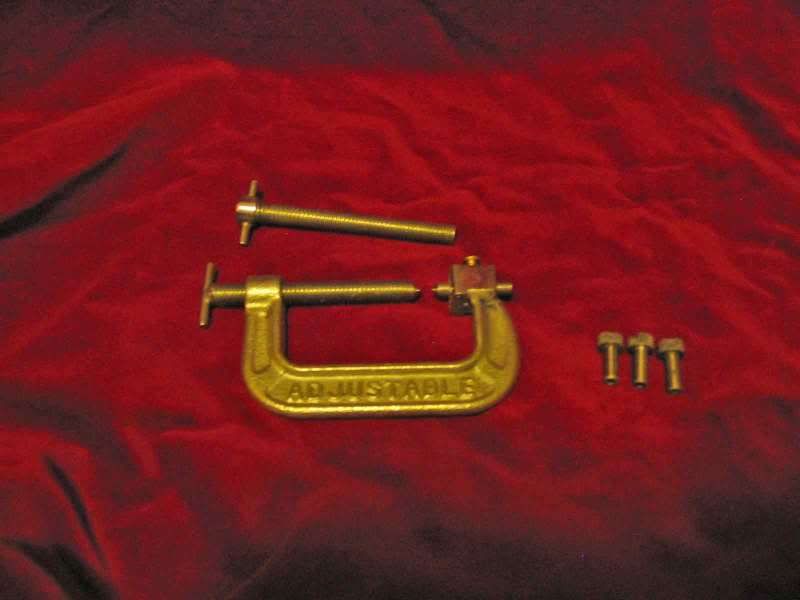
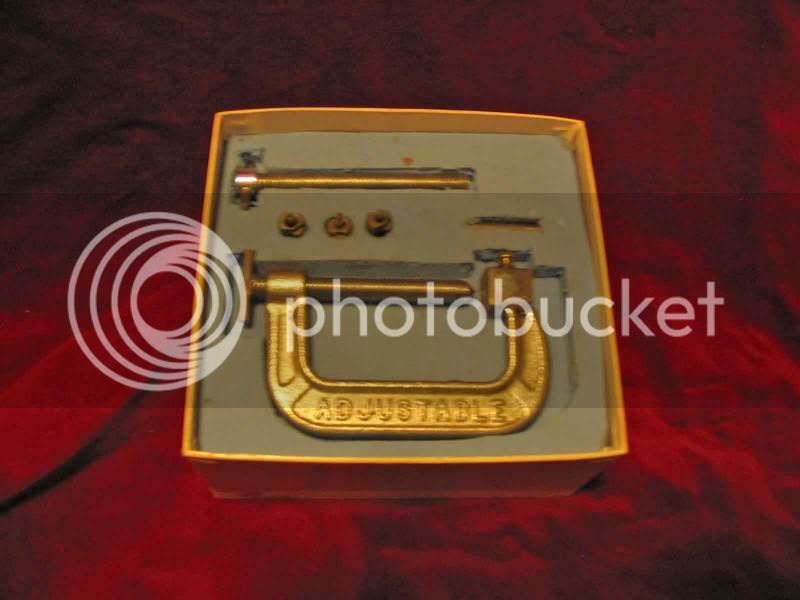
First off let me say that I built my own using a small C clamp, a block of steel, a couple of screws, a piece of 3/16 diameter drill rod and some industrial slip removable drill bushings.
My total cost ended up being higher than some of these that are offered by various suppliers mainly because of the cost of the drill bushings.
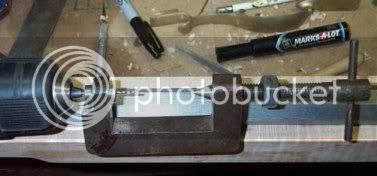
Below are a couple of photos of the tool.
This tool can be used to guide the drill bit when drilling pin holes for barrel underlugs and thimble flanges. Also it works well for drilling the holes for lock bolts and barrel tang screws.
Almost anywhere that you want to control where the drill starts and ends up providing the distance between the the entry and exit is smaller than the body of the jig.
To use this tool the first thing that needs to be done is to accurately lay out the exact starting and ending points. I use a black felt marker to darken metal surfaces and then a pointed scribe to do the layout work.
A good Dial Caliper (or electronic caliper) helps a lot in making accurate marks.
On wood, I use a very sharp #2 lead pencil, the caliper, a small tri-square and whatever else is needed.
After laying out the start and end locations for the hole I use a very sharp center punch on metal parts or a very sharp awl on wood to poke a small indentation.
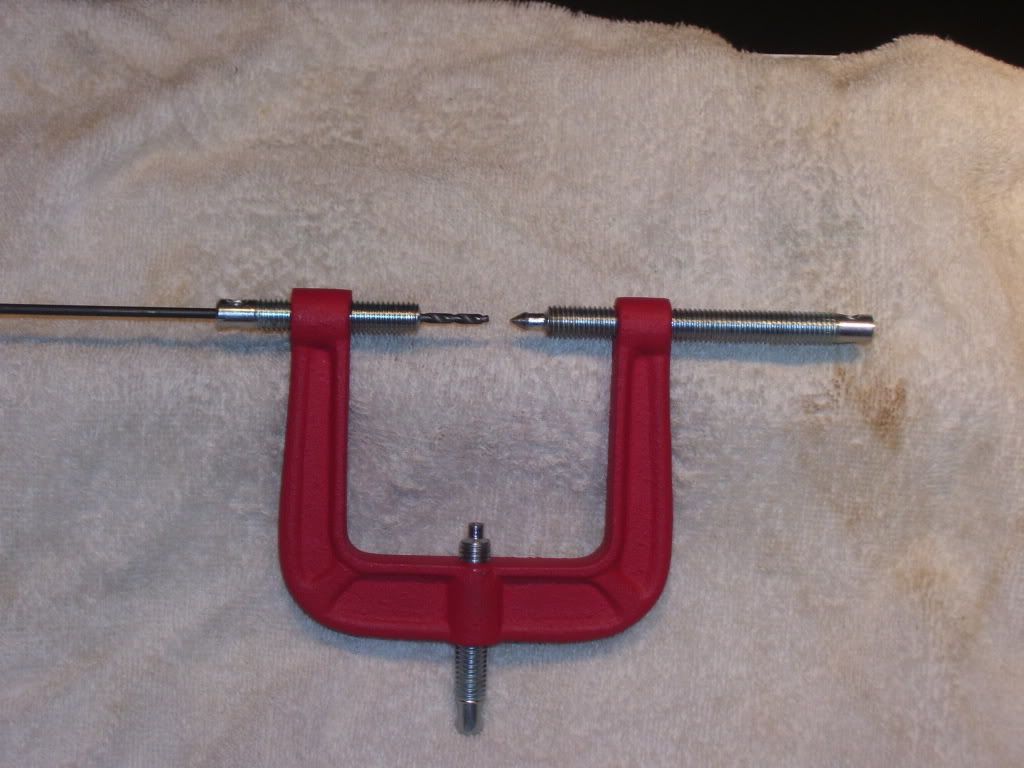
You will notice that the screw end of the jig is pointed and this point is going to provide the clamping force for the jig and also serve to locate where the drill bit will be pointed.
The block opposite the pointed clamp has a 3/16 inch hole thru it along with a small locking screw.
Into this block I insert the small pointed 3/16 inch diameter pin with the point aimed at the clamping screw.
You can see this little guide pin installed in the upper picture.
Following this, I place the point of this small, movable pin into one of the indentations in the gun and allow the face of the block to slide forward on this pin until the face of the block is resting against the surface of the gun.
I then turn in the threaded screw locating its point in the indentation where the drill is going to come out.
I only use enough pressure on this threaded screw to clamp the jig fairly tightly but not enough to actually embed it into the wood.
Once it is clamped, I remove the small pointed 3/16 inch pin from the block and insert a drill bushing that fits the drill I want to use.
After it is inserted the little locking screw is tightened to keep the bushing in place.
After drilling almost all the way thru the guns parts I remove the jig and then use the drilled hole to guide the drill the rest of the way thru.
It is important to remember this or the drill bit will hit the end of the clamping screw and damage it.
The other threaded shaft with the crossing finger pin has the end cut square with the threads. It is used for those times I don't need to intersect a known place but I just want to clamp the jig to something.
I'm betting that some of you folks who own one of these has some other method of using it and I'm all ears. Maybe I'll find a better way.")
OH! Not shown is a piece of threaded stock that I used to locate the block on the other side of the C clamp when I was soldering it in place.
For those who think you might want to build one of these, I'll also mention the following:
The end of this 1/4-20 threaded block stock is machined down to a 3/16 diameter slip fit with the block. I kept it just in case the drill bushing block ever breaks loose but I've used this jig many times and so far its holding together.
That block by the way doesn't rely on just the solder to hold it in place. There is a small ledge that hangs down under the block and fits up tightly against the leg of the C clamp.
By doing this, all of the clamping force goes directly thru the steel block into the steel leg of the C clamp.
Because I'm describing the use of the jig that I made its use may be slightly different from the store bought ones but if you follow my directions I'm sure you will be able to see how they apply to one of those.
First off let me say that I built my own using a small C clamp, a block of steel, a couple of screws, a piece of 3/16 diameter drill rod and some industrial slip removable drill bushings.
My total cost ended up being higher than some of these that are offered by various suppliers mainly because of the cost of the drill bushings.
Below are a couple of photos of the tool.
This tool can be used to guide the drill bit when drilling pin holes for barrel underlugs and thimble flanges. Also it works well for drilling the holes for lock bolts and barrel tang screws.
Almost anywhere that you want to control where the drill starts and ends up providing the distance between the the entry and exit is smaller than the body of the jig.
To use this tool the first thing that needs to be done is to accurately lay out the exact starting and ending points. I use a black felt marker to darken metal surfaces and then a pointed scribe to do the layout work.
A good Dial Caliper (or electronic caliper) helps a lot in making accurate marks.
On wood, I use a very sharp #2 lead pencil, the caliper, a small tri-square and whatever else is needed.
After laying out the start and end locations for the hole I use a very sharp center punch on metal parts or a very sharp awl on wood to poke a small indentation.
You will notice that the screw end of the jig is pointed and this point is going to provide the clamping force for the jig and also serve to locate where the drill bit will be pointed.
The block opposite the pointed clamp has a 3/16 inch hole thru it along with a small locking screw.
Into this block I insert the small pointed 3/16 inch diameter pin with the point aimed at the clamping screw.
You can see this little guide pin installed in the upper picture.
Following this, I place the point of this small, movable pin into one of the indentations in the gun and allow the face of the block to slide forward on this pin until the face of the block is resting against the surface of the gun.
I then turn in the threaded screw locating its point in the indentation where the drill is going to come out.
I only use enough pressure on this threaded screw to clamp the jig fairly tightly but not enough to actually embed it into the wood.
Once it is clamped, I remove the small pointed 3/16 inch pin from the block and insert a drill bushing that fits the drill I want to use.
After it is inserted the little locking screw is tightened to keep the bushing in place.
After drilling almost all the way thru the guns parts I remove the jig and then use the drilled hole to guide the drill the rest of the way thru.
It is important to remember this or the drill bit will hit the end of the clamping screw and damage it.
The other threaded shaft with the crossing finger pin has the end cut square with the threads. It is used for those times I don't need to intersect a known place but I just want to clamp the jig to something.
I'm betting that some of you folks who own one of these has some other method of using it and I'm all ears. Maybe I'll find a better way.
OH! Not shown is a piece of threaded stock that I used to locate the block on the other side of the C clamp when I was soldering it in place.
For those who think you might want to build one of these, I'll also mention the following:
The end of this 1/4-20 threaded block stock is machined down to a 3/16 diameter slip fit with the block. I kept it just in case the drill bushing block ever breaks loose but I've used this jig many times and so far its holding together.
That block by the way doesn't rely on just the solder to hold it in place. There is a small ledge that hangs down under the block and fits up tightly against the leg of the C clamp.
By doing this, all of the clamping force goes directly thru the steel block into the steel leg of the C clamp.