• This community needs YOUR help today. We rely 100% on Supporting Memberships to fund our efforts. With the ever increasing fees of everything, we need help. We need more Supporting Members, today. Please invest back into this community. I will ship a few decals too in addition to all the account perks you get.


    Sign up here: https://www.muzzleloadingforum.com/account/upgrades
  • Friends, our 2nd Amendment rights are always under attack and the NRA has been a constant for decades in helping fight that fight.

    We have partnered with the NRA to offer you a discount on membership and Muzzleloading Forum gets a small percentage too of each membership, so you are supporting both the NRA and us.

    Use this link to sign up please; https://membership.nra.org/recruiters/join/XR045103

Fowler build pics

Muzzleloading Forum

Help Support Muzzleloading Forum:

This site may earn a commission from merchant affiliate links, including eBay, Amazon, and others.
MeteorMan; This is a great posting. Looks great so far. I to was at the Lewisburg show. Its was Great to be there. Keep up the good work. Good luck and keep it coming...
 
I am working on the same butt stock shaping today on my fowler am am a little unsure about shaping the sides of the comb. If I hold a straight edge at the widest part of the upper butt plate should I have a straight shot to the nose of the comb, completely flat?

First fowler, second gun.
 
I enjoyed spaeking with you Mike.You are definatly headed in the right direction :thumbsup: :thumbsup:

Mitch
 
Eric - turns out I received feedback on exactly that issue in Lewisburg.
This is my first fowler, so your best bet is to have a seasoned fowler person weigh in here.
That said, my thoughts, in order:
1) follow the lines of the original gun you are emulating.
2) if not emulating a specific original (like me), look for examples in your general school, and look for trends.
3) look for what pleases your own eye.

All that said, my feedback at Lewisburg was:
1) no straight-on flat surface ahead of the buttplate - start the gentle taper to the nose of the comb immediately at the buttplate.
2) "completely flat" is generally to be avoided anywhere on the gun - gentle radius is more graceful.
3) there is also a curve from base of comb to top of comb.

One thing for sure, there's only one thing worse than building from pictures (as guidance) and that's building from words as guidance.

Hopefully some fowler vets will jump in here, altho most are probably not following my snail-like progress in this thread.

love to see some pics of your progress!

Mitch: thanks again and that Lancaster project of yours is even more graceful in the flesh.

/mike
 
Hey Mike, Certainly was nice meeting you.

You say you got a chance to talk to Ron Luckenbill. Did you happen to handle that original fowler he had on his table?

I should have mentioned it when we were talking.

That gun is really special. I've gotten to handle it a couple of times and was tempted, again, to buy it if for nothing more than using it as a guide to building one of my own. Really nice lines.

Enjoy, J.D.
 
Thanks a bunch, just the advice I needed to hear.

I stated tapering the wrist into the butt yesterday. Still have to go deeper but have a start on one side. Blurry picture, from an angle that makes the wrist look huge but it is 1 1/2" across.

I am working off the fowler plans from TOW but not following them too closely. I prefer your shaping to the shallow wrist transition as shown on my plans.

My shaping has been doubly difficult because I broke a drill bit off in each side the trigger guard lug hole you can see in the picture. My trigger guard isn't coming off(blind pinned with broken drill bits on each side) so I have to shape around it with a small chisel and sandpaper.

Shapingwristintobuttstock_zpsfdf988e2.jpg
 
J.D. - didn't handle Ron's fowler, but i did gaze at it.

Eric - here's a set of pictures of a Pennsylvania fowler by Rich Dillon with some instructive shots of comb lines that I liked:
Dillon fowler

As an aside, altho none of my business, I bet if you presented your broken drill bit = blind pin problem to the group in a new thread, you'd get some nifty solutions for getting them out with minimal damage.

cheers //mike
 
I did post on another thread, it was pretty much drill a bigger hole, extract the drill bits with pliers, plug the hole.

Fortunately I had my trigger plate in, with an offset trigger slot I was able to work the trigger in around the trigger guard.

The only thing that bugs me is I have a temporary Phillips head screw holding the trigger plate in. Although it completely covered up by the trigger guard and invisible, it will always be there.
 
Nice going w/ drilling the bbl lugs...I do it a lot different, but you were successful and that's what counts. A suggestion...When you have the bbl and RR groove and hole done, specify that the top of the forestock be cut .03-.04 below bbl centerline and the bottom of the upper forestock .03-.04 below the RR groove centerline. Once done as above, these surfaces don't have to be touched again. Saves some time. Again, nice work.....Fred
 
I hit one of those walls we all hit every now and then.
Did a whole lot more blank staring at the piece then actually working on it.
Distracted myself by switching to making the tapered ramrod.
Used two utility knife blades in my vise to skinny down most of the 7/16” blank for my 3/8” pipes and RR hole.
Just clamped the blades in at an angle and pushed and pulled the rod back-n-forth 2 maybe 3 million times, and it was done before I knew it.
yuck.gif

Pinned the end with a brad, peened down the ends, filed and sanded them and the pin disappeared nicely.

IMG_2116_zps950e5adf.jpg


IMG_2118_zpsf368bb49.jpg


IMG_2119_zpsf3485024.jpg


IMG_2120_zps498acb87.jpg


Still didn’t feel the mojo for working on the wood, so I picked up my triggerguard and filed an acorn finial on the trailing tang ”“ pretty well matches the acorn that came on the forward tang.
IMG_2121_zps6dd6bf6f.jpg


Finally convinced myself to get back at the wood, so I eased into it with inletting the forward pipes. Pretty standard stuff.
Pic shows my little chisel/scraper/poker made from 1/16” music wire I use to extract most of the wood after cutting down the sides with a straight chisel.
Drilled the pin holes mostly by eyeball and a visual level guide.
Hit both pretty pipe tabs well fortunately.

IMG_2111_zps1b8af5a6.jpg


IMG_2112_zpsc4b72f06.jpg


IMG_2109_zps28a01e97.jpg


Last night I finally attacked the wrist area for slimming and girth reduction.
whaat.gif

Filed ¼” flats in the sides (1st pic below) and then rounded everything back to a crest/shadow line there.
Repeated this process 3 times on each side.
Wrist is now 1.5” or less in all spots.
But I think I still have more to go.
Last pic is how she sits today.
I think I have to soften that crease between wrist baluster and comb”¦.
I’m open to all tips, hints, criticisms, rants, and curses.

IMG_2103_zpse2ecd271.jpg


StockReducedv1_zps538e2c36.jpg


Next is inletting trigger guard when I’m sure my bottom line is close to final.
/mike millard
 
A very nice photographic report, I'd call it a tutorial. You do good work, Mike!
 
Still plodding along ”“ nothing exciting.
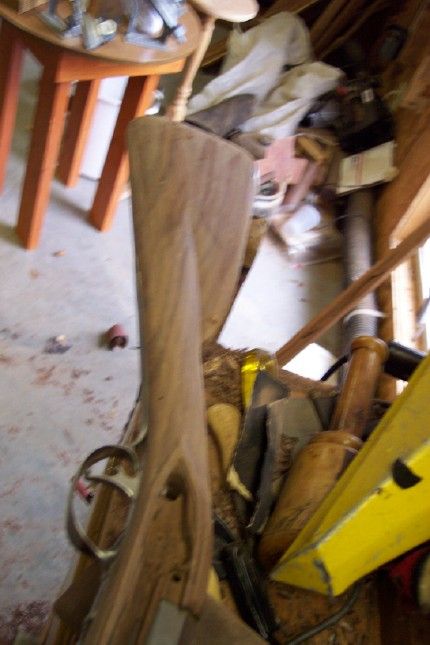
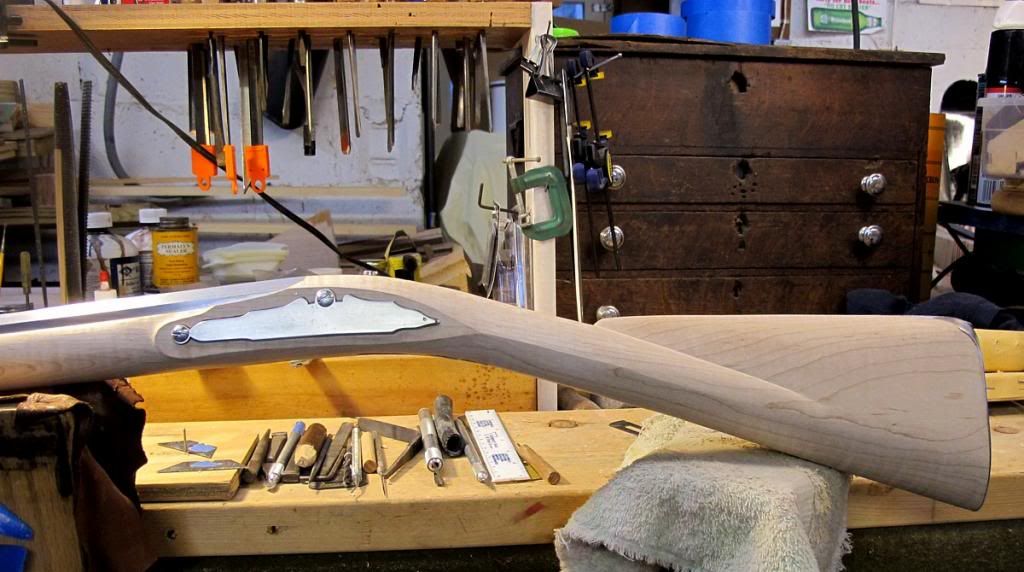
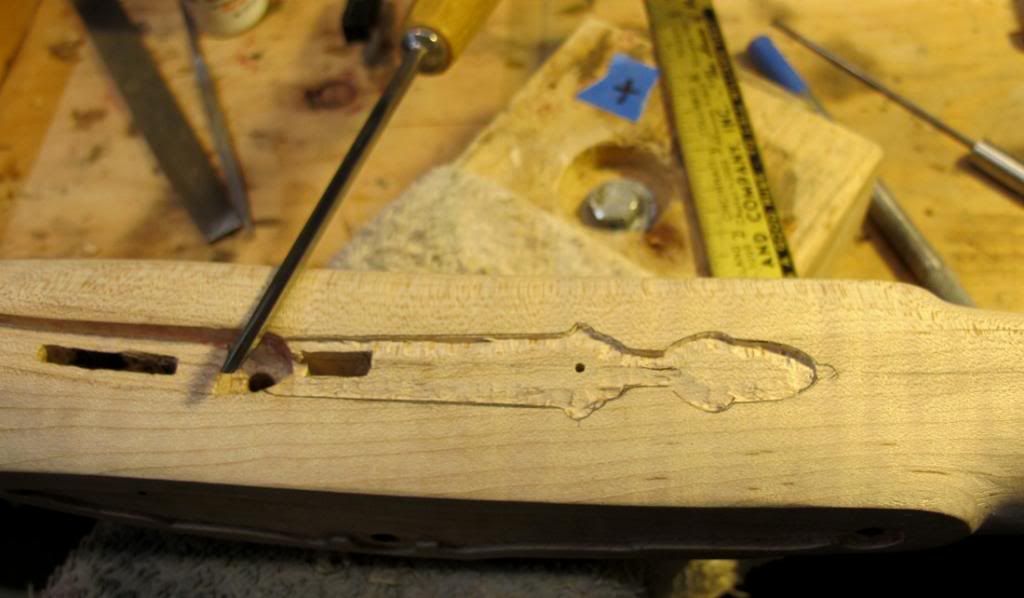
Got the trigger guard inlet ”“ mostly standard stuff.
While I normally have to modify the front of the trigger plate to fit a TG, in this case I had enough room to avoid that, and just had to shorten the back of the plate to make room for the middle TG tab.
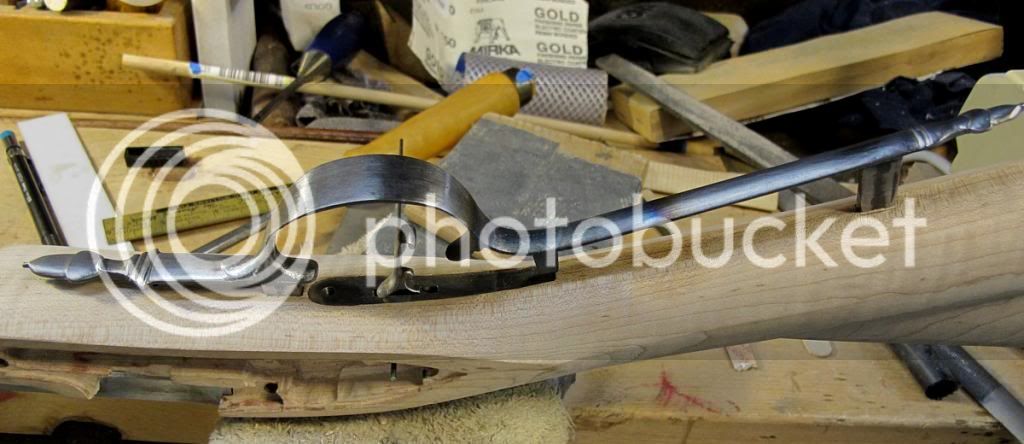
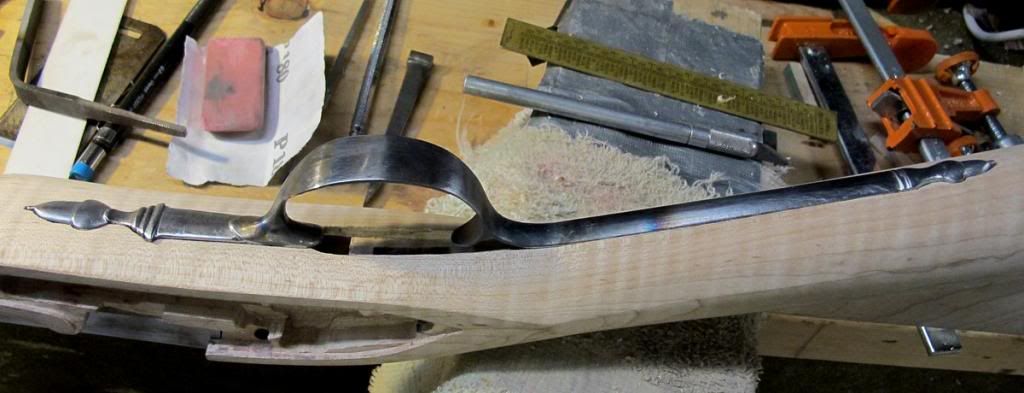
You can see I heated the rear finial where it meets the bow so I could bend it to follow the cast off.

IMG_2122_zps2b2eac1f.jpg


IMG_2124_zpsb1cc2920.jpg


IMG_2126_zpsaac3314f.jpg


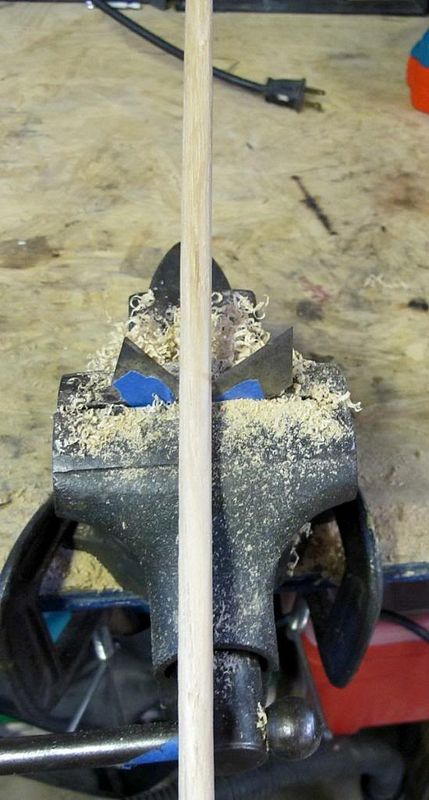
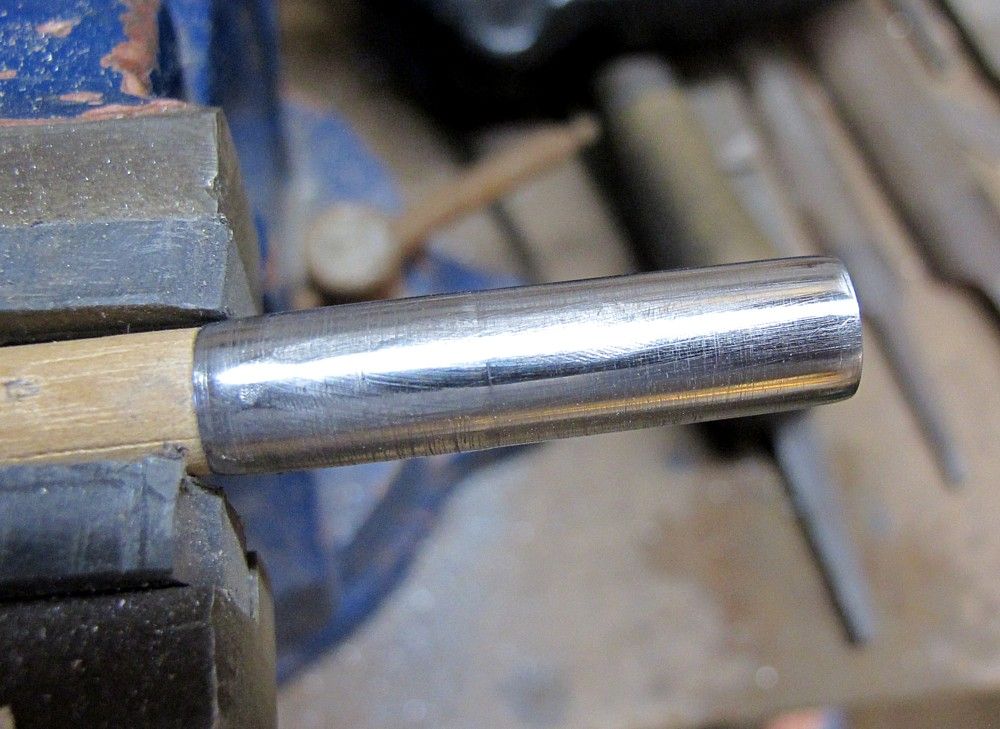
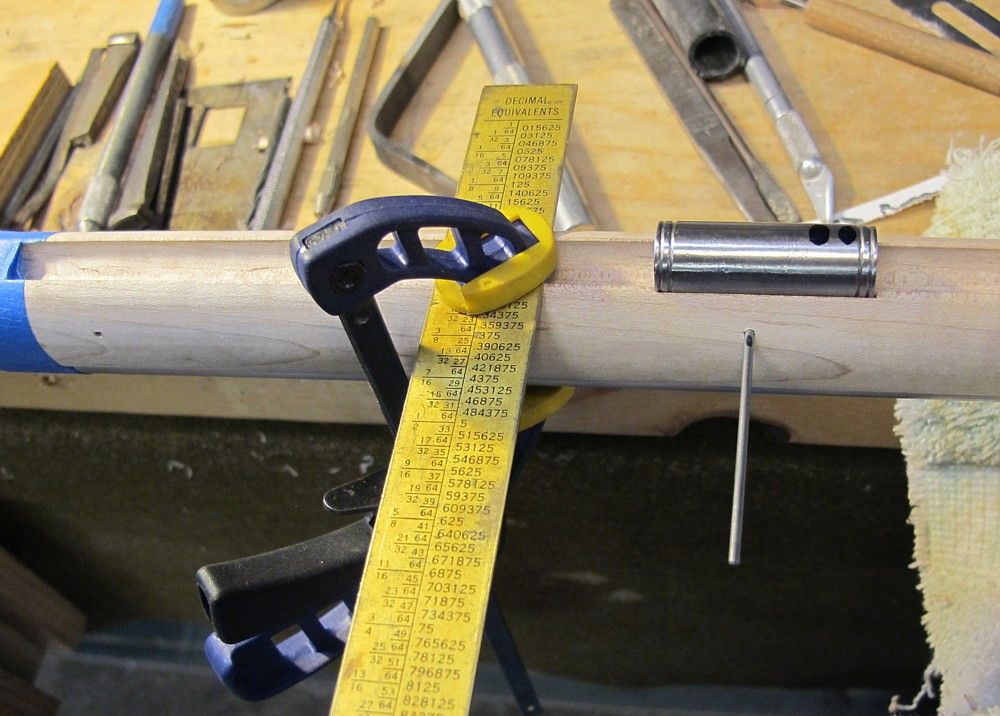
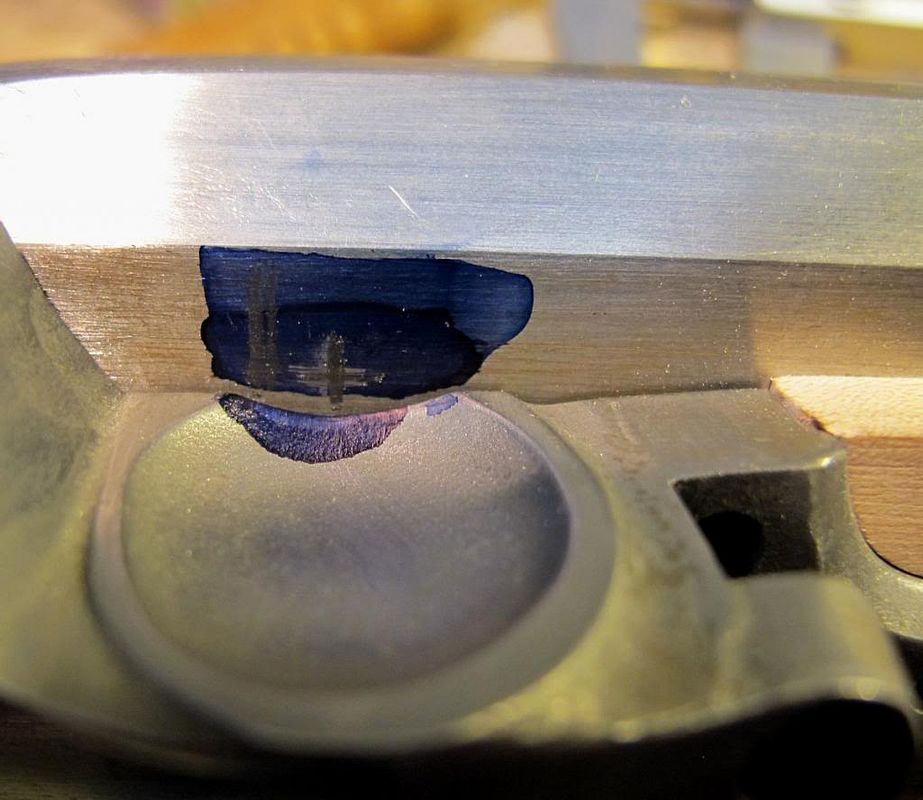
Then moved to installing the vent liner.
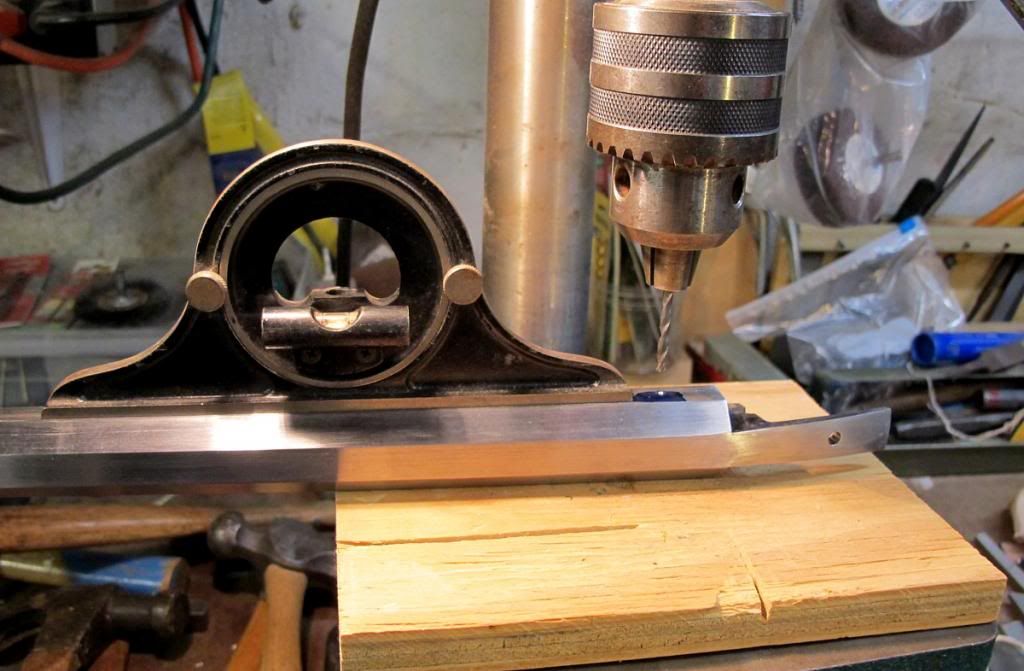
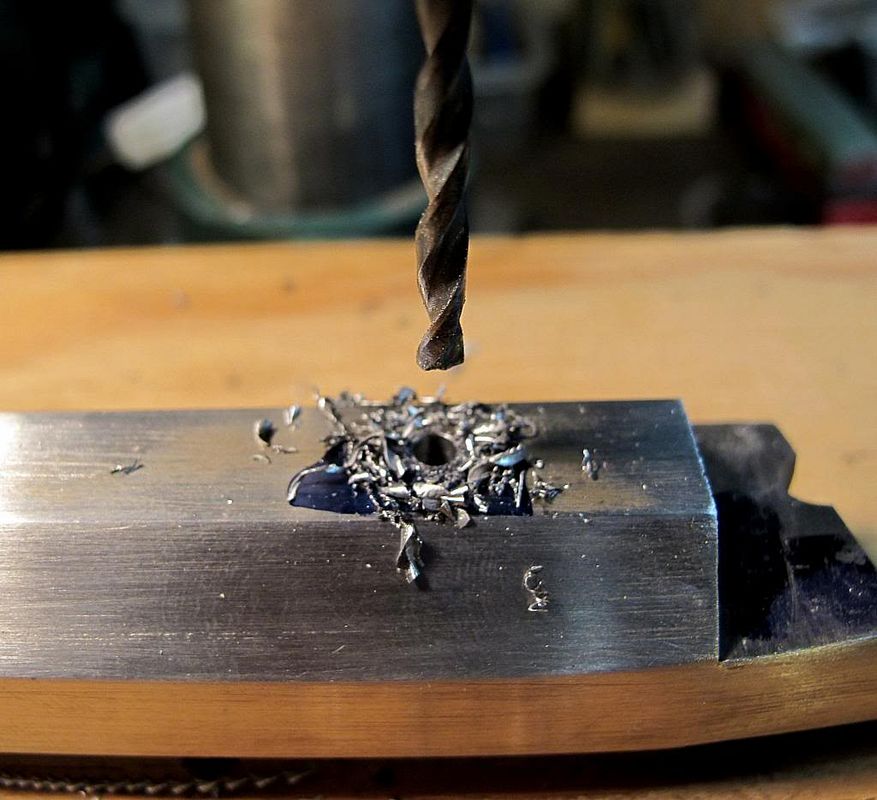
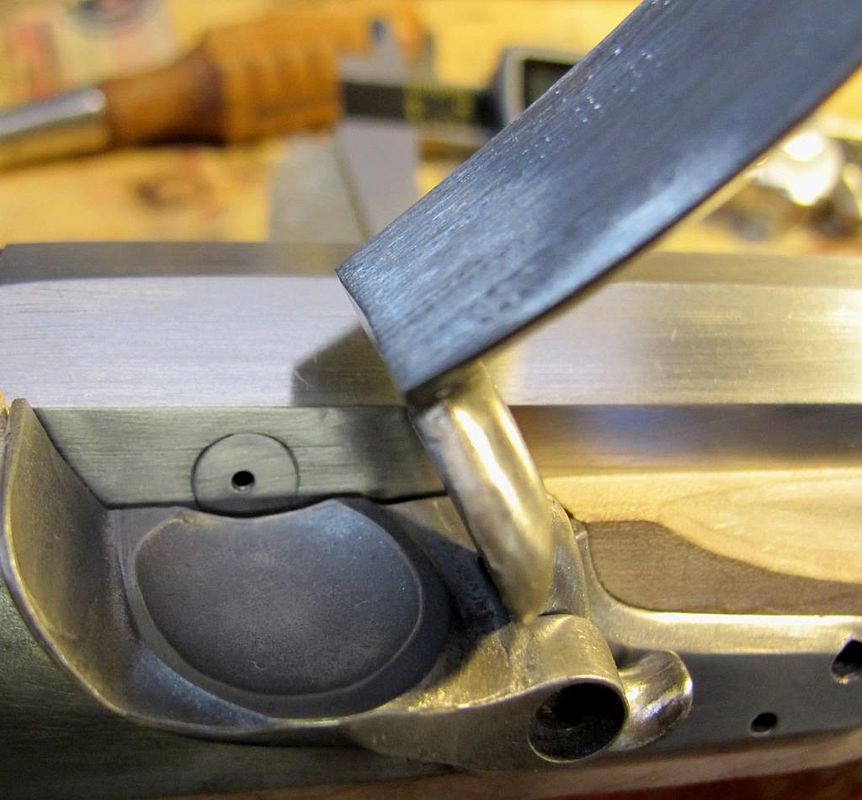
Marked the spot and leveled the barrel under the drill press.
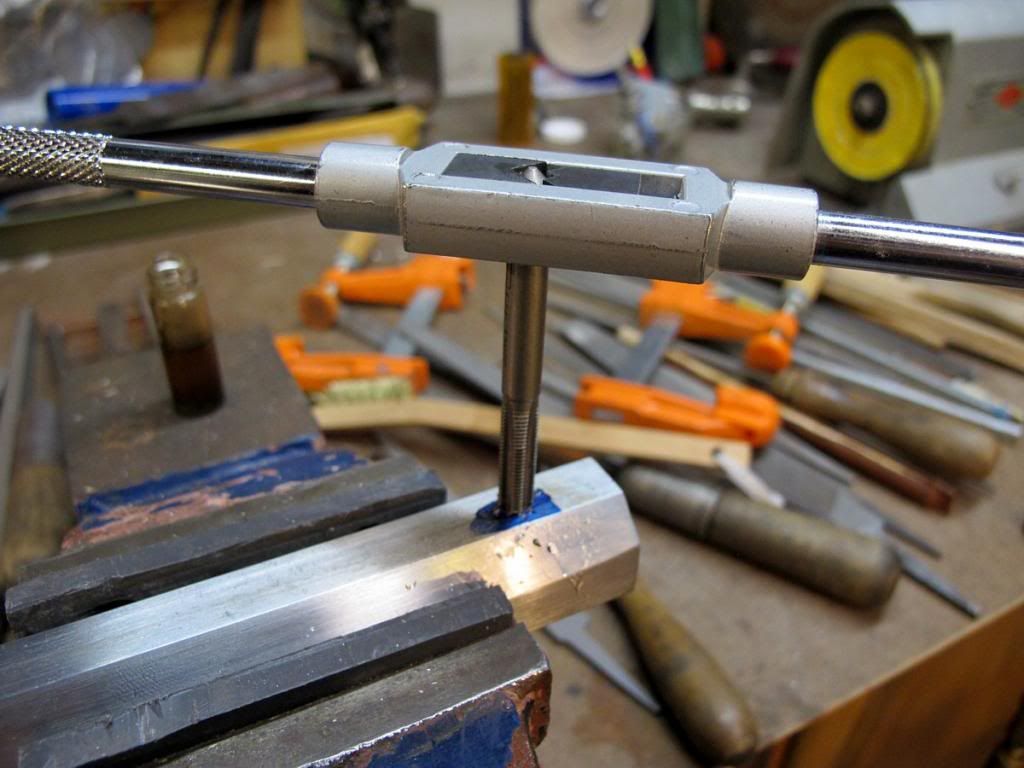
Drilled with three size-steps up to tap size, then tapped and countersunk hole.
You can see I left the breech plug in for the drilling ”“ no reason for that ”“ but I was POSITIVE I was going to miss the face of the plug with the drill bit ”“ still, it’s safer to take the plug out probably.
Hole landed about where I figured with respect to plug face.
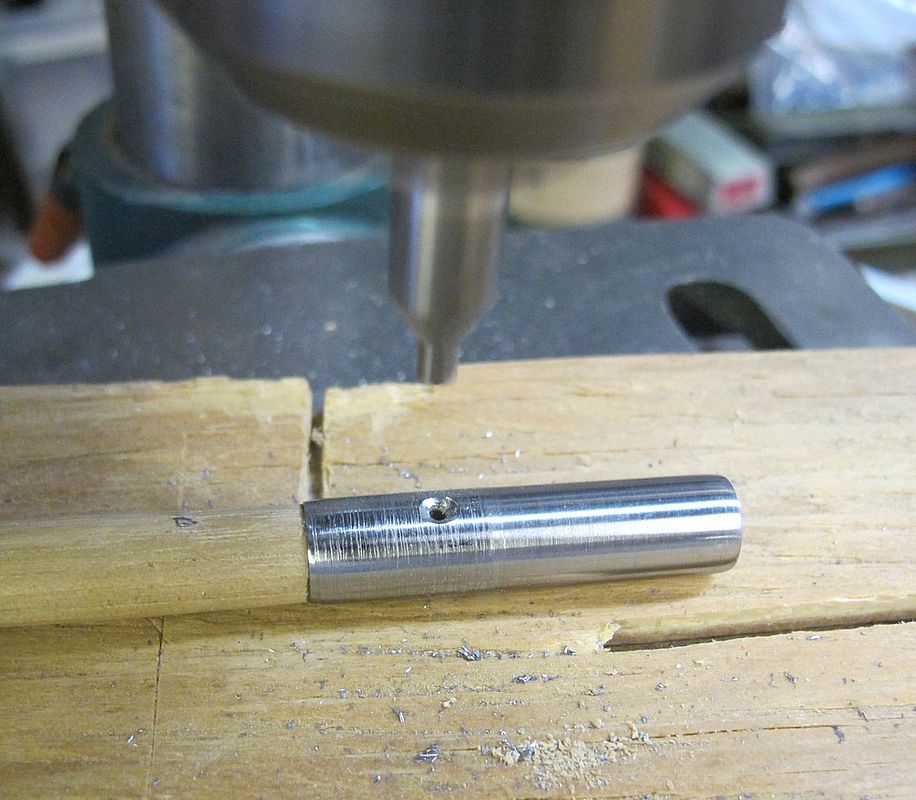
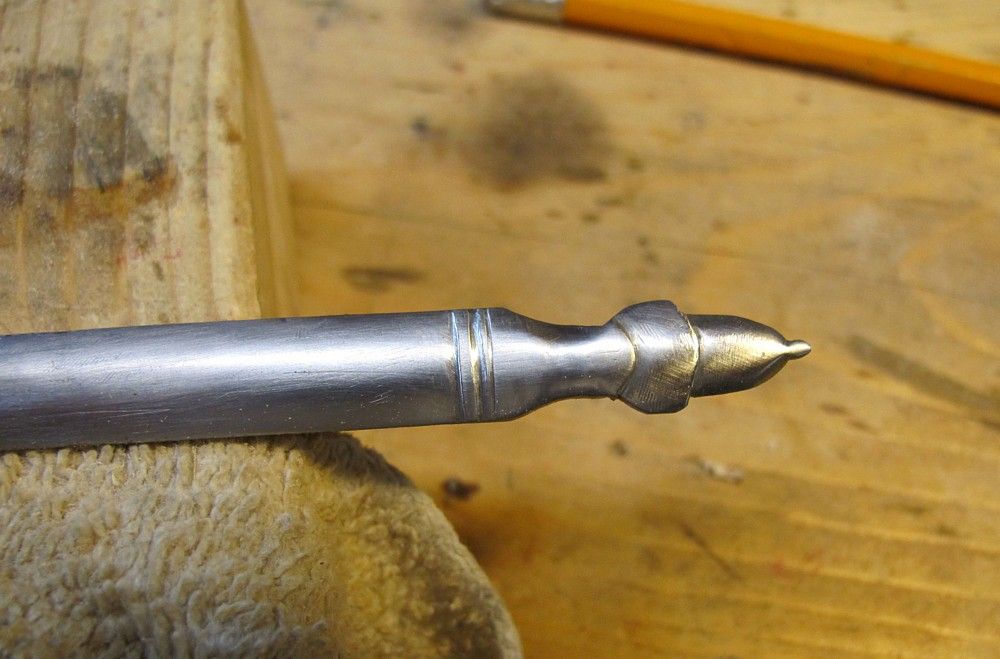
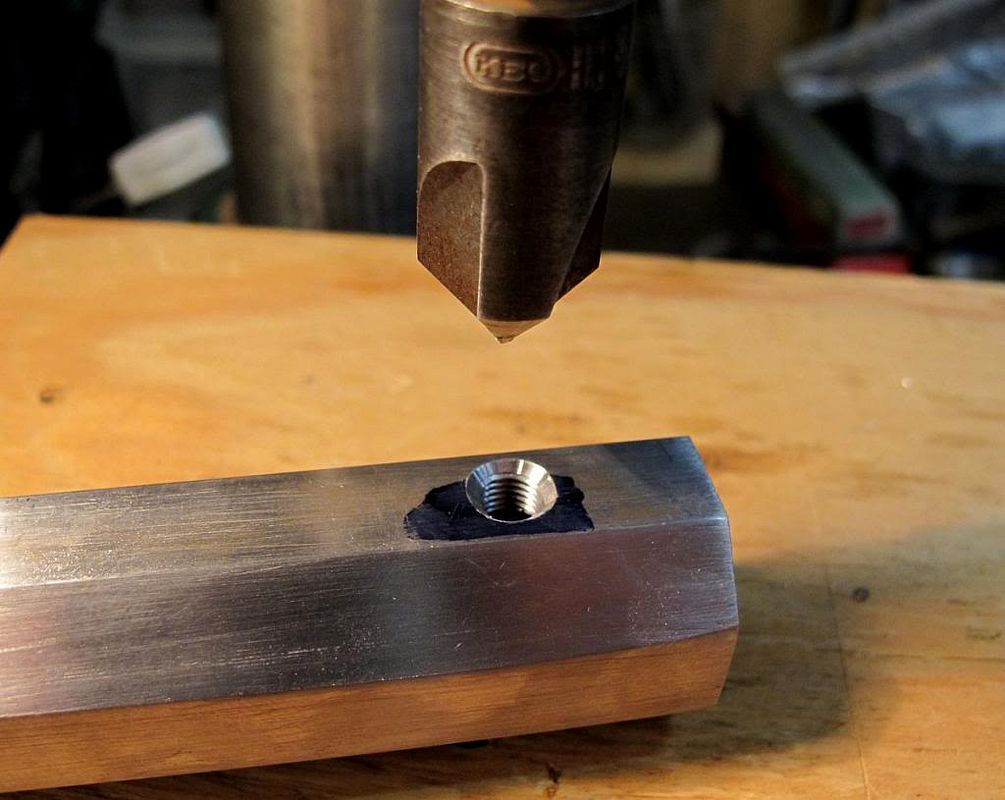
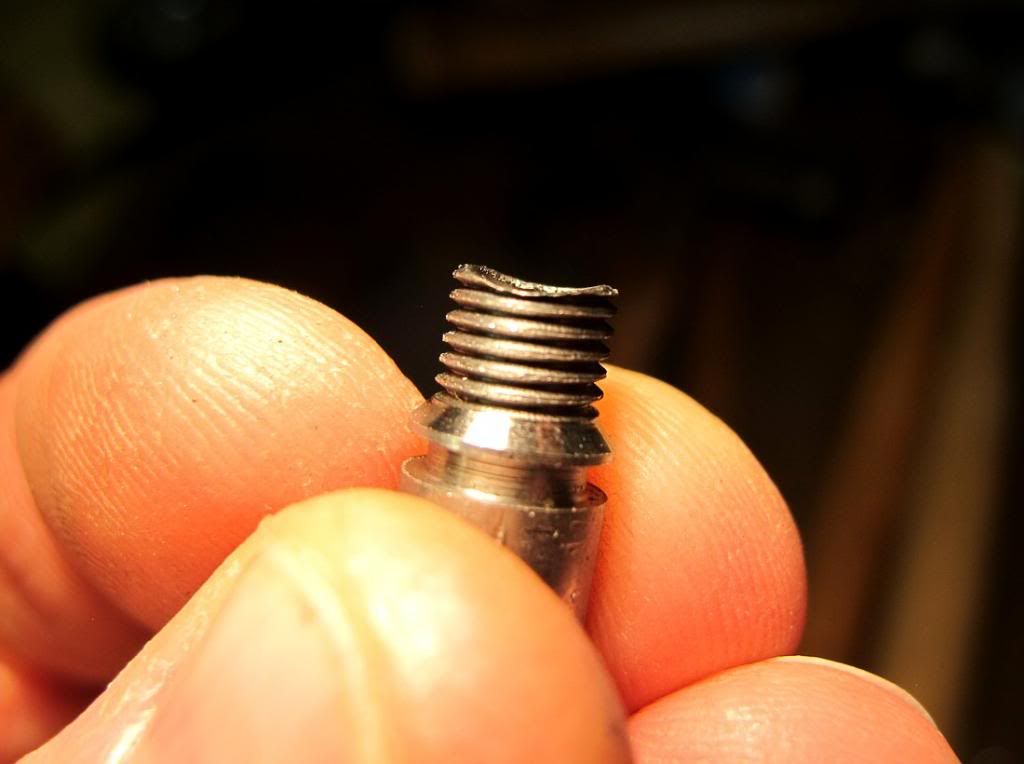
The liner invaded the bore cylinder, as I imagine most do, so I marked the bore axis on the liner knob and filed a radius along that axis.


IMG_2133_zps1e6b7f8b.jpg


IMG_2134_zps5da469b5.jpg


IMG_2135_zpsb9aa3d6f.jpg


IMG_2137_zps6c9a401e.jpg


IMG_2139_zpsaf719744.jpg


IMG_2140_zps33317c83.jpg


IMG_2141_zps5d736bbd.jpg


OK, look away purists !!!
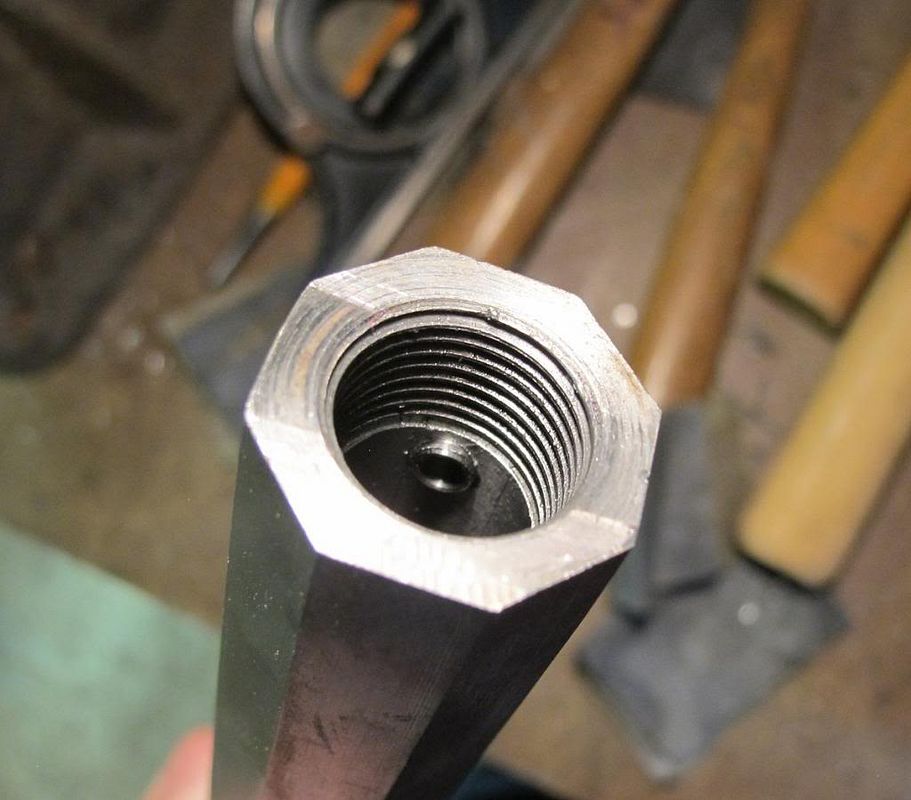
I used a Dremel cut-off on the sacrificial liner nub.
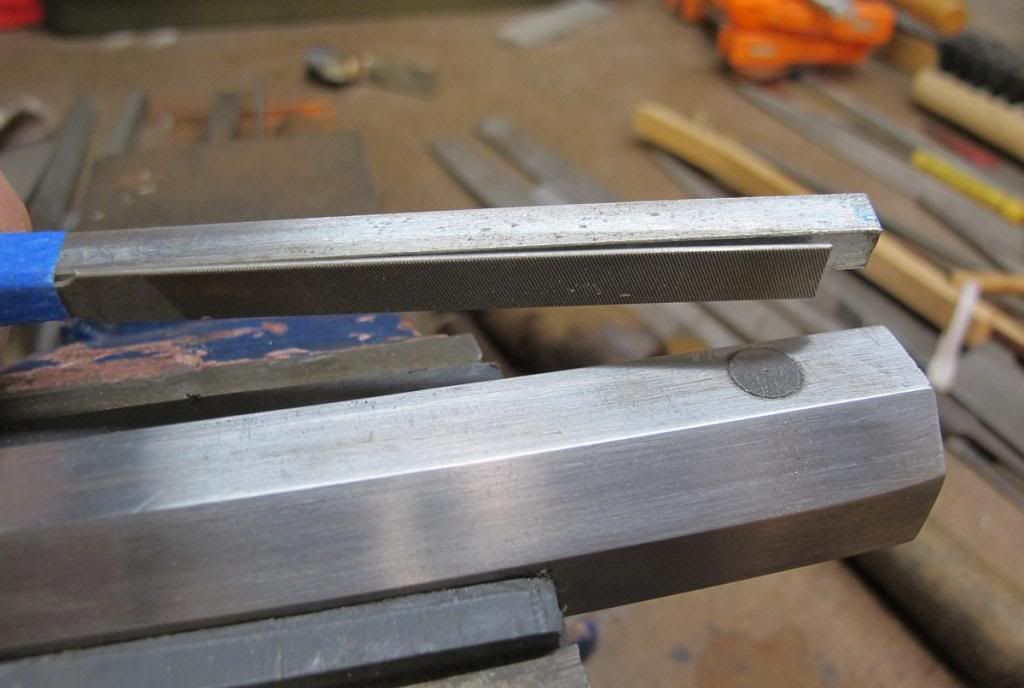
Cleaned it up with a point file backed with some stiff stock and then wet-dry paper.
It’s a simple process, but always glad to get through it with no screw-up.

IMG_2143_zps06faa949.jpg


IMG_2144_zps04d714ac.jpg


IMG_2146_zps25bd89d3.jpg


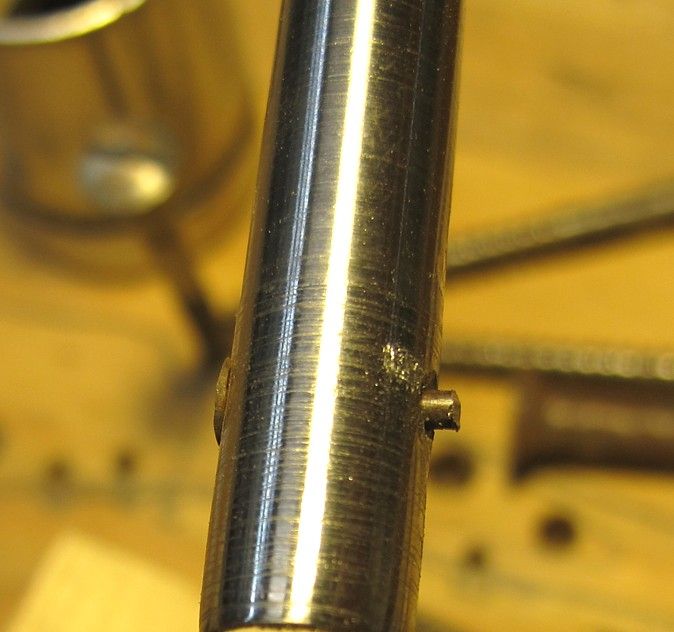
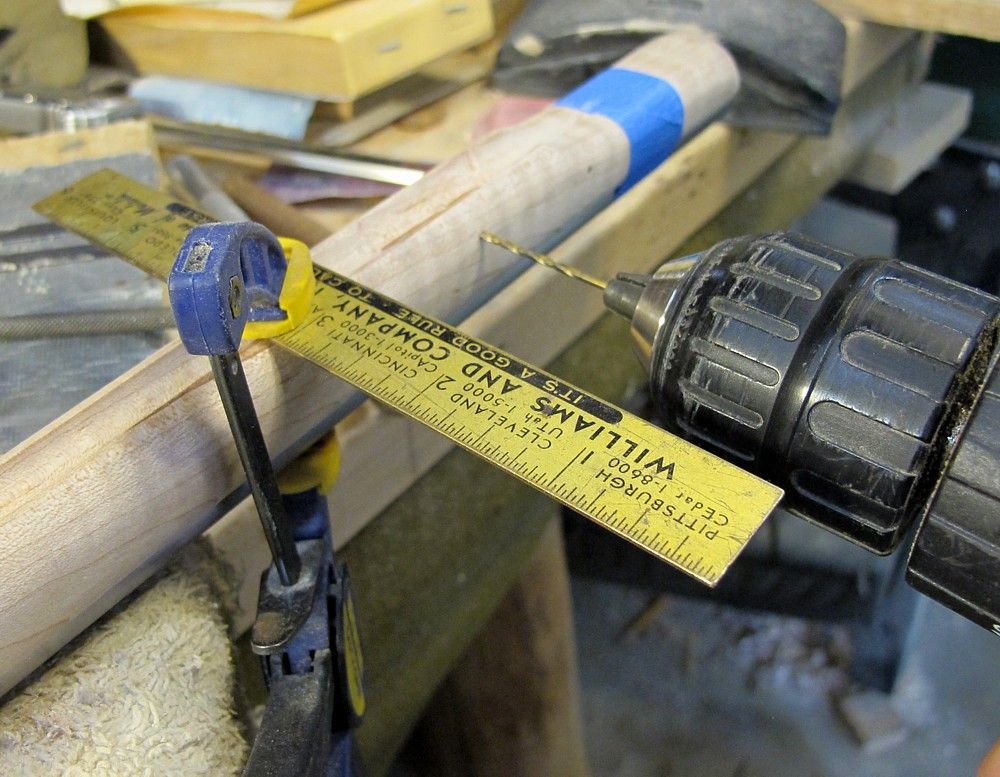
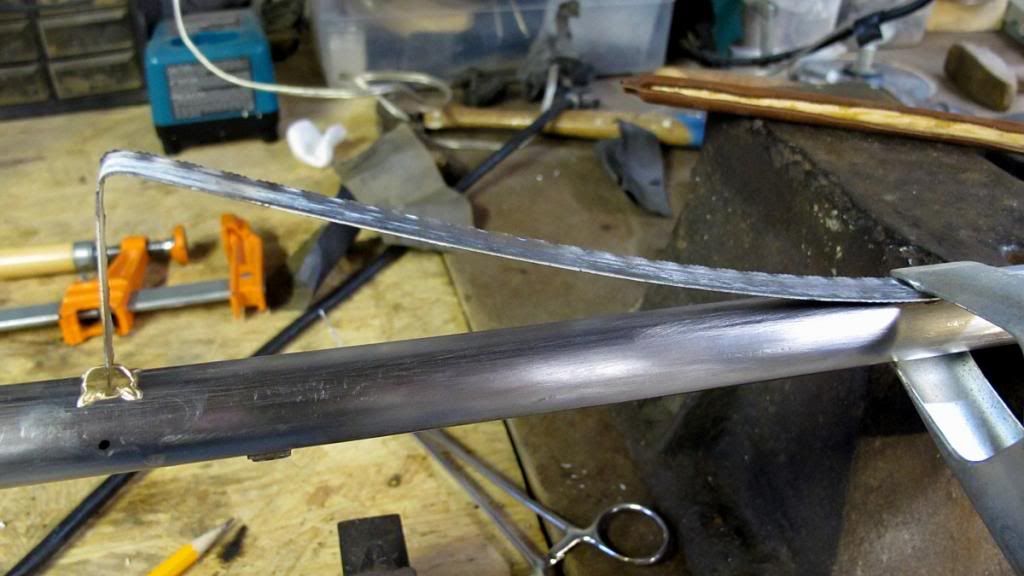
Soldered on the front turtle sight using Birddog’s handy hacksaw blade soldering clamp.

IMG_2148_zpseb4798dd.jpg


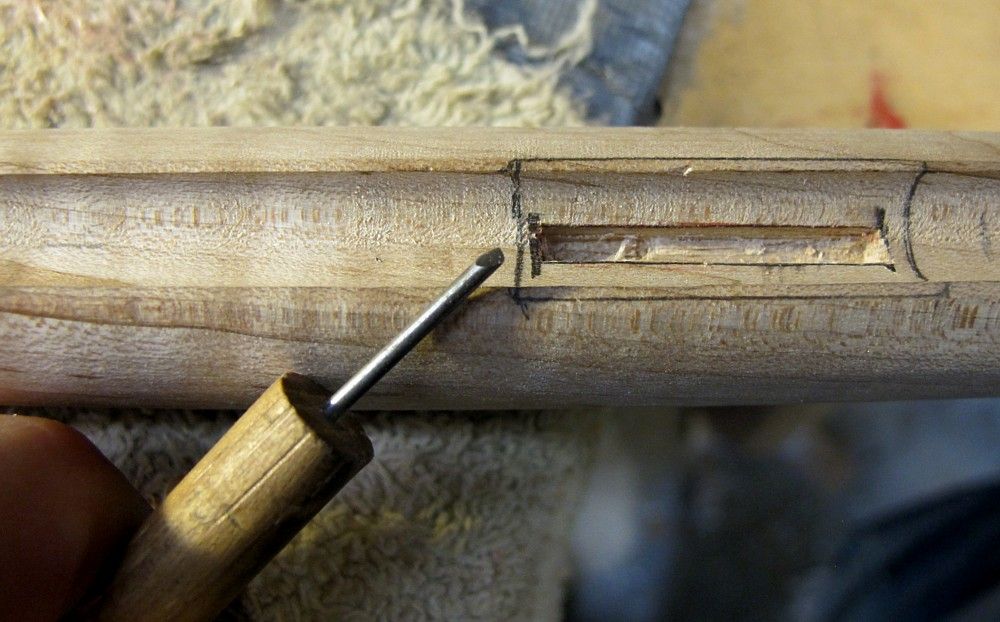
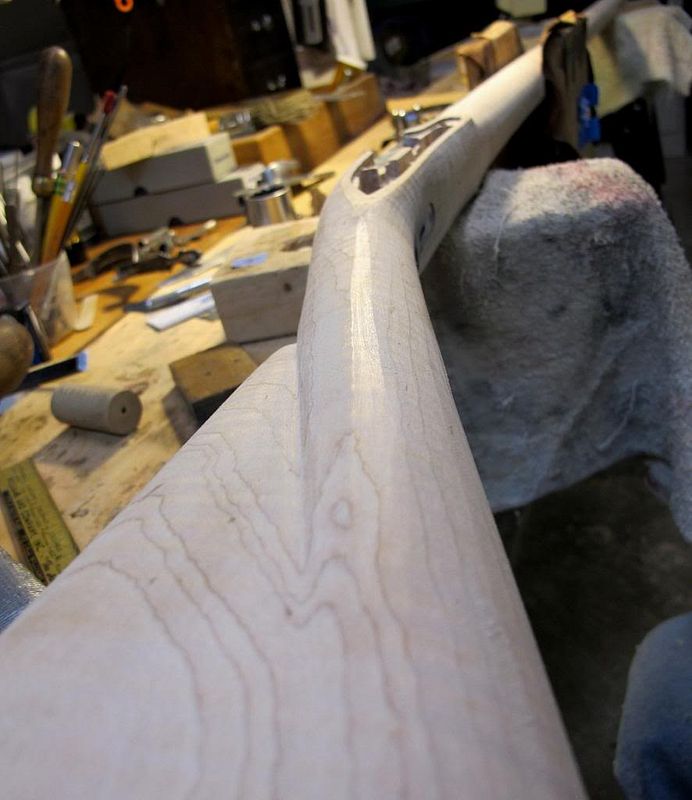
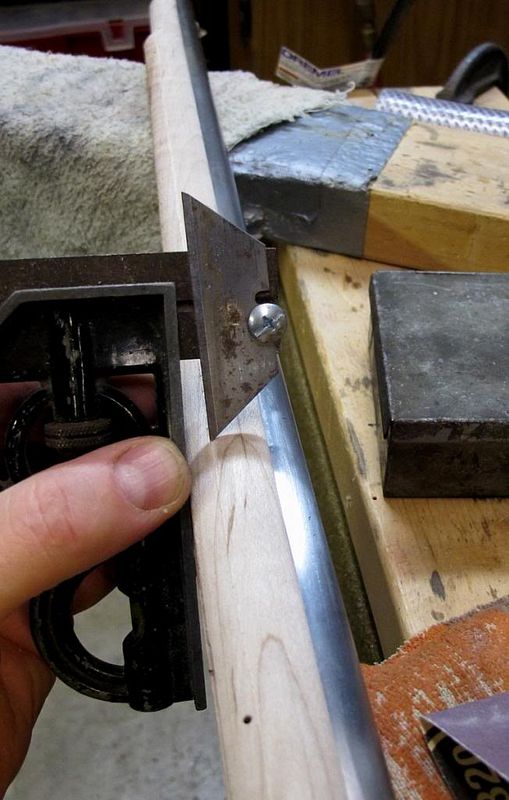
Then added molding line to forestock.
I started with a homemade scratch tool guided by the bottom RR channel line.
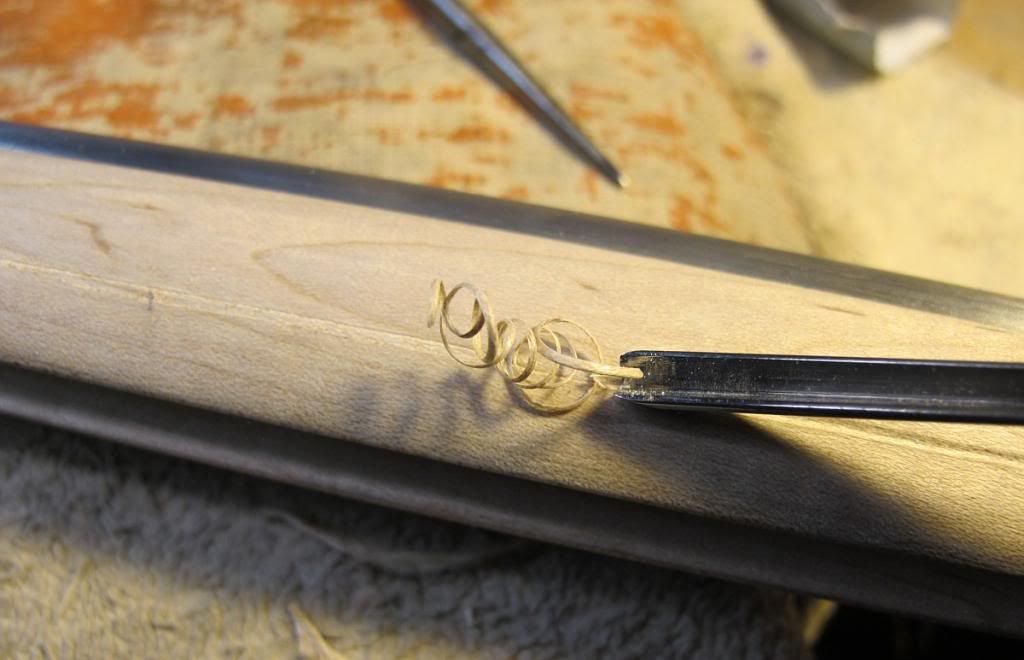
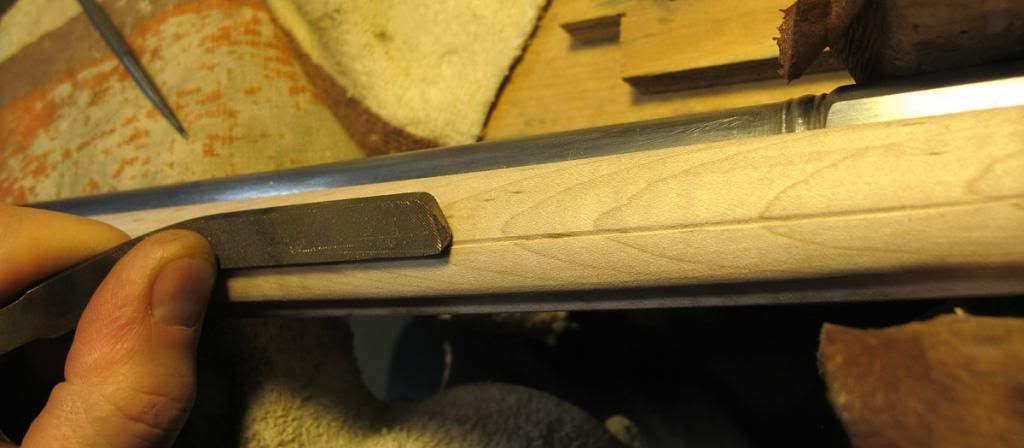
Then used a little veining tool in the scratch mark, and then moved to a modified, sharp-edged file run in the groove to straighten out the little wobbles.
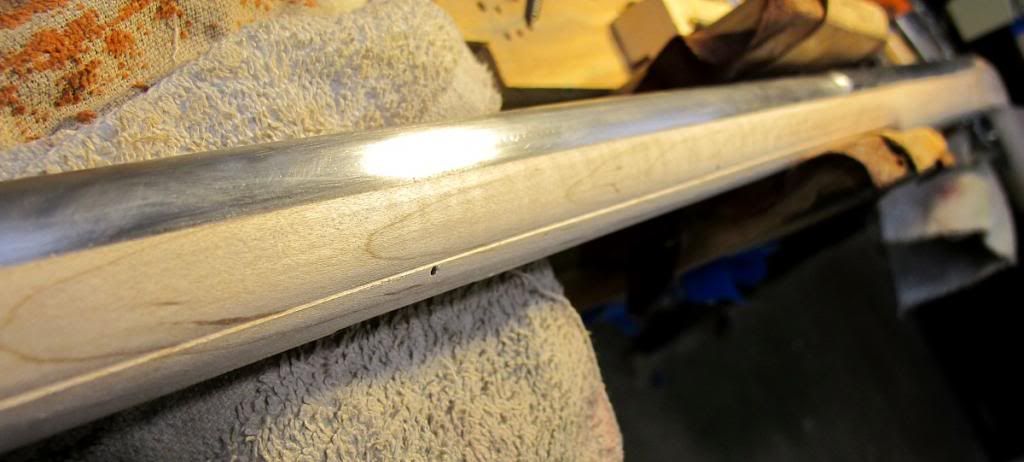
Finish the contouring with a little 320-grit and a lot of scraping.

IMG_2150_zps4f9380fa.jpg


IMG_2151_zps745c54a6.jpg


IMG_2152_zps92c03105.jpg


IMG_2154_zpse89d3f87.jpg


So I’ve got all the metal on and I think I’m about done with the overall general shaping.
Now I’m gonna move into some relief carving in a few select spots ”“ not planning on going overboard with it.
Also acquiring and practicing some modest engraving techniques.
If this thread aborts altogether, you’ll know my carving and/or engraving crashed and burned”¦..
shakehead.gif


/mike
 

Latest posts

Back
Top