Oct. 6, 2023
Hi folks,
I thought it would be interesting to post what I will be doing with an old, unfinished Fowler build that I just bought yesterday. This gun was started years ago (by someone named Callaghan in New Milford) and will be mine to finish up, though with some challenges!
A little bit about this gun;
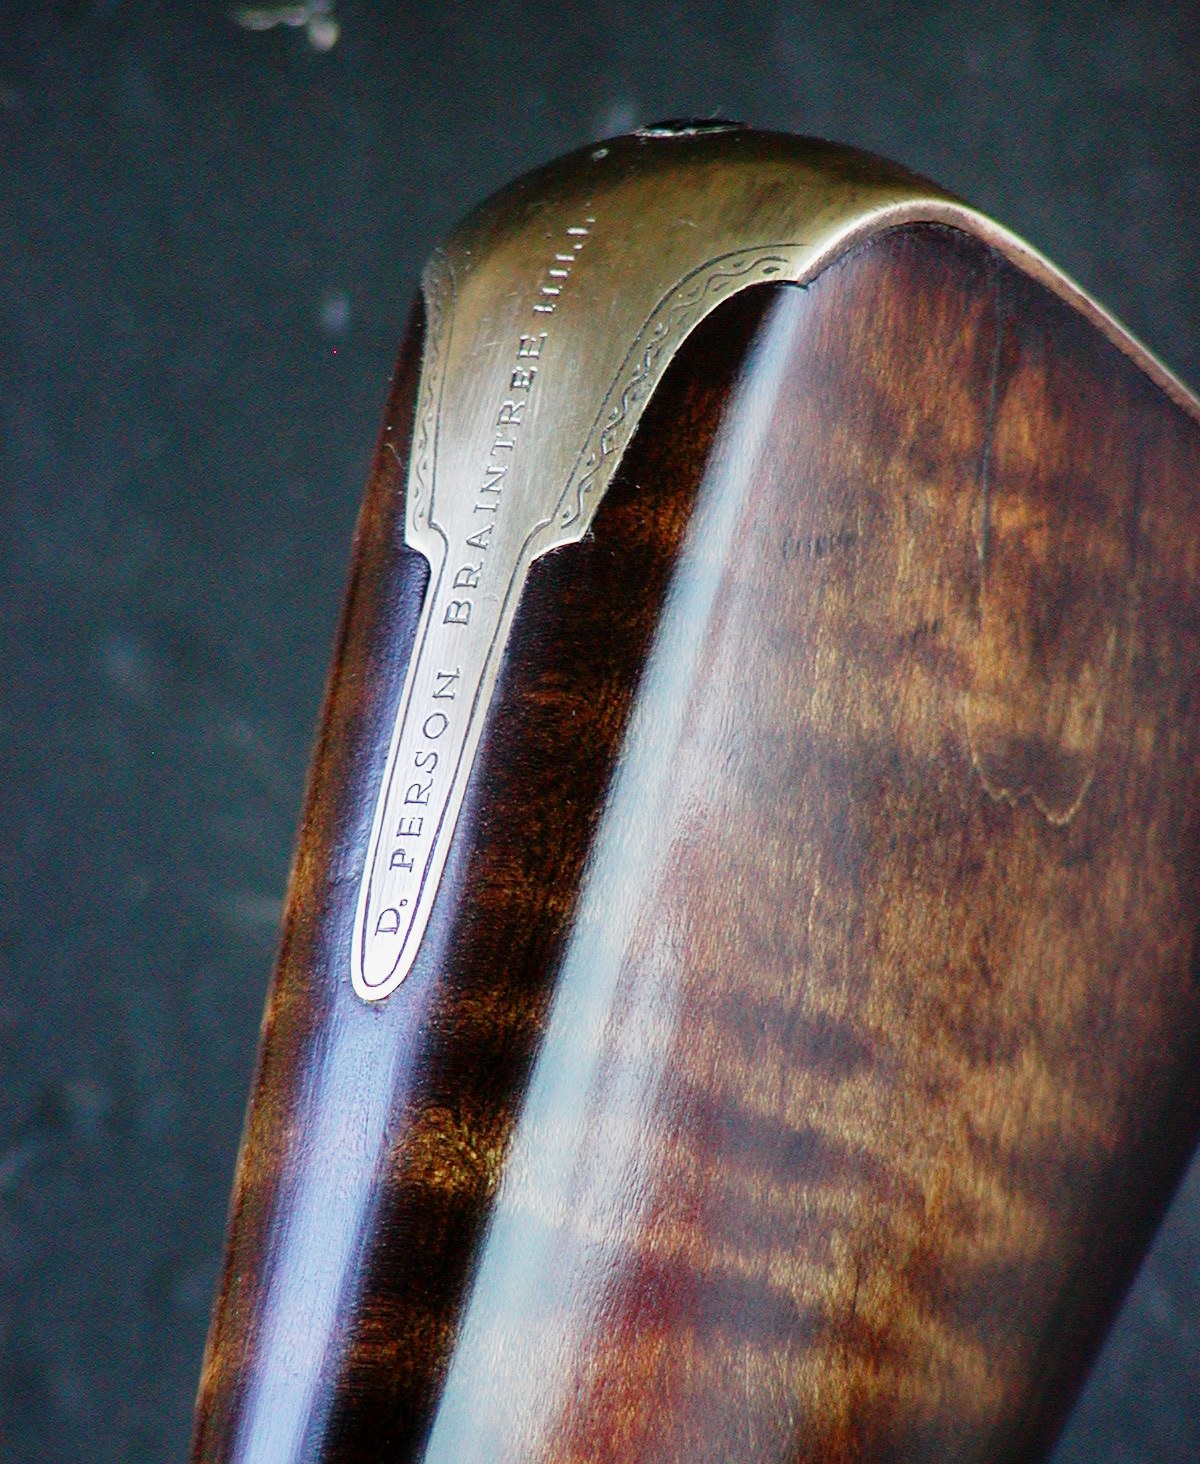
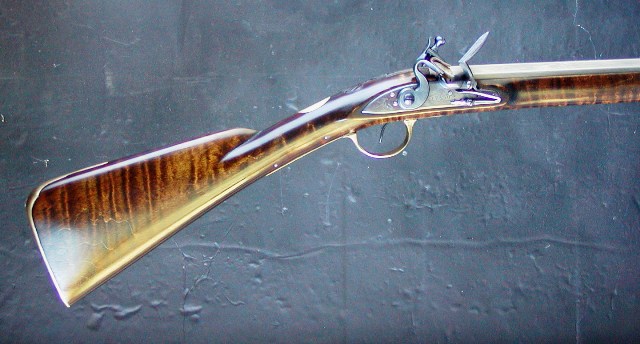
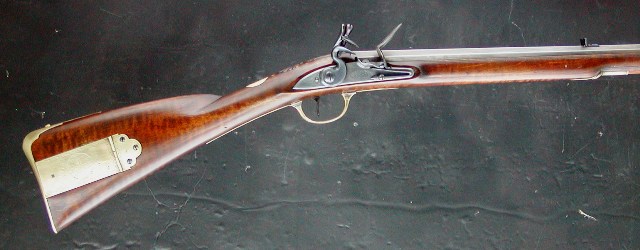
~It is long! The Fowler is some 5'8" from the brass, engraved and signed butt-plate to the muzzle.
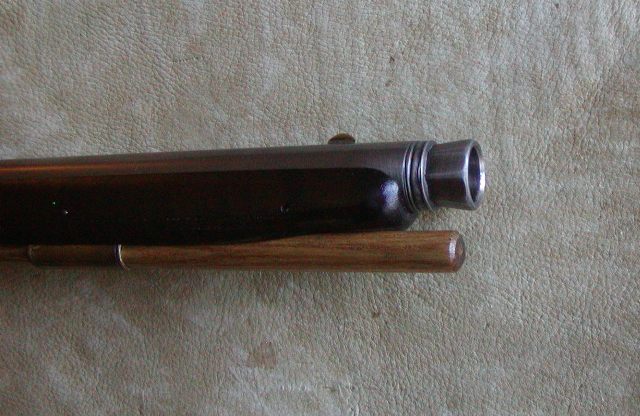
~It has a smoothbore barrel of .69 caliber and measured 51" in length. The barrel is tapered round with octagonal fluting and turned rings at the muzzle, which is really cool.
~The ramrod has a turned horn tip and a nice steel threaded fitting at the bottom.
~Four ramrod pipes with the front pipe coned shaped; a very nice feature.
~The butt plate is 1- 7/8" wide and 4- 1/2 " high, with a return measuring 5".
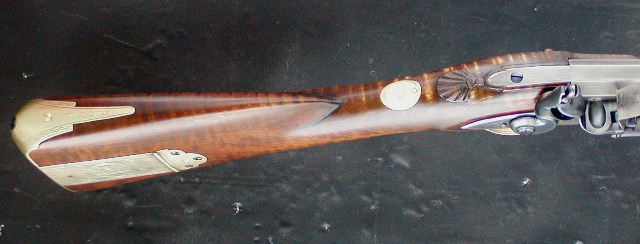
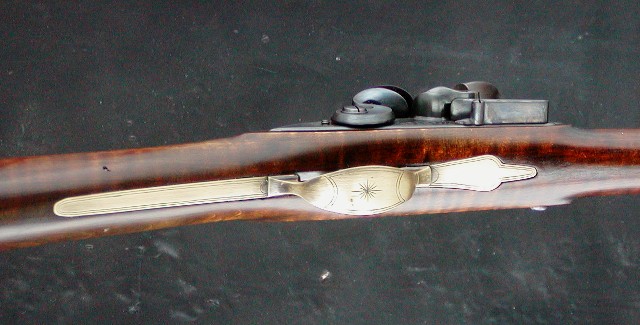
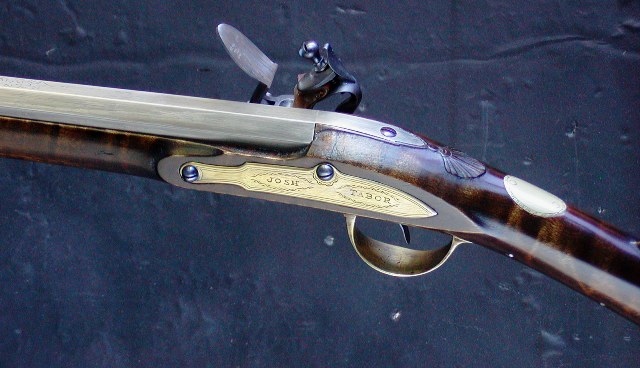
~The one-piece stock is highly figured Curly Maple. The barrel, pipes and butt plate are all inlet with a nice tight looking fit (I have not removed any mountings as yet).
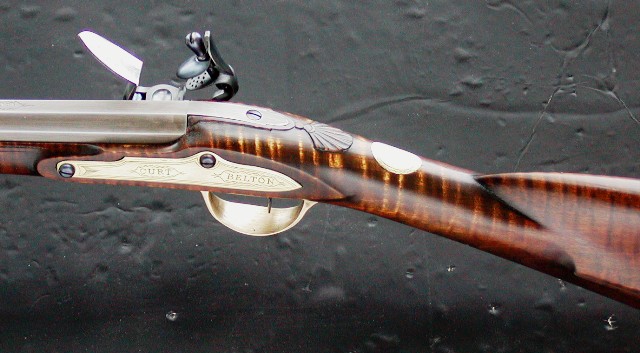
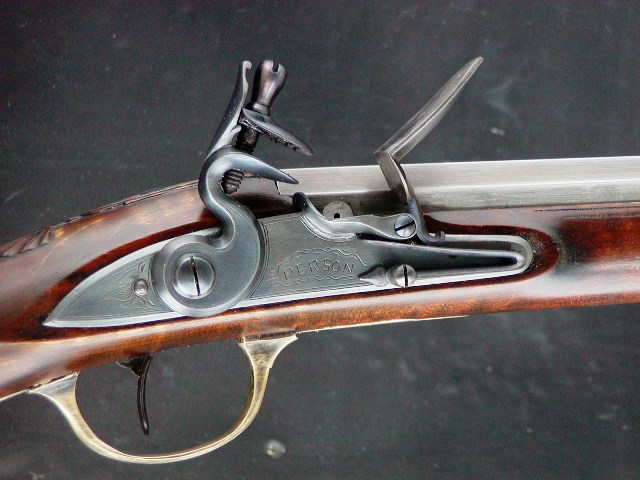
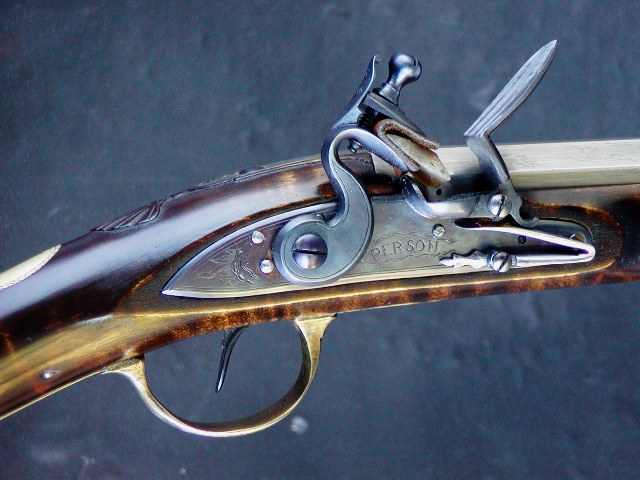
~The lock plate mortise (not the internals, though) and side plate are mortised out for a lock plate that measures 5-1/5 x 1”.
Now the first challenge, and it’s a big one; I can find no lock of those dimensions that would ever fit in the carved mortise and have the pan line-up with the touch-hole area (as yet undrilled). The face of the breech plug is 5/8” into the barrel. As such, any lock template that I have photo-imposed onto the lock mortise places the pan almost at the end of the barrel breech!
Because the tapered barrel (and flared tang) is already inlet, moving the barrel rearward isn’t an option I will even consider. Using a smaller lock and setting it forward into the mortise will not work either. What a mess.
As I thought about it more last night I considered one option – how about use a larger lock? If I set it in at the rear of the mortise and enlarge the mortise at the frizzen spring area, the pan and touch-hole may align. So, I made a plate stencil of my large Kibler lock (6” x 1”) and placed it over the fowler mortise. A good fit at the back 2/3rds! Though the touch-hole would be about 1/8” forward of center-of-pan, that is something I can modify slightly by grinding the front of the pan a bit. OK- that is promising.
Now, with using a longer lock than what the gun is carved for, I have to consider the stock around the lock mortise. Mr. Callaghan had already not only cut out the plate mortise, but he also shaped the molding area around the mortise. This means I will need to cut (file) away about 1” of wood at the feather-spring area, deep enough to match the rounded section there, cut a patch of Maple and glue in place. On both sides.
This appears to be my method of approach to the challenge. It seems to be a workable solution, though it’s in such a highly visible area, making and blending a matching patch will take some doing.
So, unless I discover a lock with a really long hammer throw and short feather spring area, I will move on with this plan.
I will try to update as I go along. If this works, I think it will be a terrific and unique New England (?) Fowler. Attached are some photos of what I will be working on.
Hi folks,
I thought it would be interesting to post what I will be doing with an old, unfinished Fowler build that I just bought yesterday. This gun was started years ago (by someone named Callaghan in New Milford) and will be mine to finish up, though with some challenges!
A little bit about this gun;
~It is long! The Fowler is some 5'8" from the brass, engraved and signed butt-plate to the muzzle.
~It has a smoothbore barrel of .69 caliber and measured 51" in length. The barrel is tapered round with octagonal fluting and turned rings at the muzzle, which is really cool.
~The ramrod has a turned horn tip and a nice steel threaded fitting at the bottom.
~Four ramrod pipes with the front pipe coned shaped; a very nice feature.
~The butt plate is 1- 7/8" wide and 4- 1/2 " high, with a return measuring 5".
~The one-piece stock is highly figured Curly Maple. The barrel, pipes and butt plate are all inlet with a nice tight looking fit (I have not removed any mountings as yet).
~The lock plate mortise (not the internals, though) and side plate are mortised out for a lock plate that measures 5-1/5 x 1”.
Now the first challenge, and it’s a big one; I can find no lock of those dimensions that would ever fit in the carved mortise and have the pan line-up with the touch-hole area (as yet undrilled). The face of the breech plug is 5/8” into the barrel. As such, any lock template that I have photo-imposed onto the lock mortise places the pan almost at the end of the barrel breech!
Because the tapered barrel (and flared tang) is already inlet, moving the barrel rearward isn’t an option I will even consider. Using a smaller lock and setting it forward into the mortise will not work either. What a mess.
As I thought about it more last night I considered one option – how about use a larger lock? If I set it in at the rear of the mortise and enlarge the mortise at the frizzen spring area, the pan and touch-hole may align. So, I made a plate stencil of my large Kibler lock (6” x 1”) and placed it over the fowler mortise. A good fit at the back 2/3rds! Though the touch-hole would be about 1/8” forward of center-of-pan, that is something I can modify slightly by grinding the front of the pan a bit. OK- that is promising.
Now, with using a longer lock than what the gun is carved for, I have to consider the stock around the lock mortise. Mr. Callaghan had already not only cut out the plate mortise, but he also shaped the molding area around the mortise. This means I will need to cut (file) away about 1” of wood at the feather-spring area, deep enough to match the rounded section there, cut a patch of Maple and glue in place. On both sides.
This appears to be my method of approach to the challenge. It seems to be a workable solution, though it’s in such a highly visible area, making and blending a matching patch will take some doing.
So, unless I discover a lock with a really long hammer throw and short feather spring area, I will move on with this plan.
I will try to update as I go along. If this works, I think it will be a terrific and unique New England (?) Fowler. Attached are some photos of what I will be working on.
Attachments


Last edited: