• This community needs YOUR help today. We rely 100% on Supporting Memberships to fund our efforts. With the ever increasing fees of everything, we need help. We need more Supporting Members, today. Please invest back into this community. I will ship a few decals too in addition to all the account perks you get.


    Sign up here: https://www.muzzleloadingforum.com/account/upgrades
  • Friends, our 2nd Amendment rights are always under attack and the NRA has been a constant for decades in helping fight that fight.

    We have partnered with the NRA to offer you a discount on membership and Muzzleloading Forum gets a small percentage too of each membership, so you are supporting both the NRA and us.

    Use this link to sign up please; https://membership.nra.org/recruiters/join/XR045103

Shot Pouch Construction

Muzzleloading Forum

Help Support Muzzleloading Forum:

This site may earn a commission from merchant affiliate links, including eBay, Amazon, and others.
Yes, I've done it that way, it is just as simple and makes a durable wrap. I've never had a wrap come loose, that I recall, probably because I usually melt a thin layer of beeswax into the threads so that it's all glued together.

I learned this many decades ago in fooling with fishing rods, as some have said. For fastening eyes/rings to the rod or just as decorative elements, the technique is identical.

Spence
 
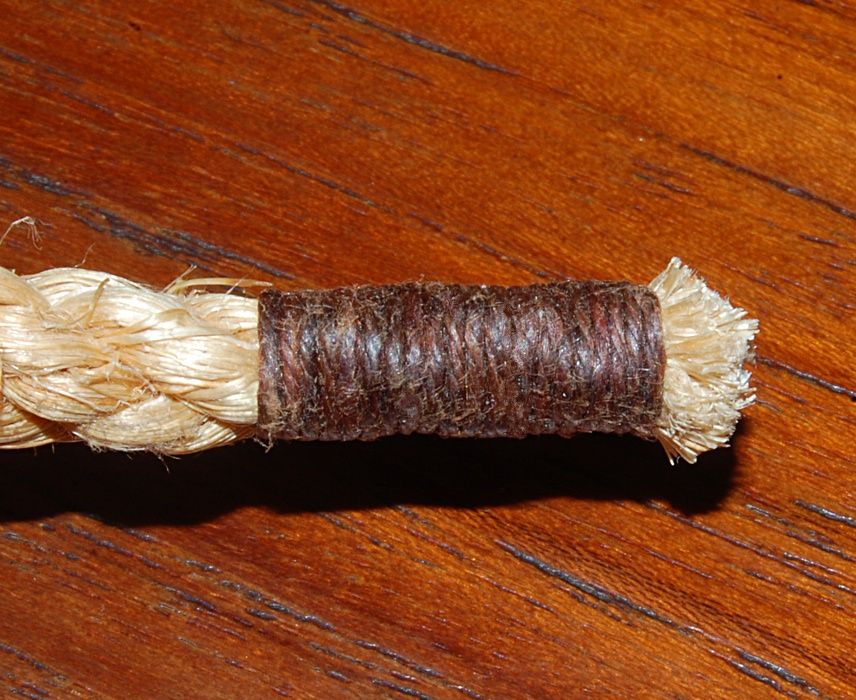
This method was taught in the Boy Scouts under whipping a rope. There were several methods one of which involved using twine with the same process which Gen'l Bob showed so nicely. Those old BSA Handbooks and Fieldbooks are a treasure trove of information and quick checks of YouTube often show those skills are being continued.

The way I was taught and found gave the best result for serious projects:
Link

The way I often wind up doing it:
BSA Rope whipping vid

Another neat method:
More rope whipping
 
A few uses I've found for the technique:

Binding rope ends:


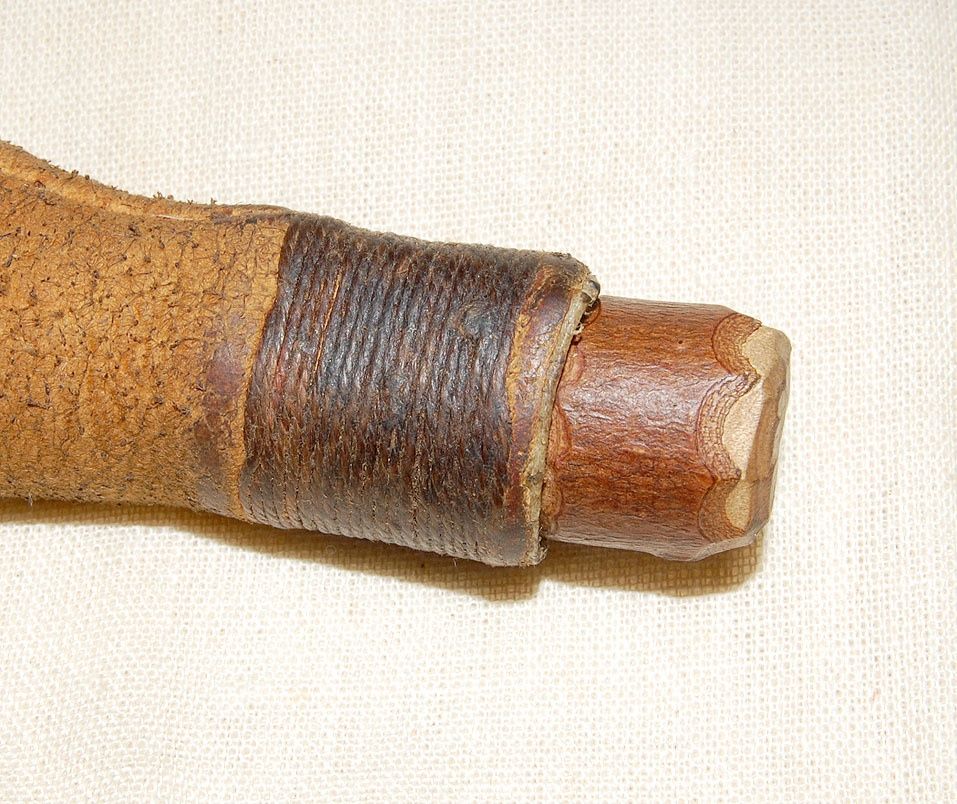
Binding shot bag body to spout, another example:


Reinforcing to prevent splitting:


And others I forget.

Spence
 
All good ideas.

We seem to be wrapped around the axle (or spout as the case may be) but there are some other possibilities. I sometimes like to work the leather without an outer binding or with variations.

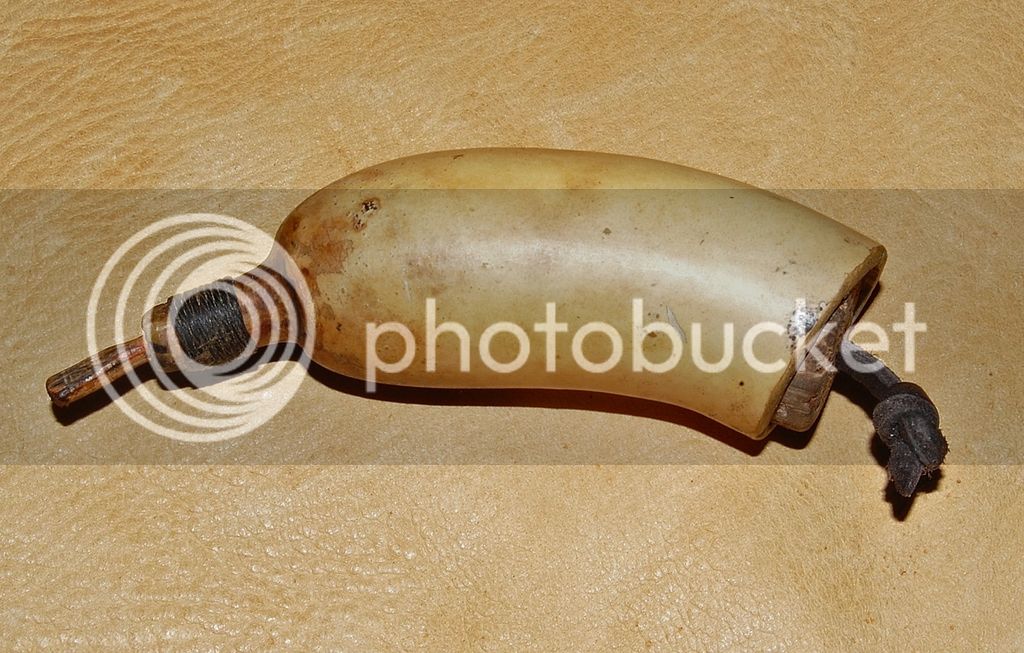
My first ball and shot bags used flared copper tubing for necks:
ShotHolders.jpg


I initially sewed them tight and later wet them to shrink - after this photo was taken.

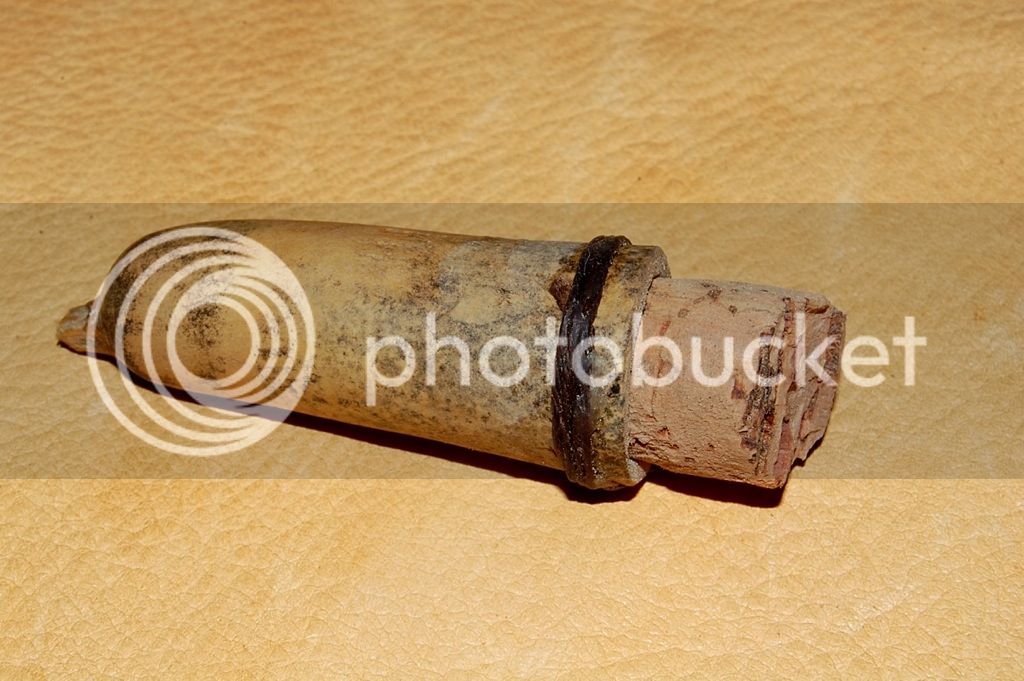
The later ones were turned on a lathe out of wood, bone, horn or elk antler.
IMG_20140102_124442_zpsmberj4ou.jpg


That photo left some of the string showing but I generally trim these off - except for the braided one.

IMG_5943_zpsrzffjj5b.jpg


The photo above was a copy of a neck that I bought at Dixon's a few years ago and stitched into a bag.

Here are some originals which were used in Karl Smith's book: Gettin the Lead Out and then sold at the CLA to pay off his initial costs:
IMAG0505_zpseuixwe4n.jpg


No real point - just random thoughts.
 
Spence: Is the neck of the leather spout, under the cord whipping, sewn all the way up sides or are the two halves left as flaps? I want to prevent the leather from bunching up under the tightened cord or at the base of the neck.

Thanks, Smollett
 
Sewn all the way up and snug on the spout before the wrapping is done.

But...there are many different ways to do most things. :grin:

Spence
 

Latest posts

Back
Top