• This community needs YOUR help today. We rely 100% on Supporting Memberships to fund our efforts. With the ever increasing fees of everything, we need help. We need more Supporting Members, today. Please invest back into this community. I will ship a few decals too in addition to all the account perks you get.


    Sign up here: https://www.muzzleloadingforum.com/account/upgrades
  • Friends, our 2nd Amendment rights are always under attack and the NRA has been a constant for decades in helping fight that fight.

    We have partnered with the NRA to offer you a discount on membership and Muzzleloading Forum gets a small percentage too of each membership, so you are supporting both the NRA and us.

    Use this link to sign up please; https://membership.nra.org/recruiters/join/XR045103

making a forge

Muzzleloading Forum

Help Support Muzzleloading Forum:

This site may earn a commission from merchant affiliate links, including eBay, Amazon, and others.

frontierman01

36 Cal.
Joined
Aug 22, 2009
Messages
70
Reaction score
0
Hello everyone. I would like to build a small forge so that I can shape metal and build things. can anyone provide any tips or advice? I'm using an old propane tank and was wondering where to put the air source. does it get pointed at the coal, or does it have to be embeded in the coal? thanks
 
Last edited by a moderator:
Several forums deal with this issue. In detail. Just google: blacksmith forums. You can get help there on how to be successful with your first attempted forge.
Your air source comes in from the side (side blast) or the bottom (bottom blast) and is set just to the side or just below the solid fuel.
 
Unless you really want a coal forge I would strongly suggest building a propane one. Ron Reil has one of the better sites on the subject.
 
I built mine from an old semi-trailer rim, with a hand cranked blower. I can take the hand crank blower off and put on an electric blower, which uses much more coal.

10xxa38.jpg
 
I built one years ago using a brakedrum from a truck nestled in a box of sand as the fire-pit; a couple of plumbing nipples, a "T" fitting and my wife's old hair drier and I had a pretty good forge.
 
I would buy this book: https://www.amazon.com/Wayne-Goddards-Knife-Shop-Revised/dp/0896892956

It sounds like you want a small set up. I made the "one brick" forge. You need a special kind of brick used for fireplaces, not regular brick. This brick often cracks so you need to have a few wire bands around it.

With this one brick forge you can use propane. I got the steel up to a bright yellow (way too hot) and burnt out the carbon. The point being, propane is often not hot enough for larger forges (I think) but it works in this one brick set up. The blade needs to be no larger than around 5". You cannot do a big Bowie knife.
The book has a lot of very good information on forge welding, etc. IMHO well worth the price.
 
Last edited by a moderator:
I bought that book fully expecting to make a $50 knife shop...NO SUCH LUCK! He was able to put together such a shop because of all the stuff he had lying around in his garage that he could re-purpose. Things like large electric motors. He did have great info on his 1-brick forge but I was very disappointed in the book.

Here's a link to how to make a coffee can forge. Pretty ingenious, simple, and cheap.
https://www.youtube.com/watch?v=uIRTcmR6sSk

Twisted_1in66 :thumbsup:
Dan
 
Last edited by a moderator:
I don't know. I didn't have a 1950's style washing machine motor hanging about let alone the much larger one he used for his belt grinder. About the time I tried to find a comparable electric motor, the price went through the moon. In any case I have a belt sander now, so I stopped looking.

It does have lots of other good info in it but don't expect to put together his knife shop for $50 or you will be disappointed. When I bought the book it was $18.95, which left me $31.05 for everything else.

OK, I know I shouldn't count the price of the book in the $50 but you really need a grinder, a belt sander, a drill press, and a forge and that's going to cost you a lot more than $50 if you don't have all the component just hanging around. And did I mention an anvil, hammers, and tongs? Of course you only need those if you are going to do forging and can get by without them if you are doing stock removal. Of course with stock removal, you'll still have to send the knives out to be hardened.

Twisted_1in66 :thumbsup:
Dan
 
I built one years ago using a brakedrum from a truck nestled in a box of sand as the fire-pit; a couple of plumbing nipples, a "T" fitting and my wife's old hair drier and I had a pretty good forge

The brake drum ones are renown to work well.

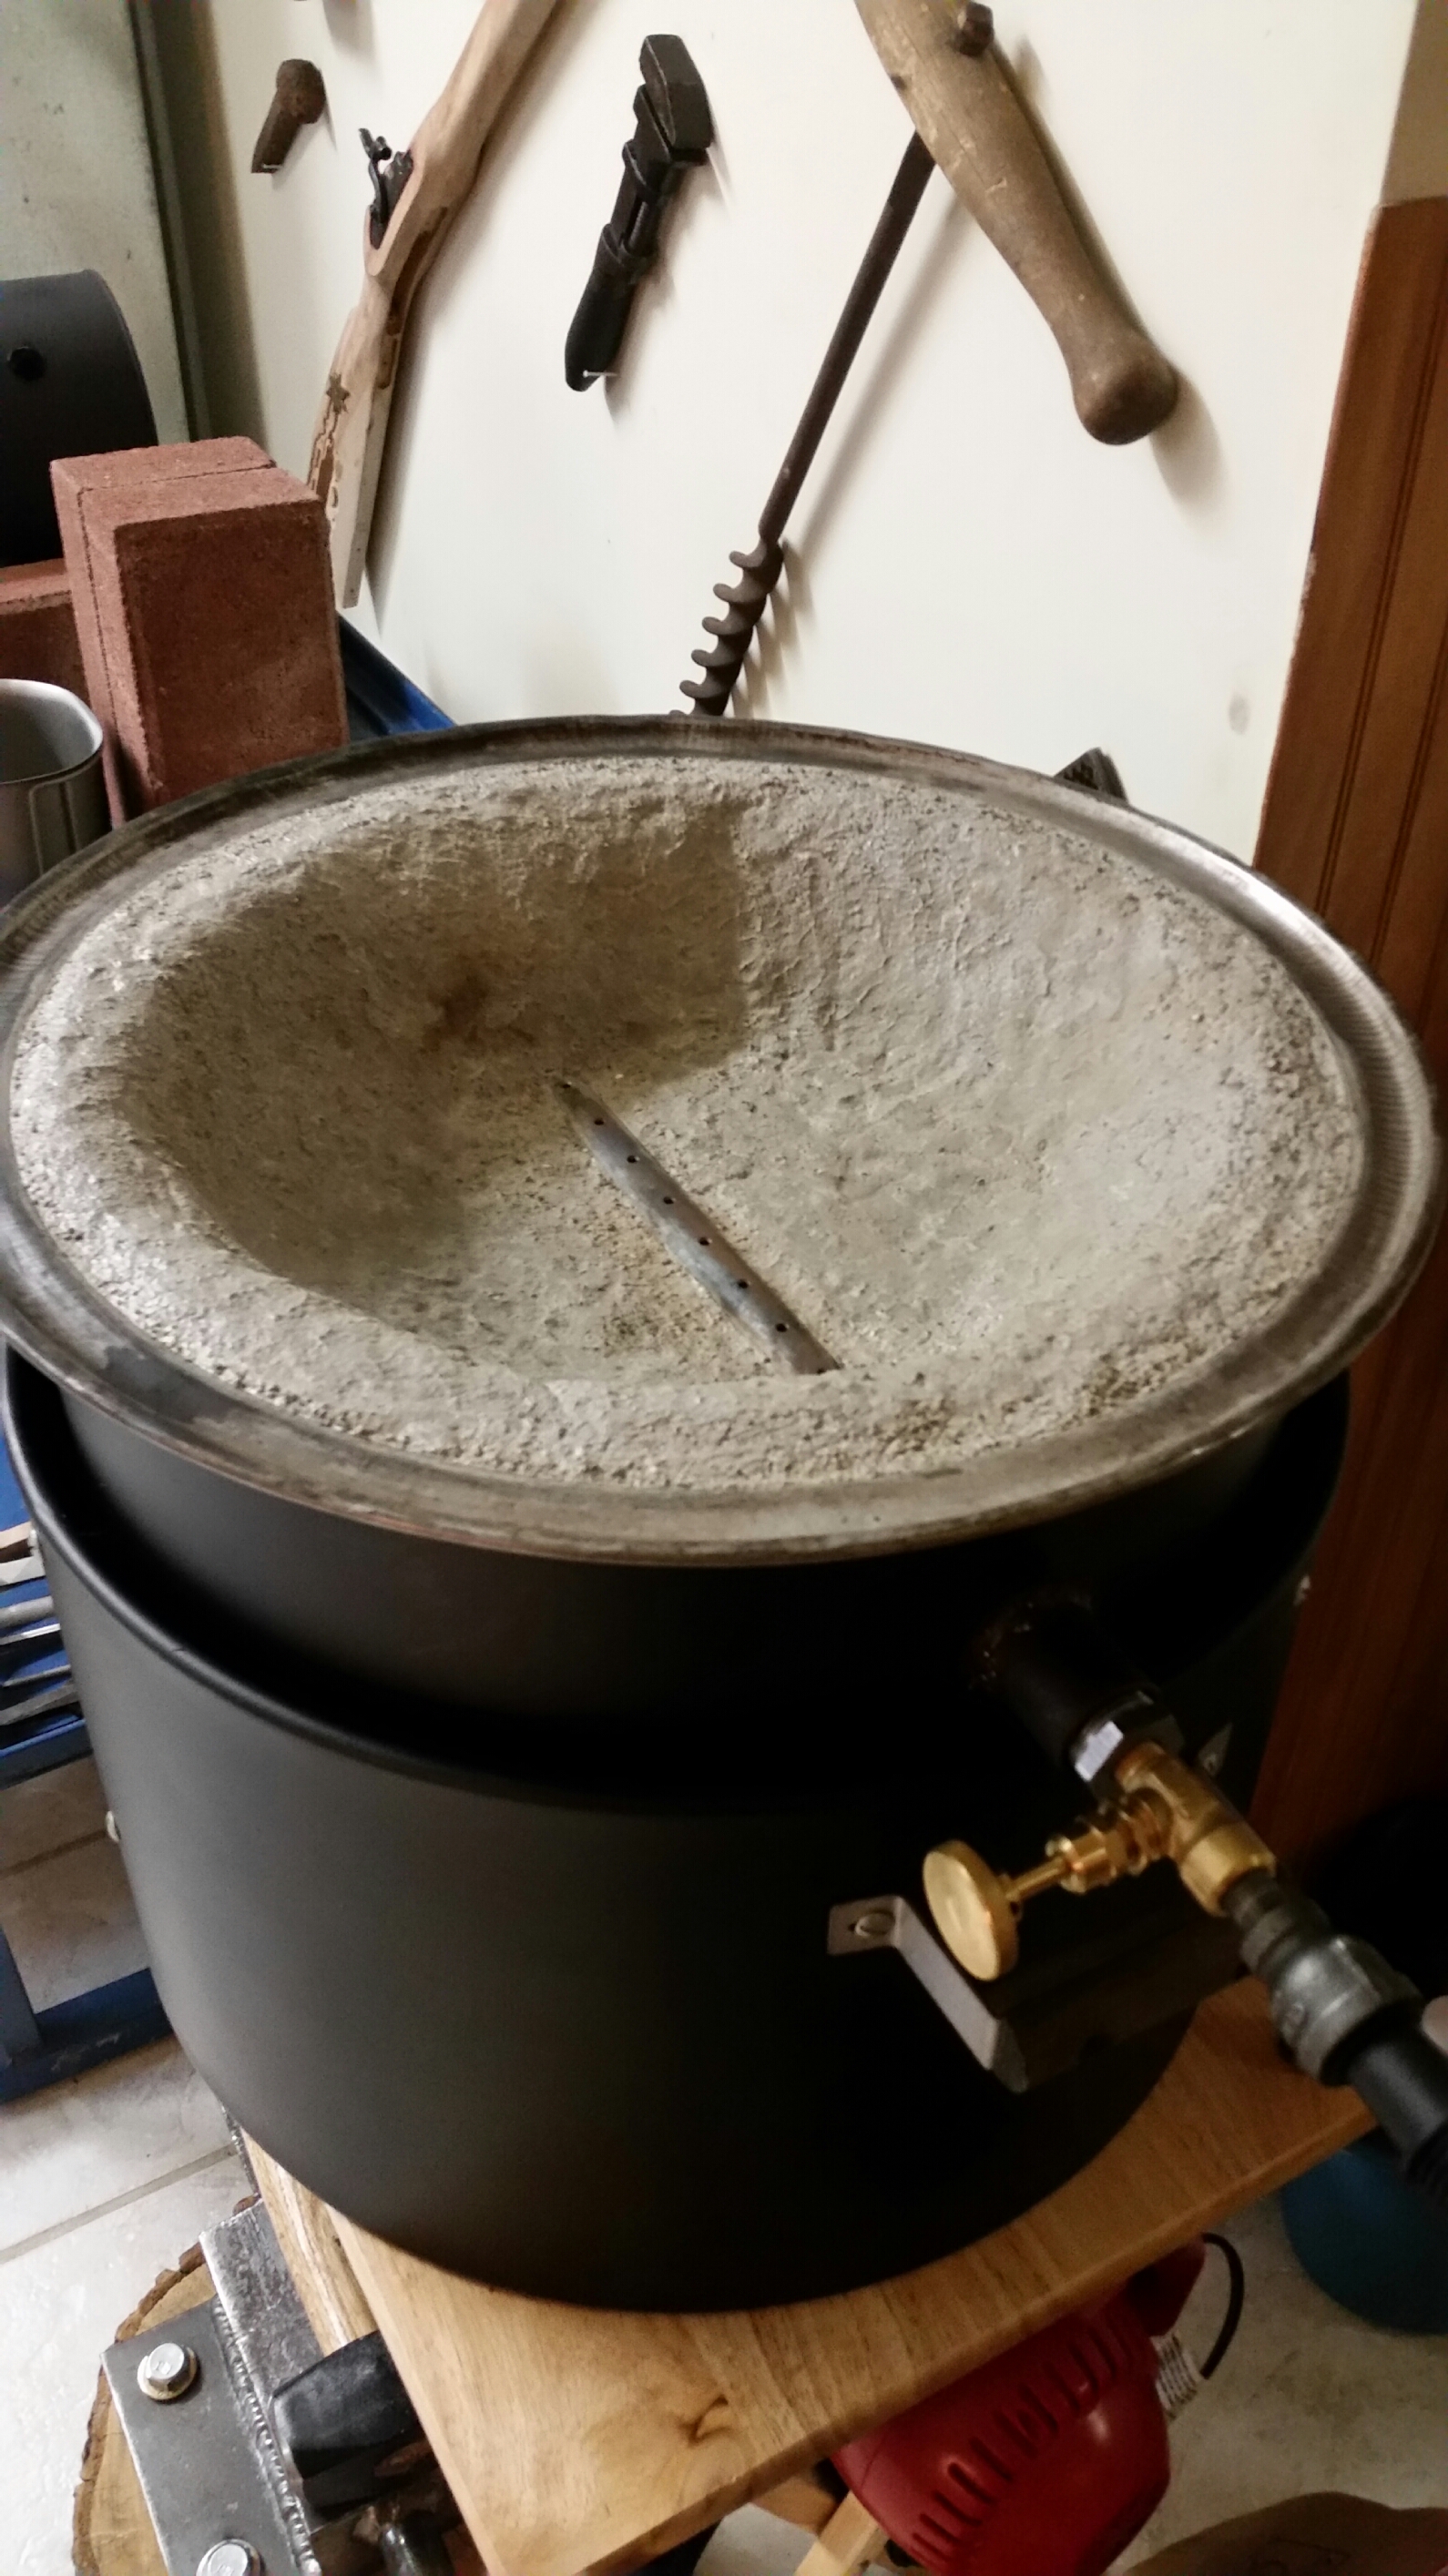
I made one from Quickcrete concrete using sand as an aggregate instead of the plain version. I made a mold using a small, cardboard box about 10" x 10". First I placed some cardboard on the bottom, so that I had about a 1" depression with a 1" border. Then I fashioned a shallow, carboard cone, more like a funnel shape, and placed this in the center of the carboard on the bottom. Then I used two toilet paper tubes joined with masking tape like this |”“. This was masking taped to the tip of the cone within the box. What this did when the concrete was mixed it, and poured into the mold..., it created a 1" deep inner space with a shallow depression, AND an opening beneath the depression for ash to fall, plus an opening to the side of the ash chamber which allowed air to be blown in from below. I bought a commercial, round tuyere to cover the coned area in the concrete (I made the cone to allow the tuyere to sit inside). When it was hardened, I simply removed all of the cardboard bits, and inverted it on the ground to allow it to finish curing. I fired it up with charcoal and using a hand drier for the air. It cracked slighly, but I had used a couple of handfuls of galvanized finishing nails inserted into the concrete as I did my pour, at odd angles to create a sort of "reinforced concrete". Some folks told me this wasn't the right idea...it's been working for several years now.

It's great for heating up small parts and for fixing frizzens....works with coal or charcoal. I found it was important to use Quickcrete as a slow to set up concrete would crush the cardboard forms within the mold before taking the proper shape because the water in the concrete of course softens the cardboard.

The advantages about the concrete is that I could fashion another with a special firebox if I wanted to get even heating on knife blades, for example. I'd probably apply a layer of refractory cement on the areas that are in contact with the heat in the next one that I make. I simply place it on the ground when using it, no need for an ash gate. It's stable, I'm not going to tip it over, and it was super inexpensive to make, and a short time from pour to use.

The disadvantages are it's heavy so while it's not going to get tipped over, it's not light to move around. The concrete does take heat and hold it so you're not going to wrap up a job at a friend's house, and then chunk it in your trunk and drive home right away. You have to be mindful to keep it from getting rained on between uses so you have to store it in the shed, for if you get some tiny cracks and moisture gets in, then you fire it, the expanding steam might cause you a world of problems.

But..., For the cost of some scrap cardboard, a bag of sand aggregate concrete, and a a store bought tuyere....not too bad.

LD
 
I have two forges, a small paint can gas forge lined with kaowool and ITC-400. This little bugger runs on simple propane utilizing a spiral flame torch head. I use this for small projects and it heats up extremely fast and is very efficient.

My other is a larger coal forge of an open pit design that has a black pipe air bar embedded in the bottom that allows forced air to be blown up. This is used obviously for larger projects and forge welding.

Forges can be as simple as a hole in the ground to elaborate contraptions.

ekS0qkz.jpg


My gas forge before painting and the ITC coating. Love this little thing. Even up to full operating temperature I can rest my hand on the body of the forge.

UXrRNwf.jpg
 
I've burned both, I also do prefer real hardwood charcoal, not briquettes.

Obviously more charcoal is consumed to produce the heat needed were coal is more effective. However for my needs hardwood charcoal has never disappointed me yet.

Another neat feature I incorporated into my forge is the ability to place a grate over it once my forging is done. This allows me to use it as a grill!
 
Dawg, agree on hardwood charcoal making very good forge fuel. I ended up buying the big sacks of lump. Interesting about the grill -- and smelling pork cracklins when you fire it the next time for some smithing.
 

Latest posts

Back
Top