• This community needs YOUR help today. We rely 100% on Supporting Memberships to fund our efforts. With the ever increasing fees of everything, we need help. We need more Supporting Members, today. Please invest back into this community. I will ship a few decals too in addition to all the account perks you get.


    Sign up here: https://www.muzzleloadingforum.com/account/upgrades
  • Friends, our 2nd Amendment rights are always under attack and the NRA has been a constant for decades in helping fight that fight.

    We have partnered with the NRA to offer you a discount on membership and Muzzleloading Forum gets a small percentage too of each membership, so you are supporting both the NRA and us.

    Use this link to sign up please; https://membership.nra.org/recruiters/join/XR045103

Building Track's Colonial Longrifle

Muzzleloading Forum

Help Support Muzzleloading Forum:

This site may earn a commission from merchant affiliate links, including eBay, Amazon, and others.
So I have to ask: What happened to the "Alligator Horse" with the FCI barrel you were getting started on a year or two back? I've been looking forward to seeing that one.

A straight-barrel TOW kit seems like kind of a step backwards, if I may say so.
 
Me too Ethan.
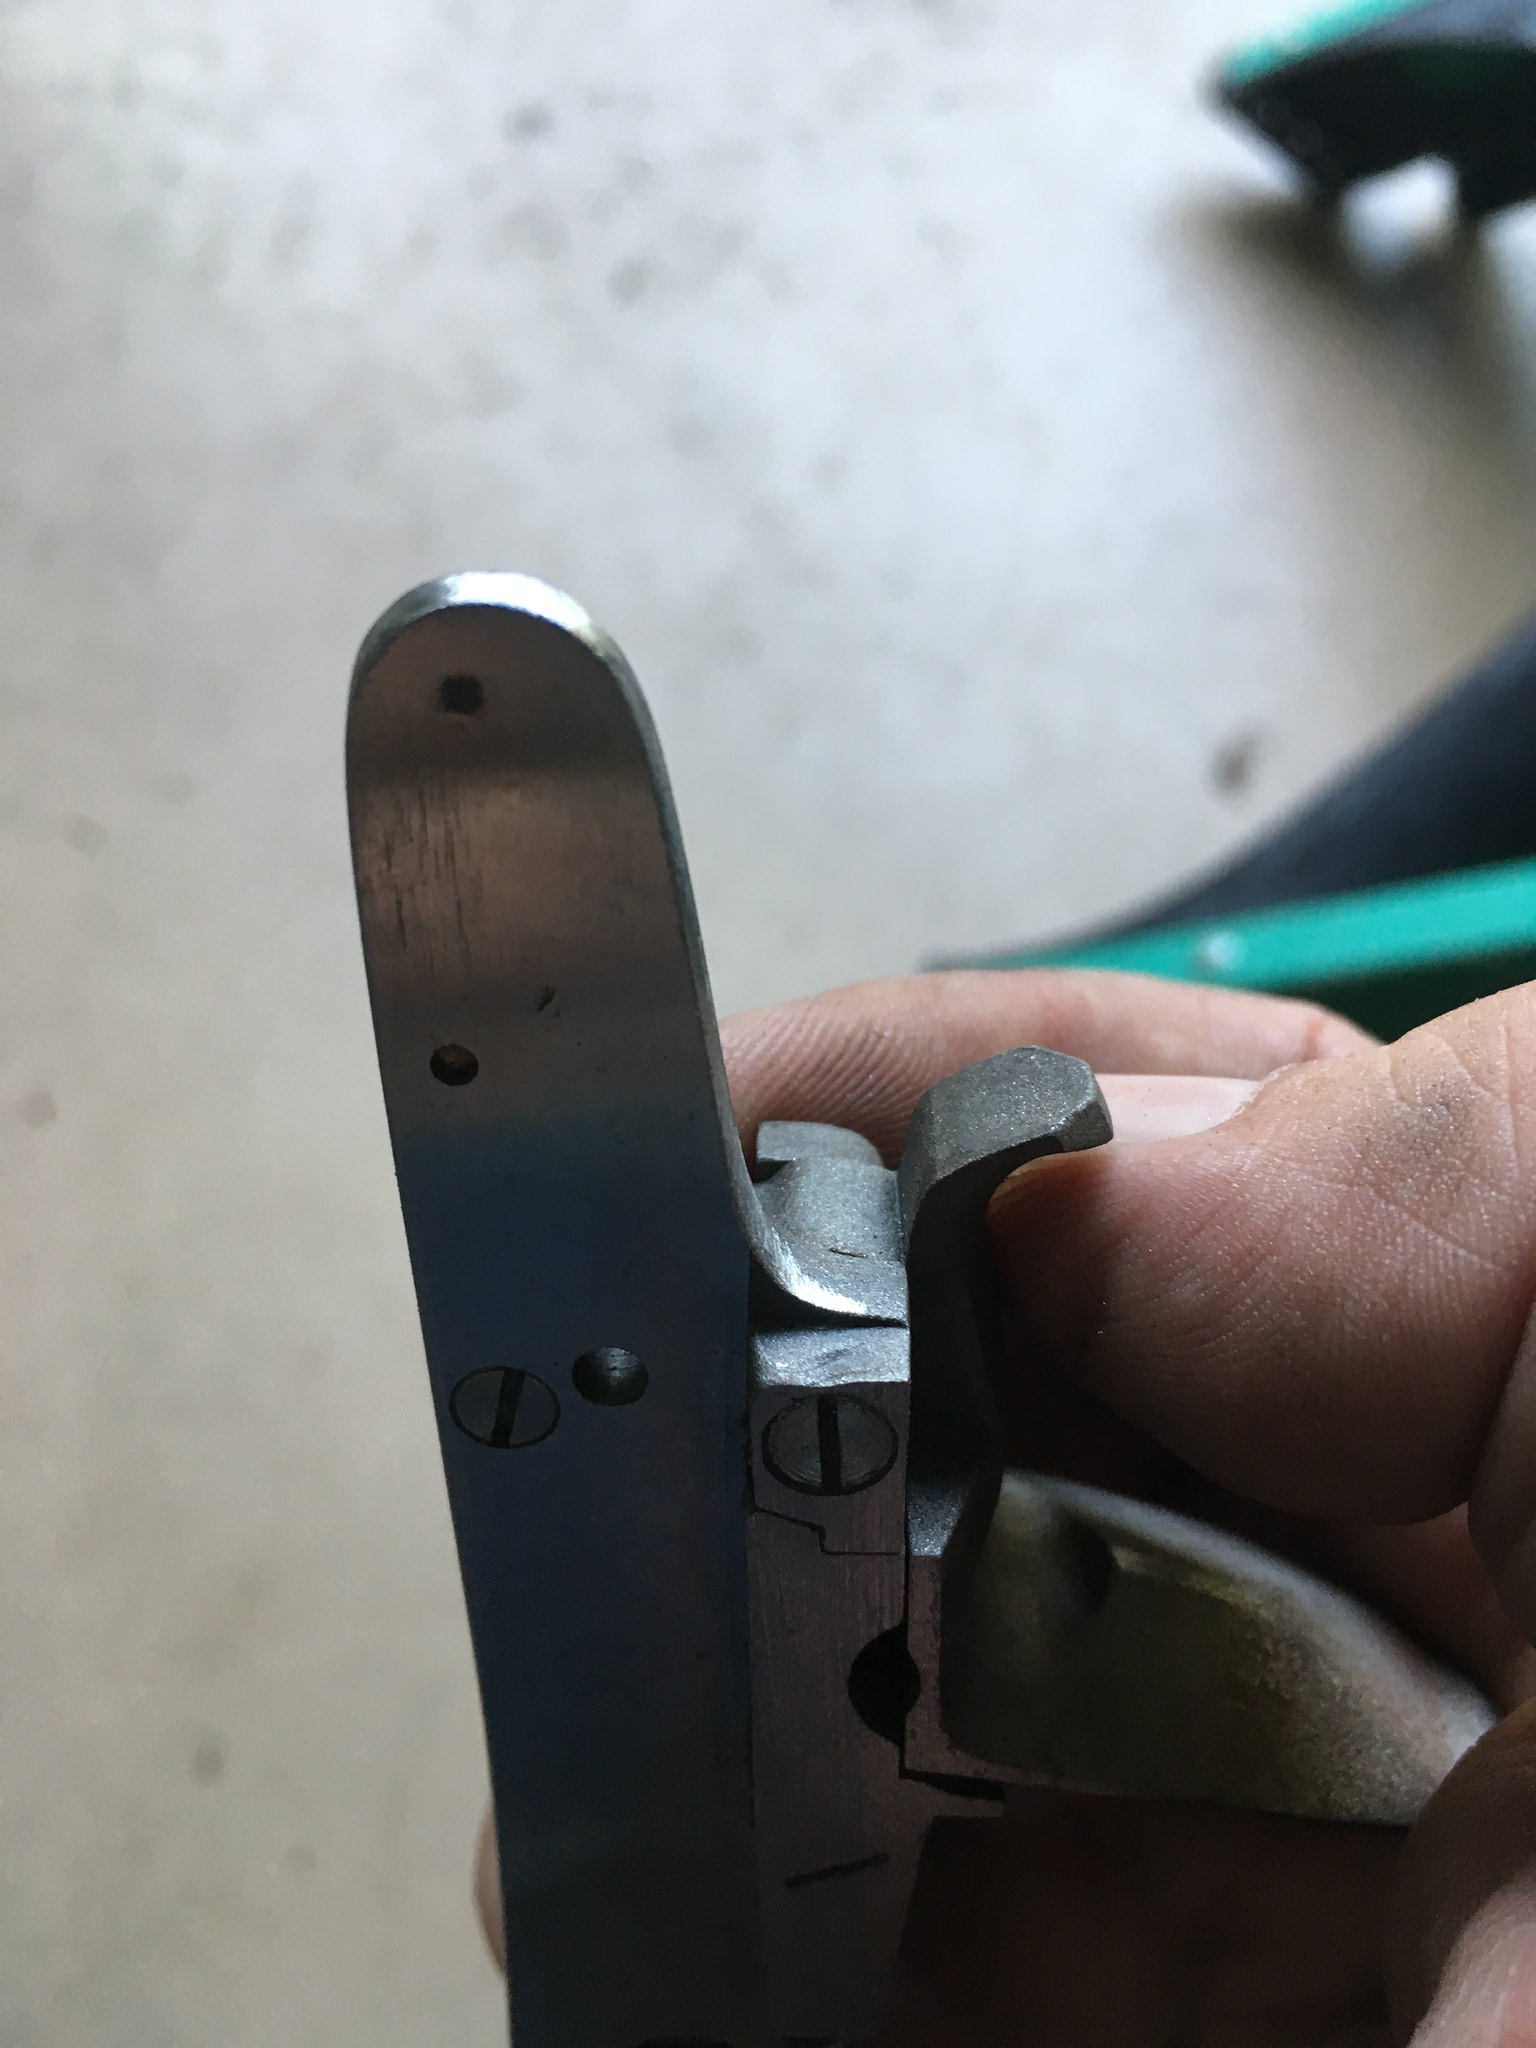
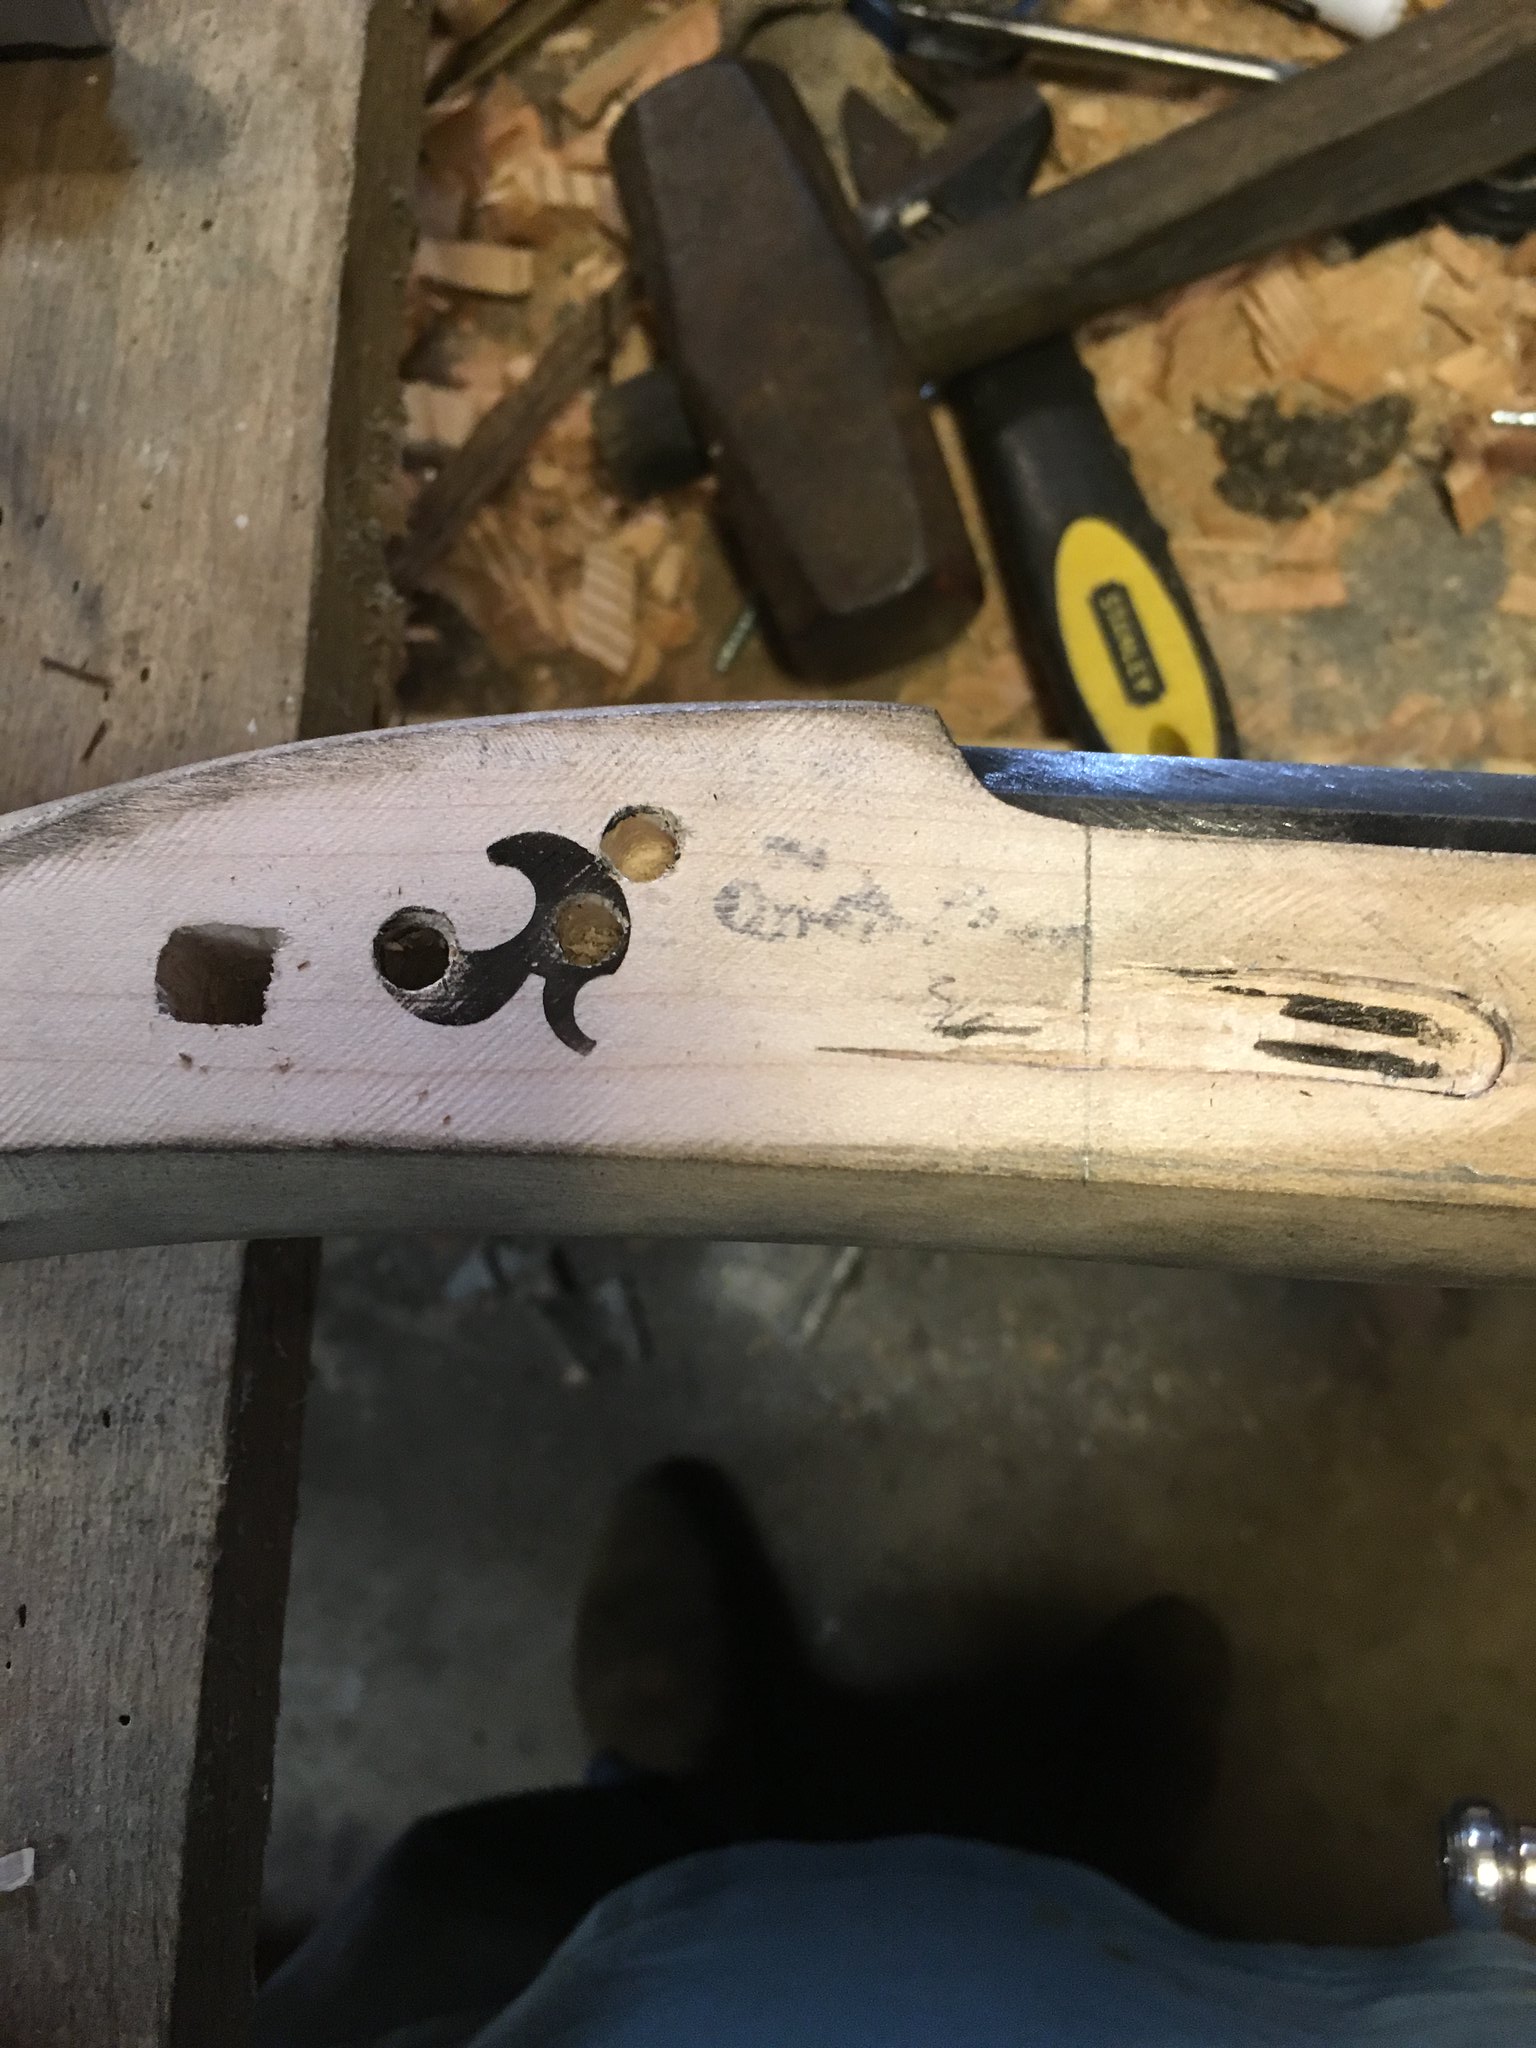
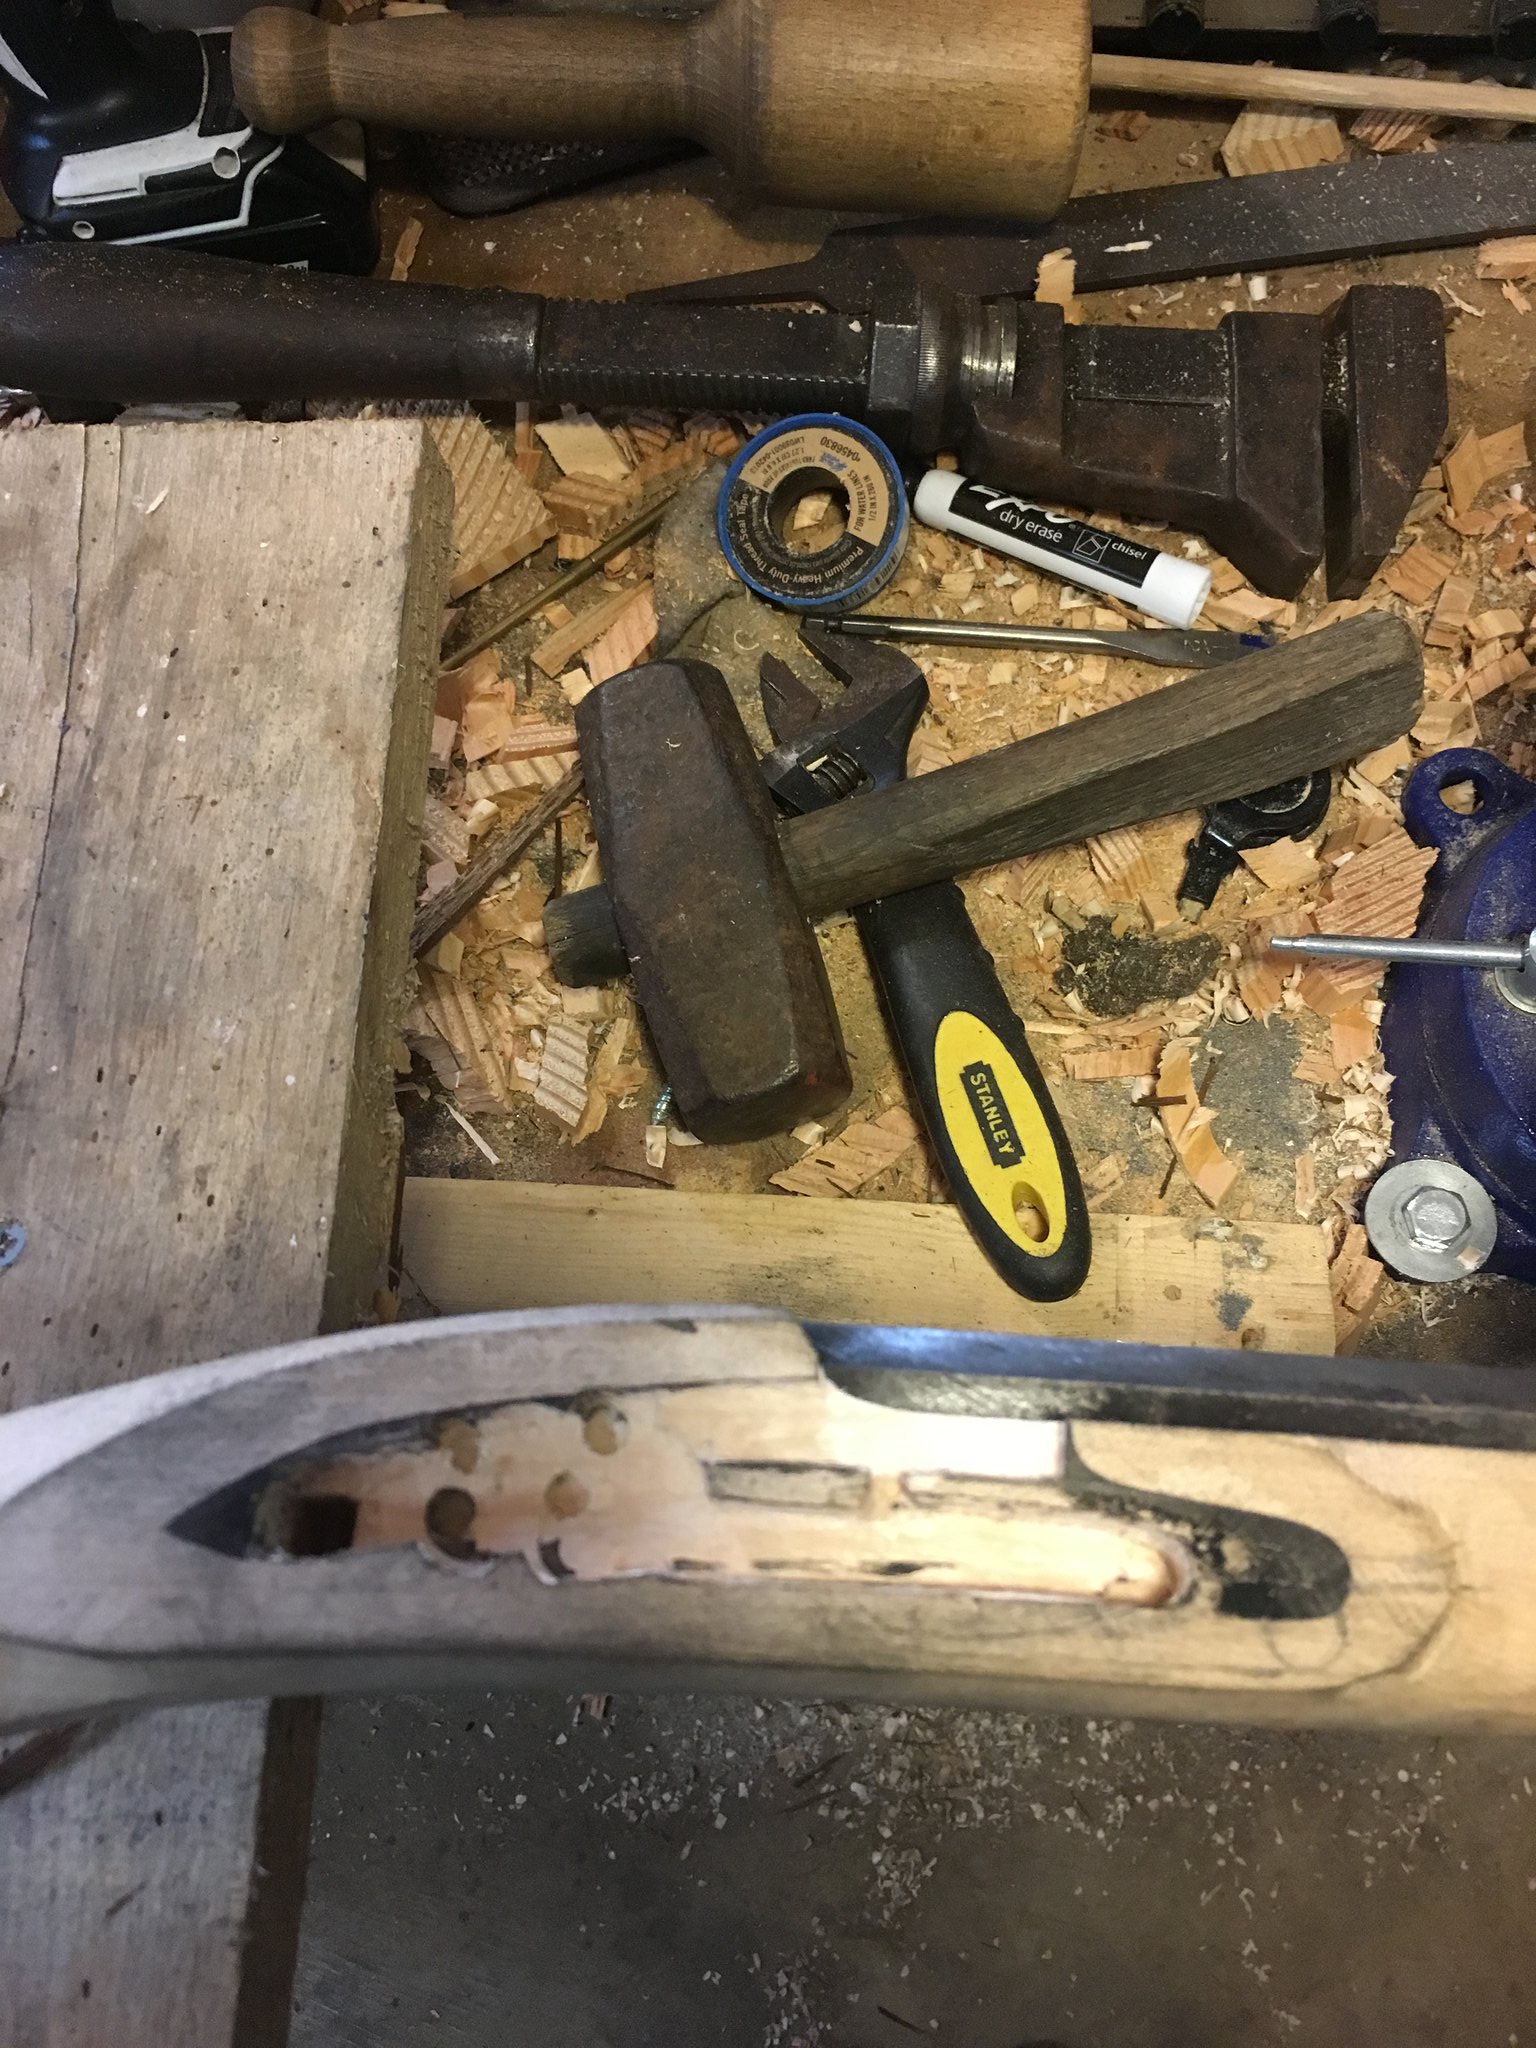
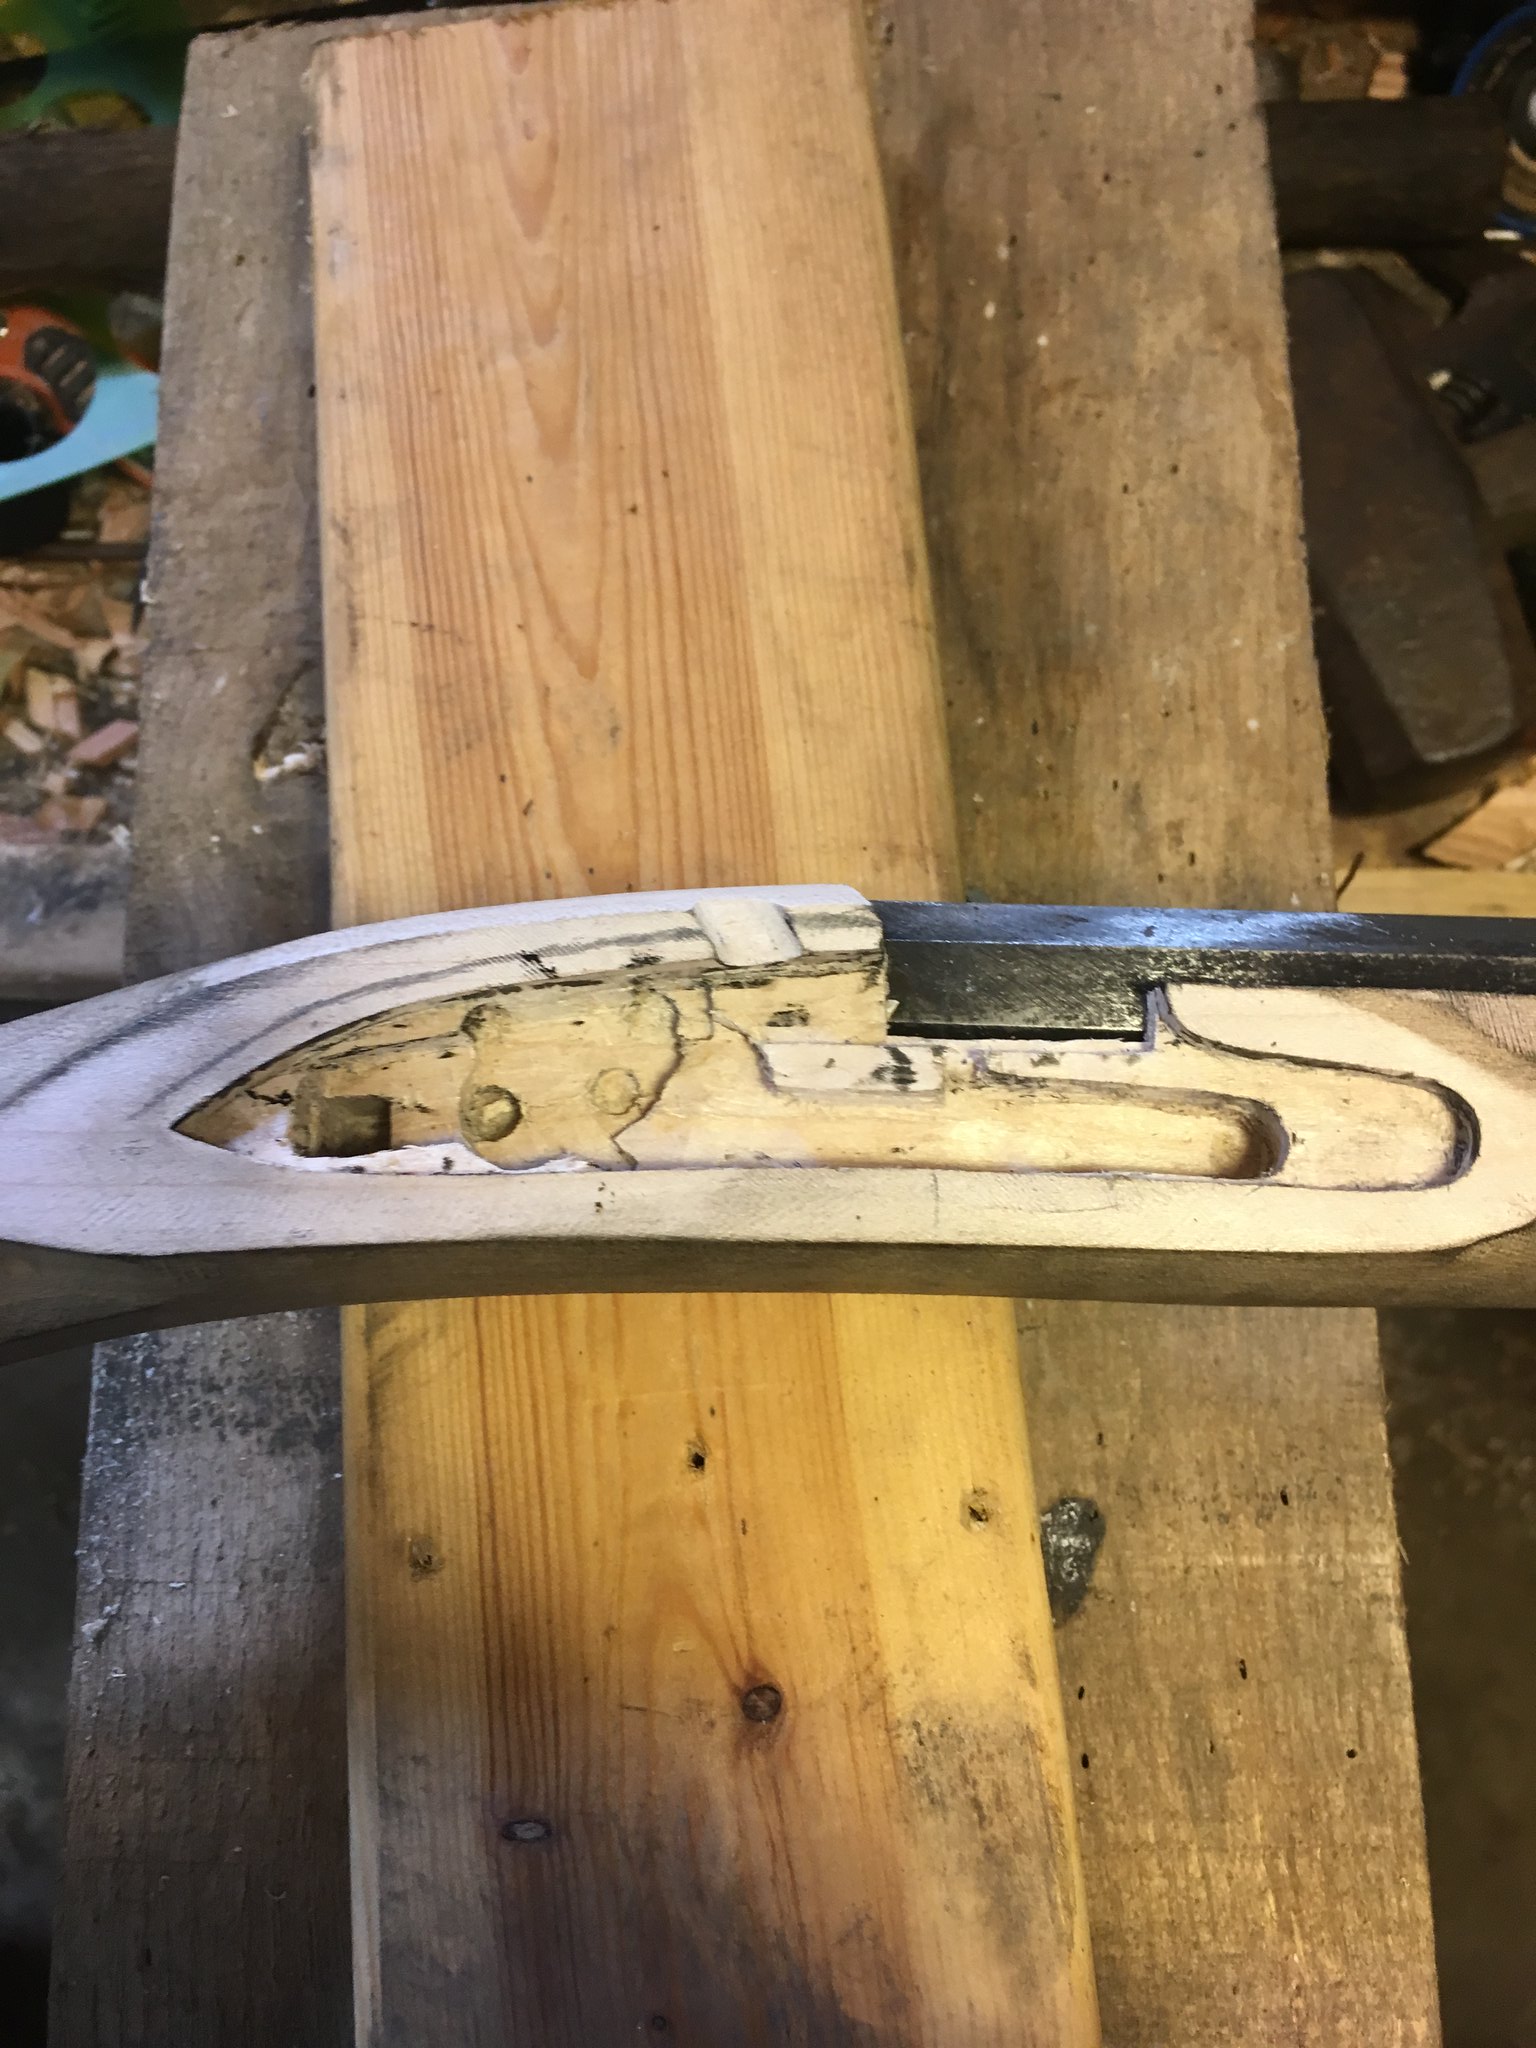
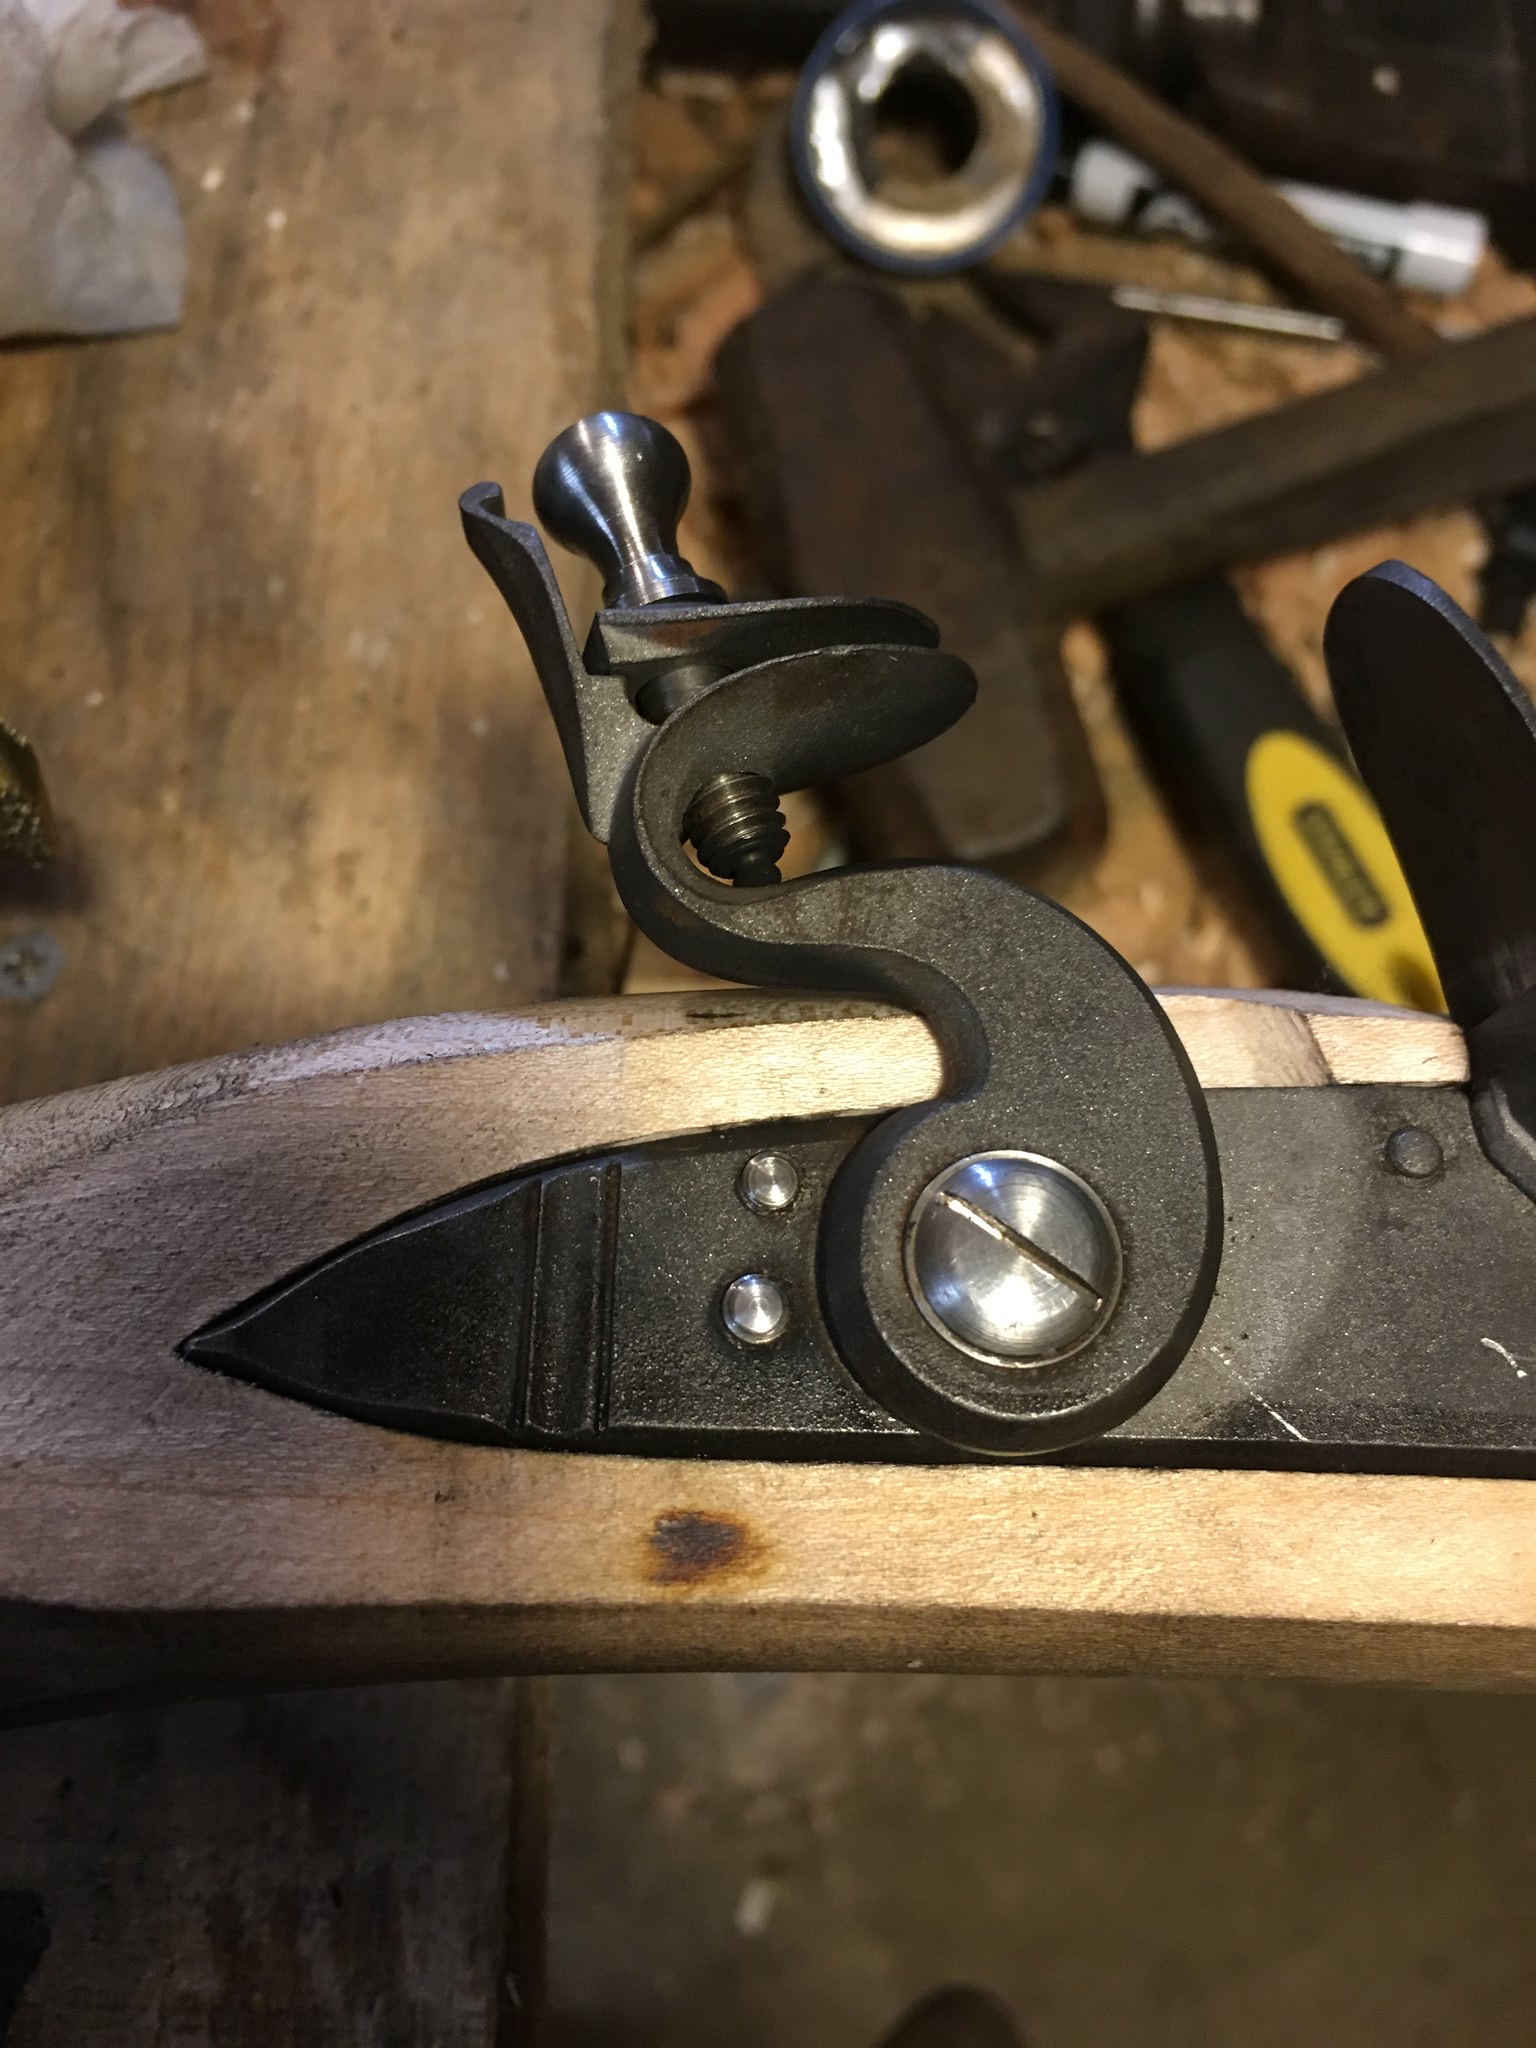
The Alligator Horse was coming along great. I had hand inlet the barrel. The tang was down, stock cut out....ramrod drilled lock inlet and was ready to start on the triggers. I could see the rifle coming. The triggerguard was matching up to the step toe...all of that was going to go together marvelous.

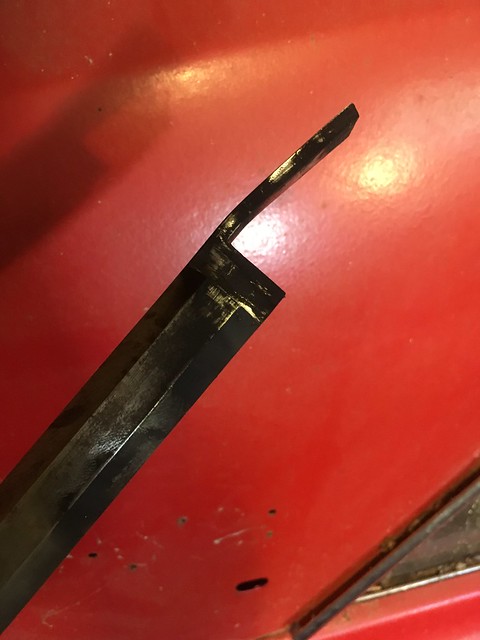
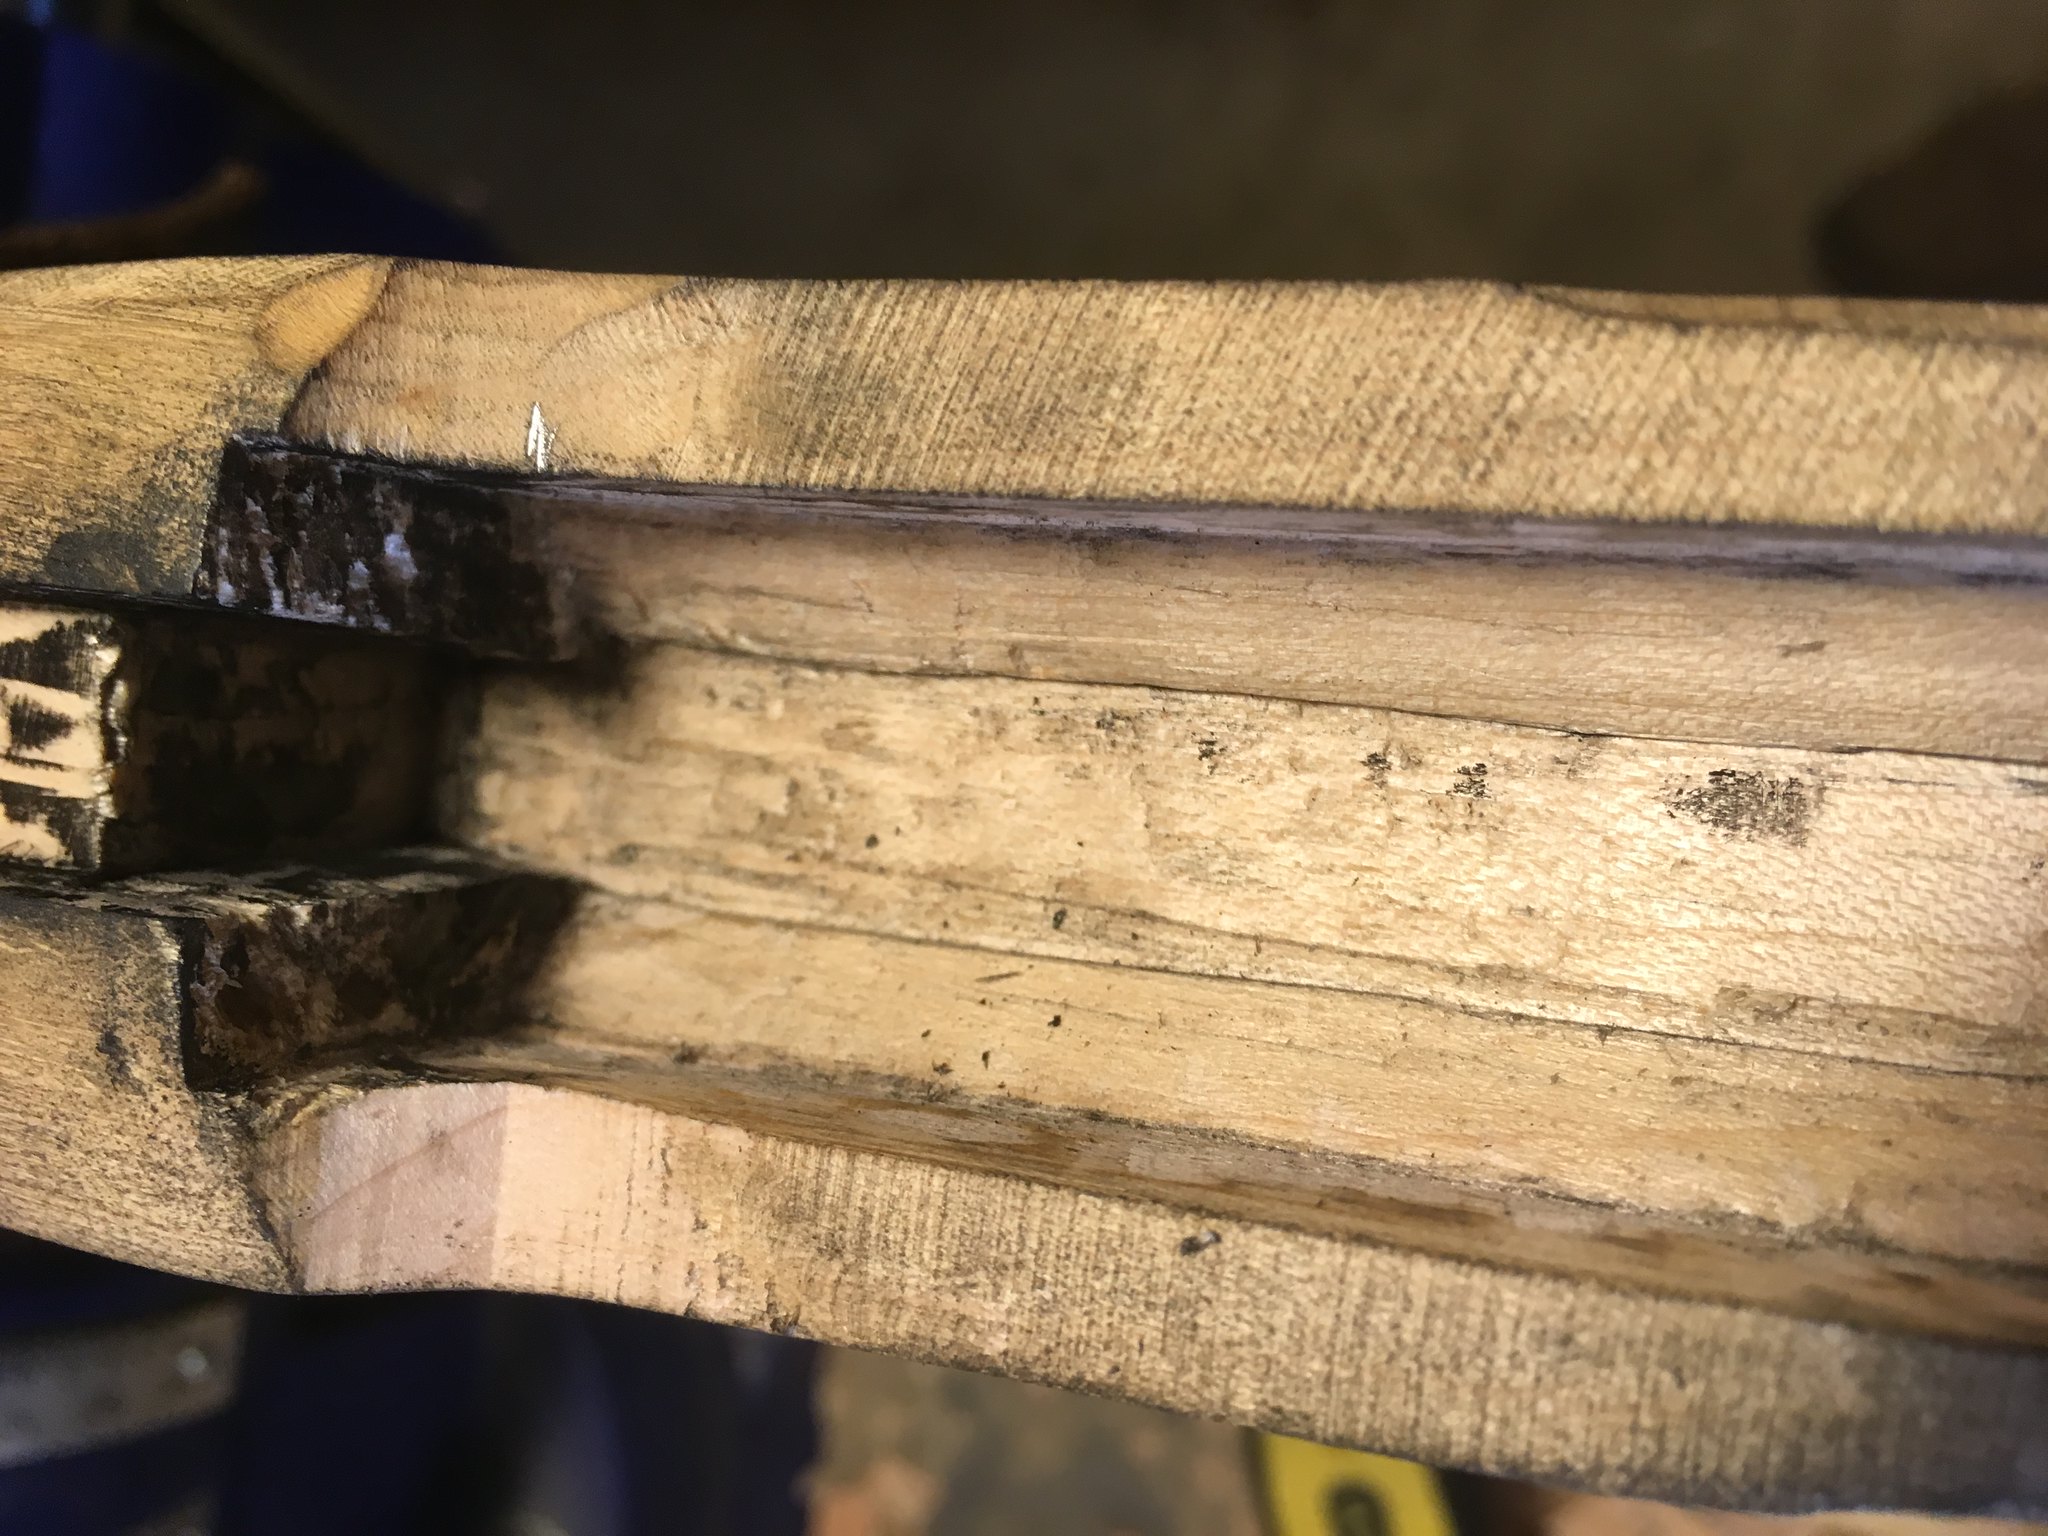
Then....the buttstock split in 2 places. The toe and right down the middle of the cheek side nearly to the wrist. :doh:

I had it in the back of my Jeep, I bring it every day to the shop I apprentice at. It was not a hot day but it was one of those Alabama days this time of year where it's cool in the morning with a warm afternoon....plus it was rainy and humid. I showed it to Mr. Parker and he said he had never seen a stock do that, never.

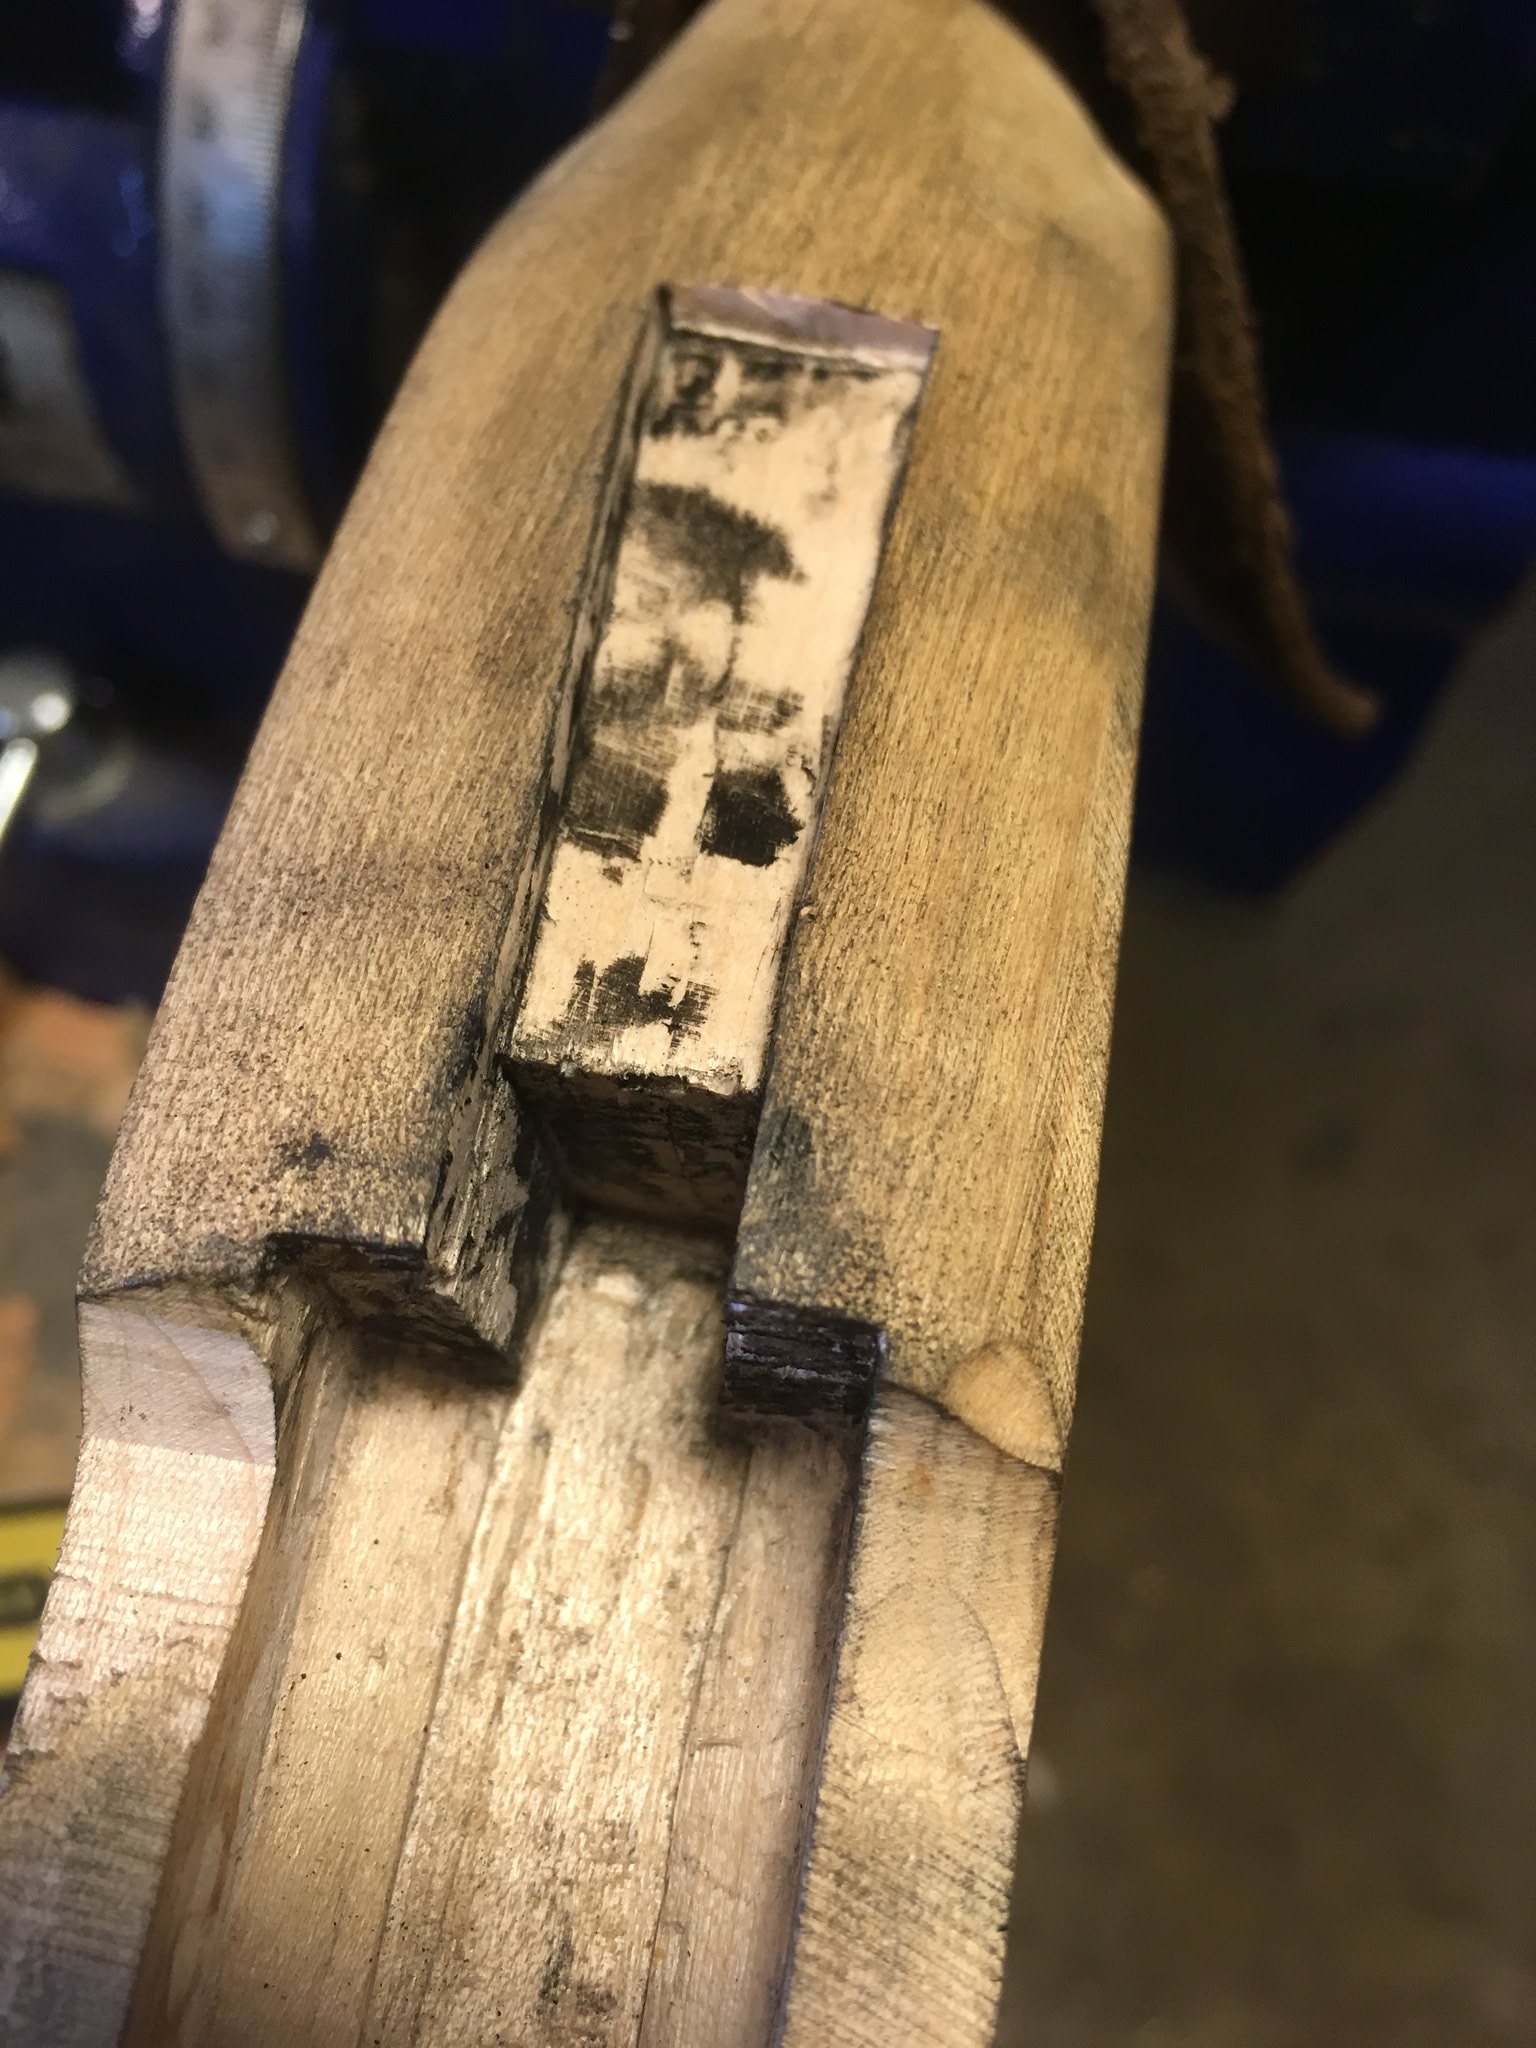
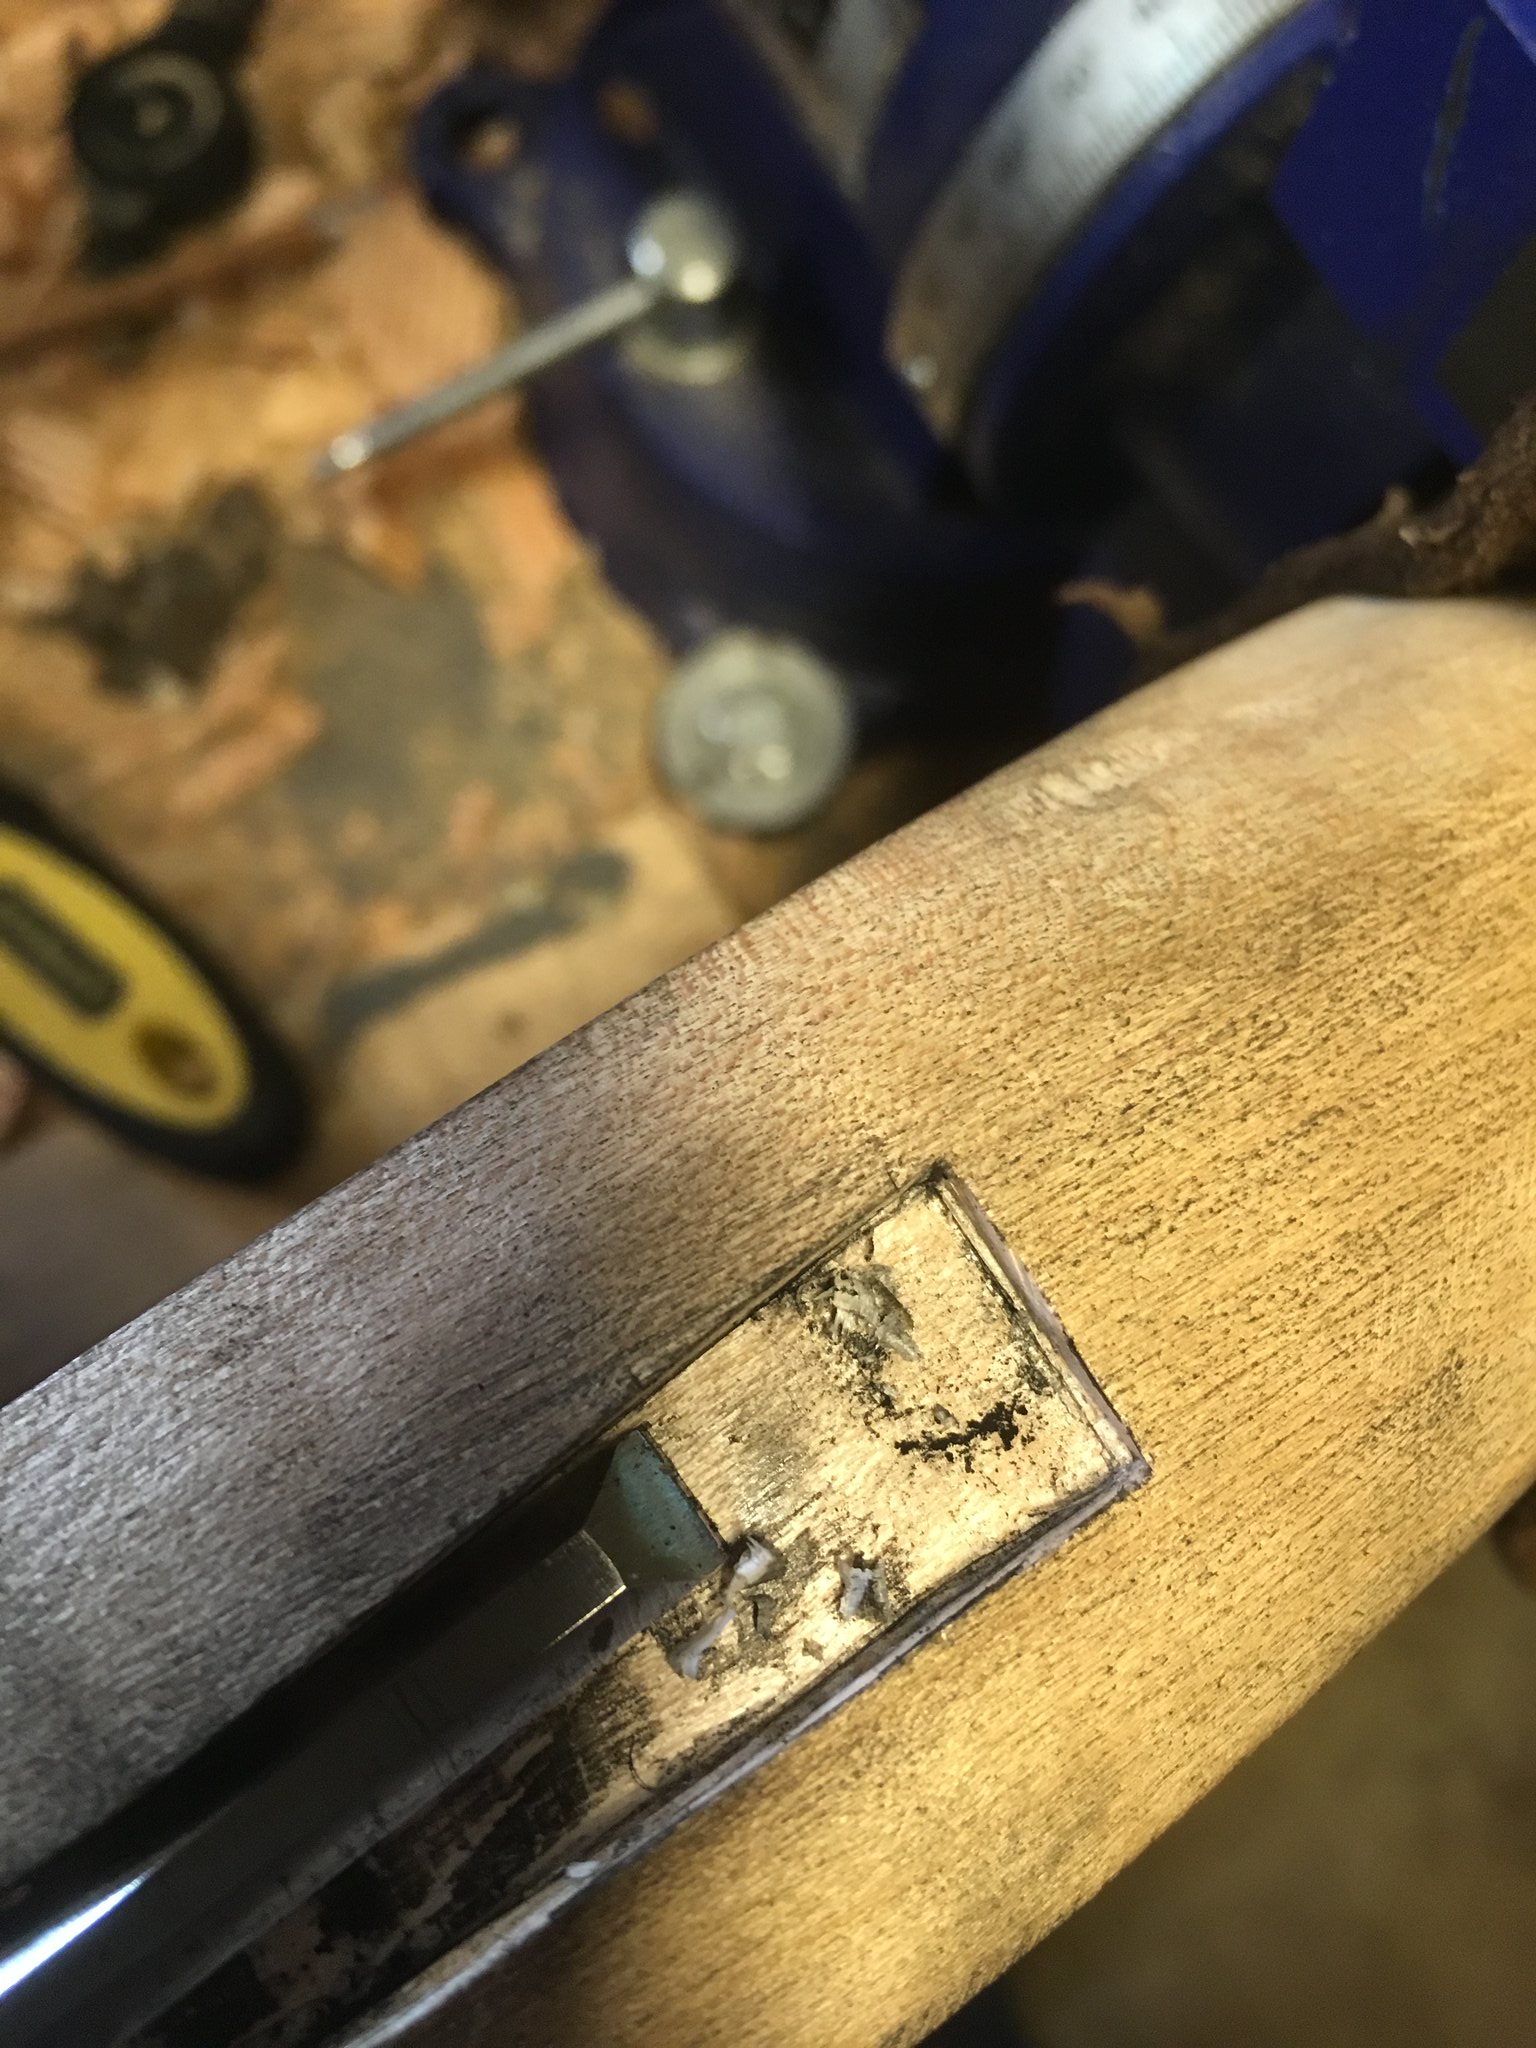
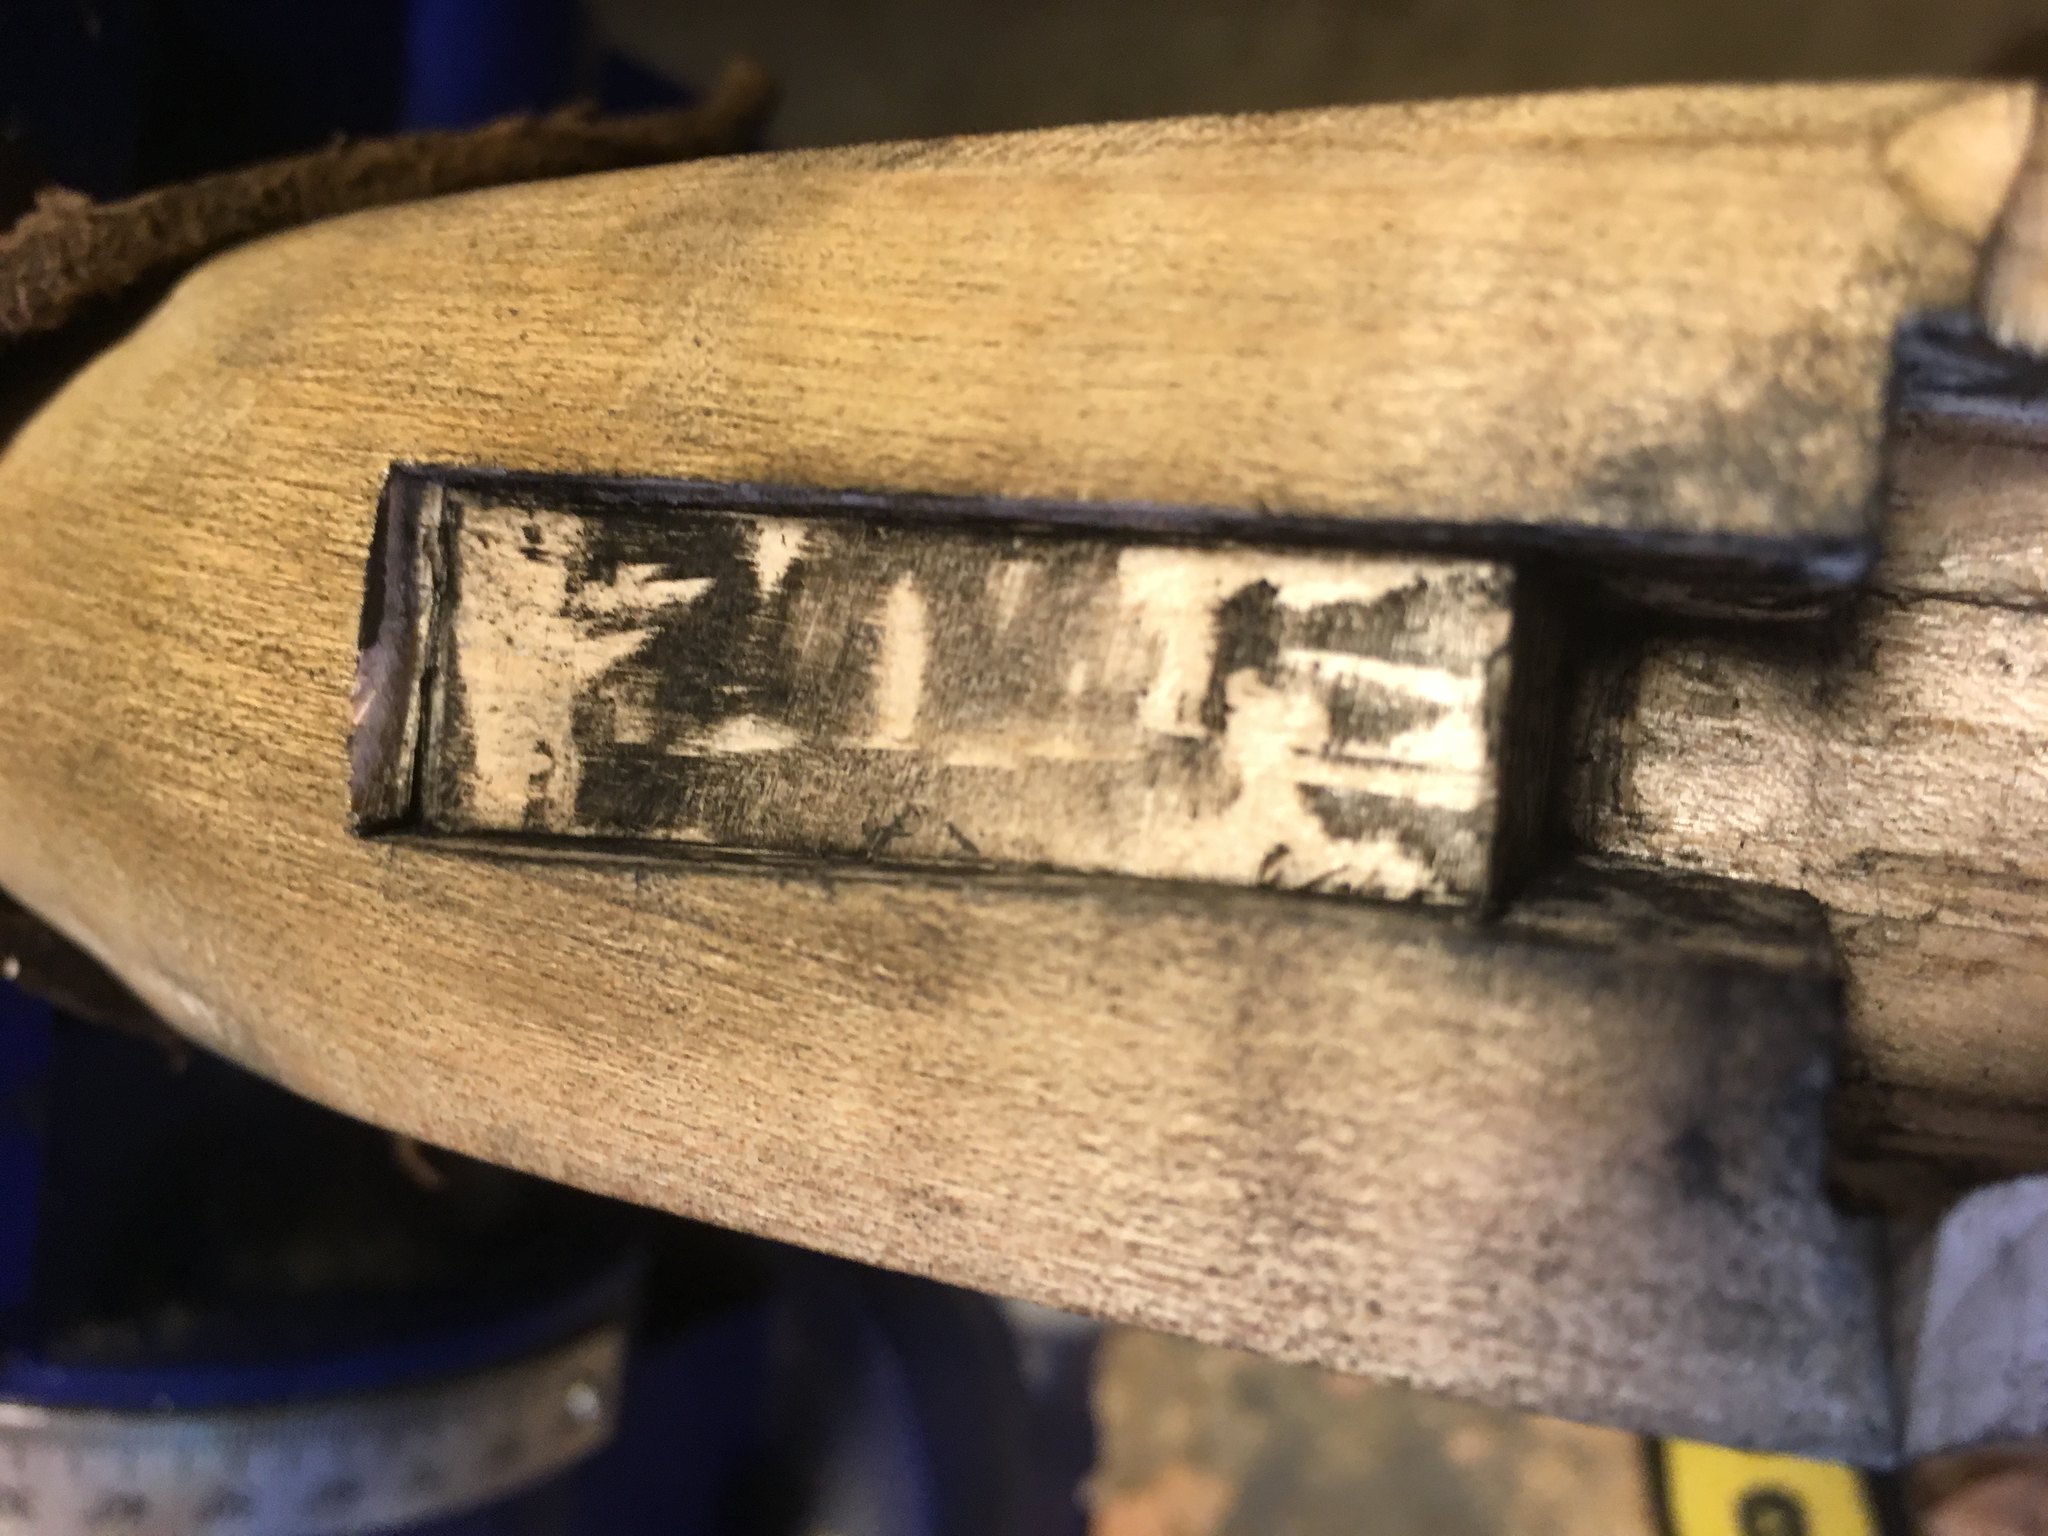
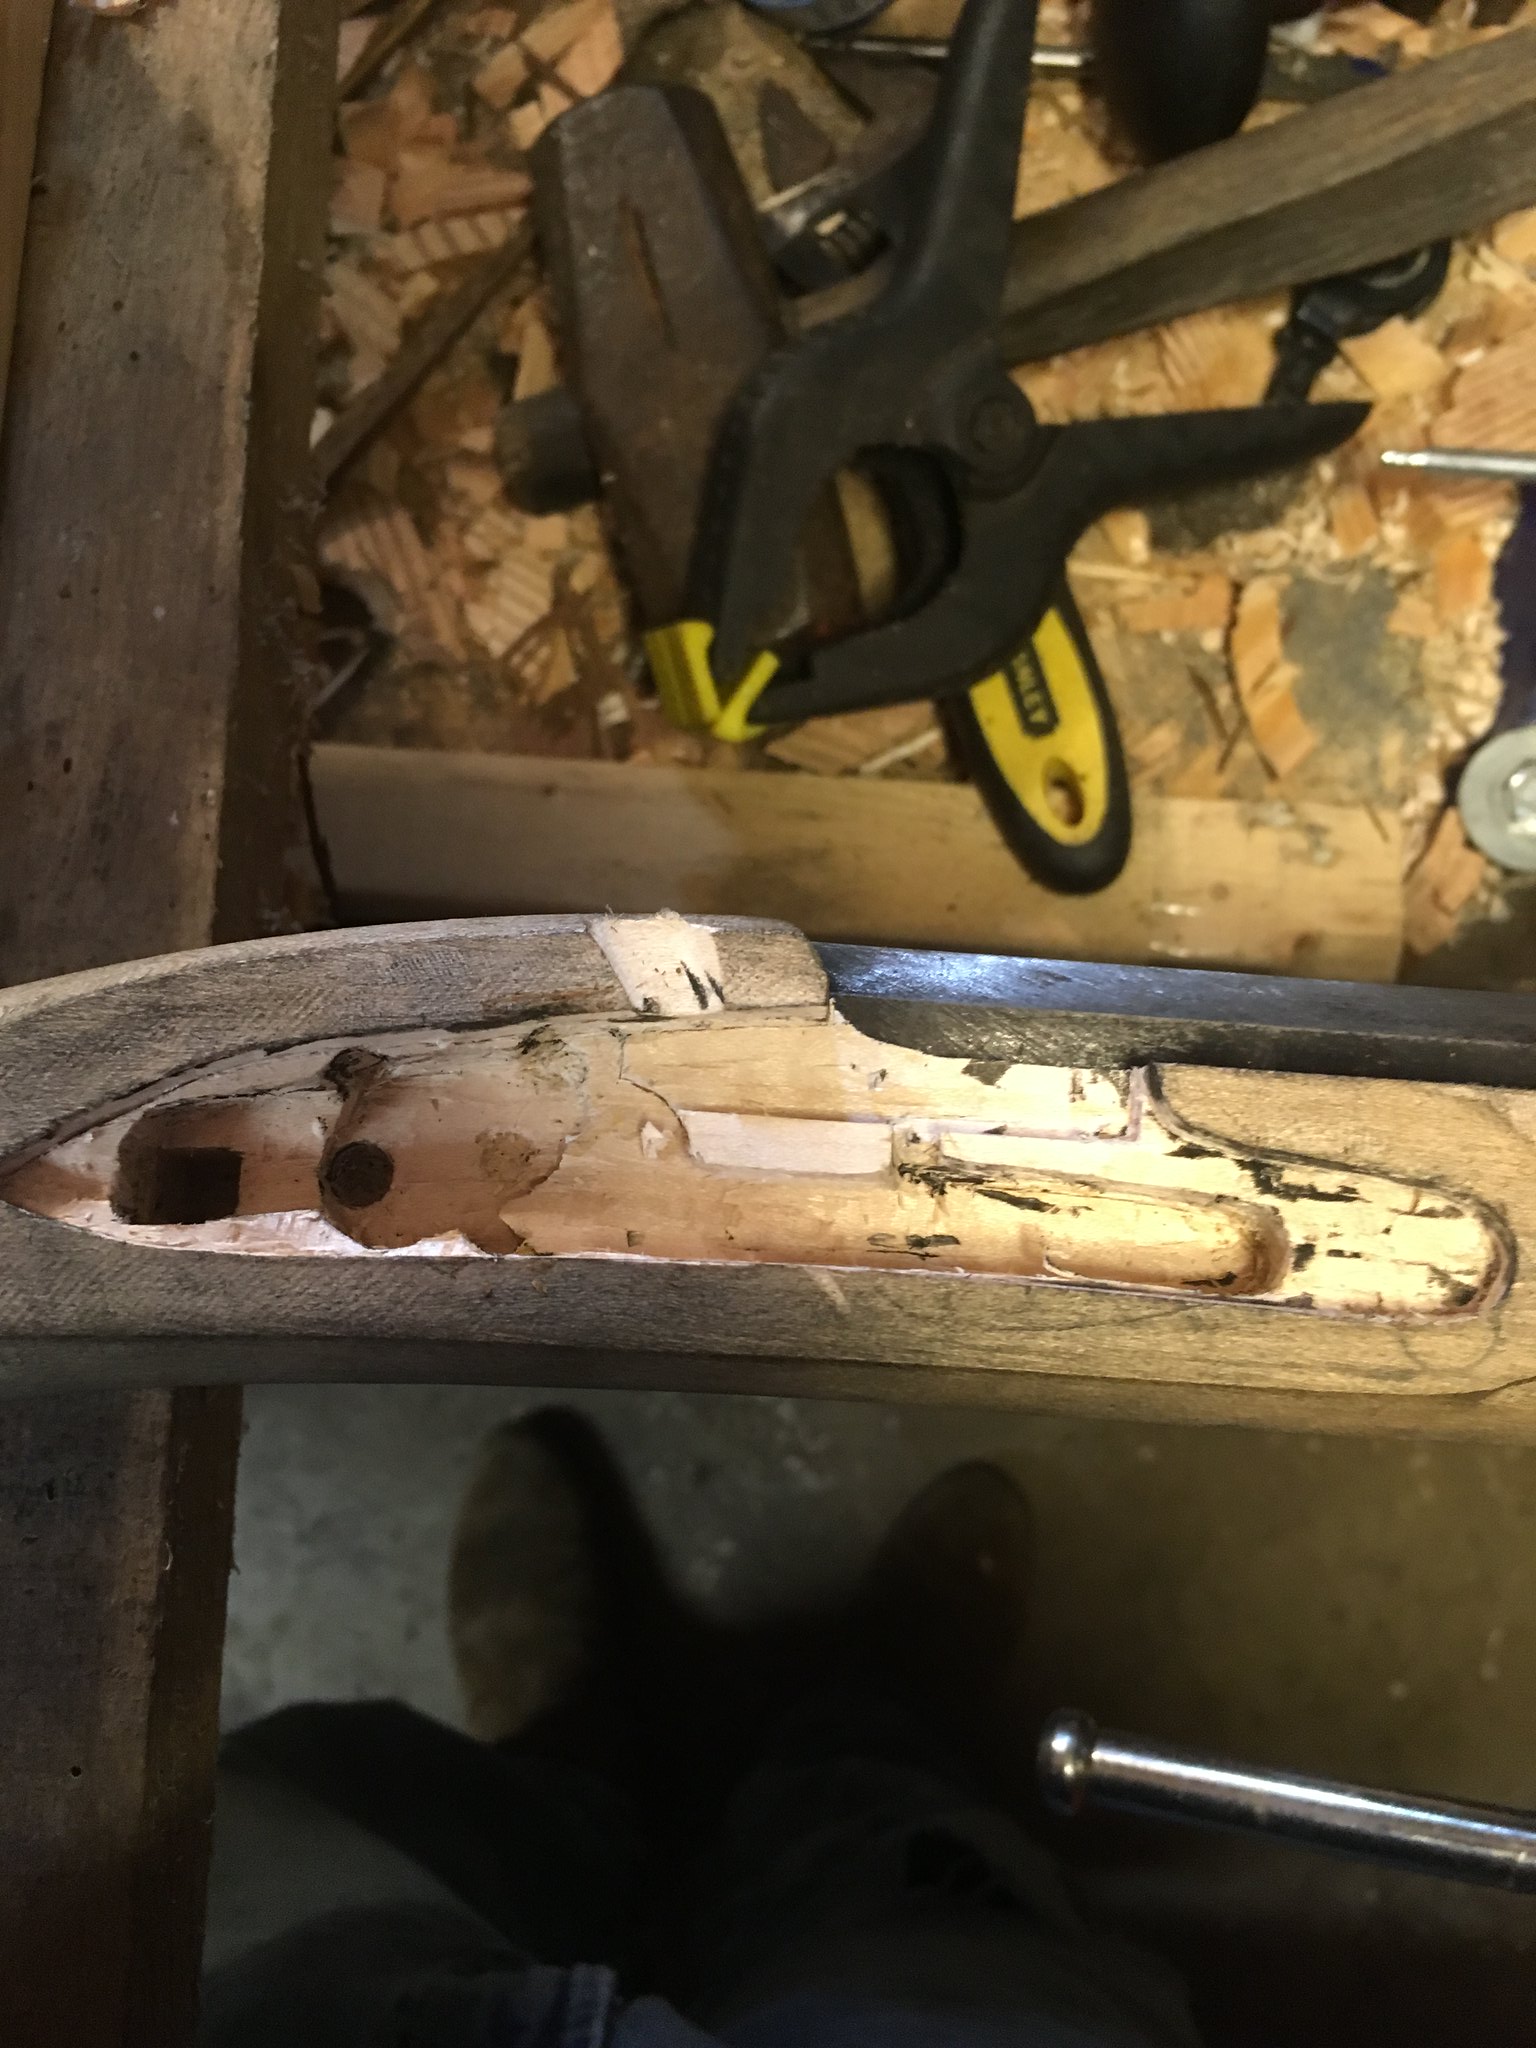
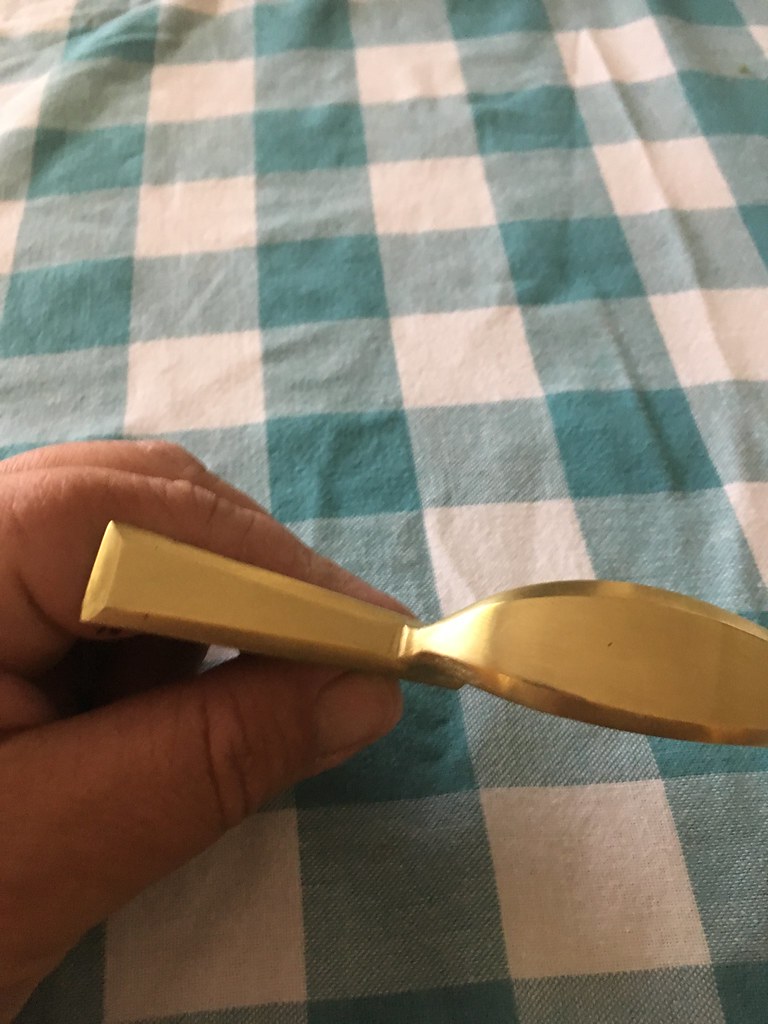
So we both looked it over. The bulk if not all the center crack may be in waste material on the cheek side. The toe crack....I don't know. Inletting the butt plate will tell the tale.

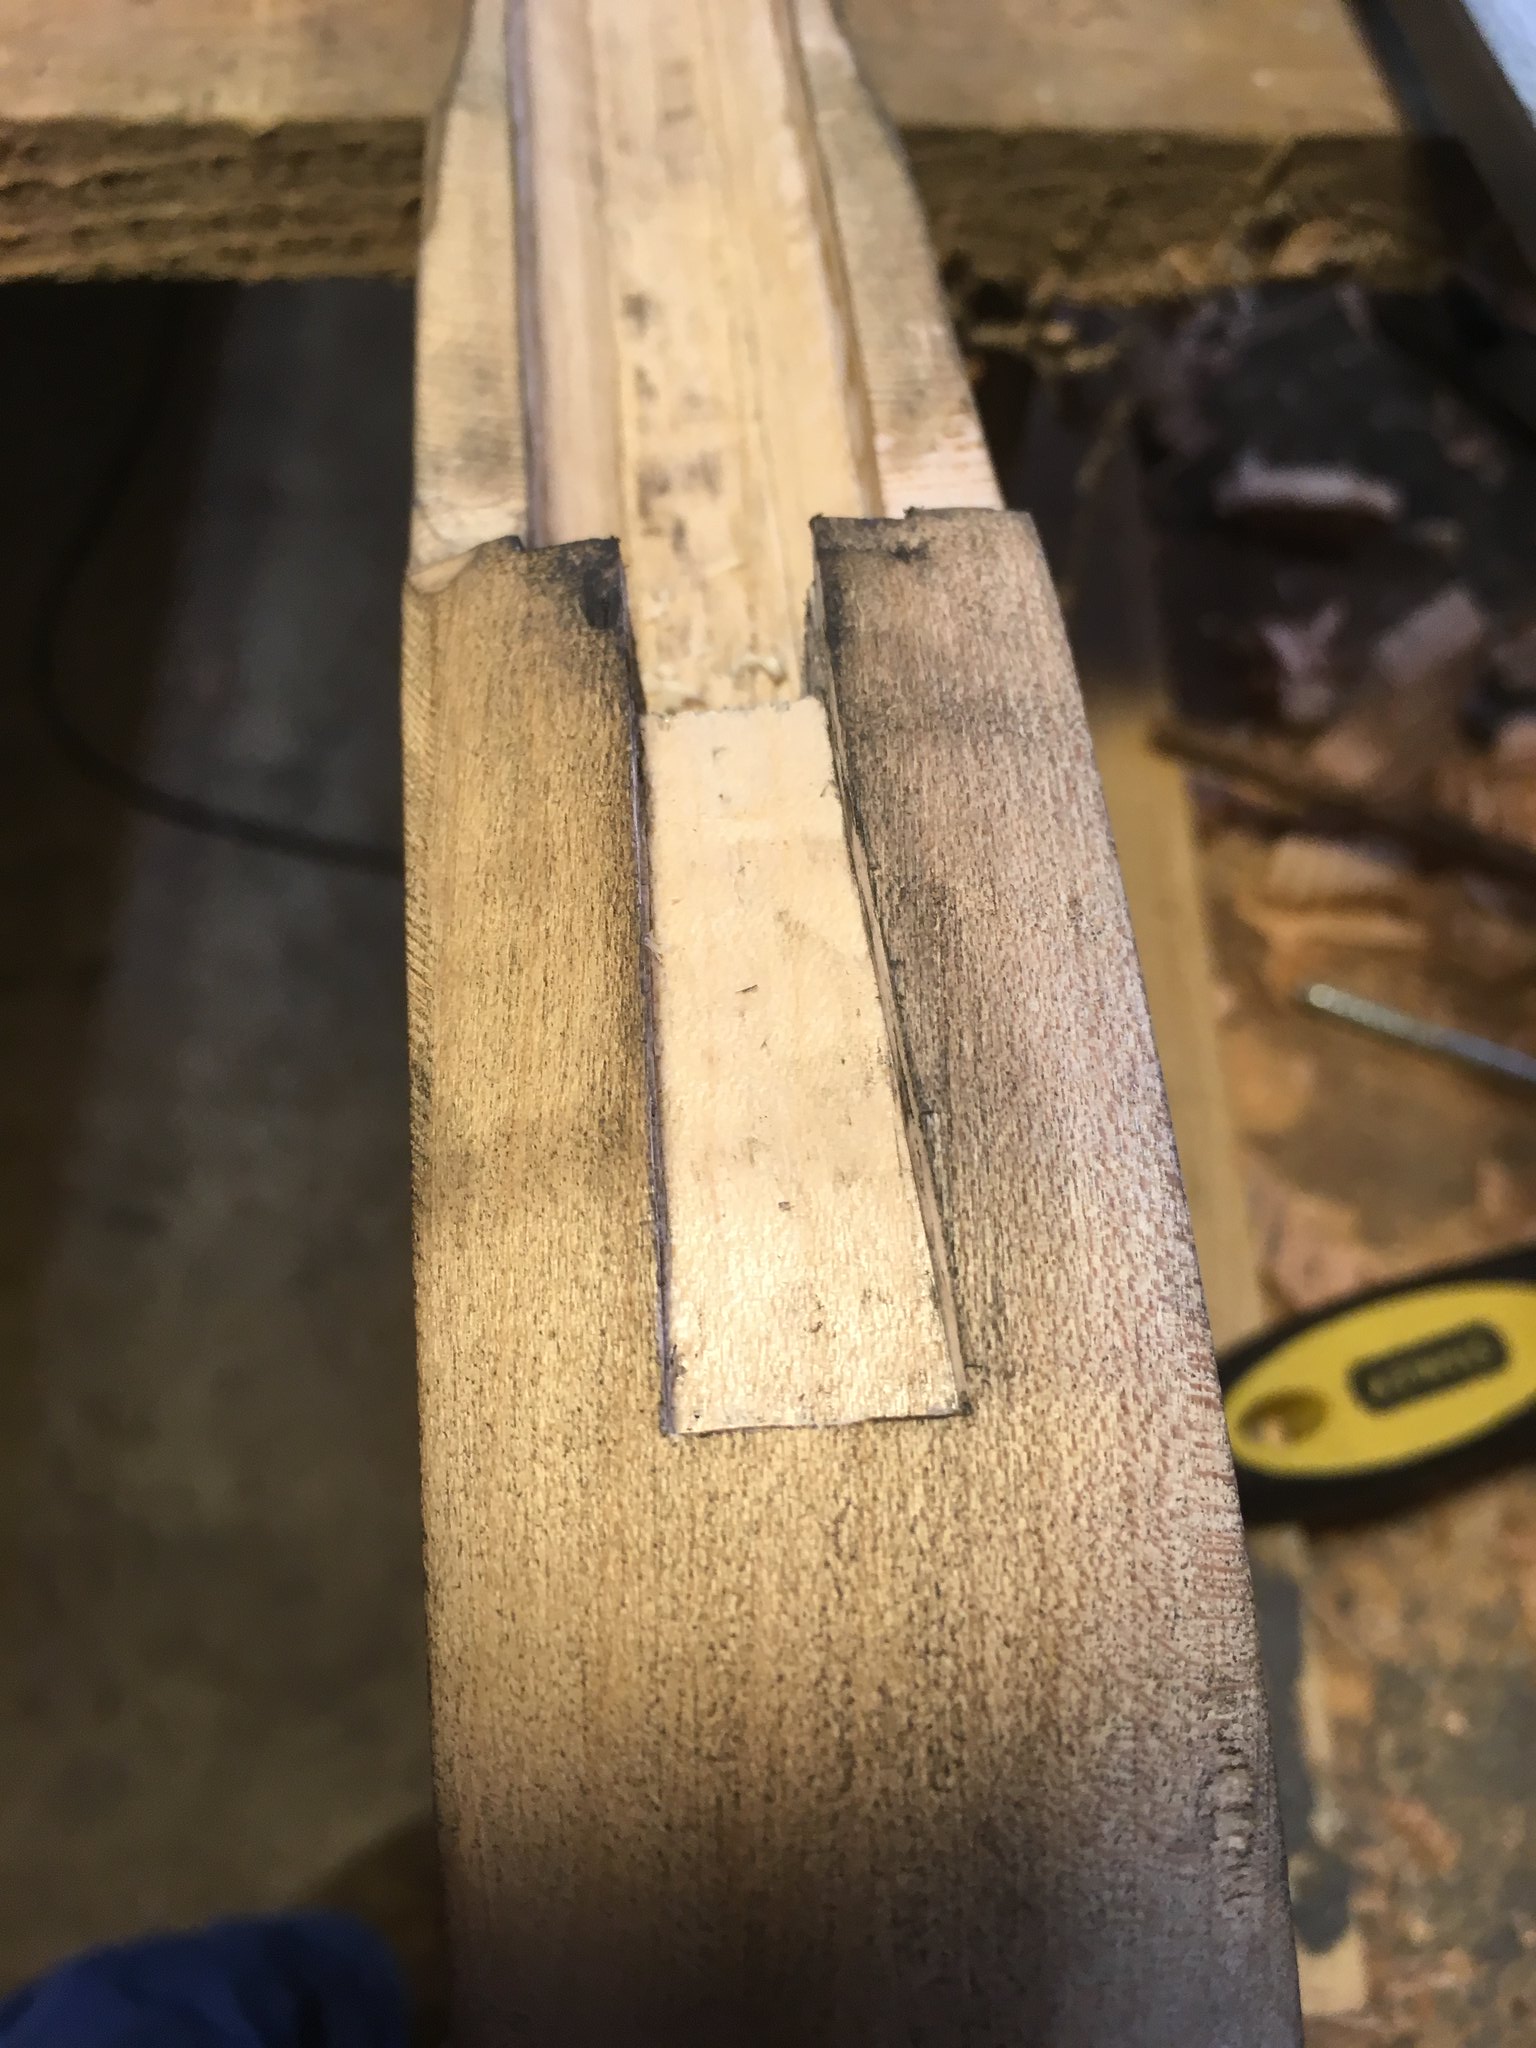
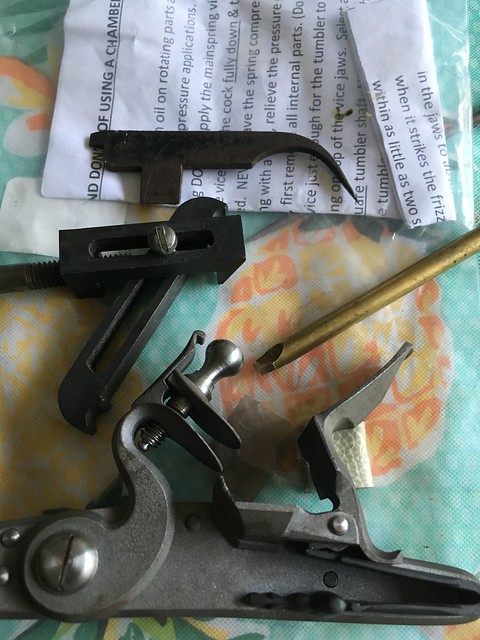
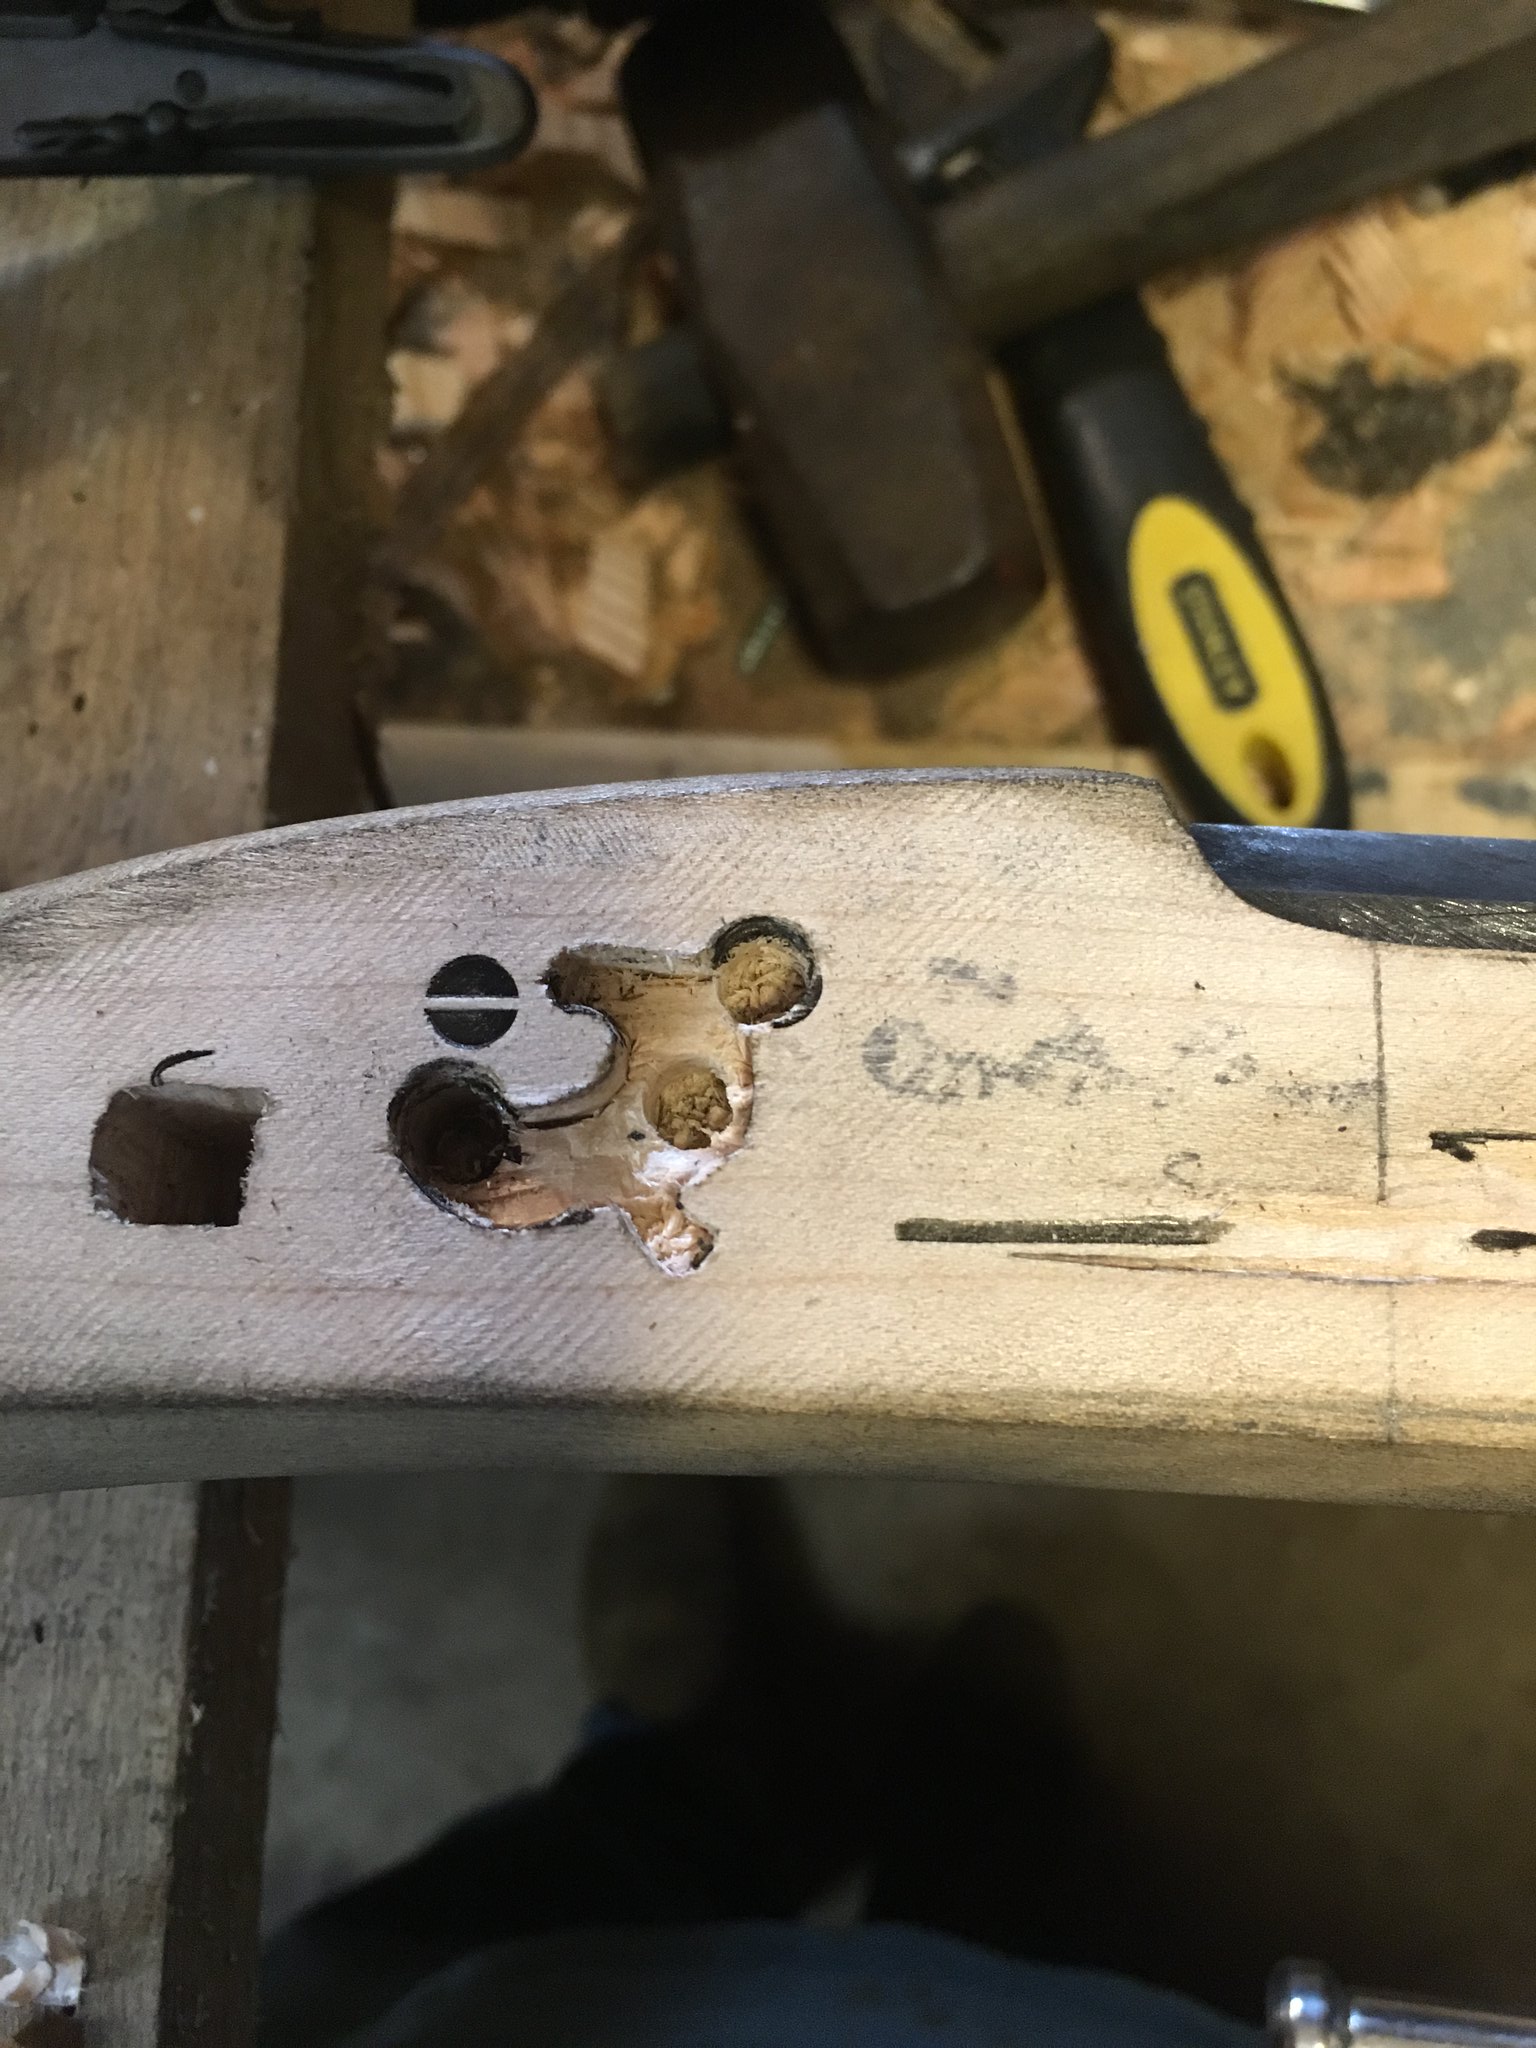
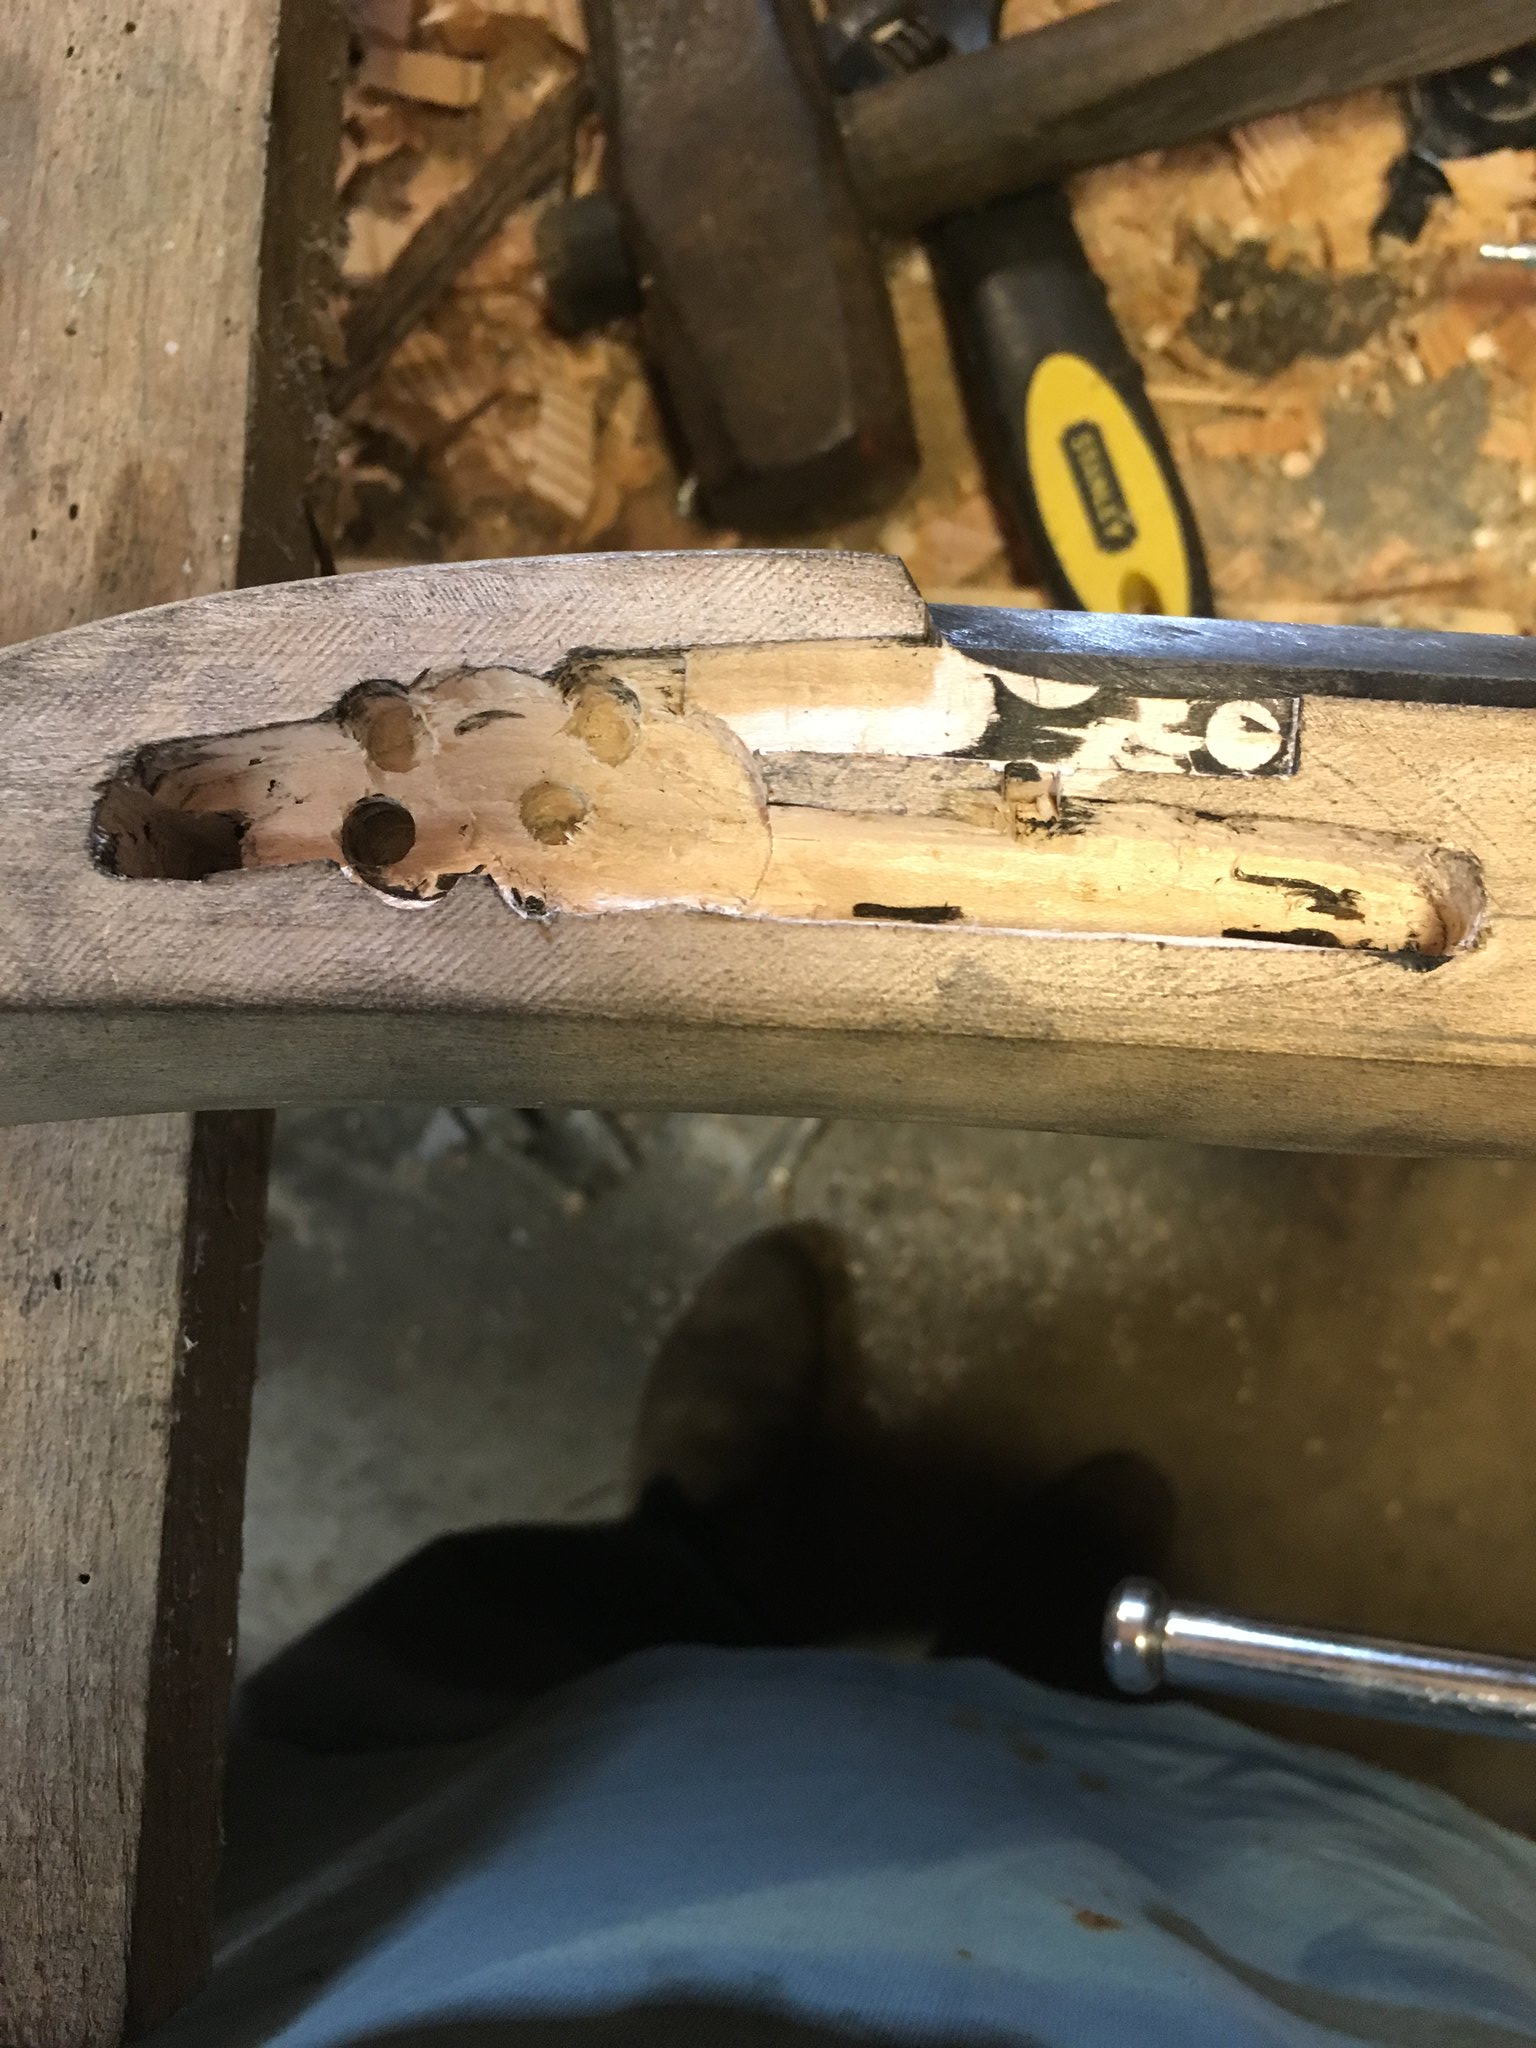
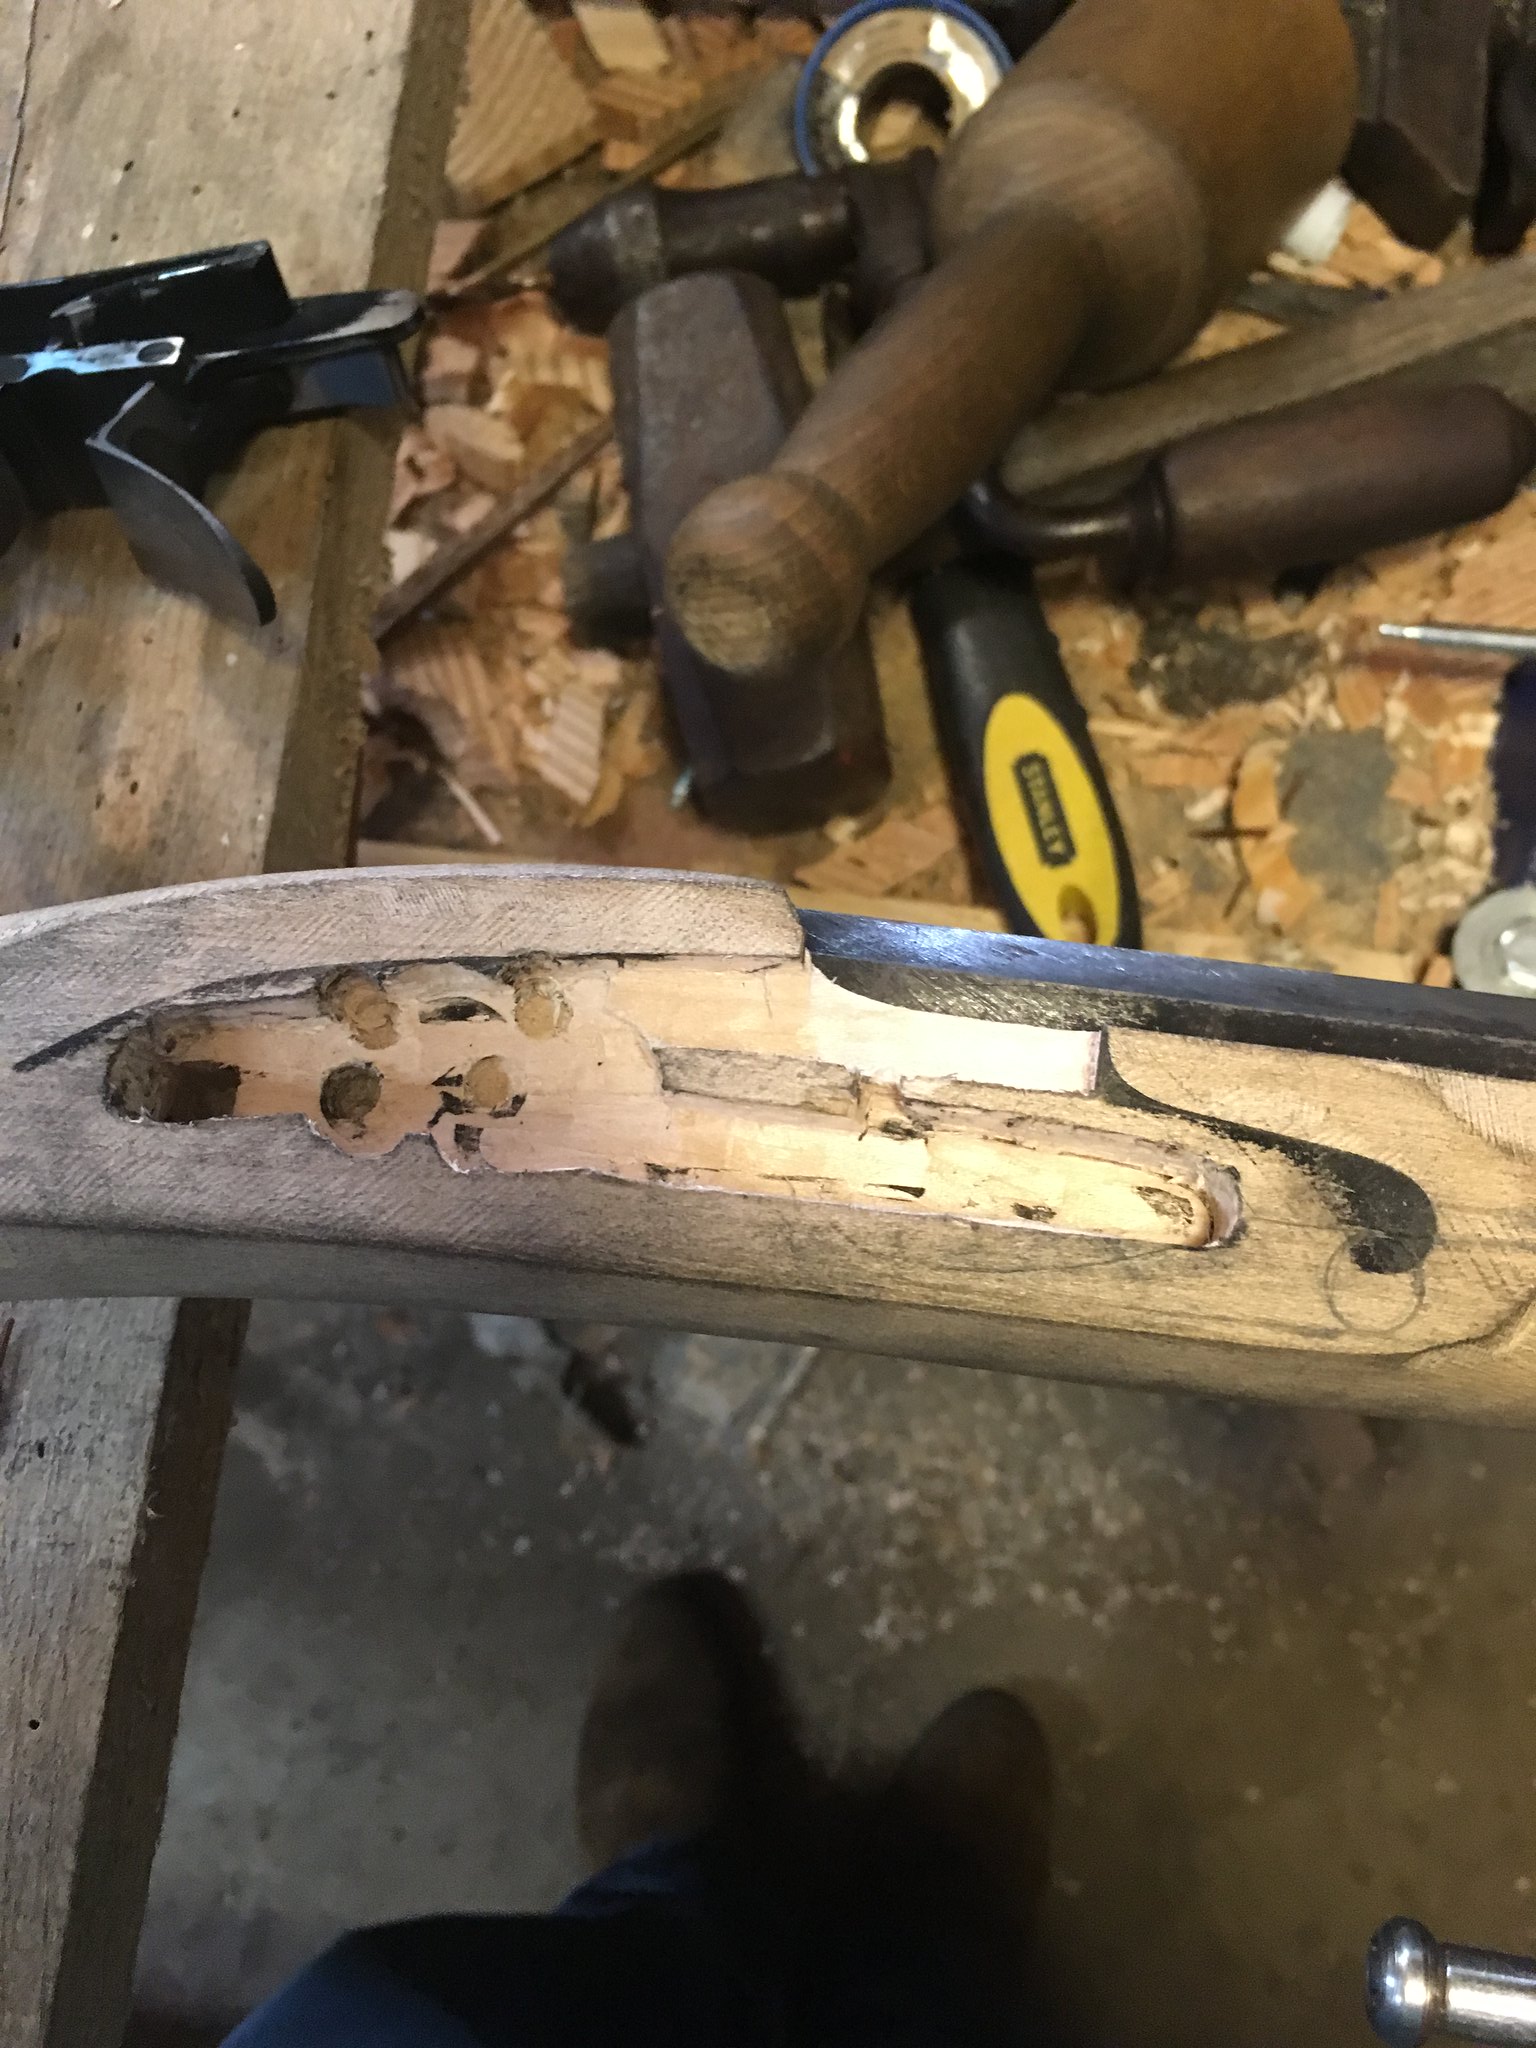
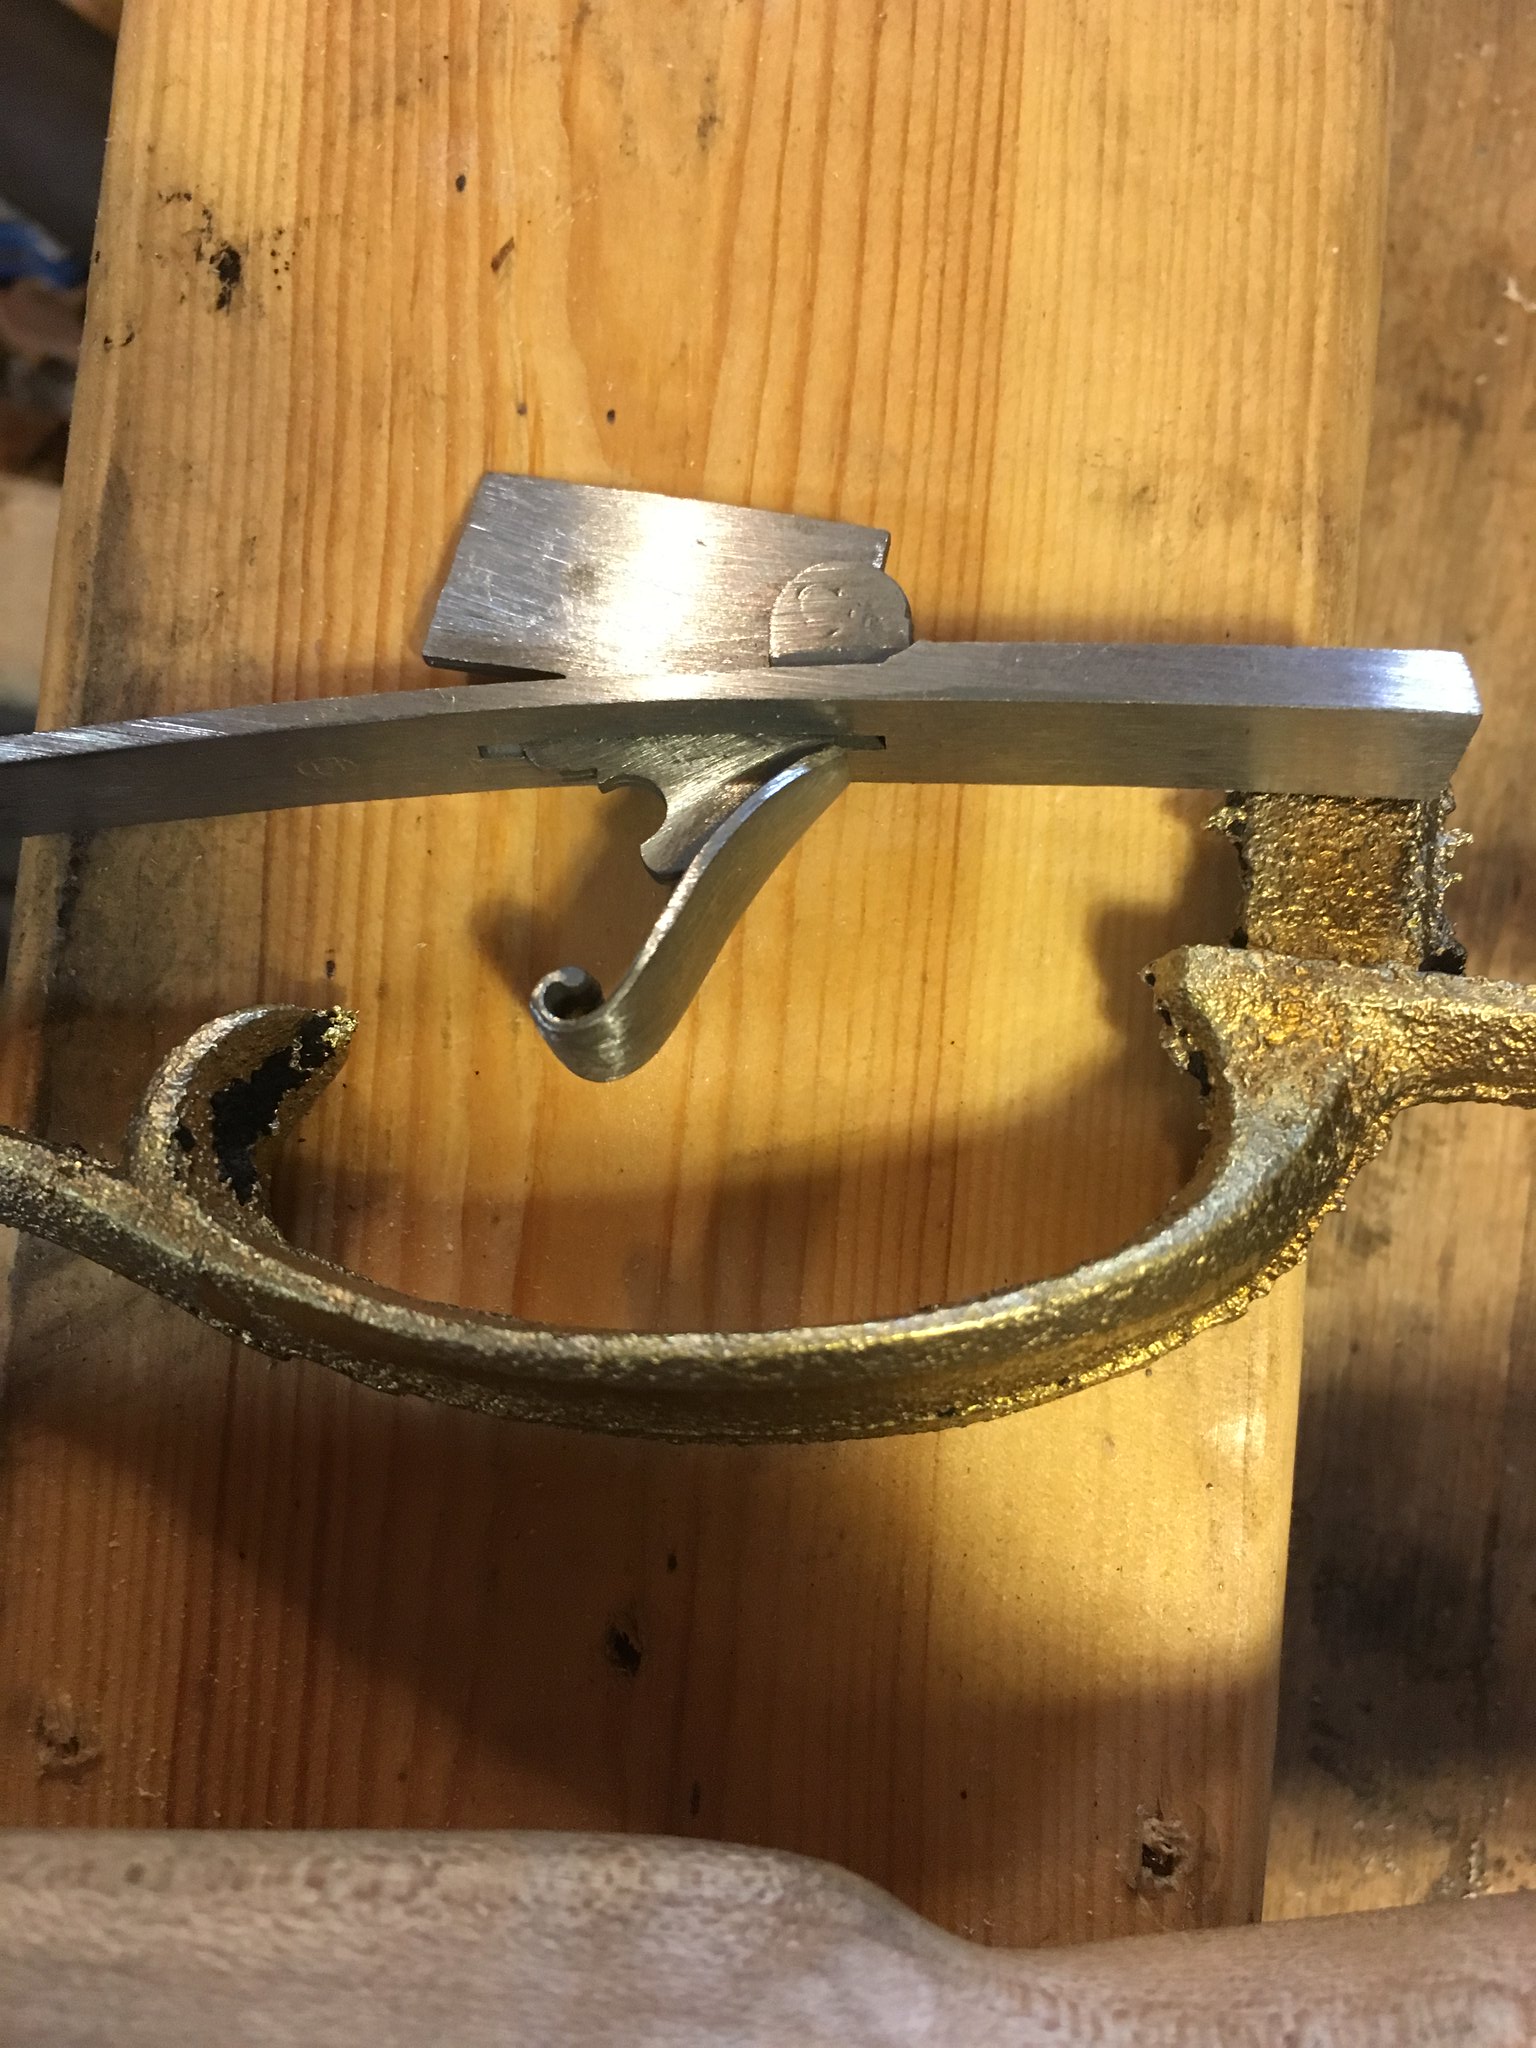
So, I'm going to skip the triggers on the Alligator Horse for right now and go straight for the buttplate.

So the Alligator Horse in in dry dock on one of Jim's extra benches awaiting the buttplate. Incidentally the cracks have closed after being in the shop. If this was a customers rifle I would scrap it,and start with new wood.mSince it's going to my brother and and everything else has gone so well I feel it will make a rifle......depends on how the the buttplate goes.

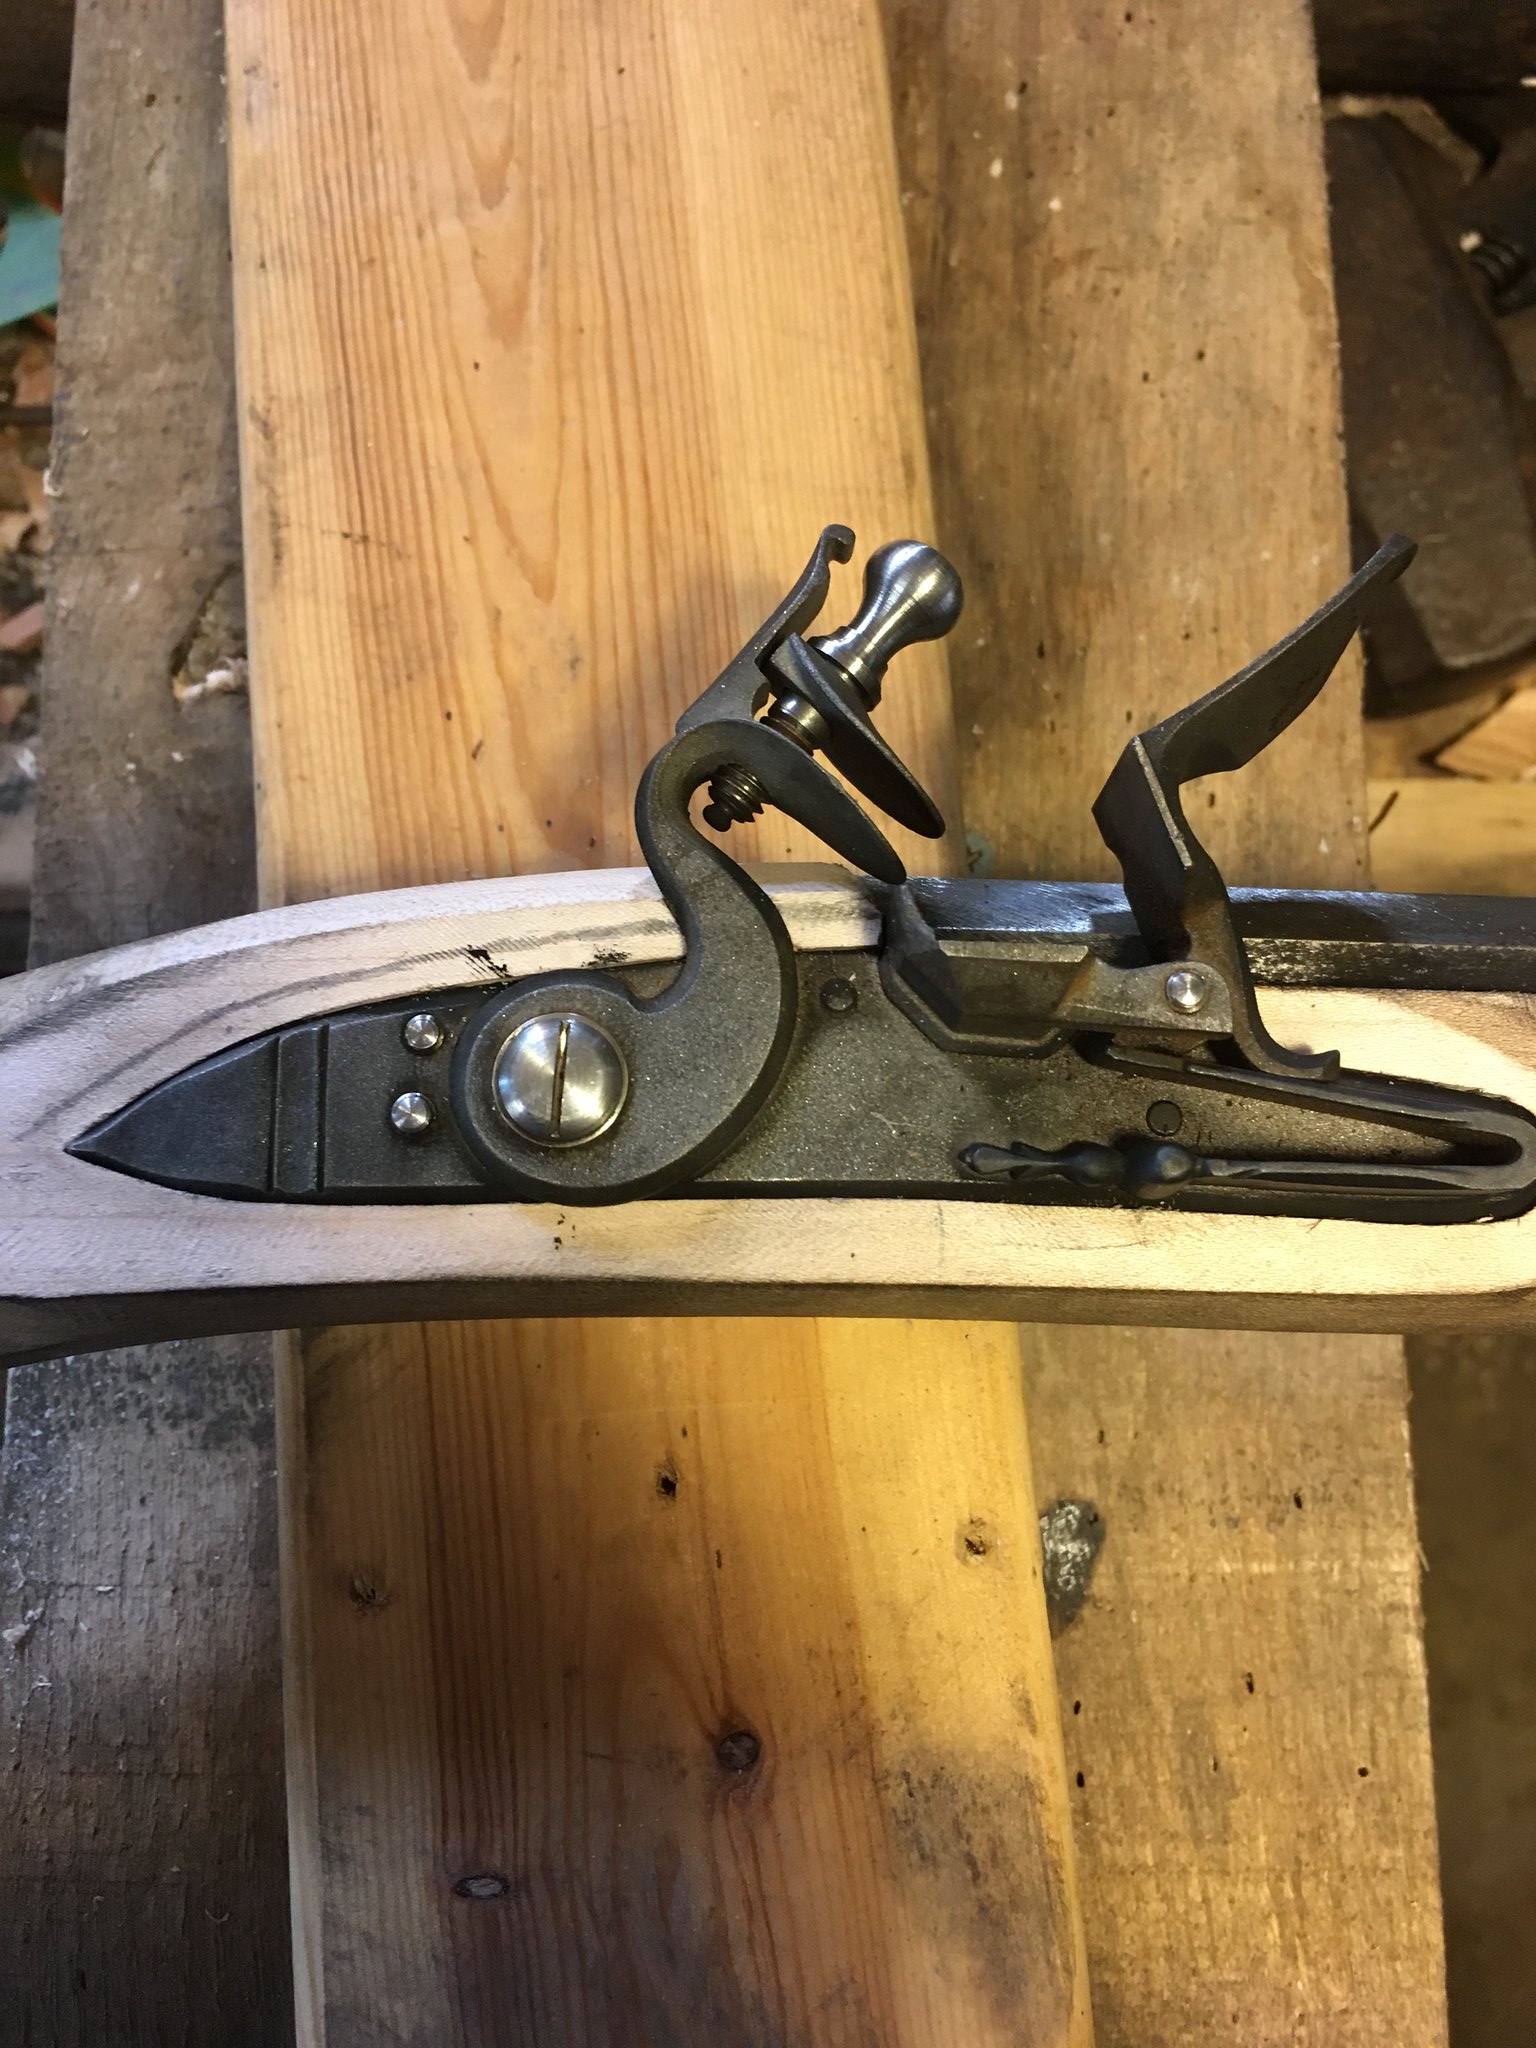
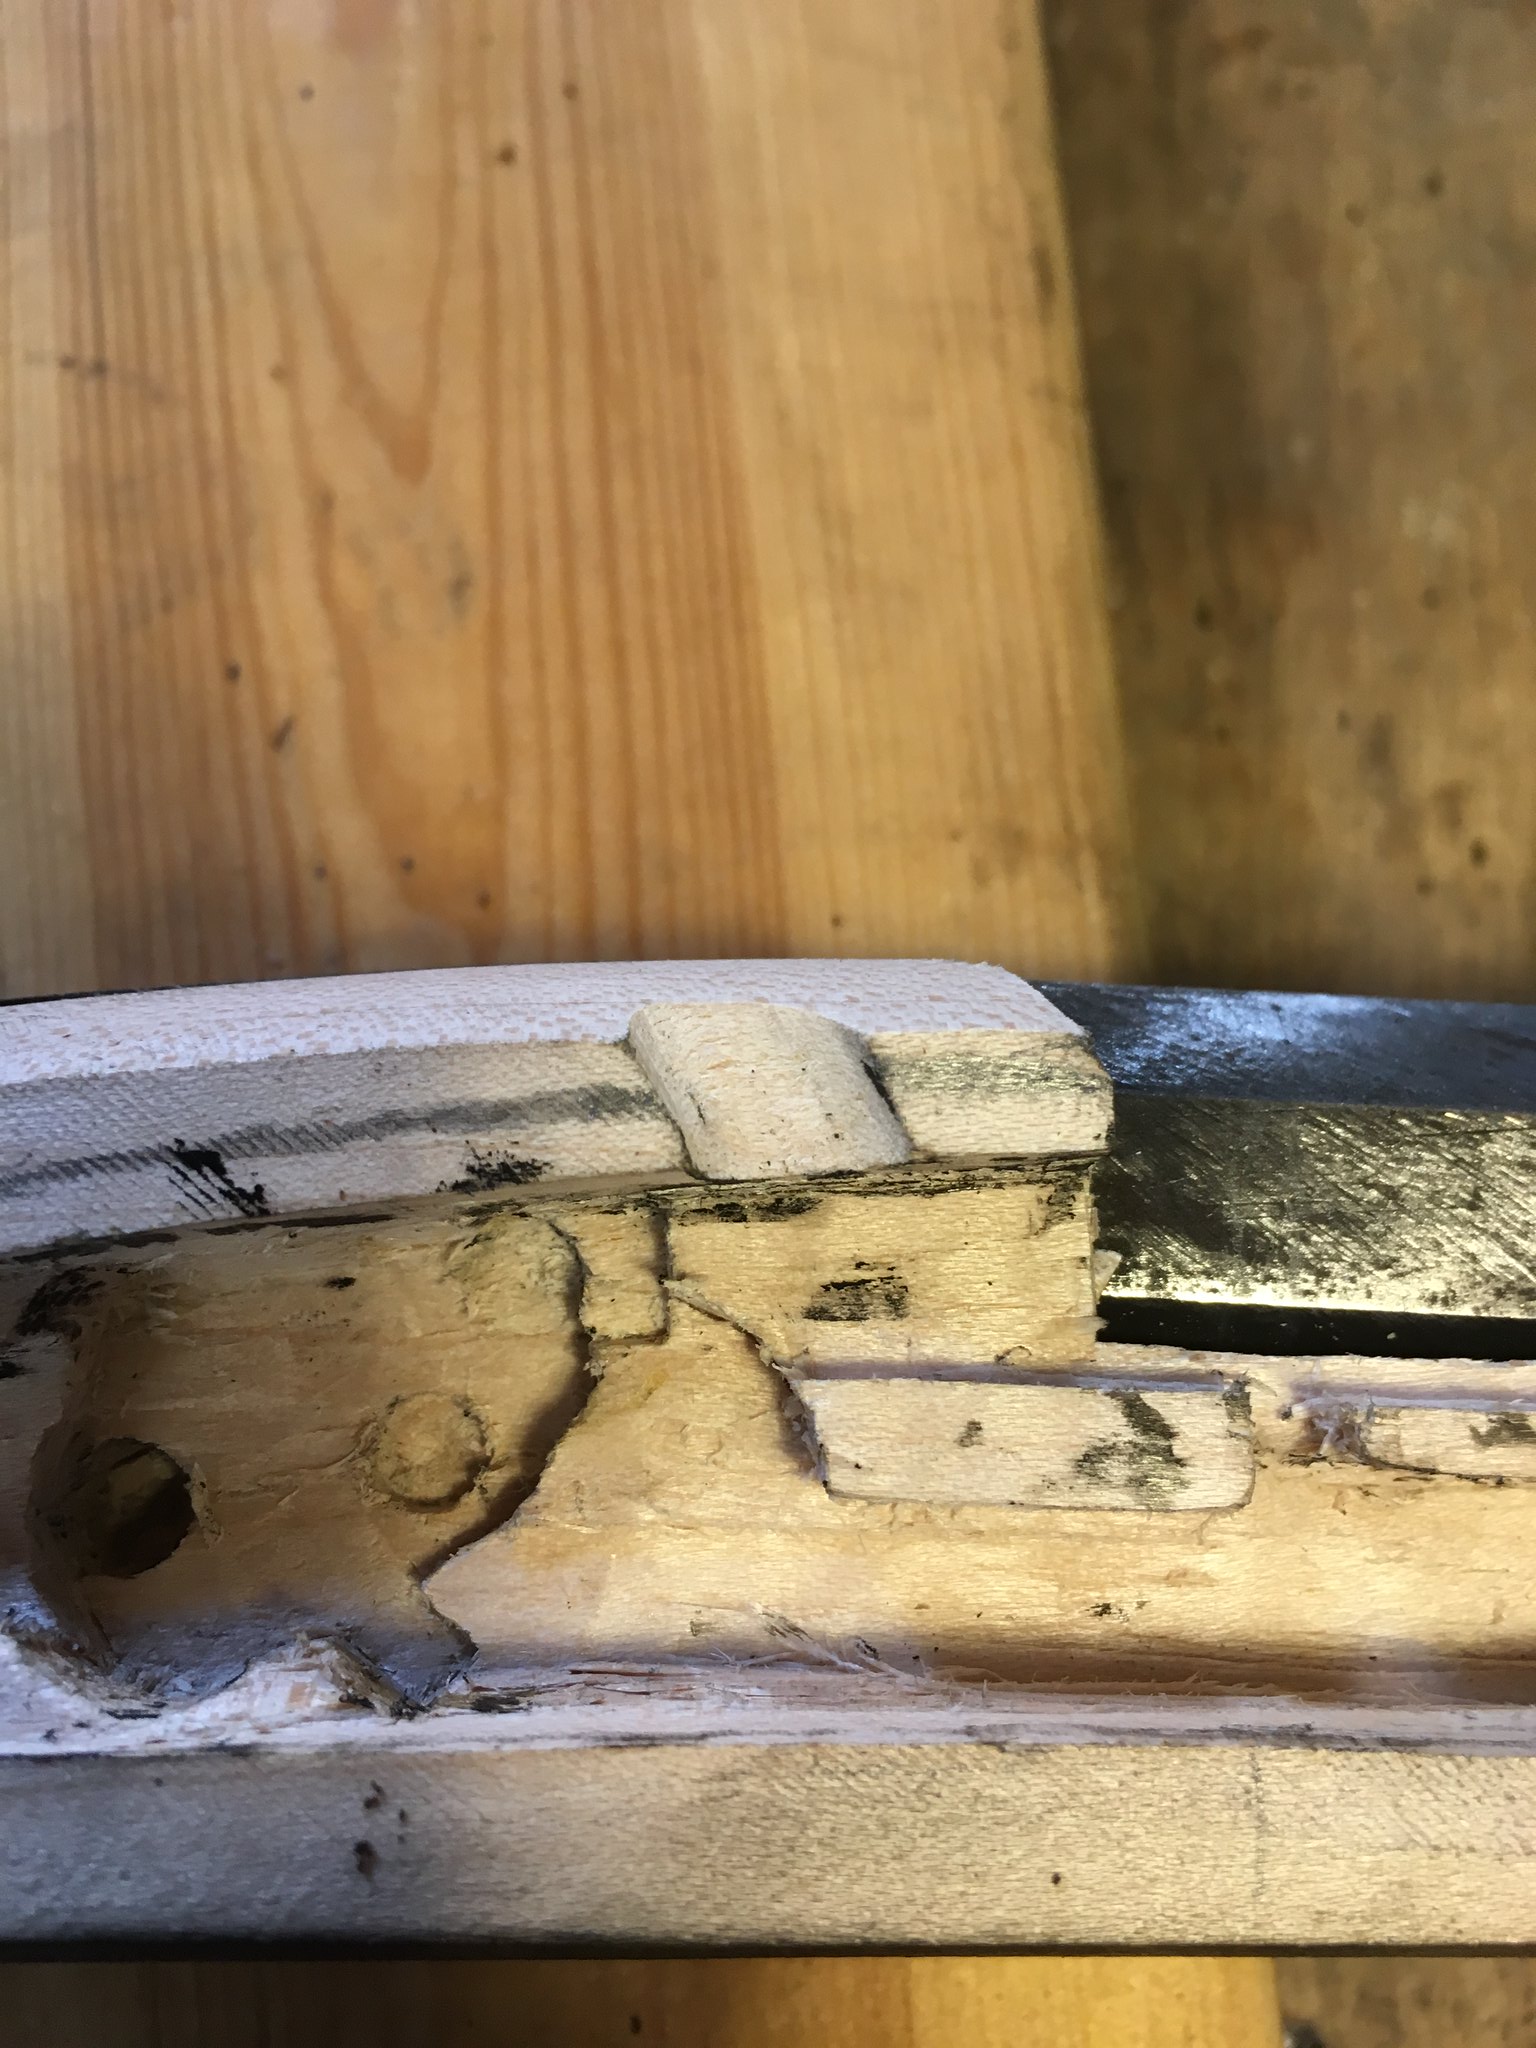
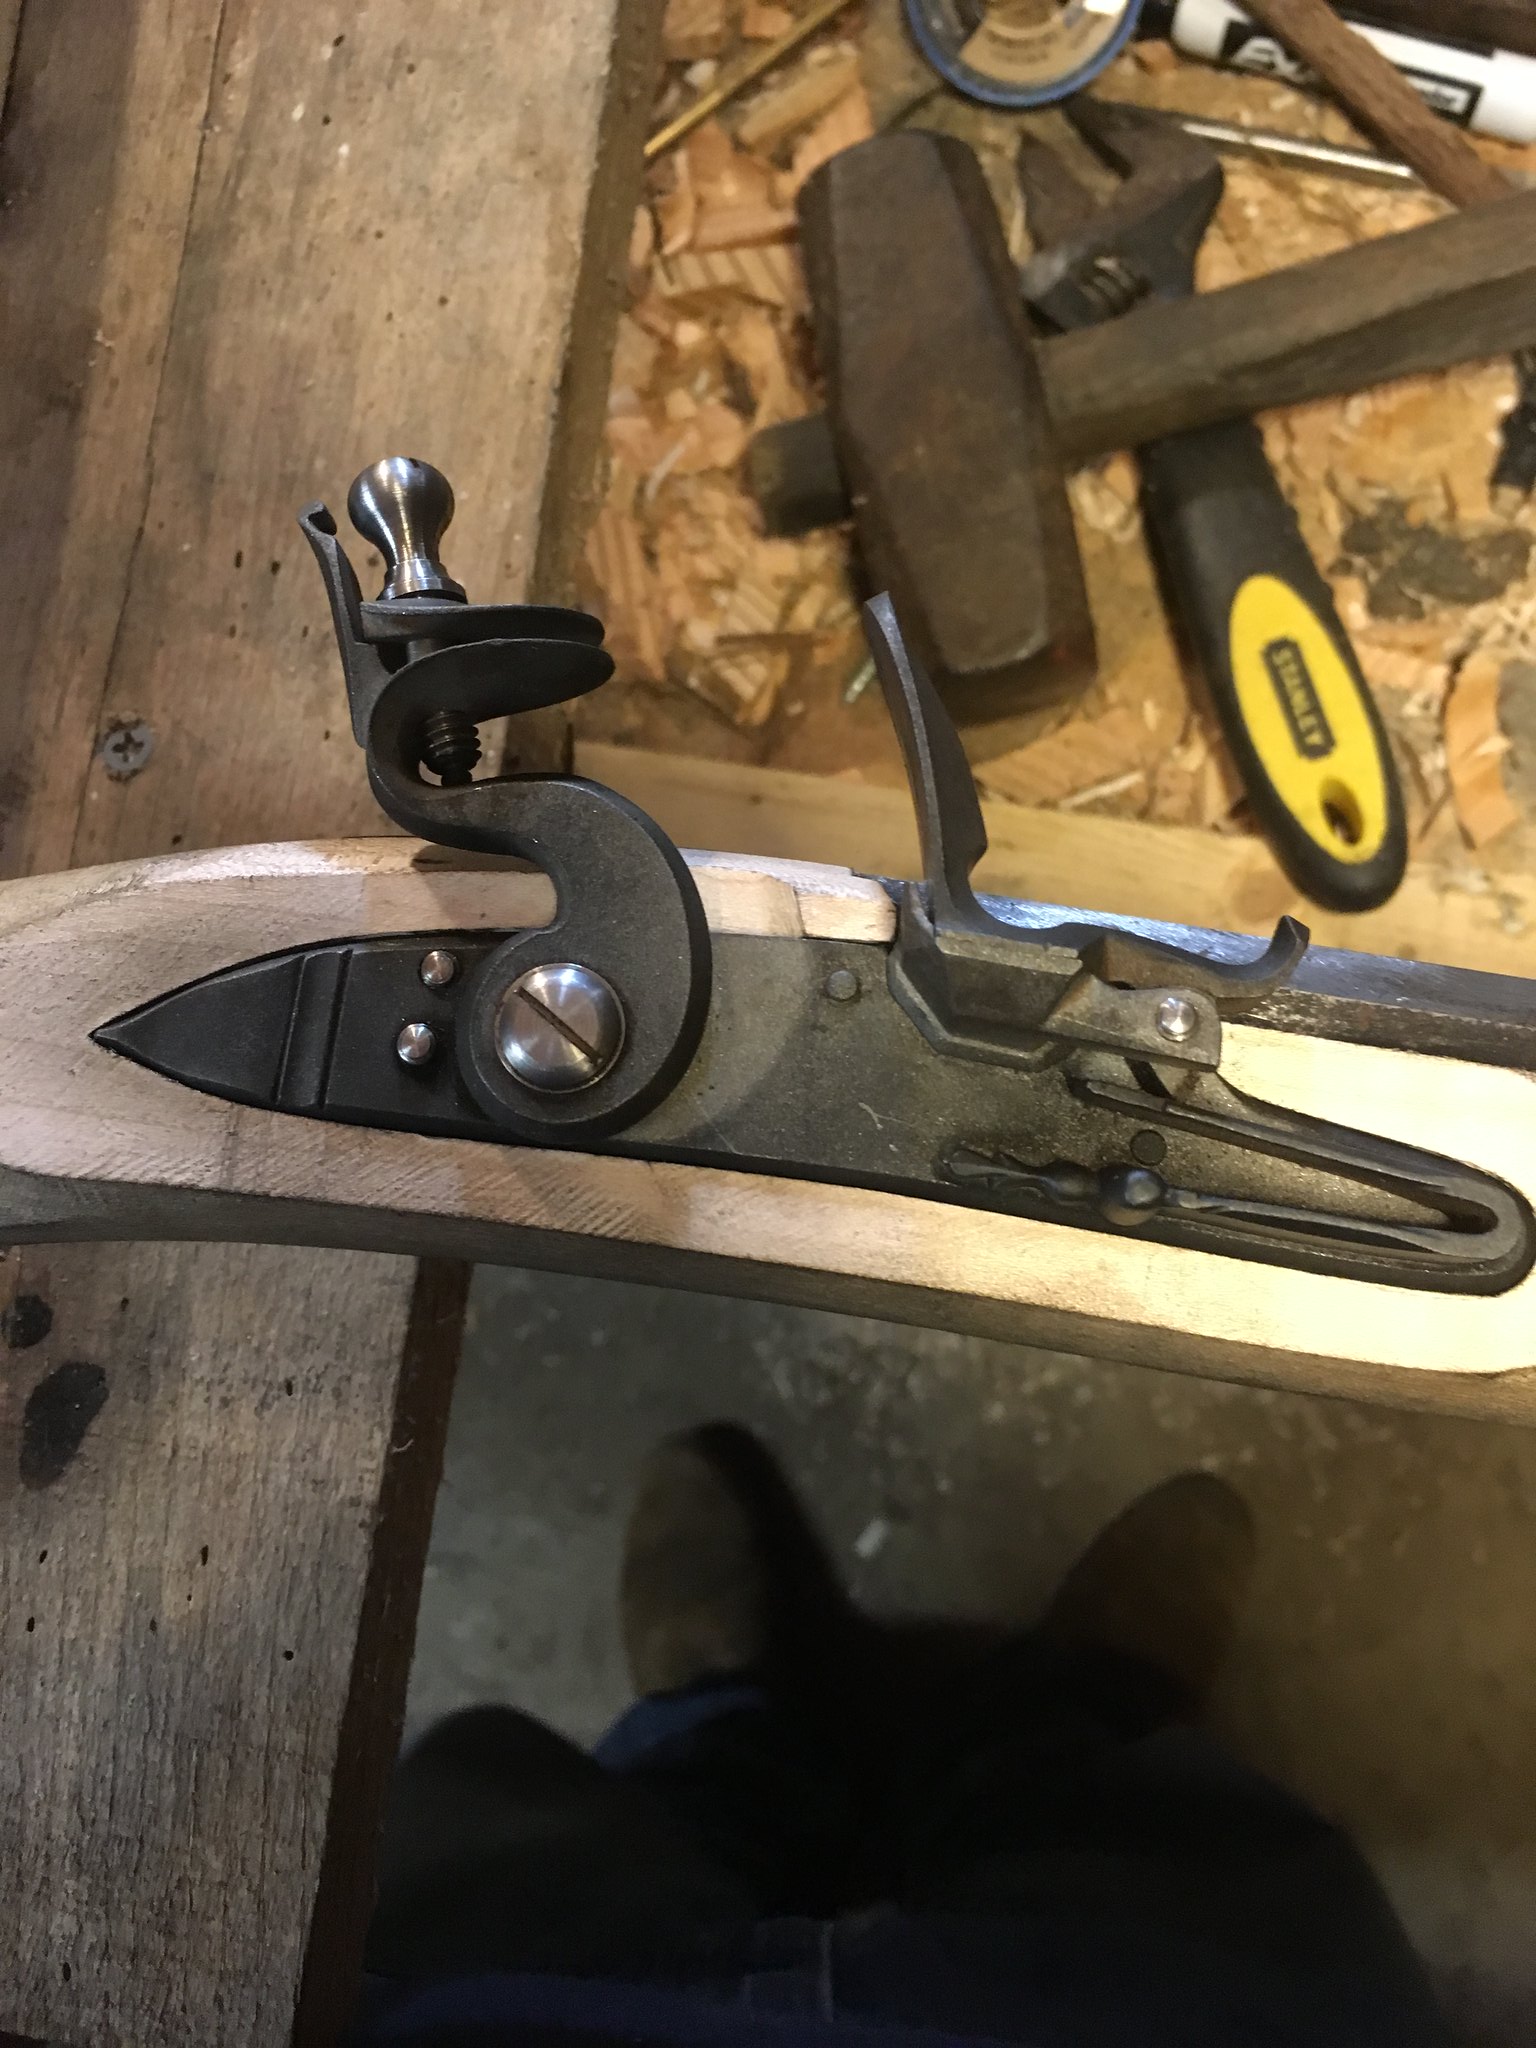
This Track Rifle....
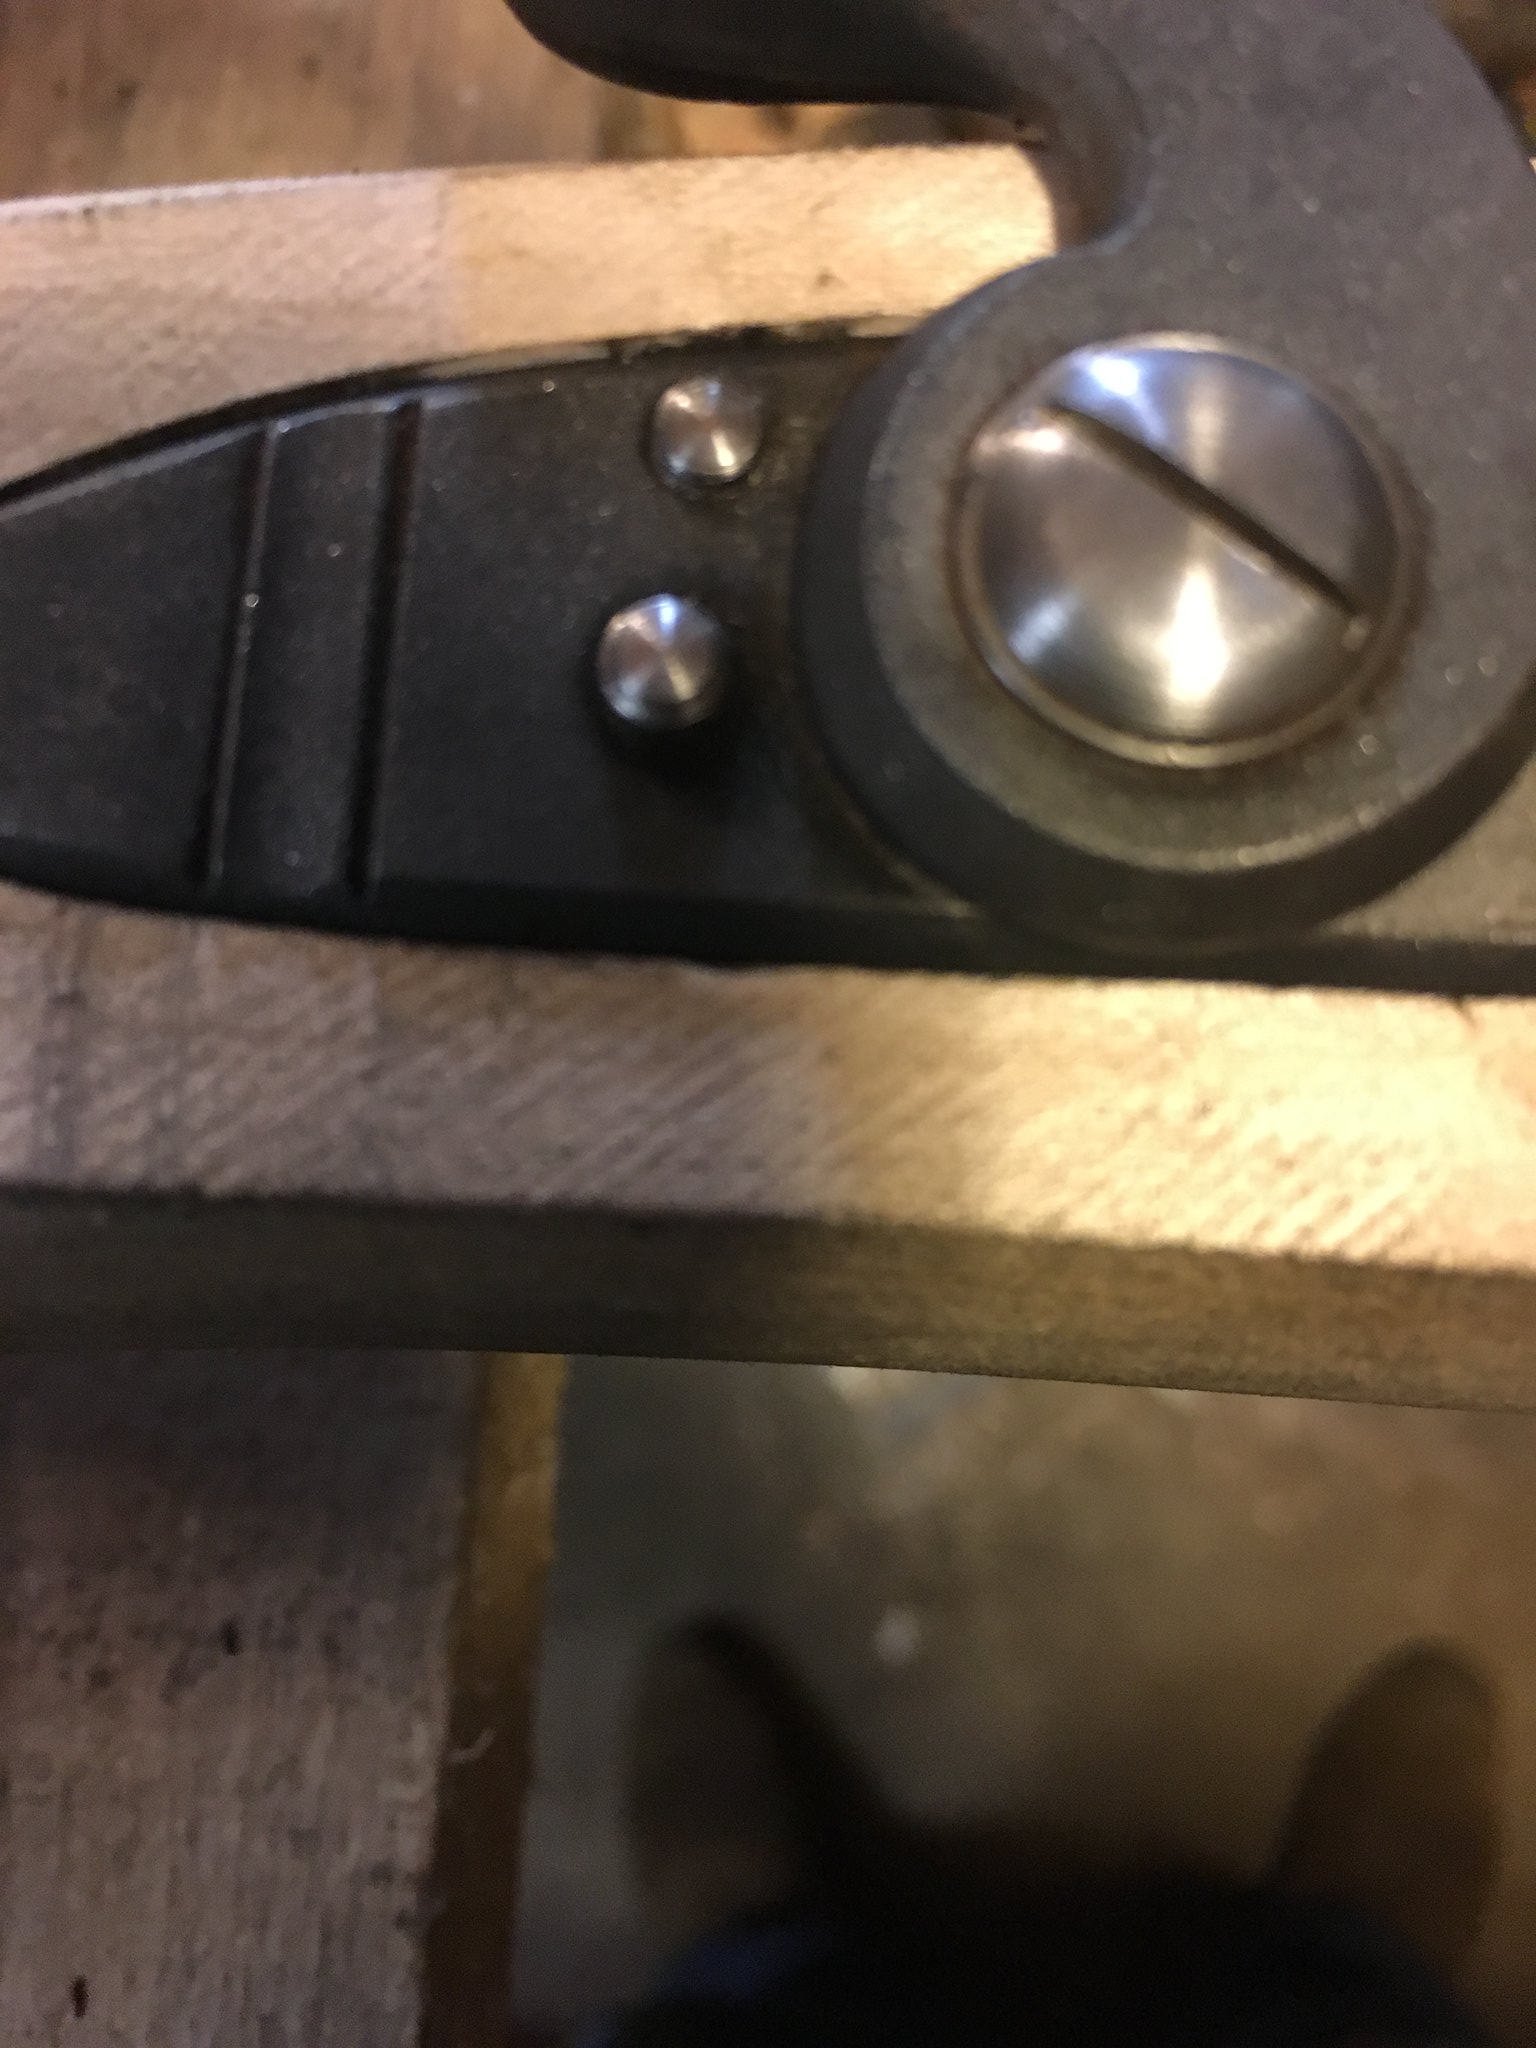
Well there's not really anything Colonial about it. Overall it's not unlike some of the early 19th Century Valley of Virginia rifles, especially the big straight or almost straight barrel. Those rifles tend to be Lancasterian in style. Most have a slightly narrower but with a little more of a slight crescent and of course the round tailed English import lock.

This little Track Rifle I wanted to try some things....carving.....patchbox....

Another thing too....my good friend who is helping me with some home repair that otherwise would cost many thousands of dollars absolutely refuses any reimbursement........He wants a rifle so...my wife said make it so....That's all the excuse I needed to get this parts set.

I wanted to see how good I could make this rifle. As a reenactor there is a mid price range that most reenactors are able to pay. Most of these guys think they can't afford a full custom. So they wind up buying junk from a flunky builder (200 bucks over price of parts) like I did when I did not know any better.

So in a sense this rifle is an experiment.

This rifle, The Alligator Horse for my brother, RCA 119 in Walnut English Fowler furniture Rifle attributed to Newcomer for my Brother in law, and The Feather Rifle for me with a straight rifled barrel Feather profile by Rayl and a stock by Keck round out my personal projects.

The Alligator Horse in in dry dock...119 has the barrel in the blank and all the furniture gathered...Ed is making the Feather Barrel. When I get it, I'll send it off to Knob Mountain sometime next year.

So I have a lot going....trying to get that experience. Plus all the Shop rifles I help with.
 
Dane said:
Travis,
Looks like the first thing you should do, is learn how to sharpen your chisels. There is no way your inlet should be that rough if your chisel is sharp. That is a soft piece of wood, and will cut cleanly if your chisel is sharp.
Scrape your barrel channel till the barrel sits down fully, color the breech end of your barrel, tap to the rear, and remove only where it colors the wood, repeat as necessary, till the barrel makes full contact. Add the breech plug, repeat.
You might also arrange it so the area you're working on is supported by a solid wood support.

Dane all good suggestions.
Yep that breech in the photo is rough.....My chisels do have a good edge..they can always be sharper and I'll address that but I think too it's the bevel not the edge. On sugar maple the,same chisels cut out slices that resemble plastic....You know how good sugar maple does. On this particular stock I can't take as big a bite. I think it's more of a bevel issue here.

Since I have sharpened and honed my chisels and am taking finer slices against that cross grain...the breech face has cleaned up tremendously.

Part of this...is,finding out how your tools work the wood. I think this varies from stock to stock.
 
Dang - my post done got et!

I am very sorry to hear that, 54Ball. I wonder if the wood might have been cracked before you started working on it, and it just took the weather for the cracks to reappear. In my attempts to dry wood cut from my parents' backyard, I've had a couple pieces check badly during the initial stages of drying, only to have the cracks shrink or even completely vanish as the piece continued to dry. There is a big slab of crotch-grain cherry I've thought about trying to make into pistol stocks - I can envision having the same sort of problems if I miscalculate the extent of the drying cracks.
 
These kits come with a long stock which needs to be cut to length. What is NOT so obvious it that the cheeckpiece is also long and needs to be shortened accordingly, otherwise the carving area behind it becomes crowded.
 
Well I guess this is a part of building.
It took my home shop down in November for a historical display at the Fort. The kids really got big eyed when I showed the Half Formed forged skelp from Williamsburg, and what it turned into....this rifle's finished Colerain. They also enjoyed pawing my 1840 Jacob Roosa original. I wanted to show that real Kentucky, they seemed to really enjoy it. Seeing is one thing, feeling touching is another. Of course always had permission from the teachers and guardians and they even touched the rifle while I held it. I let some of the teachers and parents actually holt it.

The dismantle of my home shop disturbed the Space Junk Continuim in my garage. A series of events have transpired some good some very sad. It's been and interesting December.
It looks like I'm going to move the Jubilee down to the garage and move my shop to a smaller building.
So next post whenever that happens will be of my new shop.
 
I took a break from black powder stuff....lots going on.

Anyway I want to get this little rifle done.

I breeched the rifle. That went well. I think many who are new to building are afraid of that but it's really simple.
It just takes time and care.

Untitled by Travis Brown, on Flickr
Above you can see I filed that radius away under the tang. It took about 15 minutes. It makes setting the breech so much easier.
Untitled by Travis Brown, on Flickr
I'm starting to print on the barrel channel. Keep working the tang until the barrel is down. It creeped up to the breech as I brought the tang down.
Untitled by Travis Brown, on Flickr
Eventually I had very good contact in the barrel channel and under the breech.
Untitled by Travis Brown, on Flickr
One goof.....
The tang was slightly oversized. About the first 1/2 the edge follows the octagonal. I should have done more filing but I thought it would be OK. It really shows in the shadow....
 
Up next is the lock but before that I have to move the the barrel rails down.
I had a line showing 3/4 of the side flat but that is too much for this rifle....at least for right now.

On my blank/semi blank builds I like to show a good deal of side flat. I may do that but for right now I'm going to go off the supplied nose cap.
Untitled by Travis Brown, on Flickr
I popped the cap on the barrel and set my depth gauge.
Untitled by Travis Brown, on Flickr
One of the most important tools for layout....
I'm erasing the line at 3/4 side flat....I made a new line 1/2 side flat.
There's no photos of taking the rails down... I mainly did one side at a time but occasionally I would rasp both across the barrel channel. I just rasped close to the line and finished up with a file.

I then studied Jacob Dickert to get the swoop pretty close at the breech.....
Untitled by Travis Brown, on Flickr
I drilled a witness hole for my depth gauge to confirm Ramrod depth and the barrel channel bottom.
I drew in the lines and used my sheet of circles for the 3/8 ramrod.
This gives me a pretty good idea of the web so I can place the lock.
Untitled by Travis Brown, on Flickr
This show the draft I filed on the lock plate. BTW I filed a draft on the breech plug as well. The draft aids in in letting.
Untitled by Travis Brown, on Flickr
Don't loose that Joker!

Untitled by Travis Brown, on Flickr
Here is where it lives. They call these flys....I guess because they have a habit of flying away.
Untitled by Travis Brown, on Flickr
here's all you need for lock service. The brass drift is ground to pop the hammer off with out marring the tumbler stud. This all fits nicely in a shooting pouch.
Untitled by Travis Brown, on Flickr
I have found the breech with my ramrod...marked it and moved out about 1/8 for the vent. I punched the barrel slightly and I drew a vent location line down the lock panel. I aligned my lock to the web and what looks good for the tail.
Untitled by Travis Brown, on Flickr
When I got everything eyeballed....I gave it a wack to set the sear location.
Yep I'm going to try this. This is the rifle to do it on.
Untitled by Travis Brown, on Flickr
Started the sear hole.
Untitled by Travis Brown, on Flickr
Using the brace to excavate the screw holes.
Untitled by Travis Brown, on Flickr
The print.
Untitled by Travis Brown, on Flickr
Hogged out but as it goes down the bridle will print again....
Let me just say this method is....intense but natural and familiar if that makes sense.
 
Was surprised that the breech plug wasn't installed, but you'll learn a lot installing it along w/ the rest of the parts.

Have you got at least 2 of the excellent "how to" books for reference?

Good luck w/ your parts set........Fred
 
Fred,
It's a straight barreled rifle. I believe on most straights, the breech plug has to be fitted.
Thanks a bunch :hatsoff: I do have the two big books.
 
Untitled by Travis Brown, on Flickr Untitled by Travis Brown, on Flickr
Untitled by Travis Brown, on Flickr

I'm lettimg the lock down. I still have a a little to go.
I went a ahead and filed the lock panel down some as my lock was getting deep. There's no need to fight that wood that's going to come off anyway. I also drew in a rough line for the top of the lock panel. I shaped the area at the tang and the lock around the cock. This area is thin and vulnerable with the cock notch cut. I thought it best to bring this down a little now while there is still some wood..
 
Had to work on my son's truck then move him off to college.
Lock is down and works.
Untitled by Travis Brown, on Flickr
Being sloppy with the lock I dented the inlet.
Untitled by Travis Brown, on Flickr
A hot iron and a wet paper towel....Should have used a thicker cloth.
Untitled by Travis Brown, on Flickr
Dent's gone but I did scorch the stock at a spot....it's OK because that's going to come off. Thicker cloth I would have been fine.
Untitled by Travis Brown, on Flickr

Up next is laying out my triggers. I really need to clean up that brass guard.
Untitled by Travis Brown, on Flickr
 
Suggestion.... don't use that trigger and plate as provided. Use plate and blade separately, and pin in the stock as high as possible.
Much nicer trigger pull.
 
Thanks Dane.

I'm going to pin it. I'll admit some instructionals recommend those and I did consider using it. It does not put the pin where I want it. I'm going to separate the trigger from the plate, grind the post off and pin the trigger in the stock.
 
Dane said:
Suggestion.... don't use that trigger and plate as provided. Use plate and blade separately, and pin in the stock as high as possible.
Much nicer trigger pull.

Agreed, nice work 54ball! :hatsoff:

Have fun finishing those ruff brass castings! I want no part of it! :rotf: You can't rush art though! The trimmings are my least favorite process.
 
Those castings are.....
Very Colonial
:shocked2:

As rough as they are they seem to be good brass.
I have heard some have problems with Tracks investment cast being too hard..... more like a bronze alloy.
 
I had to clean up those castings especially the triggerguard just to lay it out.
These castings are the worst I have ever seen.
Untitled by Travis Brown, on Flickr

This took hours. They are not perfect, never will be especially since the casting was misaligned.
This can teach a person a lot about these rifles. Taking something that is imperfect and making it look the almost perfect or at least, best it can.
 
Back
Top