Phil Coffins
69 Cal.
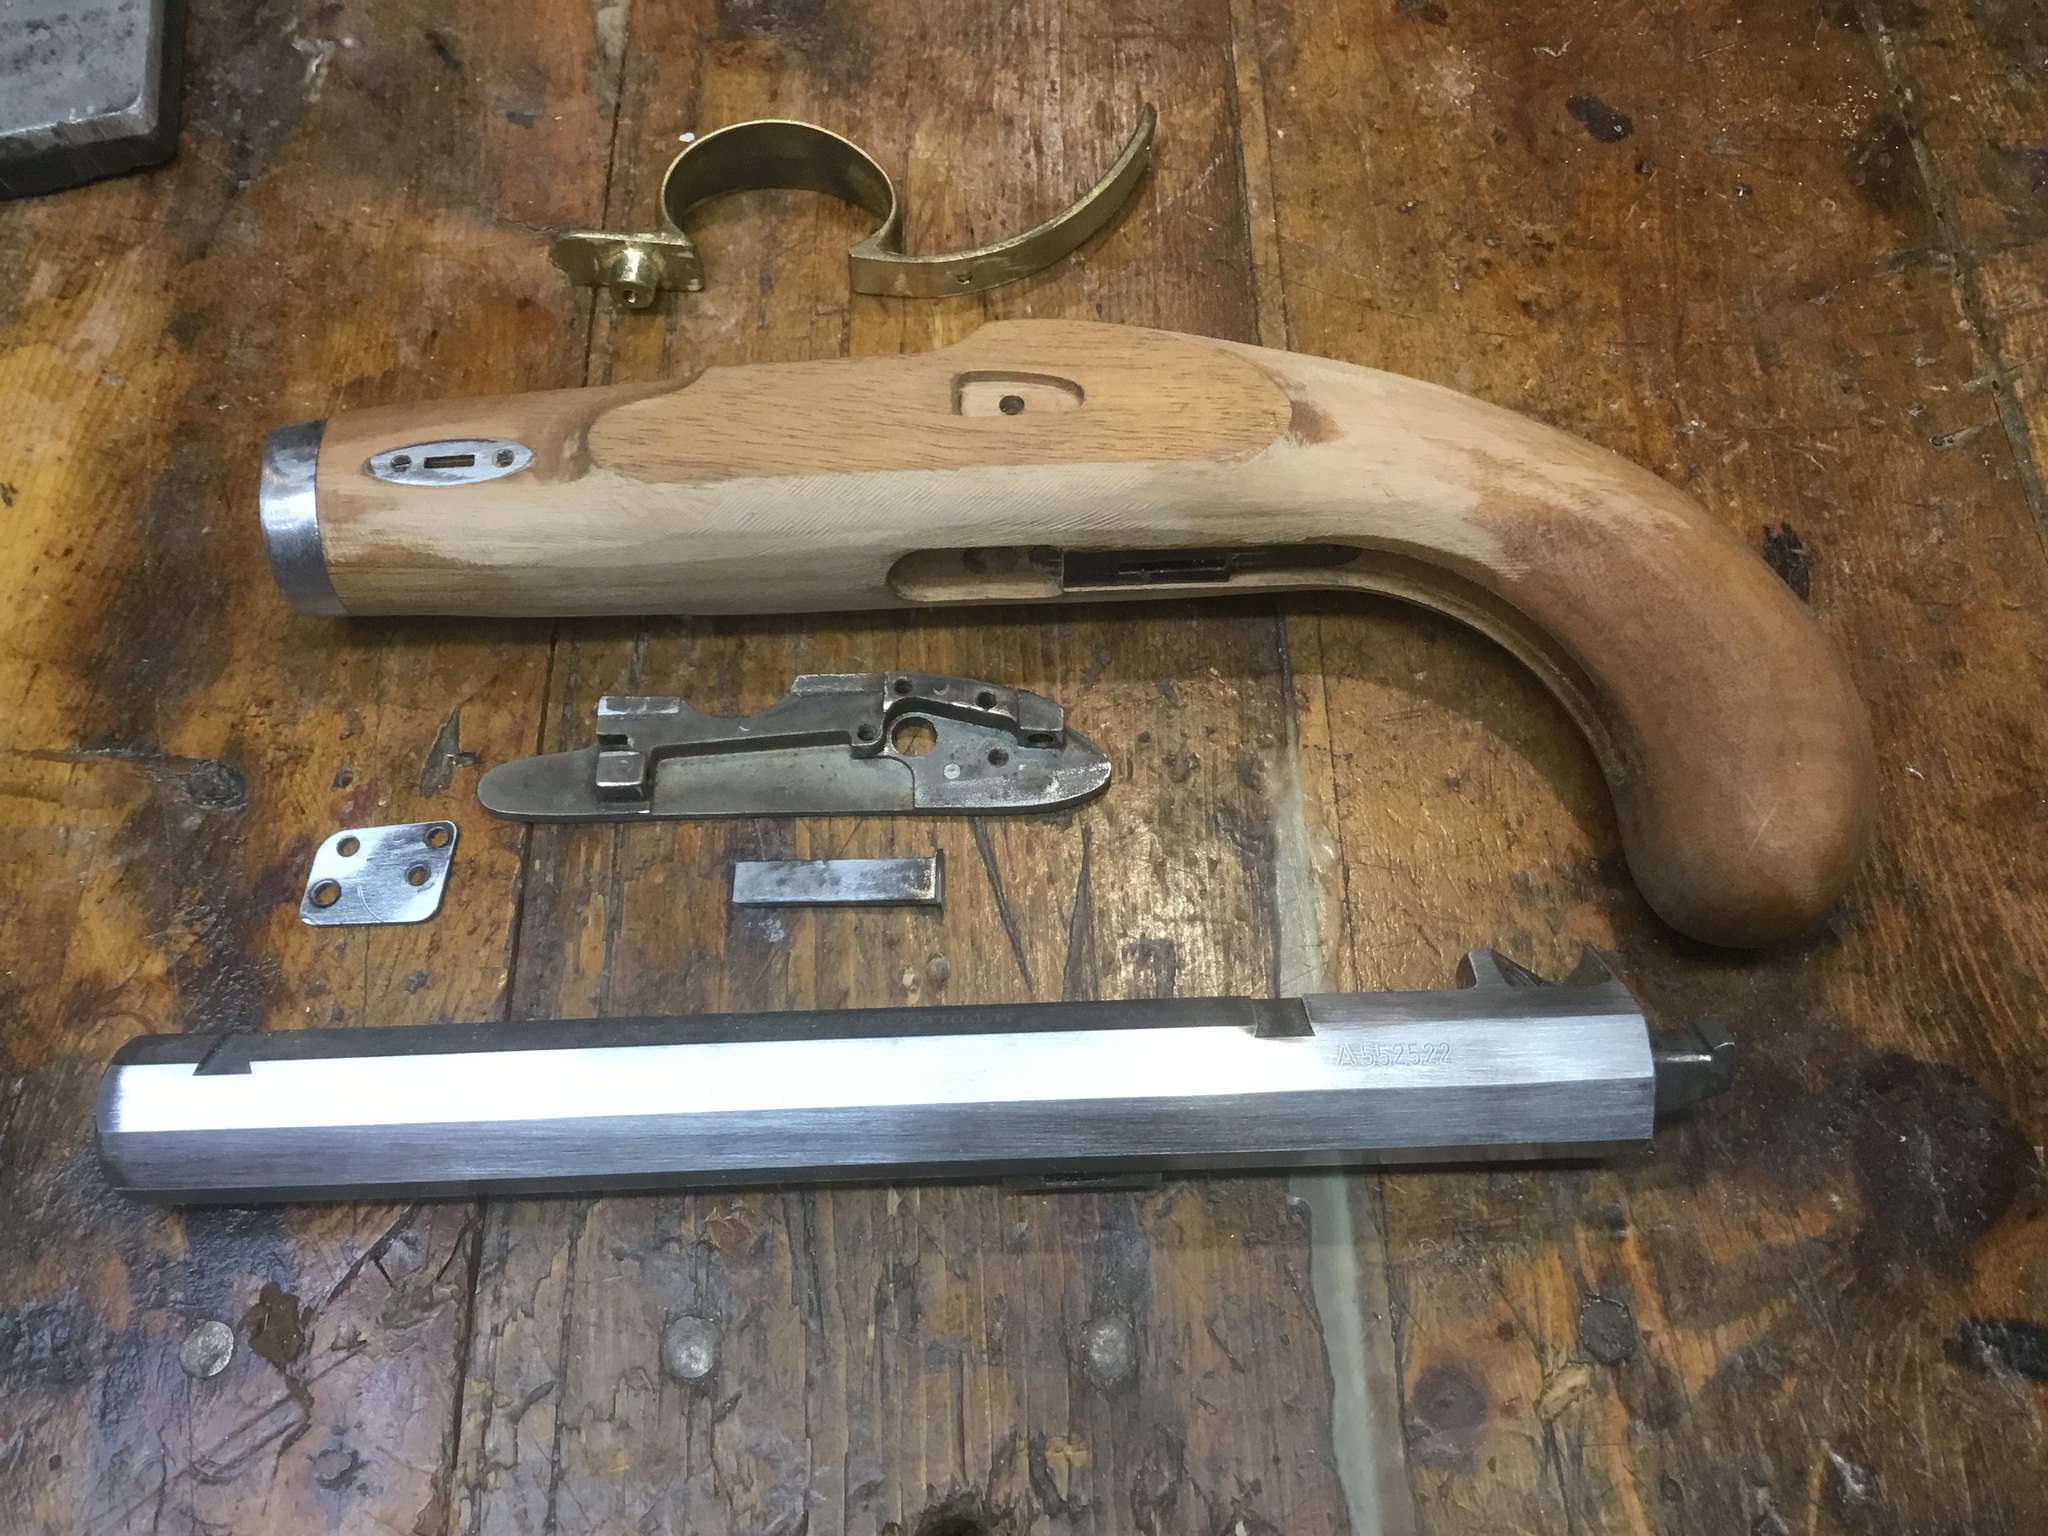
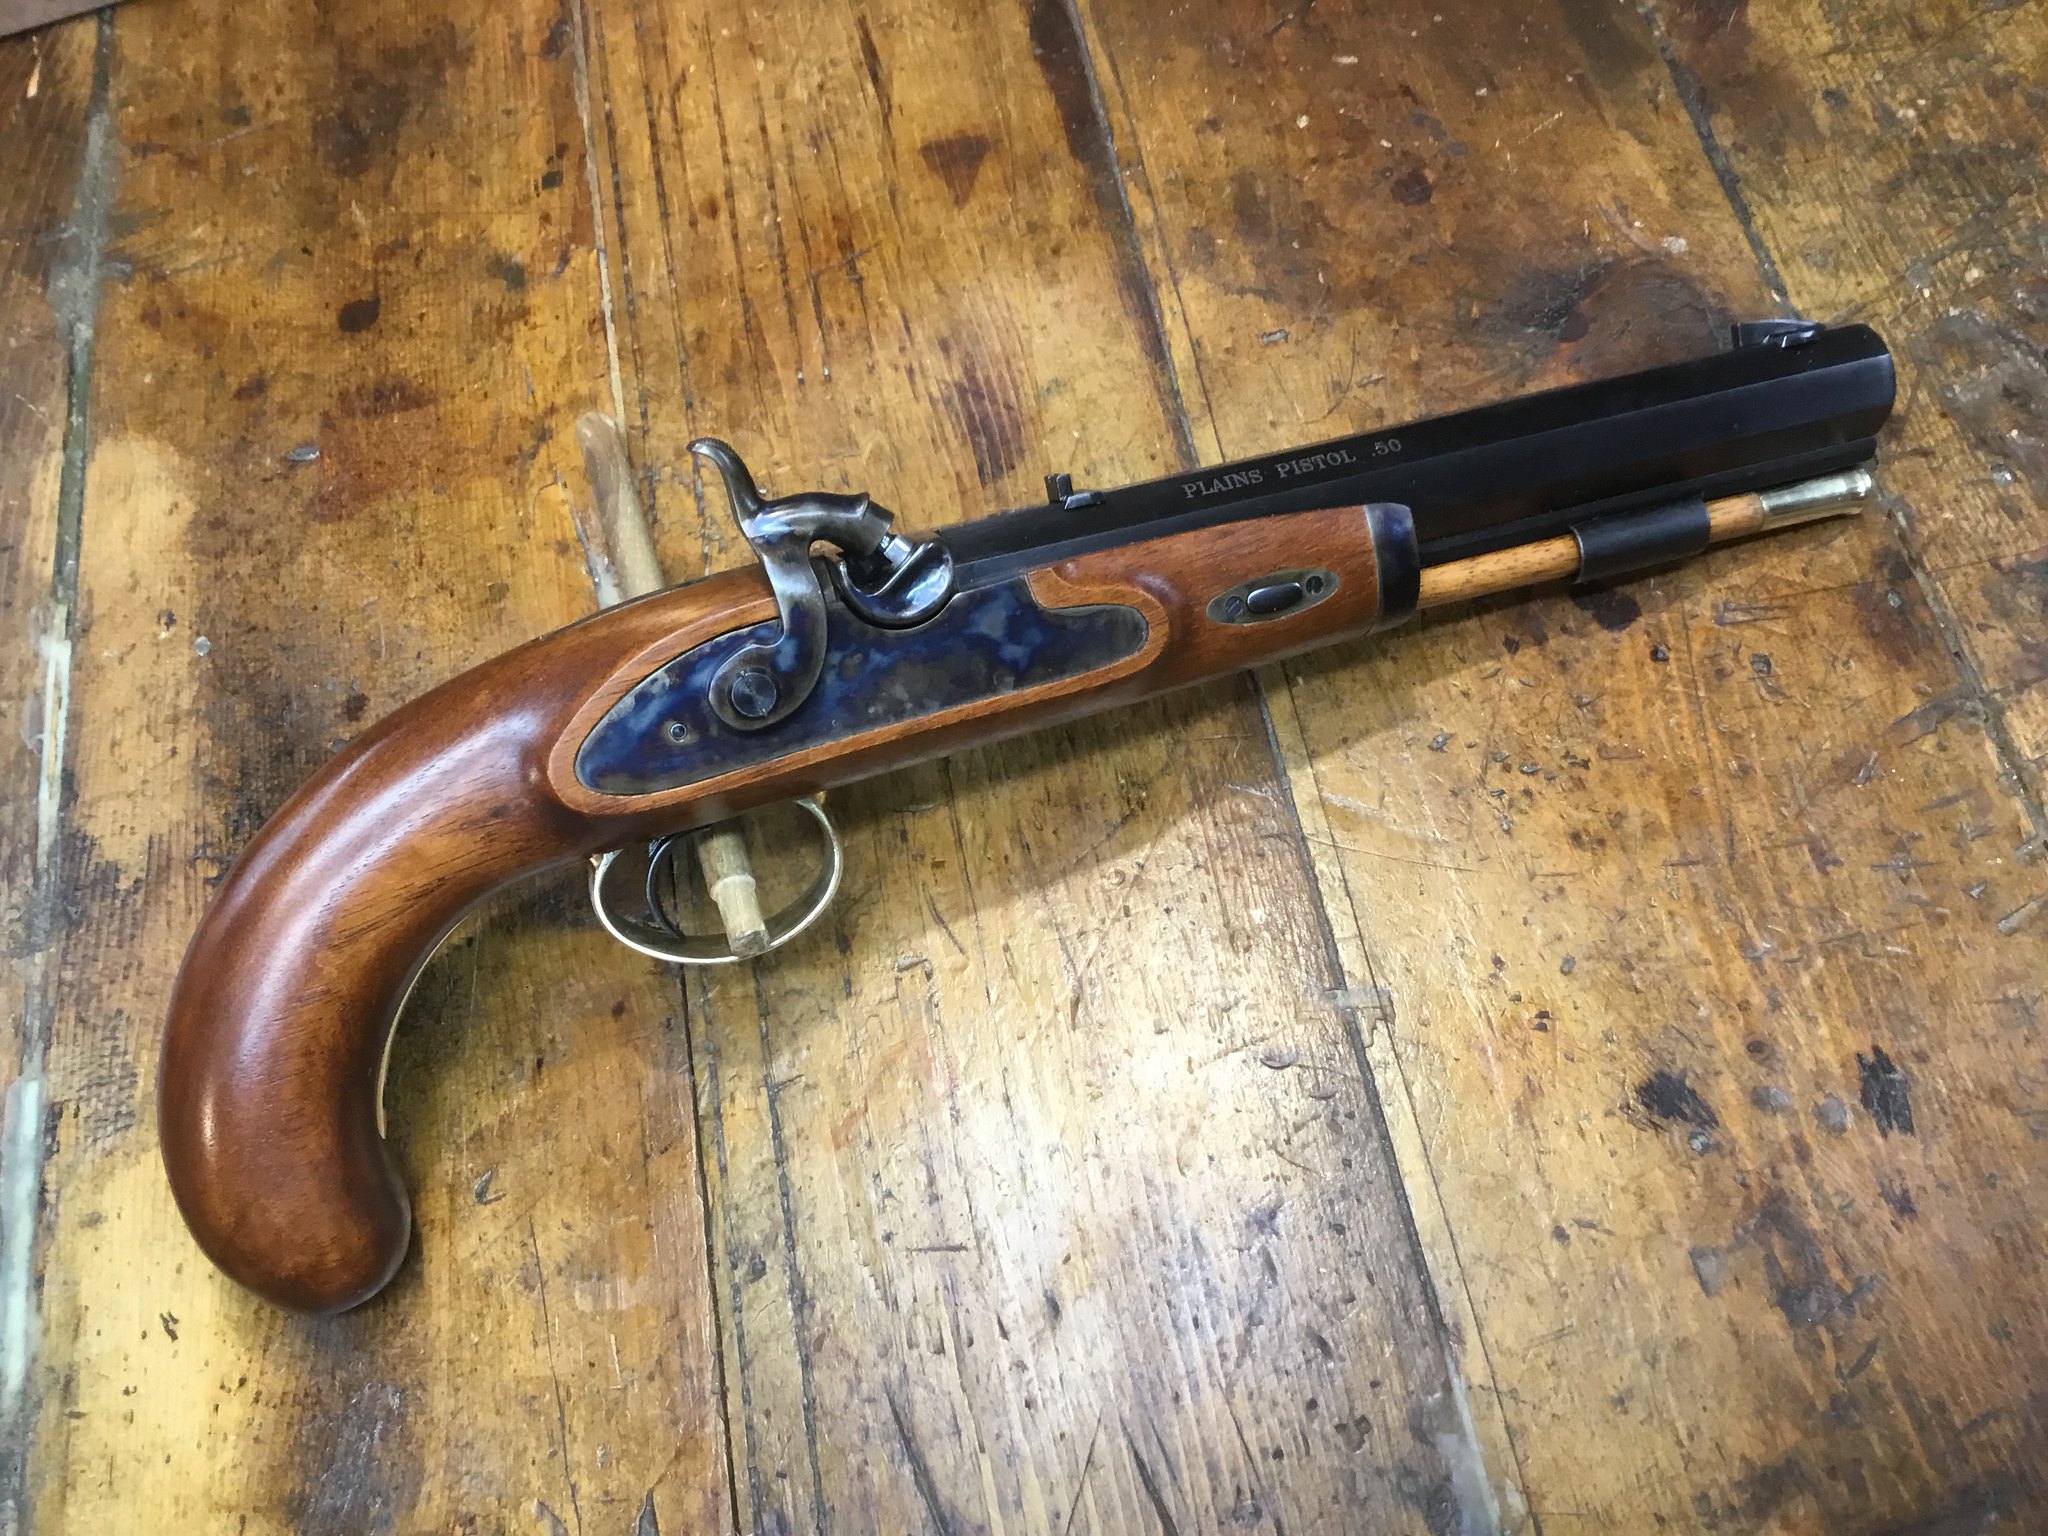
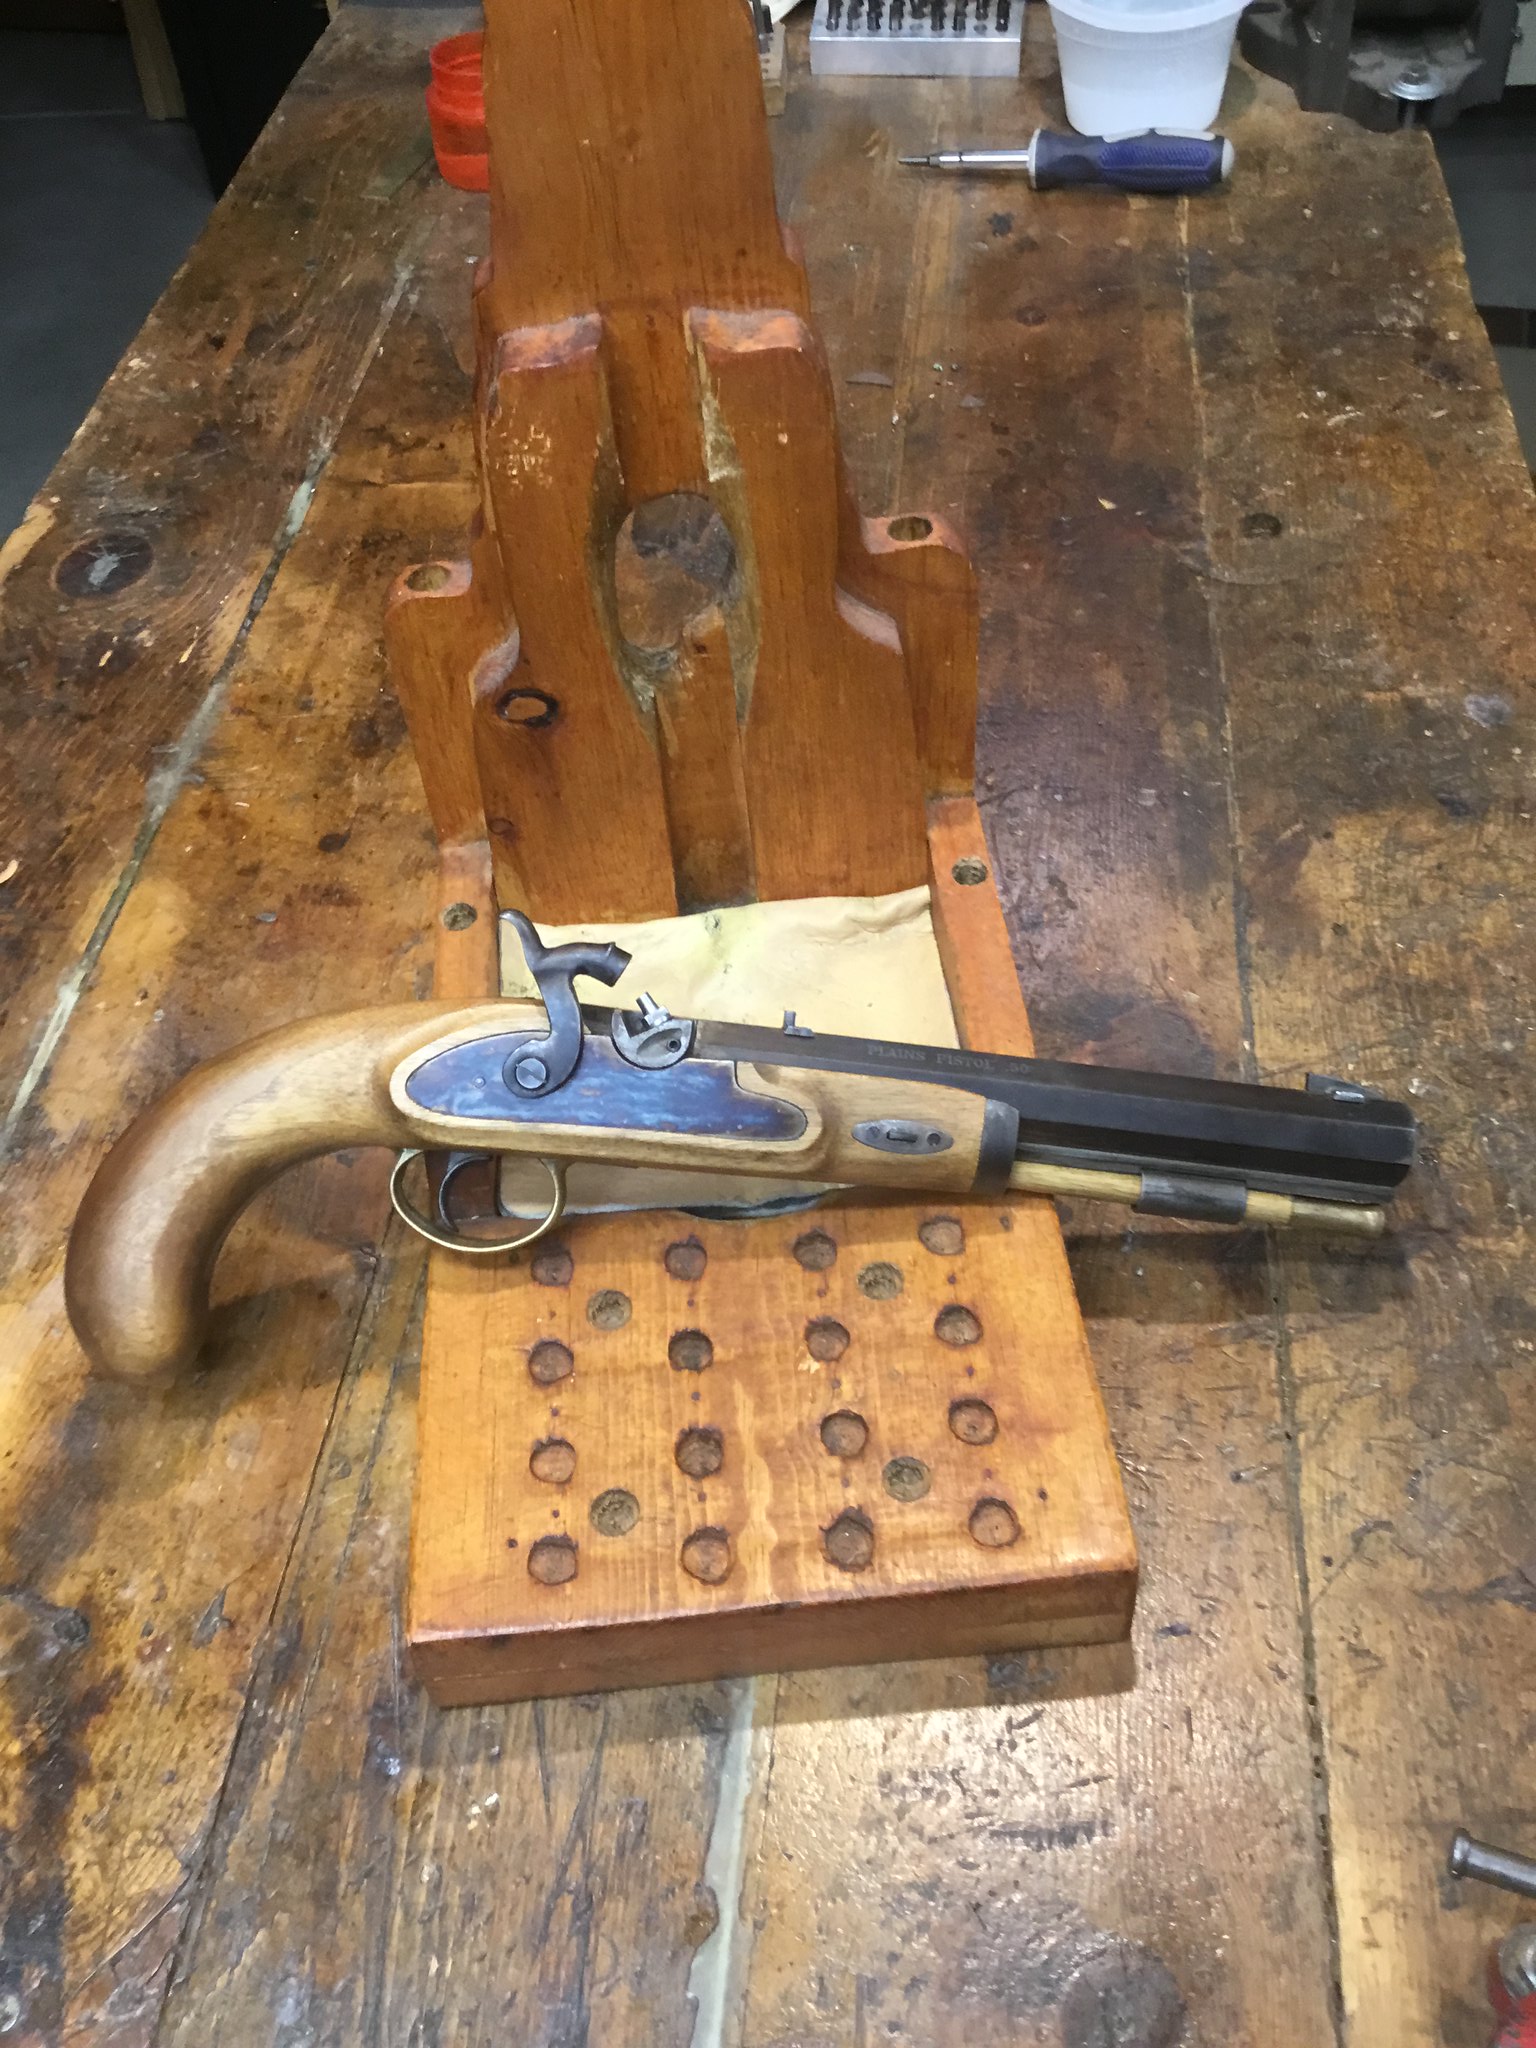
Got a pistol this time to fiddle with. It is a Lyman pistol kit that was assembled with the bare minimum of work. The bore is perfect and nothing is needing fixed but the shaping and finish. The before picture.
 IMG_0524 by Oliver Sudden, on Flickr
IMG_0524 by Oliver Sudden, on Flickr