My Ring doorbell chimed in my iPhone today and saw a long box on my green mailbox. I headed home. Maintaining all applicable speed limits, barely. Took the box into my garage and took out about a hundred screws in the very well done shipping box from Kibler's Longrifles and there, it finally was home!
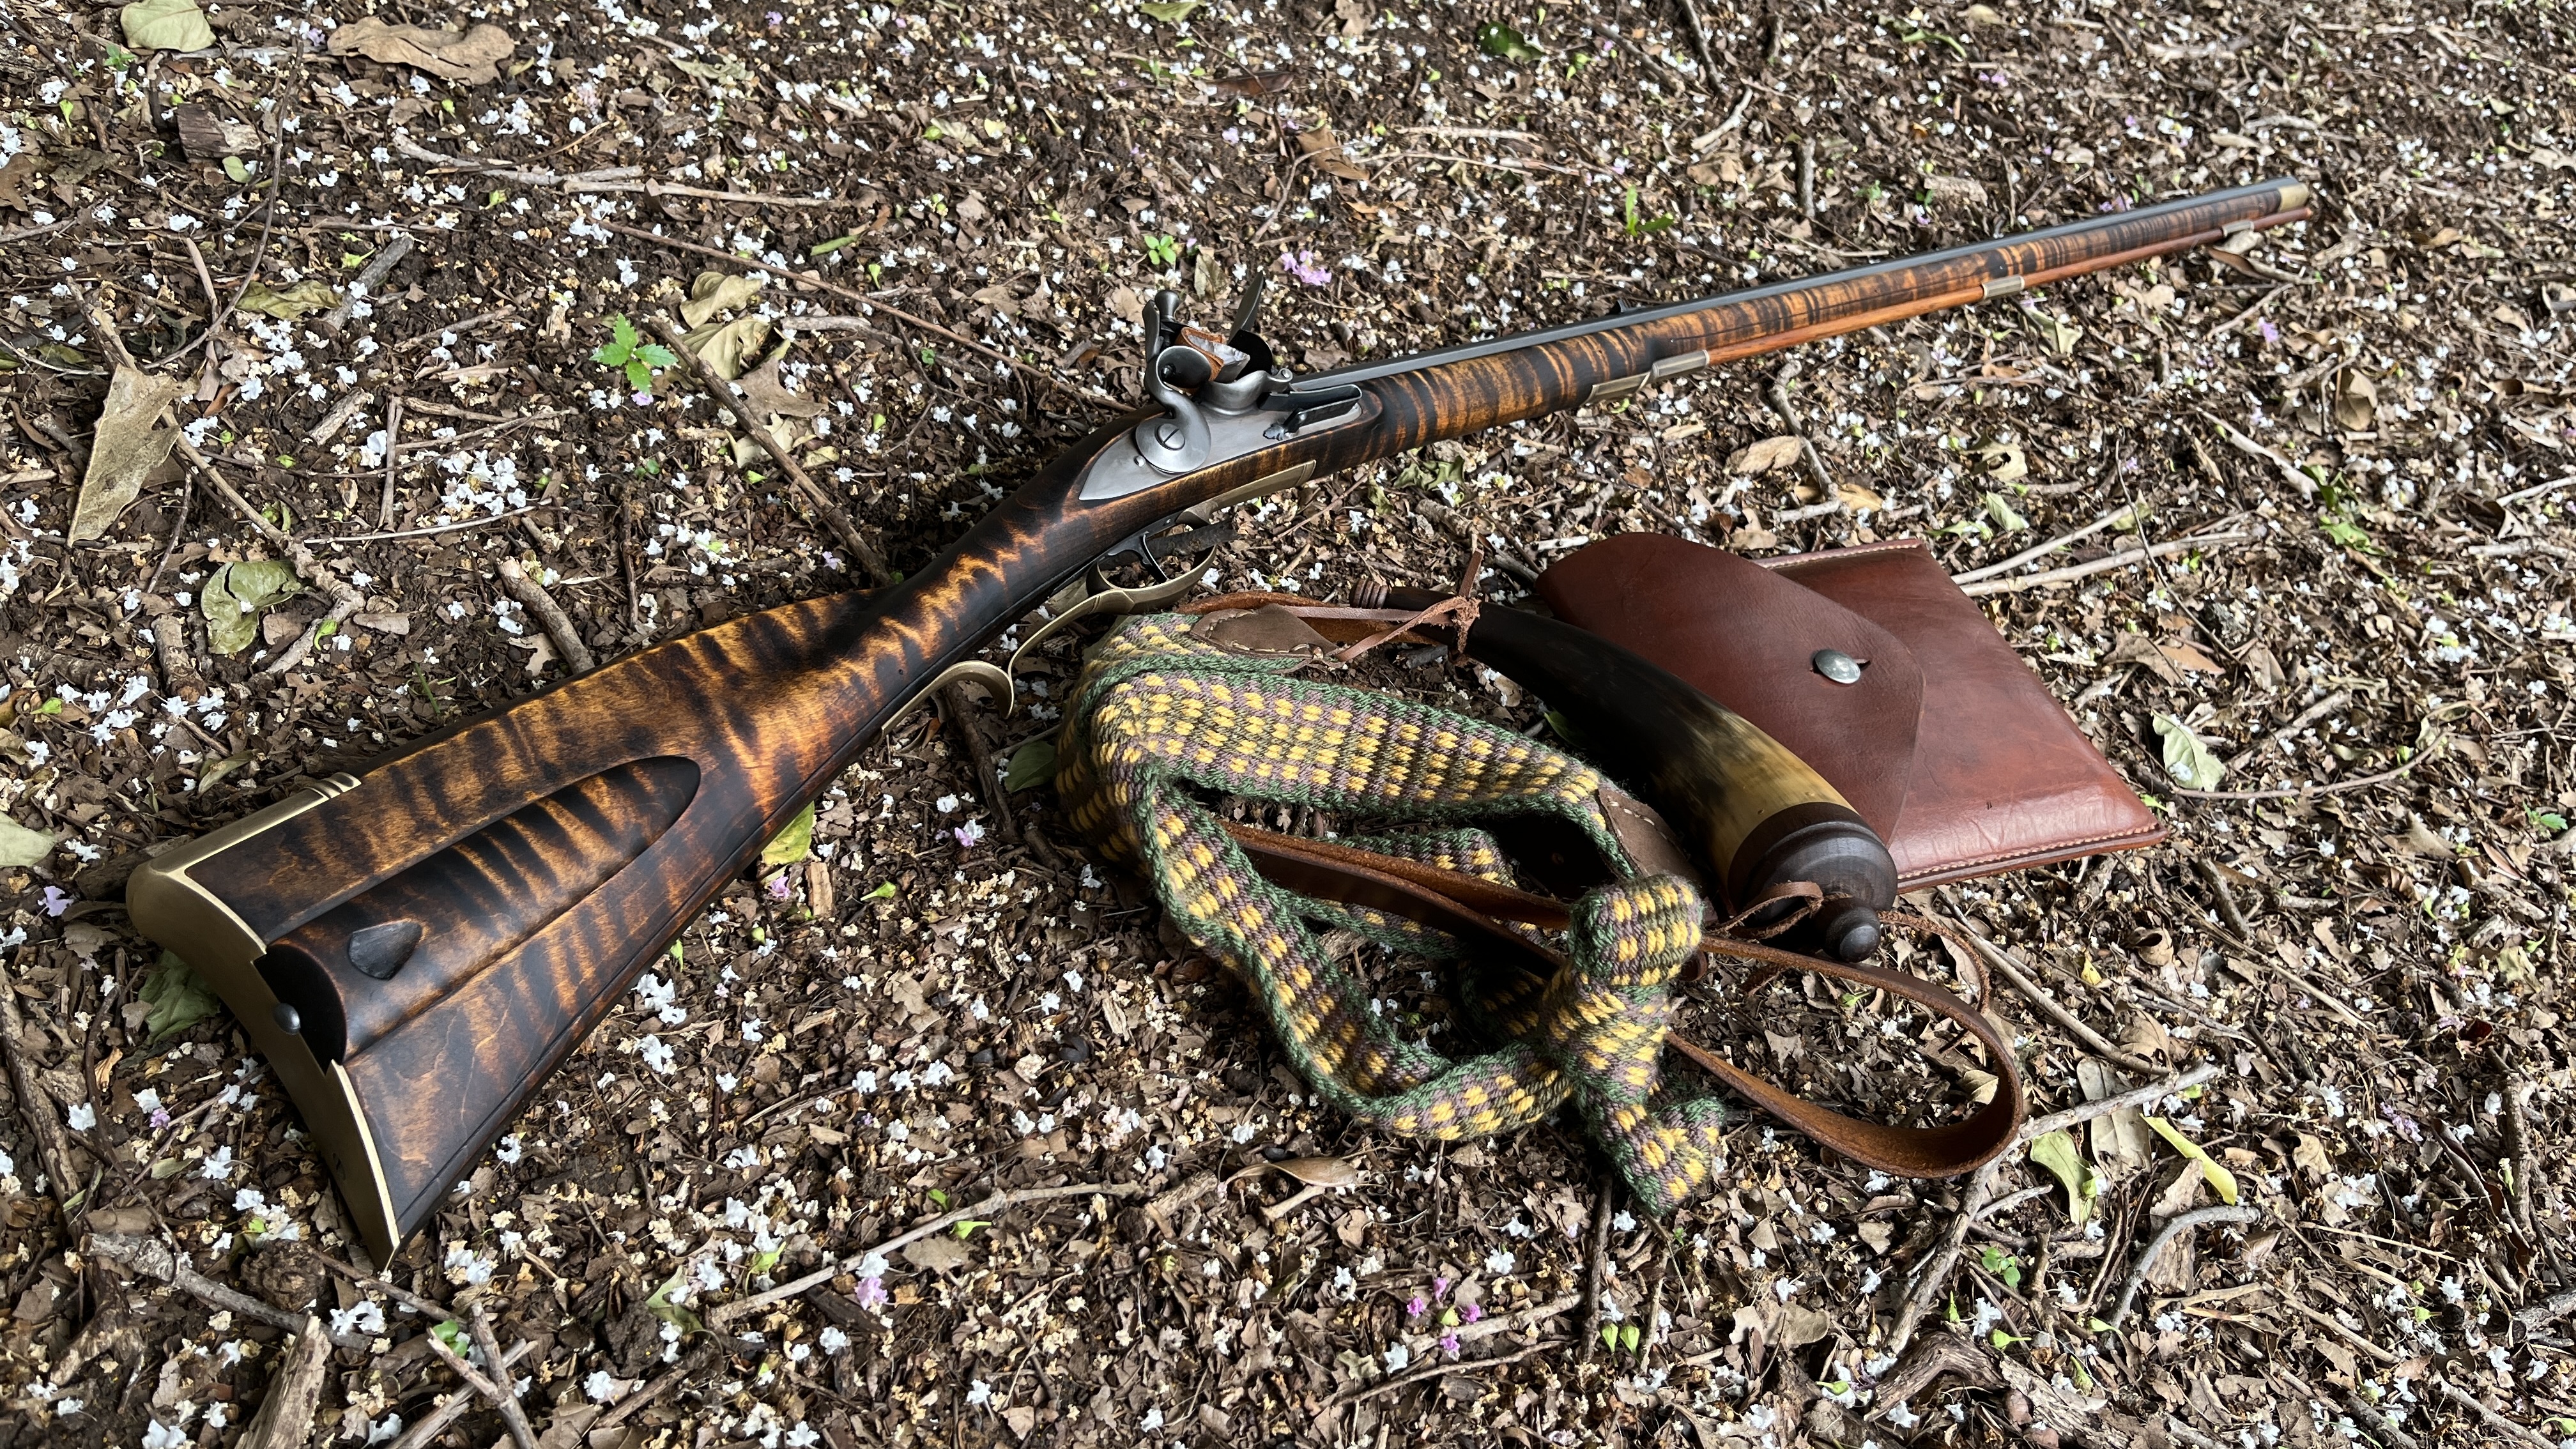
.50 Caliber, woodsrunner, carved and extra fancy curly maple. Naked as a baby and full of promise!
Took almost two hours to sand down the trigger guard. Yeah, I am taking my time.
Spent an hour on a phone call with a friend who lives near me and has been finishing and shooting BP for 55 years. I realized that I do not know how to "properly" finish my woodsrunner, so I am off to him, soon, for some "hands on" help!