• This community needs YOUR help today. We rely 100% on Supporting Memberships to fund our efforts. With the ever increasing fees of everything, we need help. We need more Supporting Members, today. Please invest back into this community. I will ship a few decals too in addition to all the account perks you get.


    Sign up here: https://www.muzzleloadingforum.com/account/upgrades
  • Friends, our 2nd Amendment rights are always under attack and the NRA has been a constant for decades in helping fight that fight.

    We have partnered with the NRA to offer you a discount on membership and Muzzleloading Forum gets a small percentage too of each membership, so you are supporting both the NRA and us.

    Use this link to sign up please; https://membership.nra.org/recruiters/join/XR045103

Thinking about a muzzle cap.....

Muzzleloading Forum

Help Support Muzzleloading Forum:

This site may earn a commission from merchant affiliate links, including eBay, Amazon, and others.

Mark Black

36 Cal.
Joined
Dec 28, 2011
Messages
75
Reaction score
1
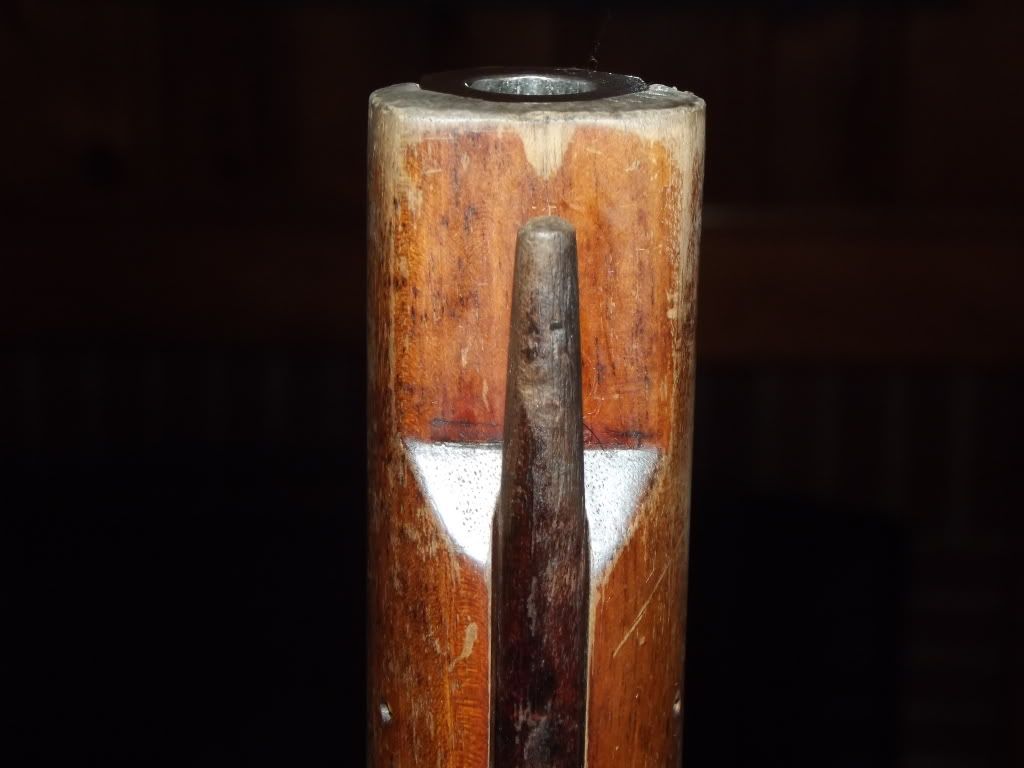
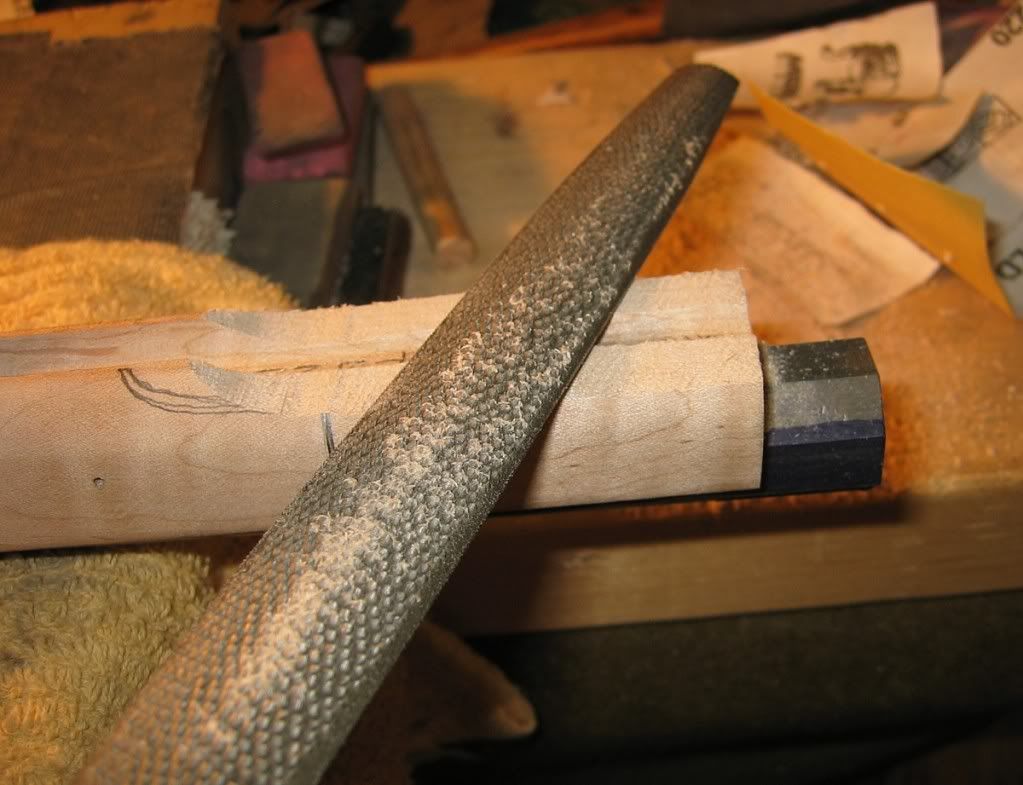
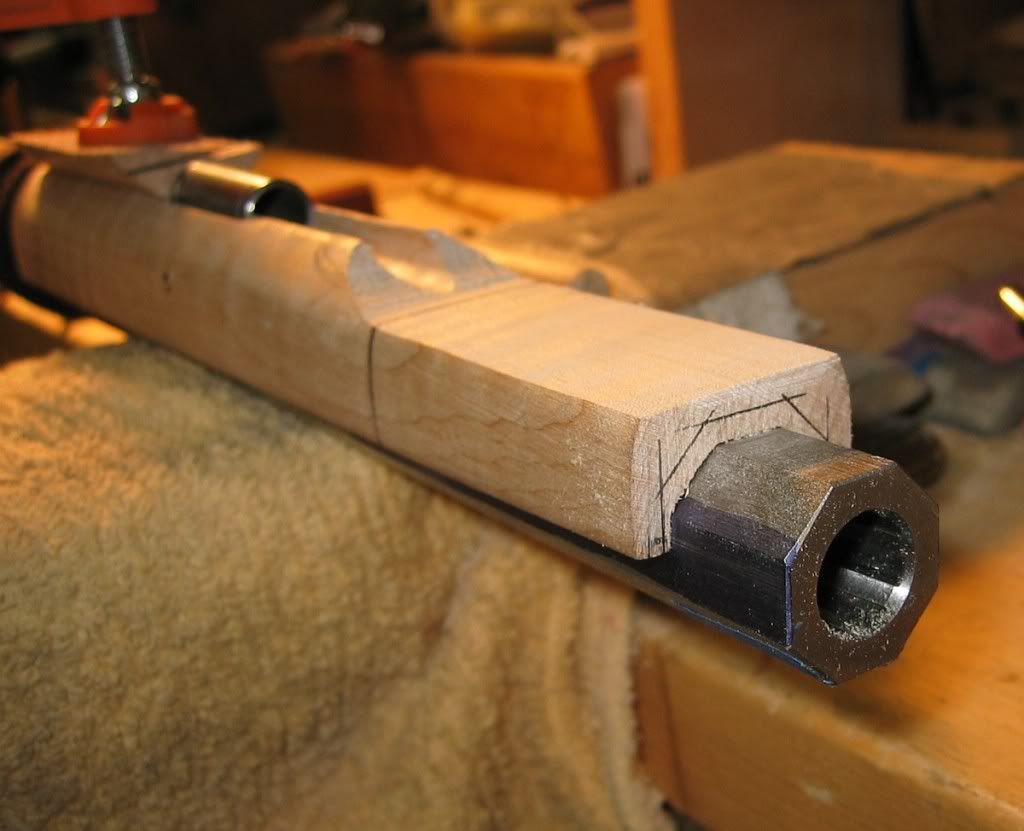
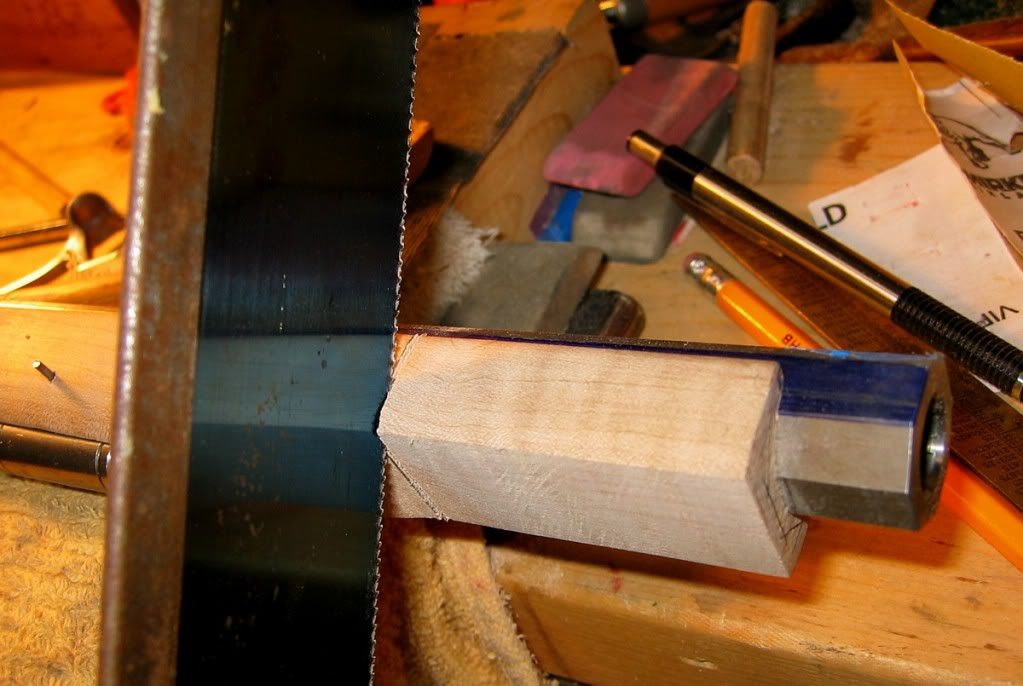
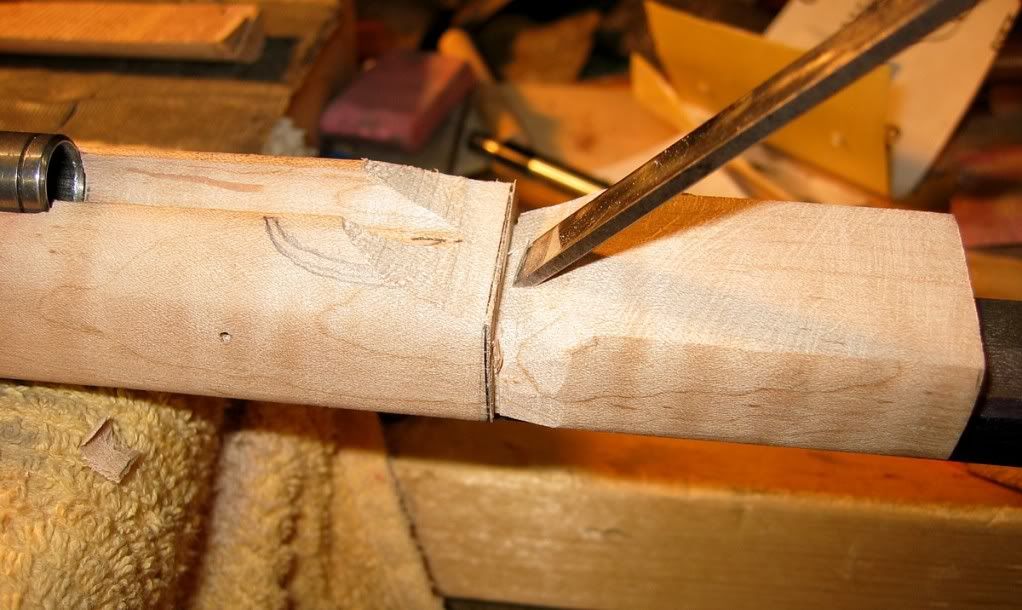
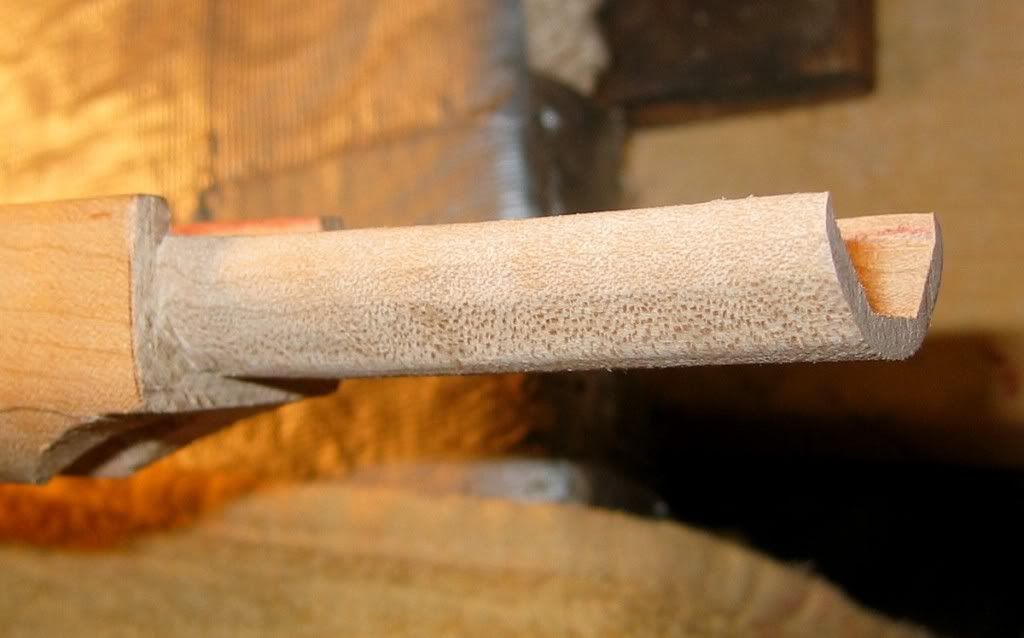
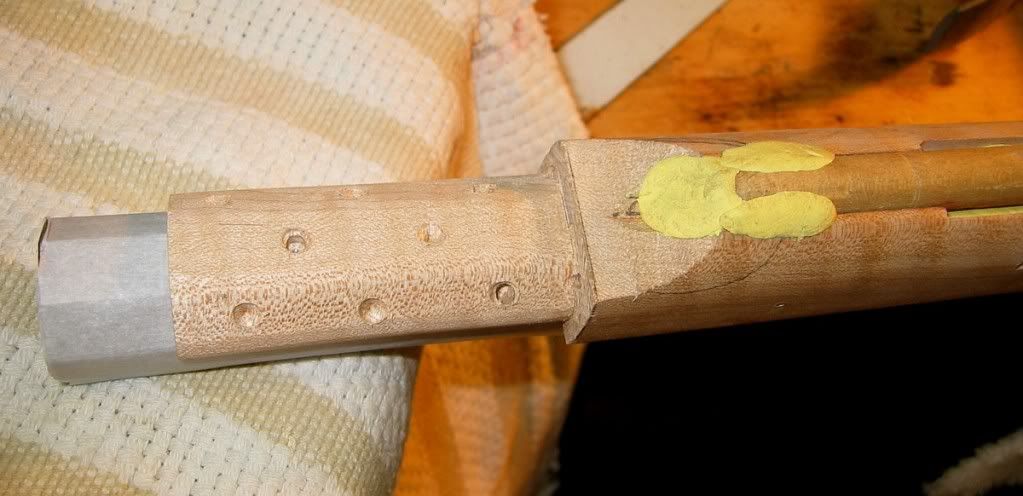
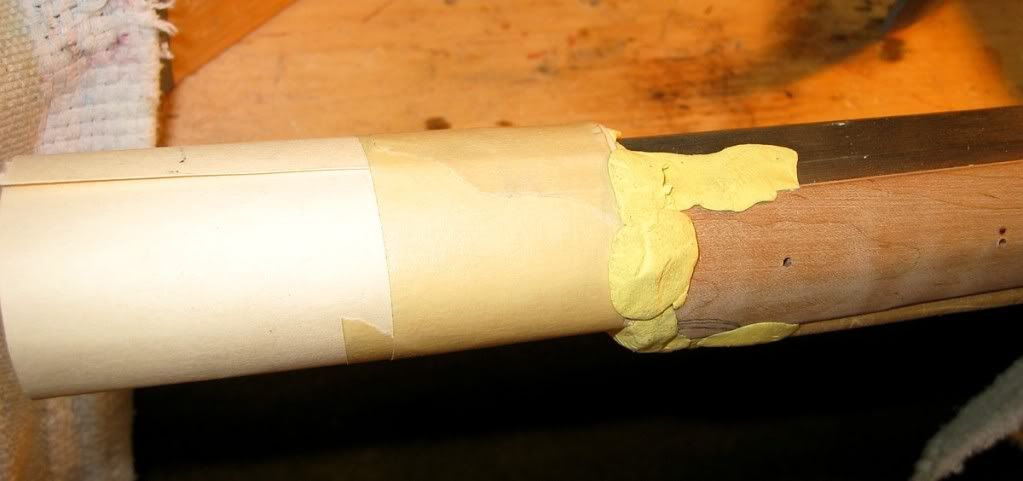
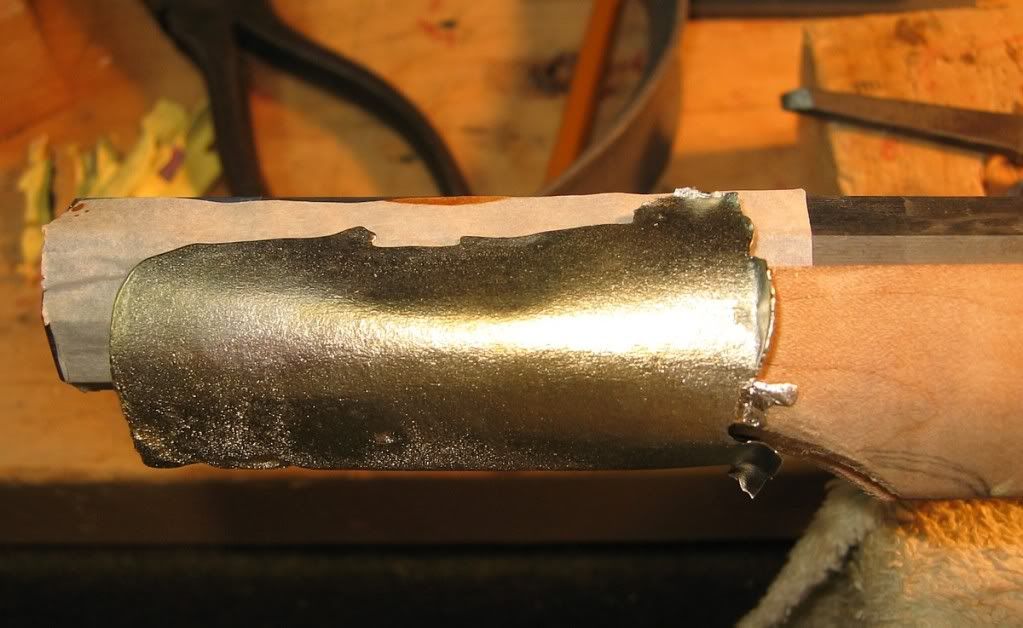
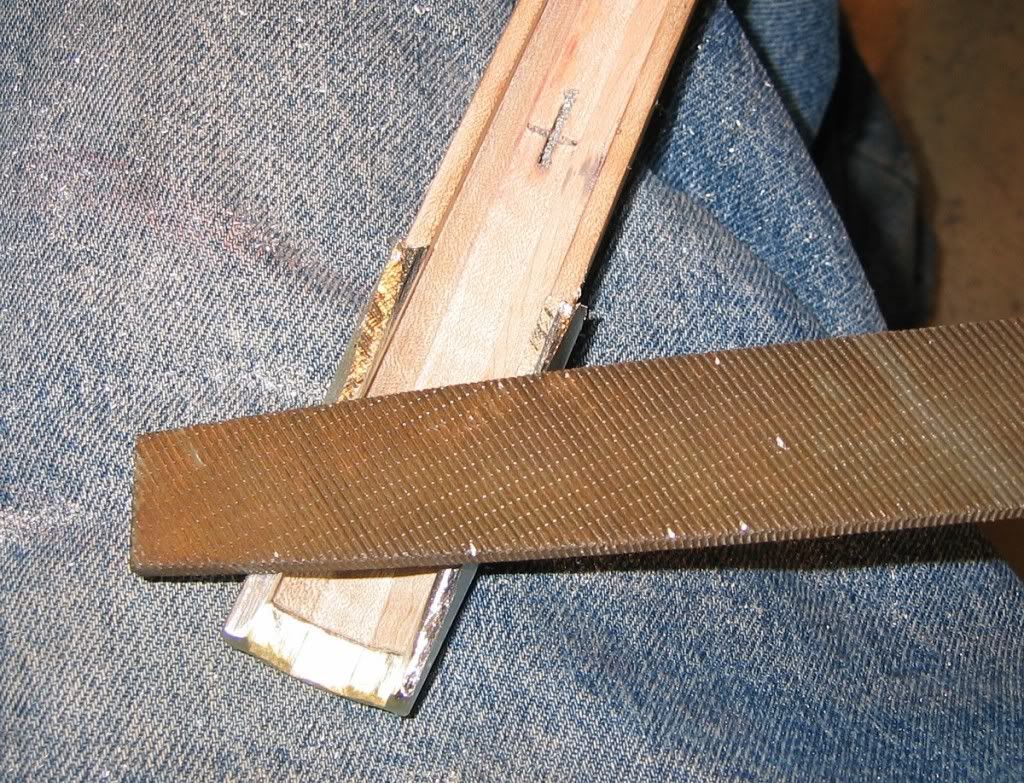
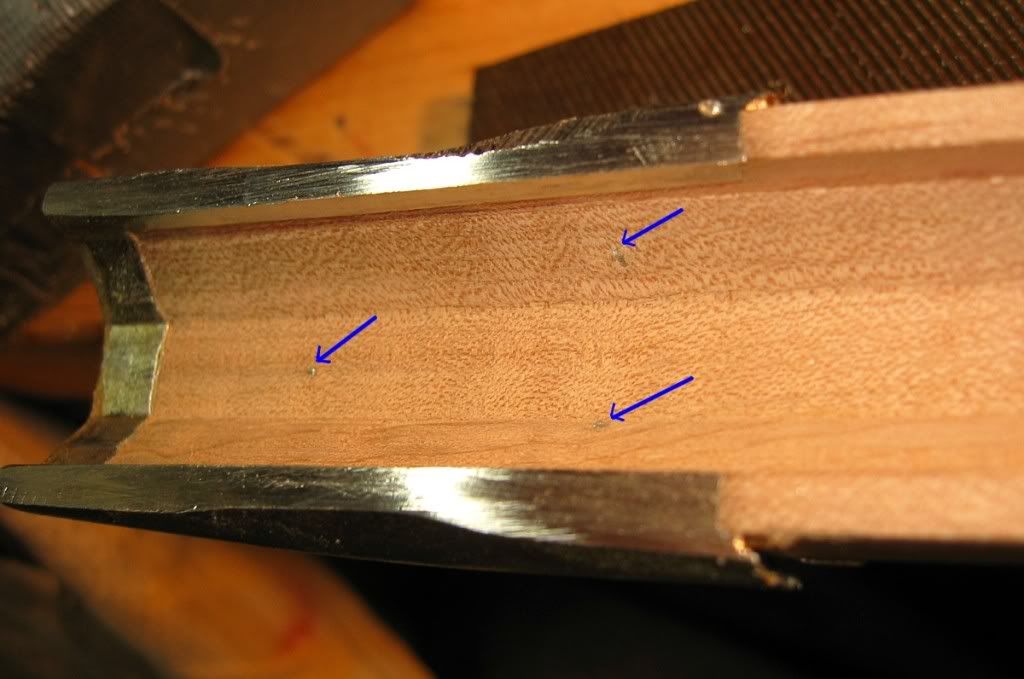
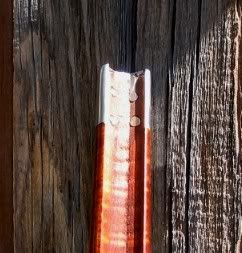
I have a Dixie Gun Works southern mountain rifle. It's a poor boy, so it's not all dressed up or anything. I've been thinking about fitting/pouring a muzzle cap to protect the end grain. I know it's not pc for a poor boy, but i really want to protect the stock. Looking for some tips on pouring one. I've included some pics to give you an idea of shape and condition. Any help would be much appreciated!!
DSCF1079.jpg

DSCF1077.jpg

DSCF1076.jpg
 
Do a search on pouring nose caps. It, would probably be the most correct way to go. The second most correct would be a strap, about 1/2" to 3/4" wide. It's kind of like a nose cap without the front. You could also cut in a regular steel nose cap, and rivet it in place. Track sells ingots of pewter to do the job. My first poured cap took three tries, but I'm a klutz, and Murphy is my helper. P.S. from the pic's, increase that crown some.

Bill
 
Thanks a lot Bill, Ive found some info on pouring, and it looks like it shouldn't be too bad :youcrazy: Seems like its all about prep and getting the metal hot enough. I'm sure it'll take me a few tries, or if someone with experience would like to offer their services....... :wink:
 
Here's one man's adventure in pictures.
Follow at your own peril!

Following an excellent Ken Guy tutorial:

IMG_3319.jpg


IMG_3322.jpg


IMG_3323.jpg


IMG_3325.jpg


IMG_3332.jpg


IMG_3333.jpg


IMG_3334.jpg


IMG_3335.jpg


IMG_3339.jpg


IMG_3341.jpg


IMG_3342.jpg


IMG_3346.jpg


IMG_3348.jpg


IMG_3350.jpg


Notes:
get that bolt screamin' hot before you drop it down the barrel - let set for a minute or two to heat everything up.

melt as much pewter (or whatever) that you think you will need, then melt a bunch more.
You do NOT want to come up short in mid-pour.

I use parchment paper between the barrel and stock. Jerry H. says to just smoke the barrel, which would be an even better fit.

last image shows the three through-holes to anchor the poured cap to the wood.

Now it's just file away to finished dimension.

/mike
 
A little suggestion for the next time you pour a nosecap.

The holes can go all the way thru the wood to the barrel channel and making small countersinks in the channel side.

When the metal is poured it will flow thru these holes until it hits the barrel where it will chill.

This effectively makes small rivet like things that will positively lock the casting onto the stock.
tc4.jpg
 
As you study these old guns you will find there is no set rules as to how these old guns are trimmed.
Some are carved.
Some had designs engraved on the barrel. Most famously the turkey tracks and pine trees on a Gillespie.
Some even had patch boxes but no butt plate.
Some used horn or antler for the butt, toe and nose cap.
Some used both brass and iron. Some had poured nose caps but no buttplate.
Some had nice forged or cast buttplates but no nose cap at all.
Most were very well made and are regional legends to this day.
Some used a simple band at the nose.
Some early ones used Germanic locks.
Some were carved, had full patchboxes, were engaved and built full house with all the bells and whistles.
I hope this has given you some ideas.
 
Before you work on the nose cap, I think that rifle would really benifit with a total reshape. At least in the upper and lower forestock area.
While looking down on the rifle, the fattest part of the stock on the sides needs to be only 1/8 inch wider than the barrel.
From the ramrod entry to the muzzle you can go 1/16 inch wider than the barrel at the fattest point.
There should be just a paper thin ledge of stock on each side of the barrel where the rounded stock feathers into the barrel flat.
There is also a lot you can do around the ramrod groove to really thin it down.
Study up on it, buy some rifle building books to see what I mean.
That stock is Cherry. You can strip that factory finish, treat with lye "oven cleaner" and have a deep red. You could also just skip the lye and have a chestnut brown from the bare cherry that will age to a rich reddish dark brown if exposed to lots of sun.
Please do not get me wrong, thats a fine rifle like it is but with a little care and work you could have a really spectacular rifle.
 
Meteor Man, I'm with Zonie on those anchor holes. I think they should be a tad bigger for better metal flow, and countersinking adds alot of anchoring strength.

Also, and I believe I mentioned this before, I don't think the paper around the barrel helps in any way, and may produce a gap to the finished result. There isn't much barrel touching the molten metal anyway, and I've never had one stick together. I did rub pencil lead over that area on the last couple I poured, just to make sure there was no adhesion. Is there another reason you use paper in between the barrel and the pour? Just curious.

Great pics by the way. Thanks for sharing. :thumbsup: Bill
 
snowdragon said:
Is there another reason you use paper in between the barrel and the pour? Just curious.
:thumbsup: Bill

nope, no reason other "it worked for me before so I did it again".
whaat.gif

I just wasn't sure if there'd be any mayhem between pewter and barrel.
I'm sure pencil lead or smoke would be fine too. or maybe nothing at all.
Myself, I can't see that the paper thickness really matters in the overall final fit.
But maybe next time I'll try the bareback method.

I'm almost done with that build, and if/when i put up some pics, y'all can sing out:
"Geez, MeteorMan, what's with that big gap between your nosecap and barrel !?!"
2thumbs.gif


hope you show us how it came out, Crackshot.
cheers,
/mike
 
Thanks for all the ideas guys and the wonderful pictures :hatsoff: I have been thinking about tearing it apart and refinishing the stock, as it is getting wore out in a lot of places. I have never thought about re-shaping though, might be worth looking into. Also, since I bought it in its current condition, I think that it would make feel more like "mine" if I do some work to it..... Thanks again, its a great gun, shooting sub 2" groups offhand at 50 yards. Can't ask for better than that
-Crackshot :wink:
 
MeteorMan said:
Myself, I can't see that the paper thickness really matters in the overall final fit.

You are absolutely right, I didn't think that one through :redface: . I went to town after my last post, and on the way back, it hit me, it wouldn't make any difference. So, if it ain't broke, don't fix it. :surrender:

And I would like to see the finished rifle. I've seen some of your previous work, so it should really be something. Bill
 
modeling clay.
any craft store should have it for a buck two fifty.. maybe even wally world.
same stuff you'd use around your breech when bedding with AcraGlas.
:hatsoff:
 
Back
Top