Beautiful holster. Also I love the wood on the revolver!
-
This community needs YOUR help today. We rely 100% on Supporting Memberships to fund our efforts. With the ever increasing fees of everything, we need help. We need more Supporting Members, today. Please invest back into this community. I will ship a few decals too in addition to all the account perks you get.

Sign up here: https://www.muzzleloadingforum.com/account/upgrades -
Friends, our 2nd Amendment rights are always under attack and the NRA has been a constant for decades in helping fight that fight.
We have partnered with the NRA to offer you a discount on membership and Muzzleloading Forum gets a small percentage too of each membership, so you are supporting both the NRA and us.
Use this link to sign up please; https://membership.nra.org/recruiters/join/XR045103
You are using an out of date browser. It may not display this or other websites correctly.
You should upgrade or use an alternative browser.
You should upgrade or use an alternative browser.
The Half Flap
- Thread starter GYJ
- Start date

Help Support Muzzleloading Forum:
This site may earn a commission from merchant affiliate
links, including eBay, Amazon, and others.
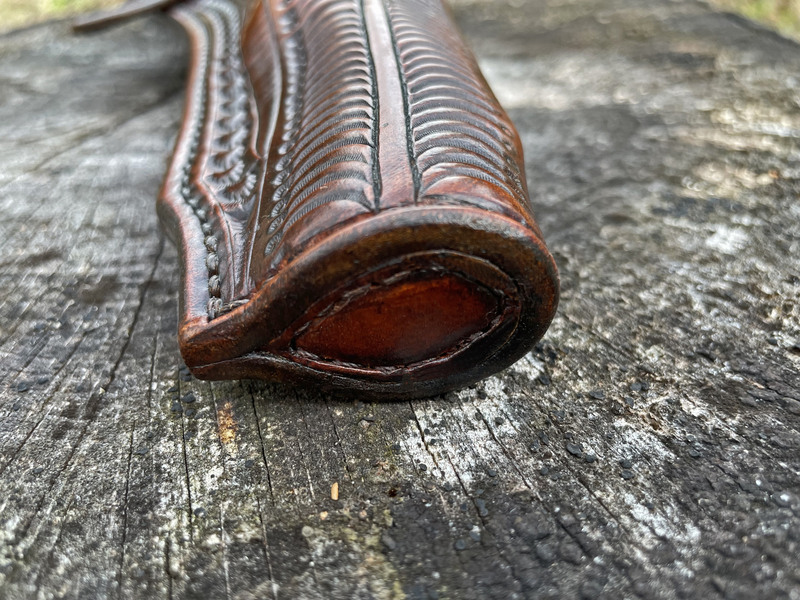
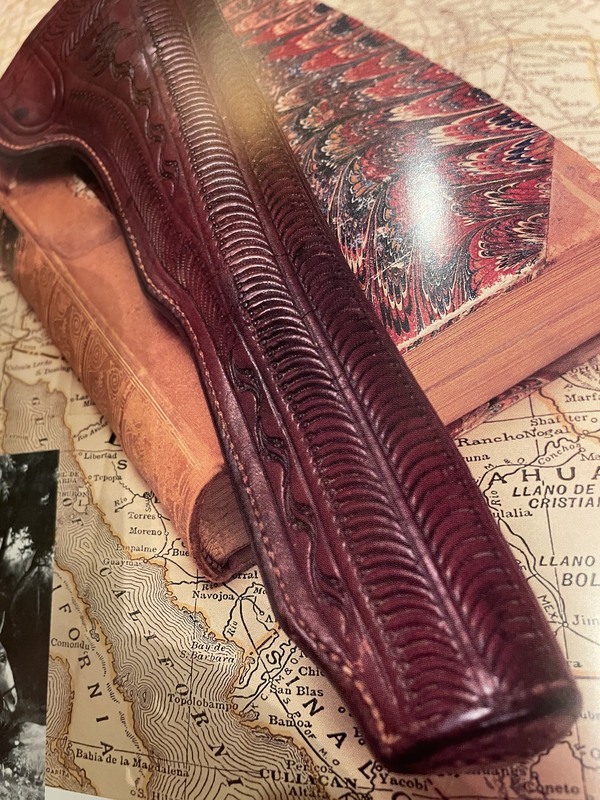
Slamming job on that nose plug. I still struggle with those little details.I've wanted to try this pattern for a long time but always dreaded the trial and error involved in designing the flap. I started to do a plain black military pattern but just couldn't do it. I took design queues from both military and civilian versions. Sam Browne button instead of the usual keeper. The stamping pattern from page 74 of Packing Iron. I didn't really like the way the pattern on the original turned the corner at the top of the throat, so I used a rosette to facilitate the turn in the pattern. I had to wait until the holster was assembled and wet formed before I could finalize the design of the flap and stamp it out. Chestnut brown with some aging effects. Decided to do a sewn toe plug as well. It turned out pretty good.
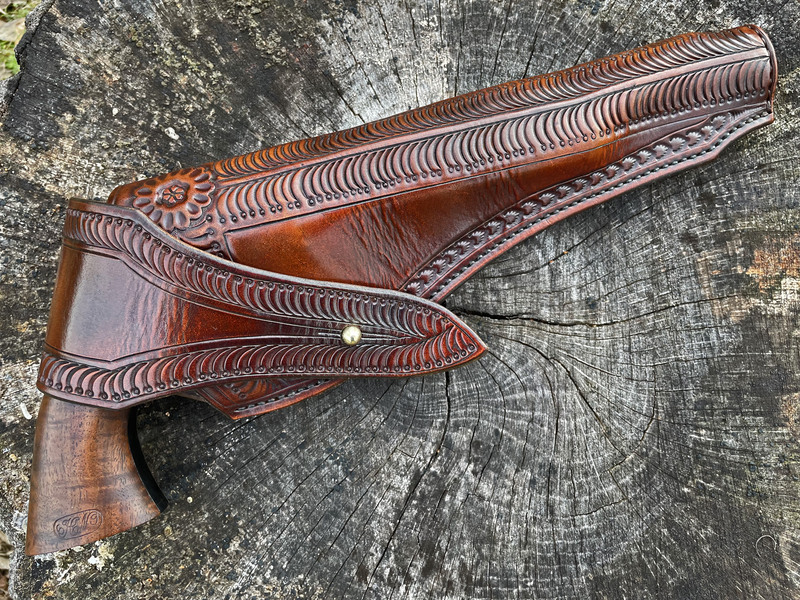
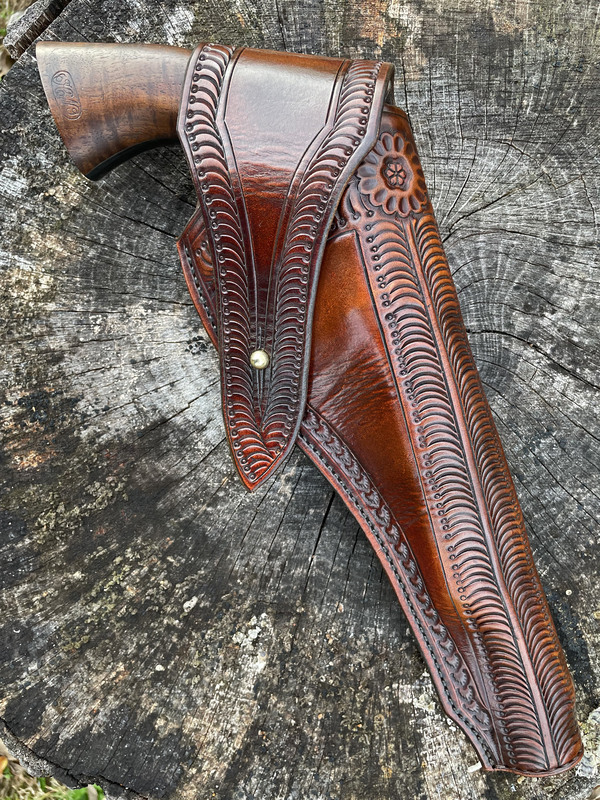
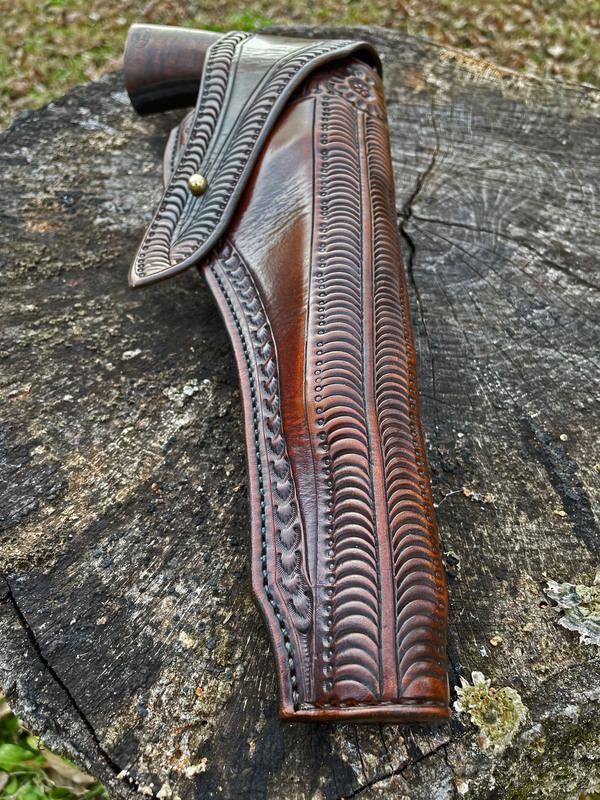
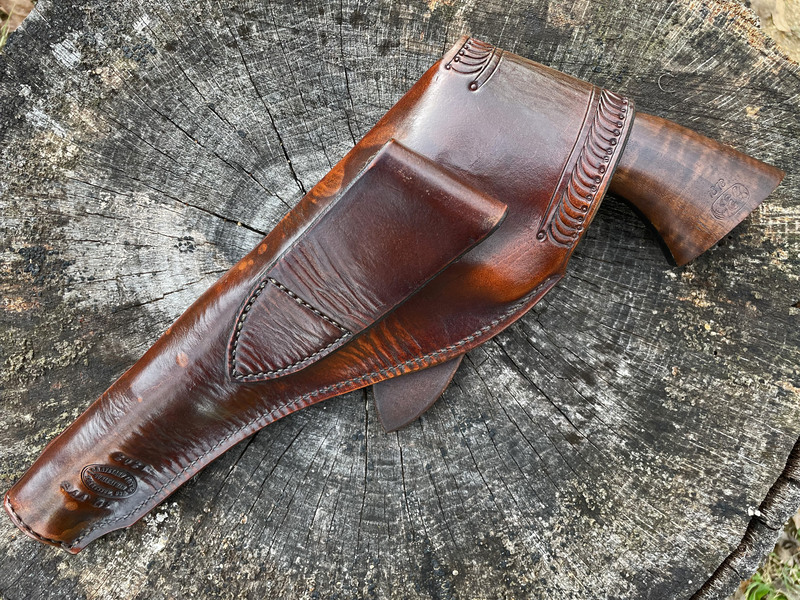
Page 74 of Packing Iron.
Neil
user 48679
54 Cal.
- Joined
- Sep 15, 2020
- Messages
- 1,661
- Reaction score
- 2,156
I call BS on "pretty good" - it's some of the best leatherwork I seen in quite a few decades.....
CONGRATS ! !
CONGRATS ! !
- Joined
- Jun 17, 2019
- Messages
- 6,821
- Reaction score
- 7,743
Wow! Very original, would be pricey if bought commercially. Great job.I've wanted to try this pattern for a long time but always dreaded the trial and error involved in designing the flap. I started to do a plain black military pattern but just couldn't do it. I took design queues from both military and civilian versions. Sam Browne button instead of the usual keeper. The stamping pattern from page 74 of Packing Iron. I didn't really like the way the pattern on the original turned the corner at the top of the throat, so I used a rosette to facilitate the turn in the pattern. I had to wait until the holster was assembled and wet formed before I could finalize the design of the flap and stamp it out. Chestnut brown with some aging effects. Decided to do a sewn toe plug as well. It turned out pretty good.


Page 74 of Packing Iron.

- Joined
- Jun 17, 2019
- Messages
- 6,821
- Reaction score
- 7,743
Re: Leather Work; anyone know of a source for leather repro fire buckets? Reasonable, unpainted.
If you can do a molded case like that, a holster will be a breeze! I just wouldn't suggest a half flap as a first effort.

The holster went pretty good. I'm learning new stuff every time I do a project. I absolutely would have done some things differently if I were to do it over.
Neil
Similar threads
- Replies
- 0
- Views
- 2K


