• This community needs YOUR help today. We rely 100% on Supporting Memberships to fund our efforts. With the ever increasing fees of everything, we need help. We need more Supporting Members, today. Please invest back into this community. I will ship a few decals too in addition to all the account perks you get.


    Sign up here: https://www.muzzleloadingforum.com/account/upgrades
  • Friends, our 2nd Amendment rights are always under attack and the NRA has been a constant for decades in helping fight that fight.

    We have partnered with the NRA to offer you a discount on membership and Muzzleloading Forum gets a small percentage too of each membership, so you are supporting both the NRA and us.

    Use this link to sign up please; https://membership.nra.org/recruiters/join/XR045103

Last of the four long barreled pistols. Asking for critiques

Muzzleloading Forum

Help Support Muzzleloading Forum:

This site may earn a commission from merchant affiliate links, including eBay, Amazon, and others.

Rolfkt

40 Cal.
Joined
Mar 20, 2006
Messages
147
Reaction score
0
I've just finished the last last of four, more or less identical pistols. This one is mine and plan to case it in cherry. You have seen pictures of the first two. I hope I'm not boring you. I'm posting pictures of this pistol to get critiques and comments to improve my work.

The inspiration for the pistols was this one, made by Herschel House.


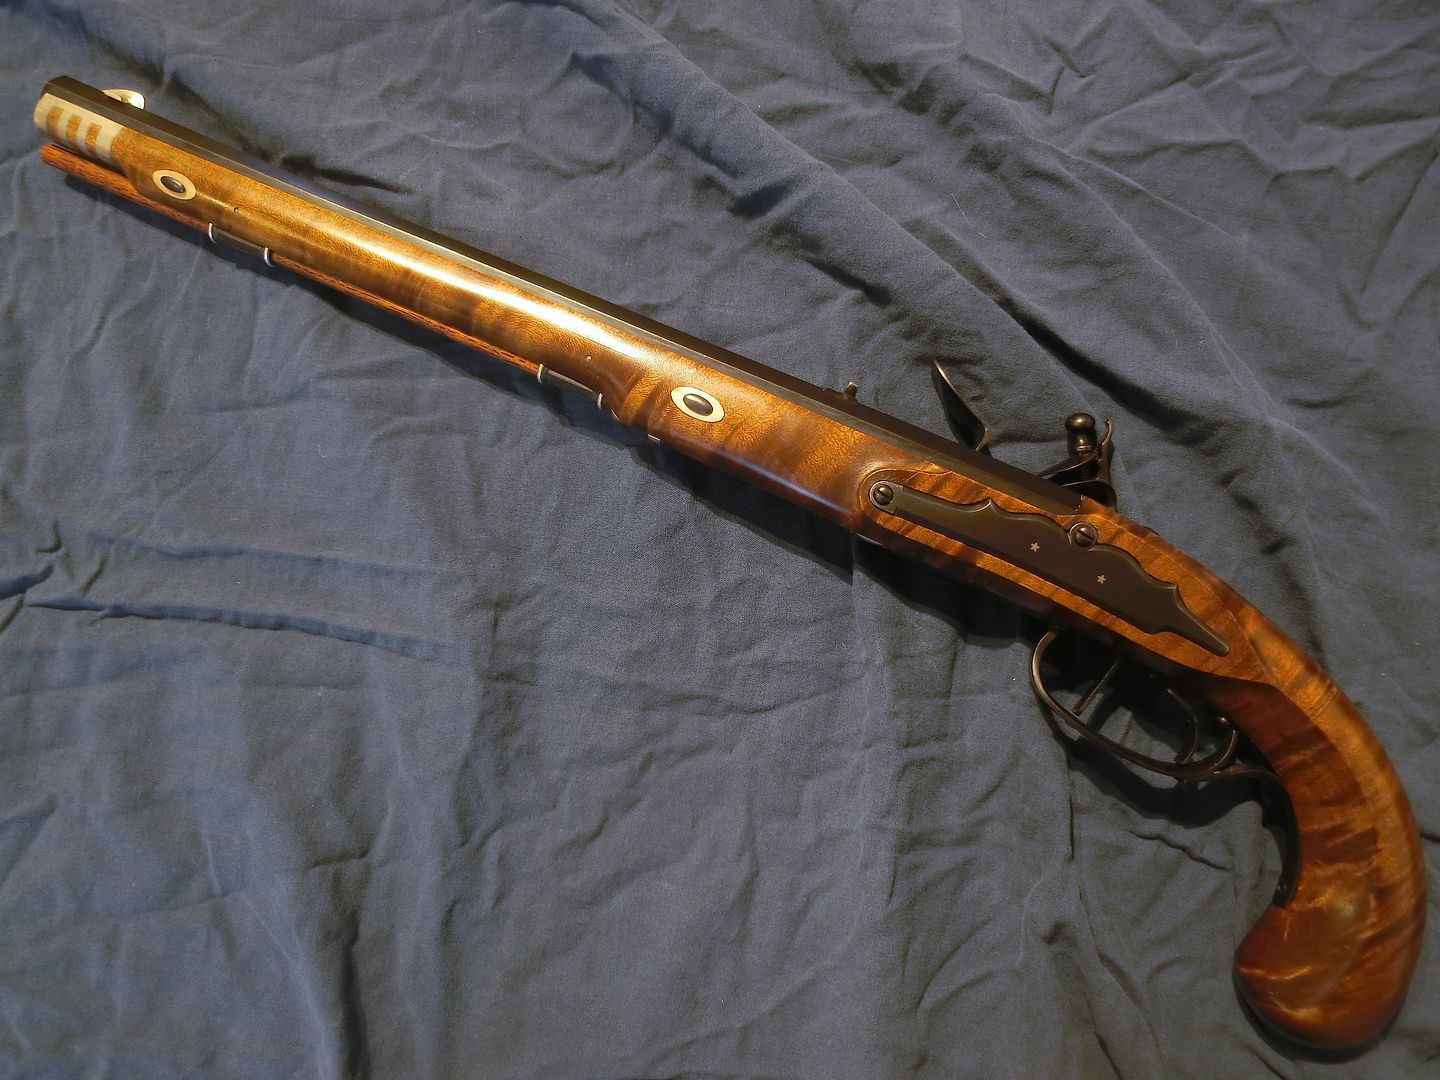
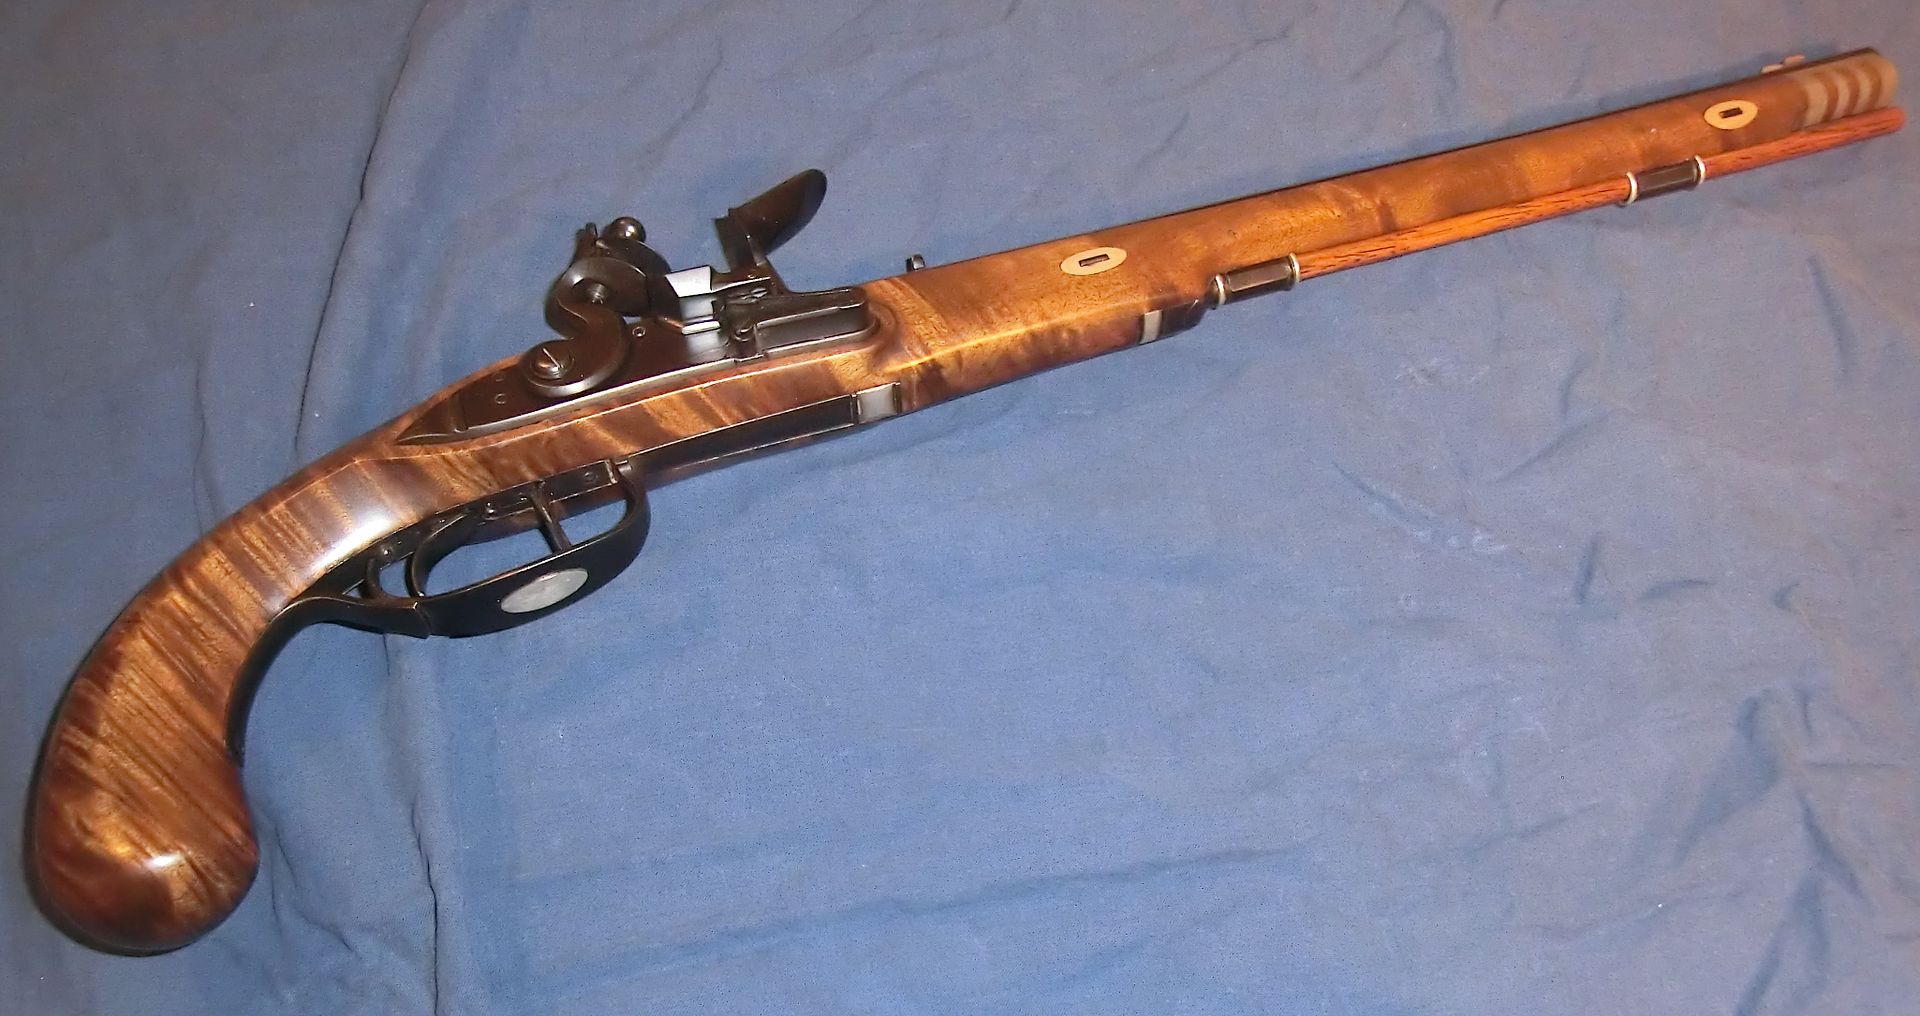
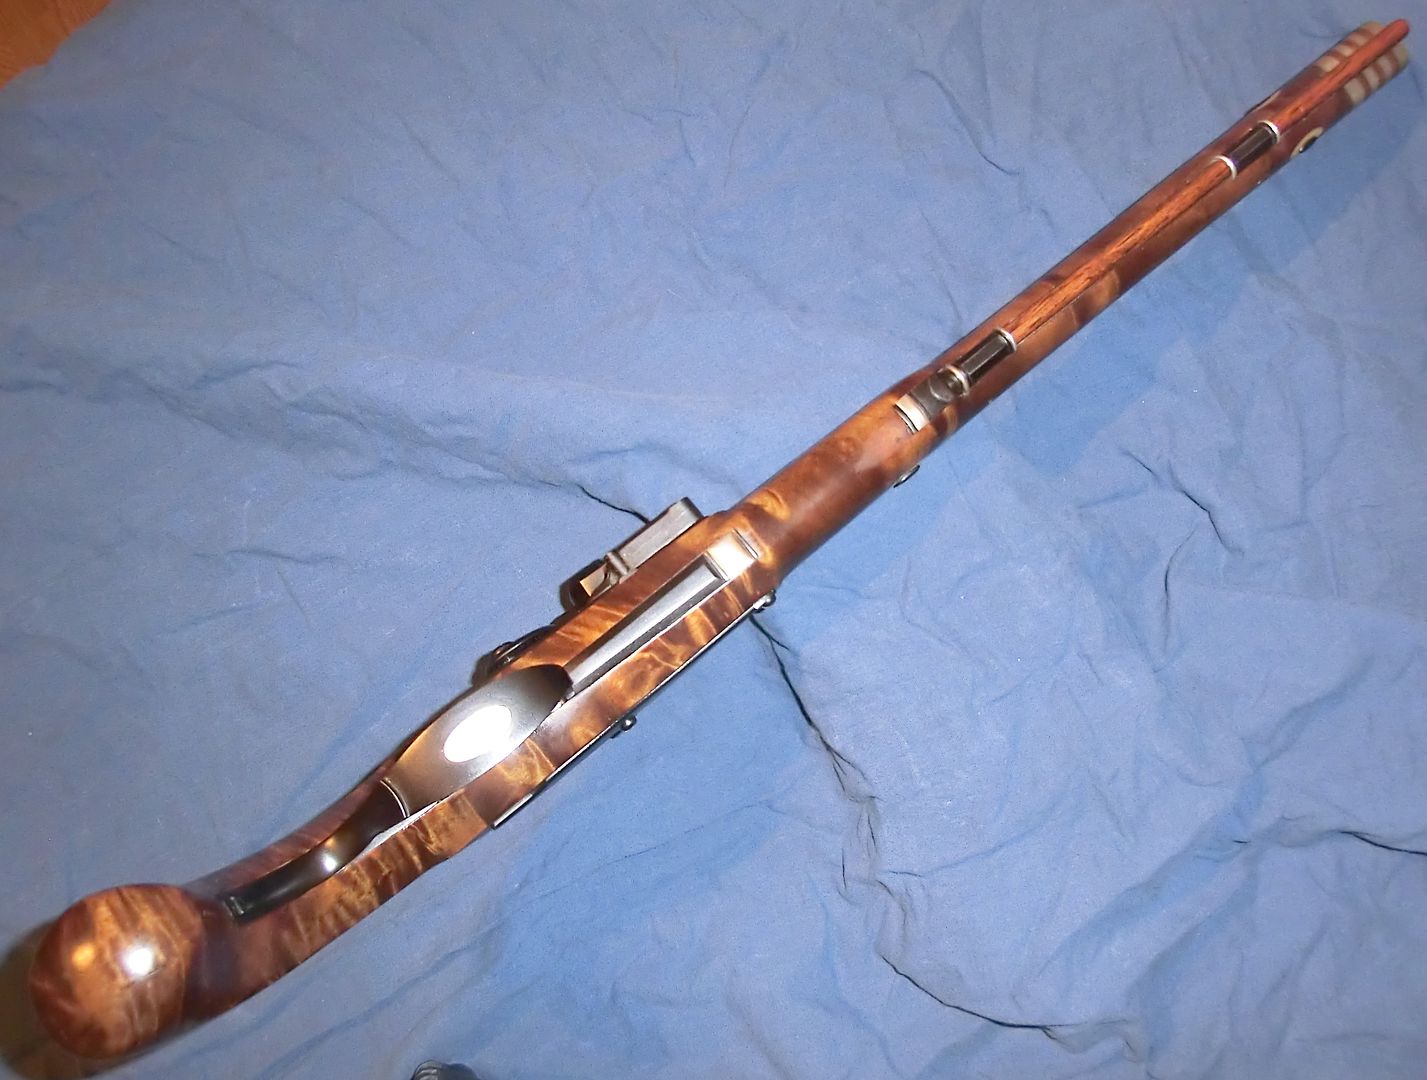
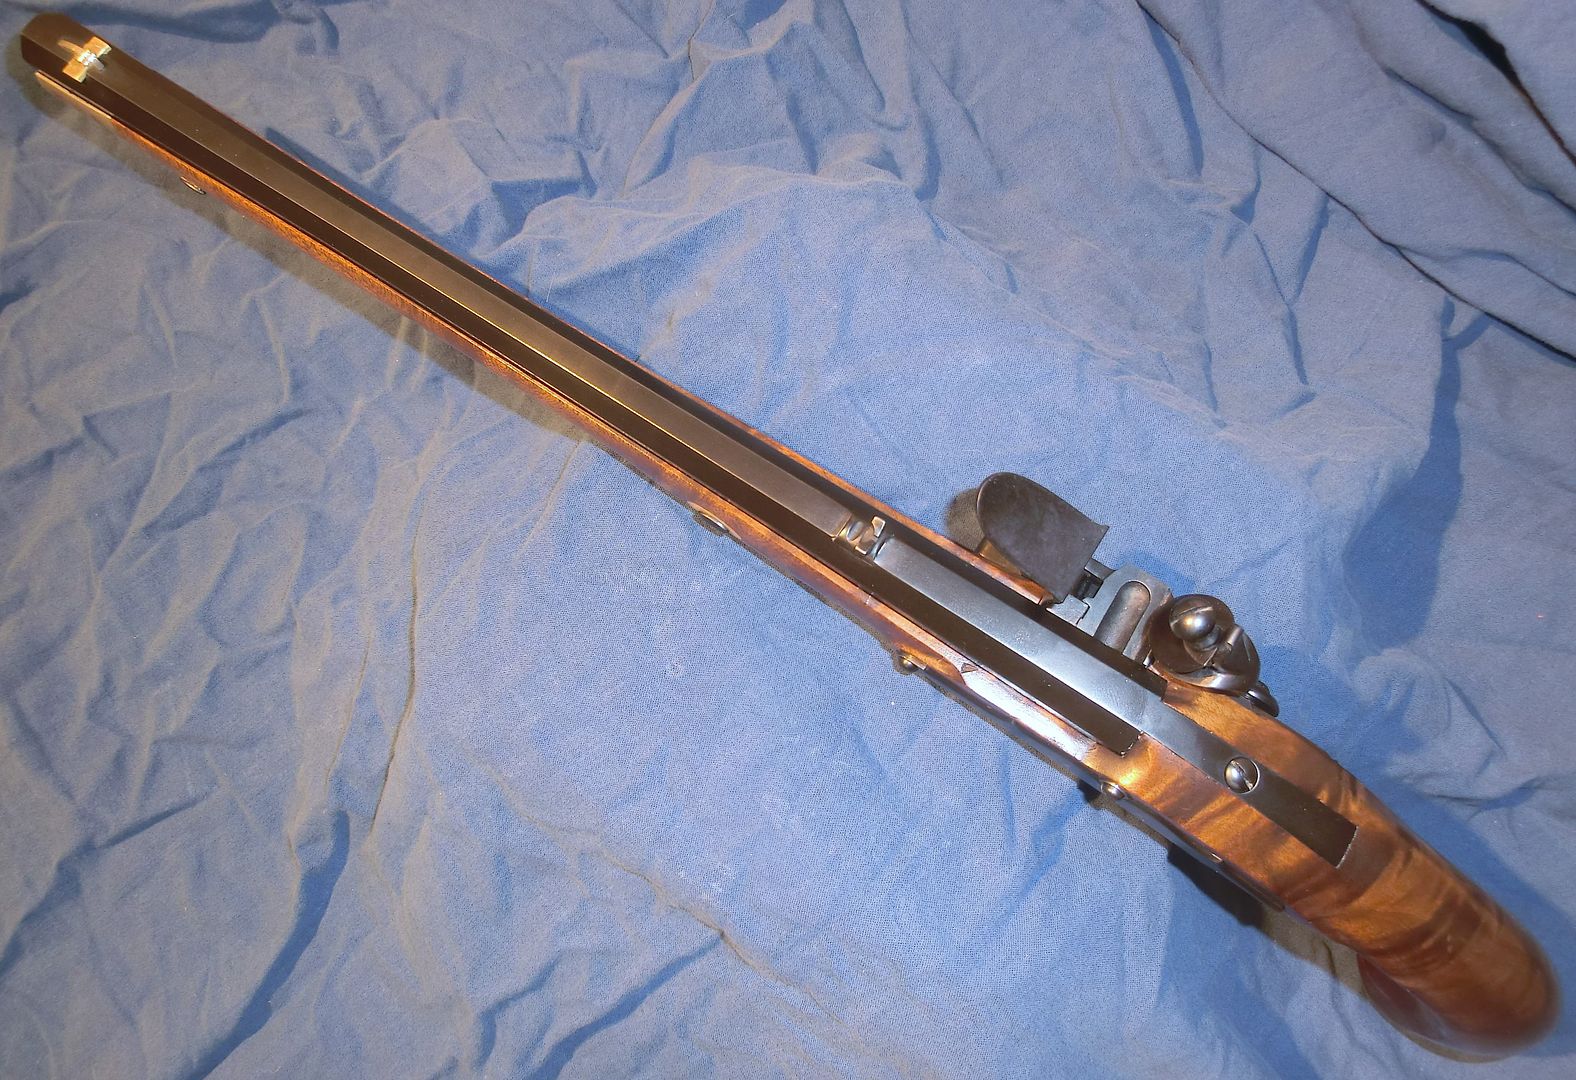
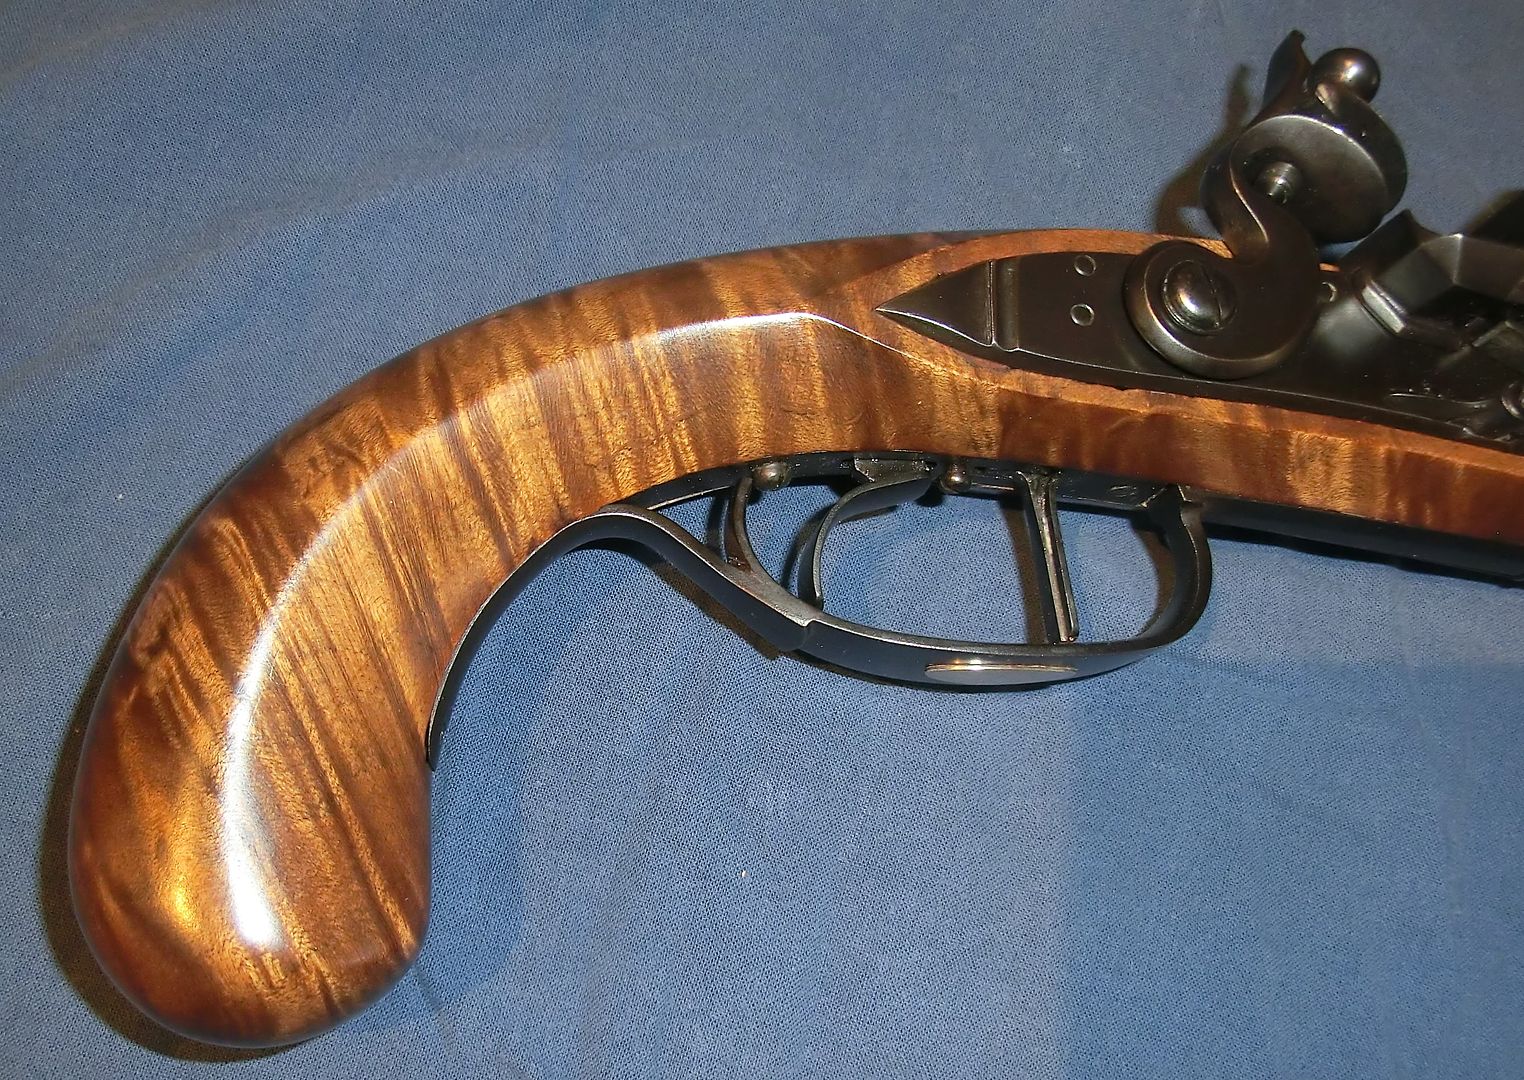
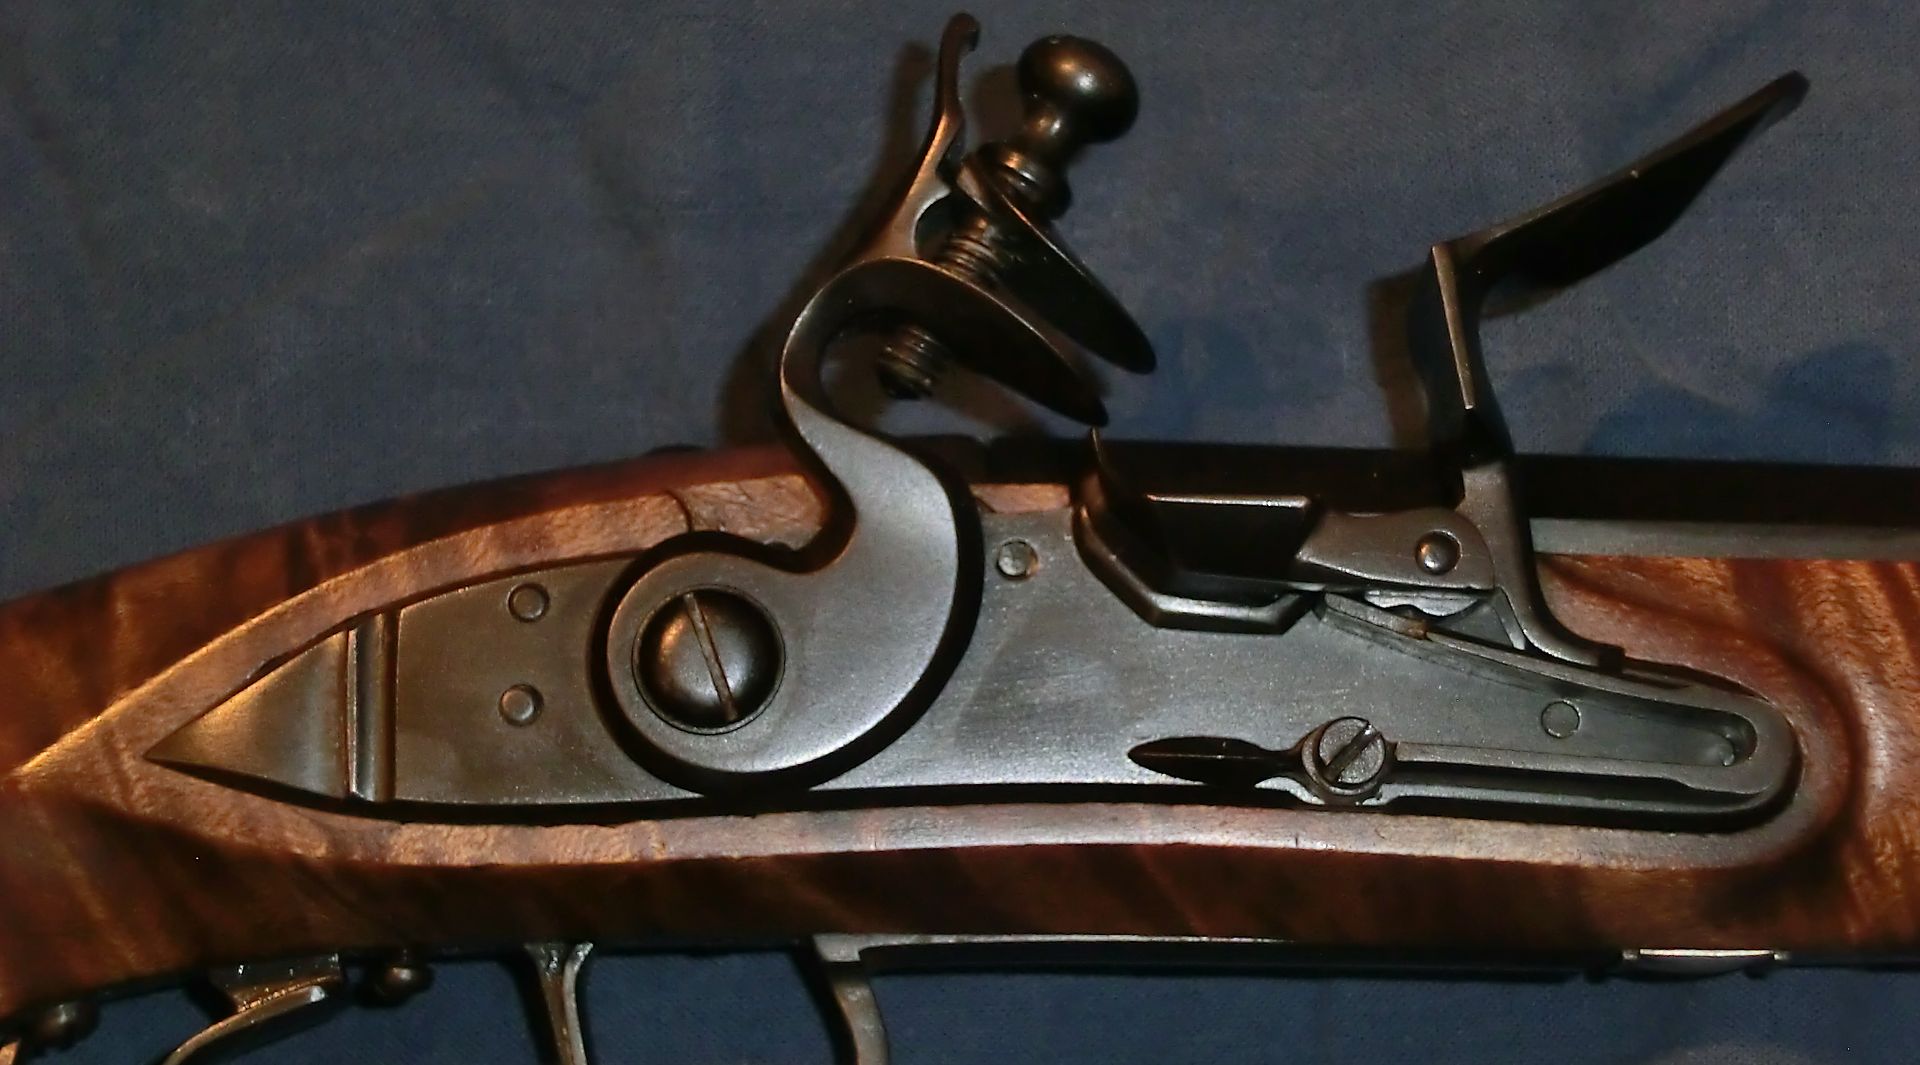
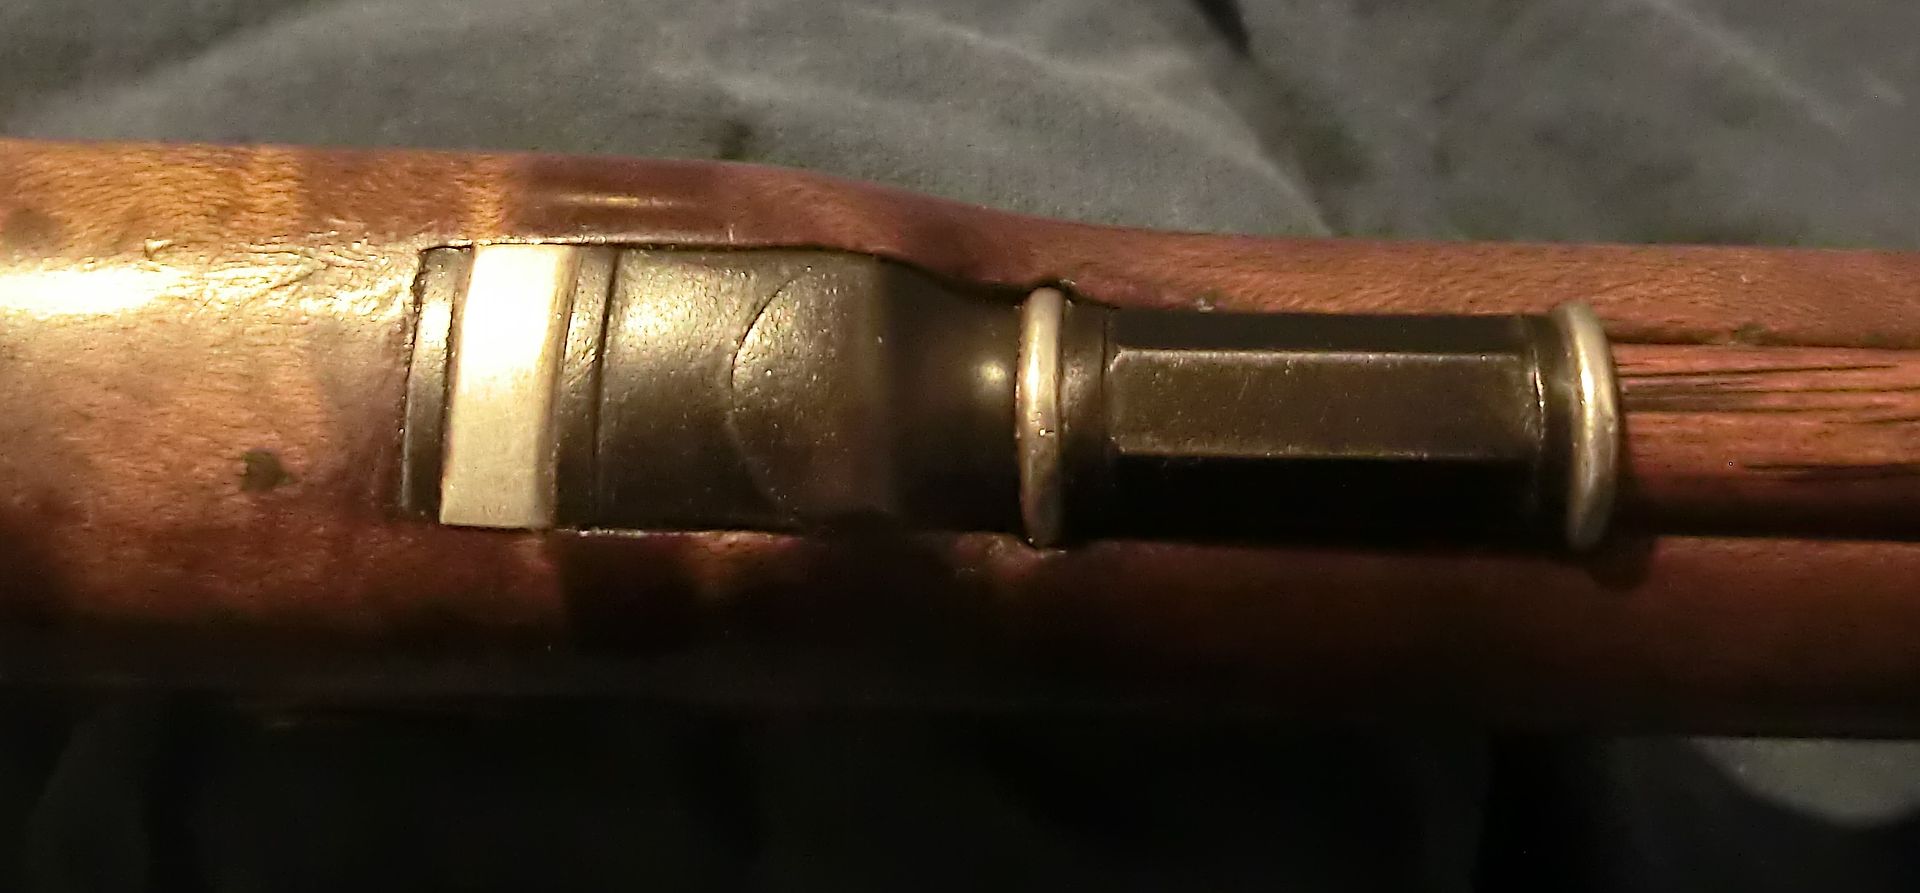
The one below is my attempt. 15" custom made barrel from Rayel, small siler lock, stump cut curly maple blank. All the rest made from scratch.
All steel parts rust blued with home made nieder solution. Stock stained with vinegaroon and finish with BLO with lead white as dryer.


Best regards
Rolf
 
Really good work!
And for all the $ you spent at TOTW for those locks n barrels....you should be on their Christmas list!
:surrender:
 
Excellent work and good, clean lines. Congratulations. Carried one vaguely similar for a few years but never could get comfortable with the weight forward feel. Guess I'm just a Philistine! :wink:
 
I think you did a real nice job. I would change one thng and that is a matter of personal choice. I would move the rear sight back and put it on the tang like most high grade English pistols are. That would give you a longer sight spread for better accuracy. Then I would just add some engraving.
 
Well, I can find NOTHING to critique! :thumbsup: :bow: Very amazing work.
Ed
 
Really nice work and love the stump wood grain. I would advise running a rod through the grip from the butt though for reinforcement as one good drop can very likely crack the grip stock.
The trouble with beautiful grain stump or crotch wood is that it isn't very strong.
I also prefer my pistol sights back on the barrel about even with the lock. Mike D.
 
I like them all. I've been fascinated with the long barrel pistols, since I watched a video on youtube, where a guy was hunting deer, with one. I've wanted to built, a maple stocked pistol, scaled up of the TC Patriot (but with flint lock). I know there were some saw handle pistols made, that would be historically correct. I have a couple Kentucky pistols, but nothing feels better, as far as holding and pointing, than the Patriot.

All four pistols are fine examples of Art. Beautiful built pistols, there is nothing I see wrong.
 
Beautiful pistol! I for sure would not like to be on the muzzle end of this in a duel.
A small help on inletting is to carefully mark with a knife, then cut in to depth, but stay back a wee bit away from the edges, and carefully work up to them. Let the knife mark delineate the edges. Cameras have a way of finding all the smallest things.
Woody
 
:hatsoff: 15" is nice!! My pistol build was 12" and built for deer hunting. The 15" is even nicer!! You have done some very nice work. Go shoot and go hunt with it this fall. Enjoy!!

Dave
 
Very nice pistol.

Can you share with the members the method of creating the silver inlays in the steel or brass parts?

The things you did to make such a fine pistol would be interesting to know. :)
 
Zonie said:
Very nice pistol.

Can you share with the members the method of creating the silver inlays in the steel or brass parts?

The things you did to make such a fine pistol would be interesting to know. :)

The thimbles were made from 0.04" steel sheet and shaped the same way as you would brass thimbles. All the trim is sterling silver. The thin bands are half round wire, I make by by pulling a round wire through a draw plate I have. The band on the tail is 0.02" sheet metal. I file trenches in the thimbles were the silver fits snugly, paint the trenches with a little liquid flux. Bind the silver to the trenches with iron binding wire. Silver solder with a medium silver solder , flow temp 600 Celsius. I use a propan torch, heat the part to flow temp, apply silver solder to only one side of the trench. If the heat is right and you have the right amount of flux. The solder flow down the side of the trench, under the silver and up the other side of the trench. To much flux and it gets clogged, to little and it won't flow. Be sure to file away all excess solder before bluing.

The stars were made with a steel punch. The depression under cut with a graver and barbs raised on the bottom. A silver blob was hammerd in and the excess filed off.

Best regards
Rolf
 
That's truly quality work. Finding out more of the building process only increases the appreciation for such fine work. I congratulate you most sincerely. It's a pleasure to see the craftsmanship and knowing more only makes it more amazing. Thanks for posting the photos and sharing your methods. :thumbsup:
 
Rolf said:
The thin bands are half round wire, I make by by pulling a round wire through a draw plate I have.
Rolf

Rolf.....if you could do a video recording of this and post it....I'd love to see how this is done.

Dave
 
Davemuzz said:
Rolf said:
The thin bands are half round wire, I make by by pulling a round wire through a draw plate I have.
Rolf

Rolf.....if you could do a video recording of this and post it....I'd love to see how this is done.

Dave

Not much to see. The draw plate is a thick steel plate with a series of half round holes. You start by pulling the wire through the largest hole and work your way down the series until you get the size you want.

Best regards
Rolf
 
jerry huddleston said:
I think you did a real nice job. I would change one thng and that is a matter of personal choice. I would move the rear sight back and put it on the tang like most high grade English pistols are. That would give you a longer sight spread for better accuracy. Then I would just add some engraving.

I'd love to know how to do some simple engraving. Got most of the books, the Linsay sharpening gigs and Brooks engraving DVD. Just don't seem to able to do a line with consistent depth and width. Don't know what I'm doing wrong. Wish I knew. Can't find anyone who teaches engraving in Norway.

What you said about placing the rear sigths makes sense. The only reason I put it were I did, is thats were Hershel put it on his pistol.

Best regards
Rolf
 
Back
Top