Ryanlpuckett
40 Cal
- Joined
- May 22, 2023
- Messages
- 133
- Reaction score
- 82
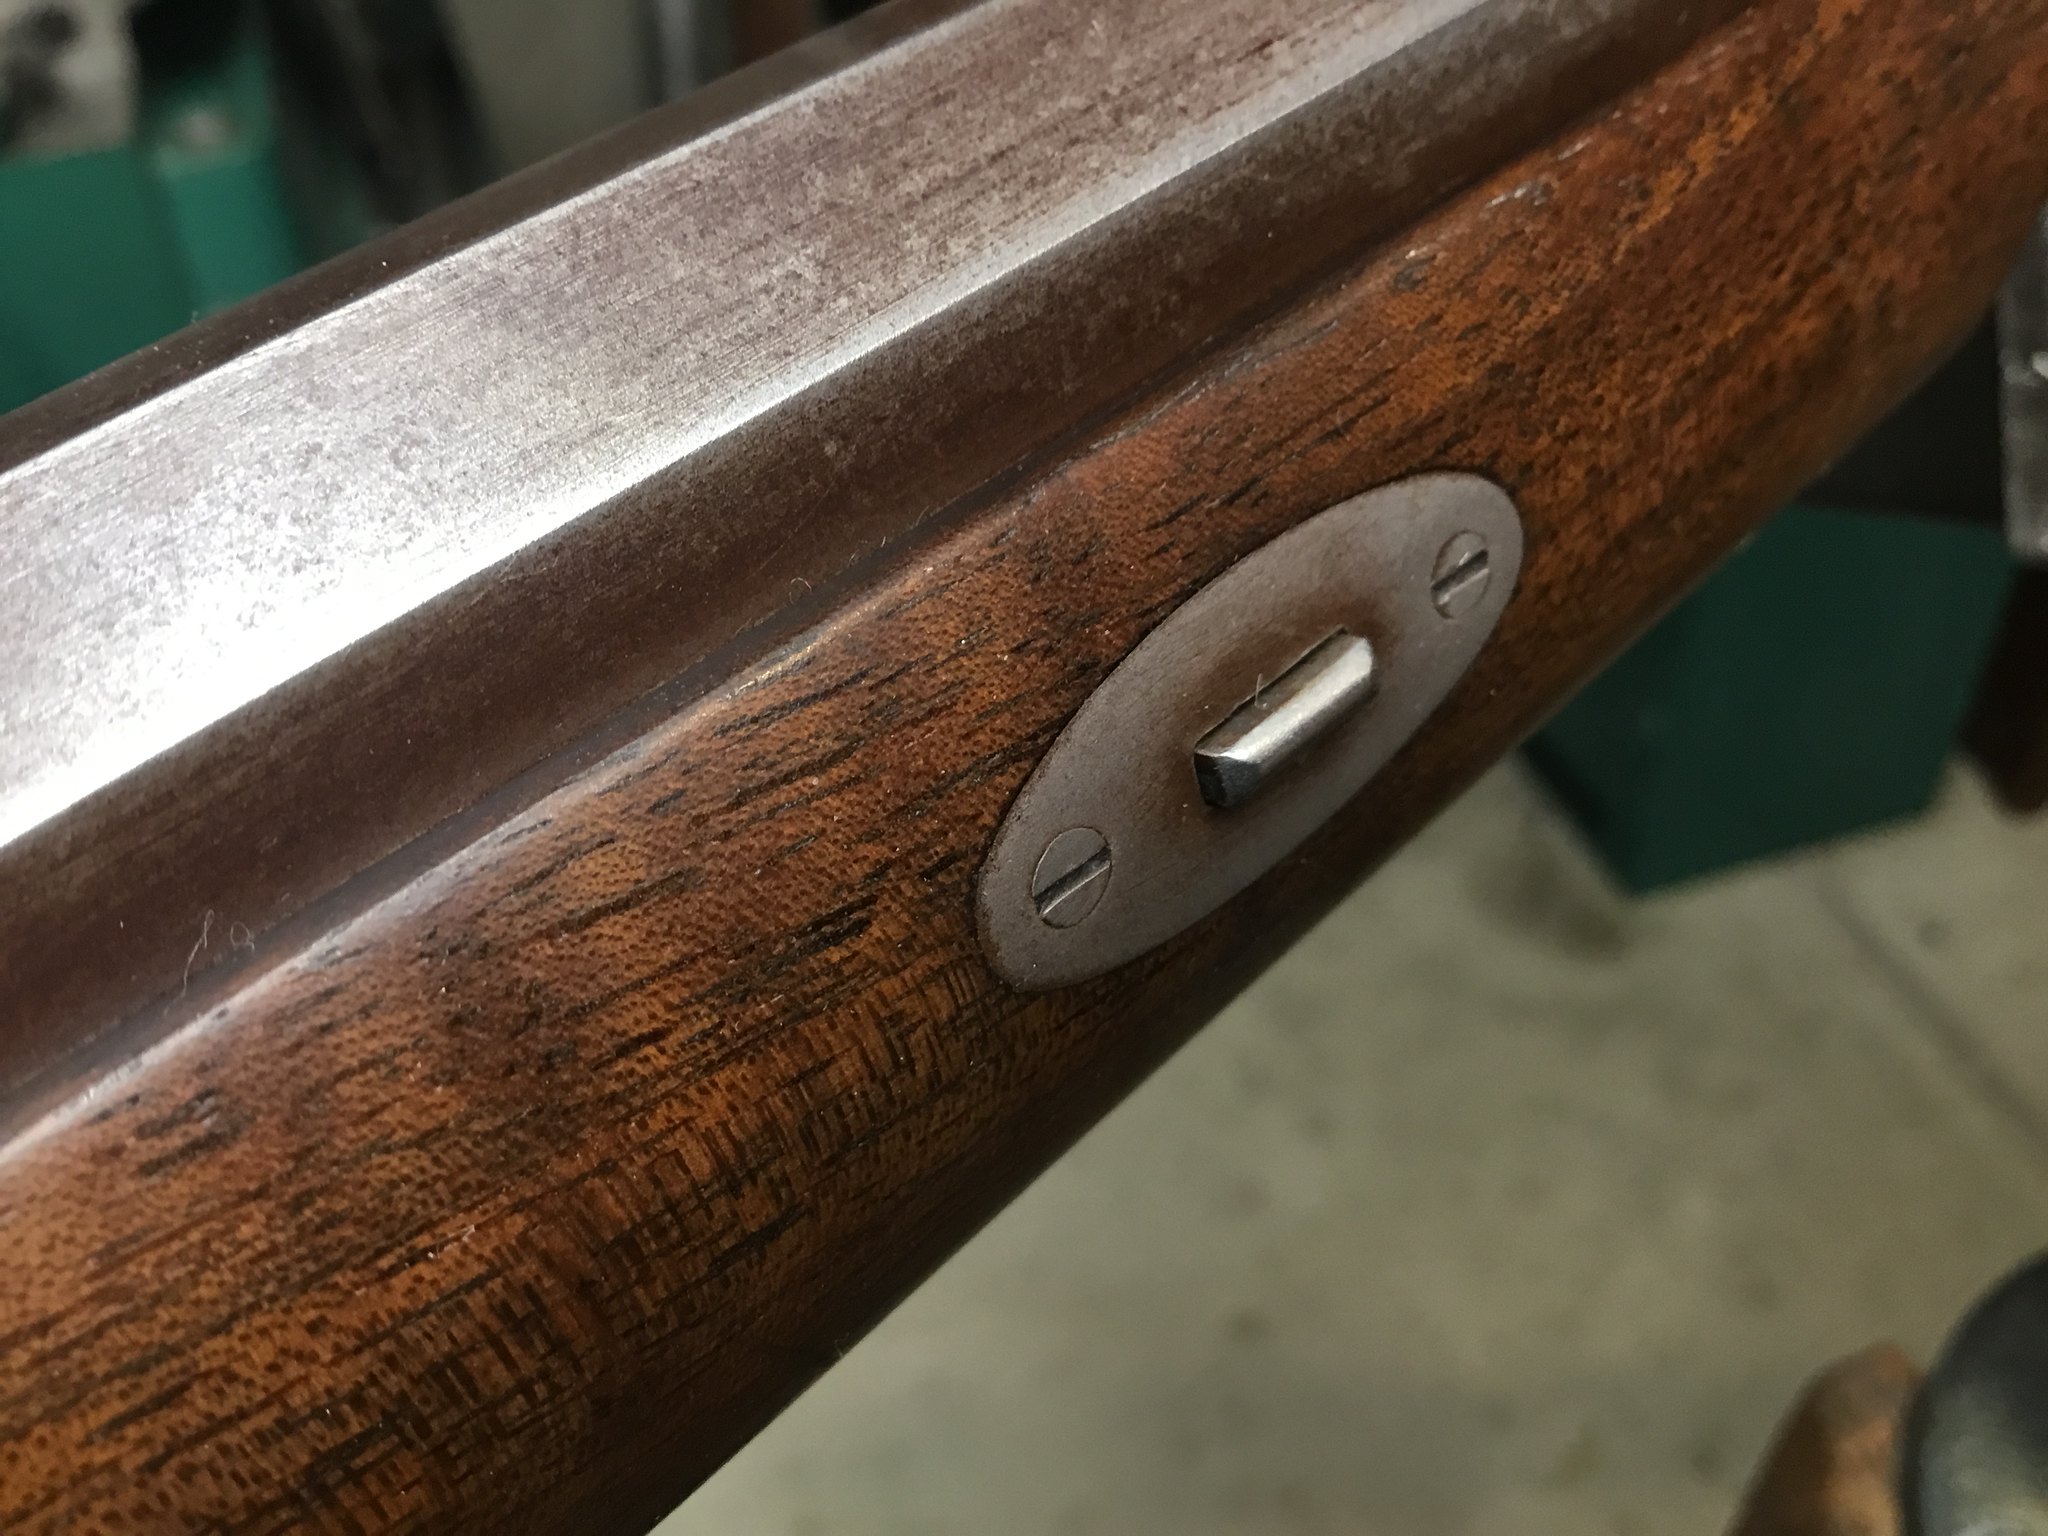
Okay guys, I took deliver of my new investarm Hawken as of yesterday evening. Prior to, I have been assembling tools and resources to complete a fine rifle, a fine rifle indeed  . I opened the box this morning, inventoried all the components, which I found all to be accounted and present. I then proceeded to dry fitting. Okay, so a great kit, the stock is simply gorgeous, I ordered some homer brown reddish brown stain, but am now thinking of using aqua fortis to bring out the candy, ah hmm, I mean figure. Can both of these stains be used used? I do not want to cover the figure, it really is beautiful, I wish that I knew the wood they used, but I highly doubt that it is walnut or maple. So the negative, screw alignment is shoddy, I can make due with the wedge plate, as the went in crooked but did level out in their recess. The rear tang bolt will have to be re-drilled in the correct geometry. The current situation is vertical when there is a definite curvature in the tang. But these are all easy enough fixes. The main issue are the barrel wedges. I have inserted them in every configuration known to man, including thoes specified within the instructions. They fall into place and fall back out. There is absolutely no Friction or tension. Any help would be appreciated in getting these to fit snug. And finally, what would be an acceptable gap if any between the barrel and pan. There is a definite gap between where without question some 4f could find its way in between. Overall, I think that I will have to take the inletting back to get flush with the barrel. On a different note, can someone please explain how to use double set triggers?
Best
Ryan


. I opened the box this morning, inventoried all the components, which I found all to be accounted and present. I then proceeded to dry fitting. Okay, so a great kit, the stock is simply gorgeous, I ordered some homer brown reddish brown stain, but am now thinking of using aqua fortis to bring out the candy, ah hmm, I mean figure. Can both of these stains be used used? I do not want to cover the figure, it really is beautiful, I wish that I knew the wood they used, but I highly doubt that it is walnut or maple. So the negative, screw alignment is shoddy, I can make due with the wedge plate, as the went in crooked but did level out in their recess. The rear tang bolt will have to be re-drilled in the correct geometry. The current situation is vertical when there is a definite curvature in the tang. But these are all easy enough fixes. The main issue are the barrel wedges. I have inserted them in every configuration known to man, including thoes specified within the instructions. They fall into place and fall back out. There is absolutely no Friction or tension. Any help would be appreciated in getting these to fit snug. And finally, what would be an acceptable gap if any between the barrel and pan. There is a definite gap between where without question some 4f could find its way in between. Overall, I think that I will have to take the inletting back to get flush with the barrel. On a different note, can someone please explain how to use double set triggers?Best
Ryan
Last edited: