• This community needs YOUR help today. We rely 100% on Supporting Memberships to fund our efforts. With the ever increasing fees of everything, we need help. We need more Supporting Members, today. Please invest back into this community. I will ship a few decals too in addition to all the account perks you get.


    Sign up here: https://www.muzzleloadingforum.com/account/upgrades
  • Friends, our 2nd Amendment rights are always under attack and the NRA has been a constant for decades in helping fight that fight.

    We have partnered with the NRA to offer you a discount on membership and Muzzleloading Forum gets a small percentage too of each membership, so you are supporting both the NRA and us.

    Use this link to sign up please; https://membership.nra.org/recruiters/join/XR045103

Forced Patina Finish

Muzzleloading Forum

Help Support Muzzleloading Forum:

This site may earn a commission from merchant affiliate links, including eBay, Amazon, and others.
Joined
Jun 22, 2014
Messages
2,708
Reaction score
272
Location
Ohio Valley
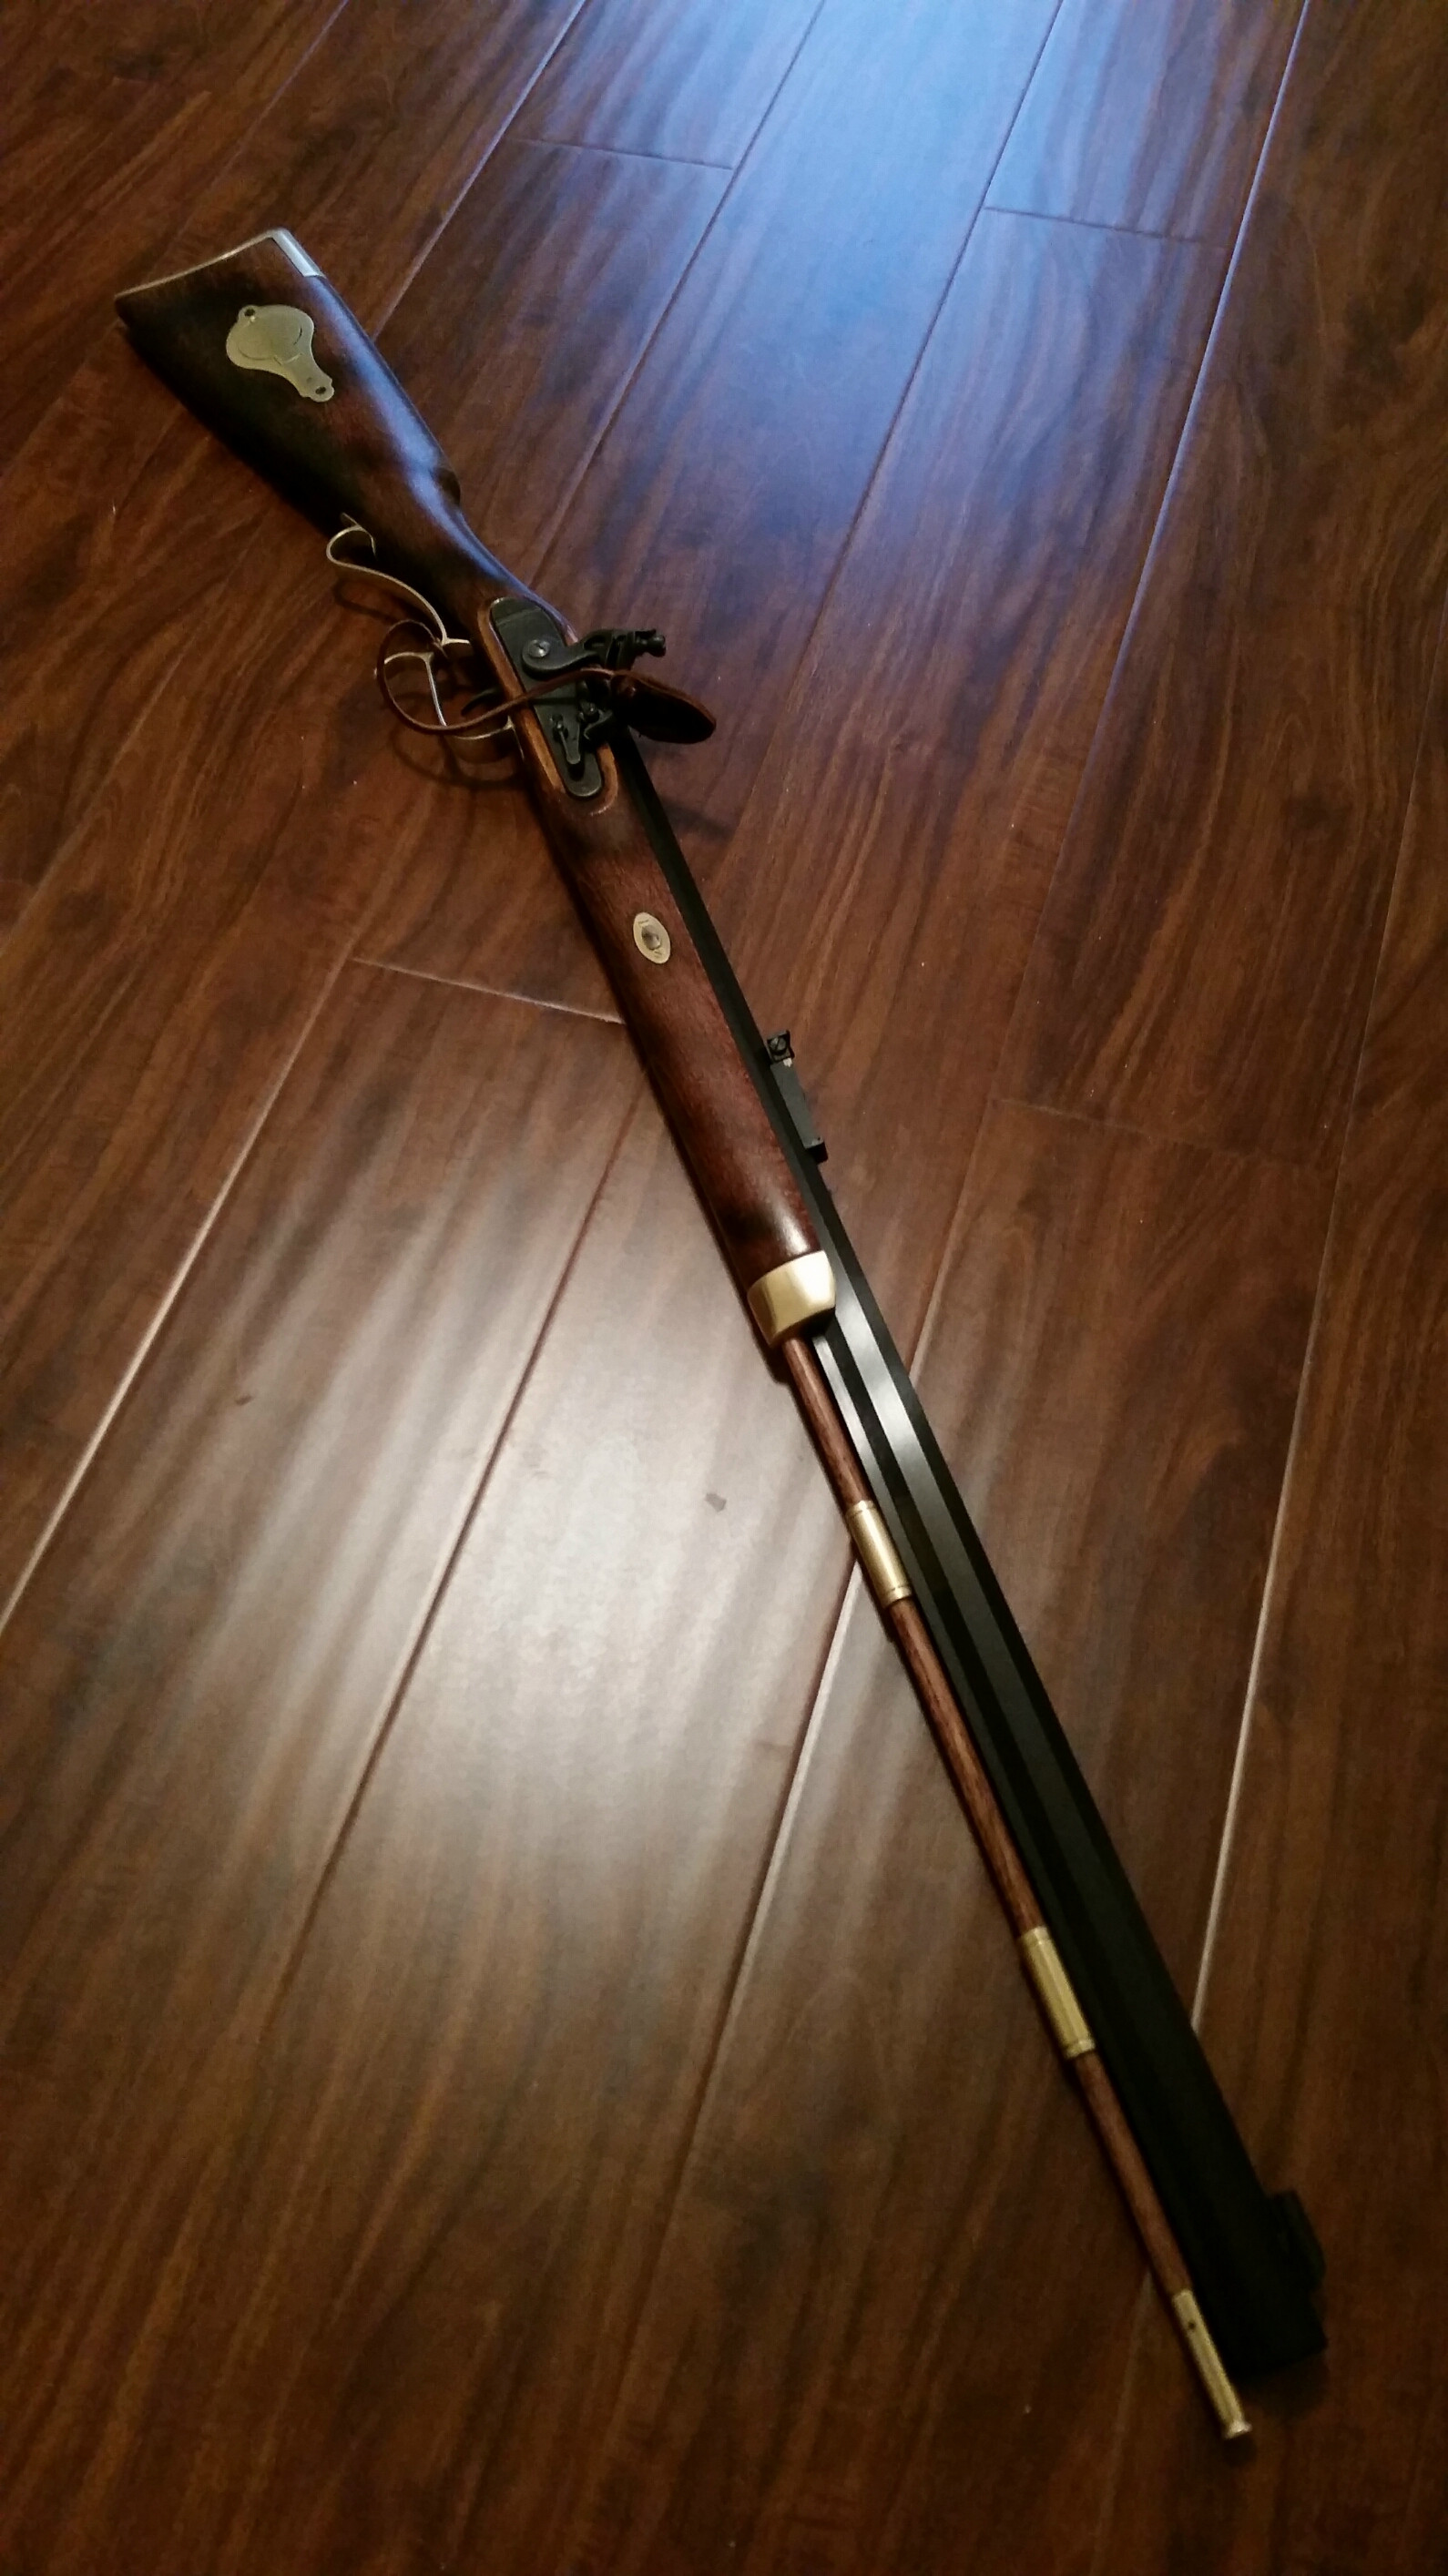
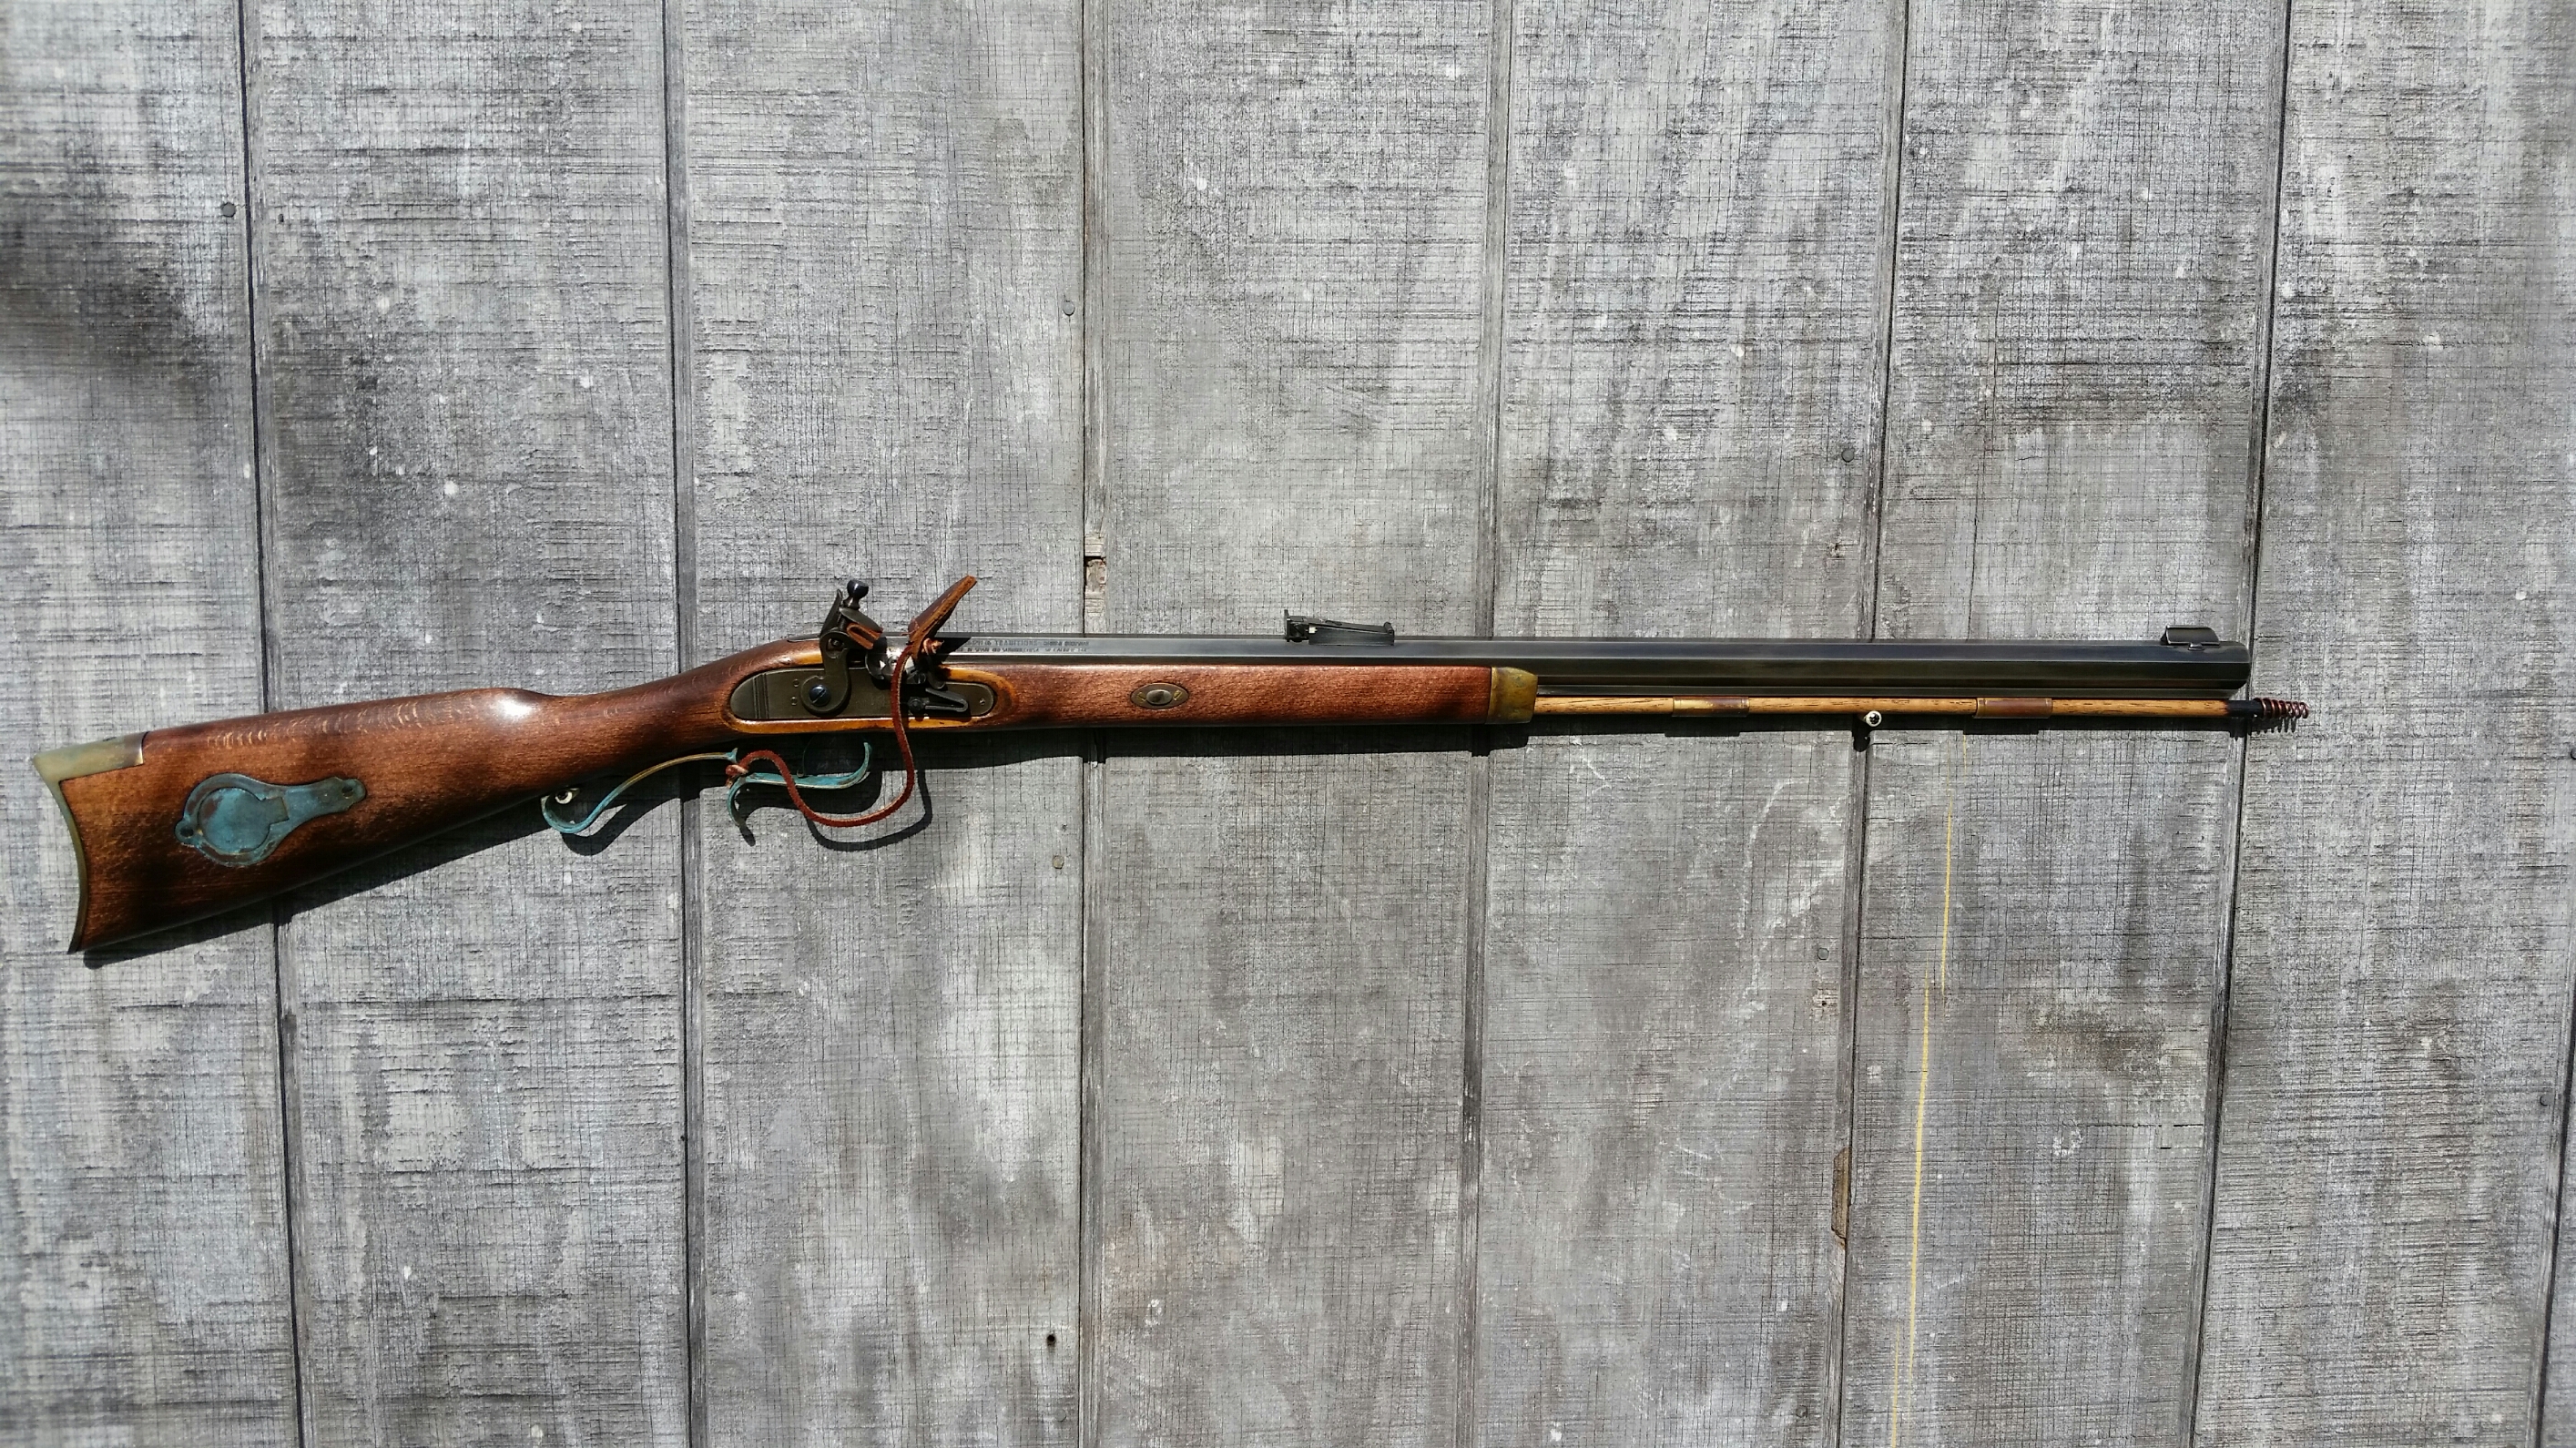
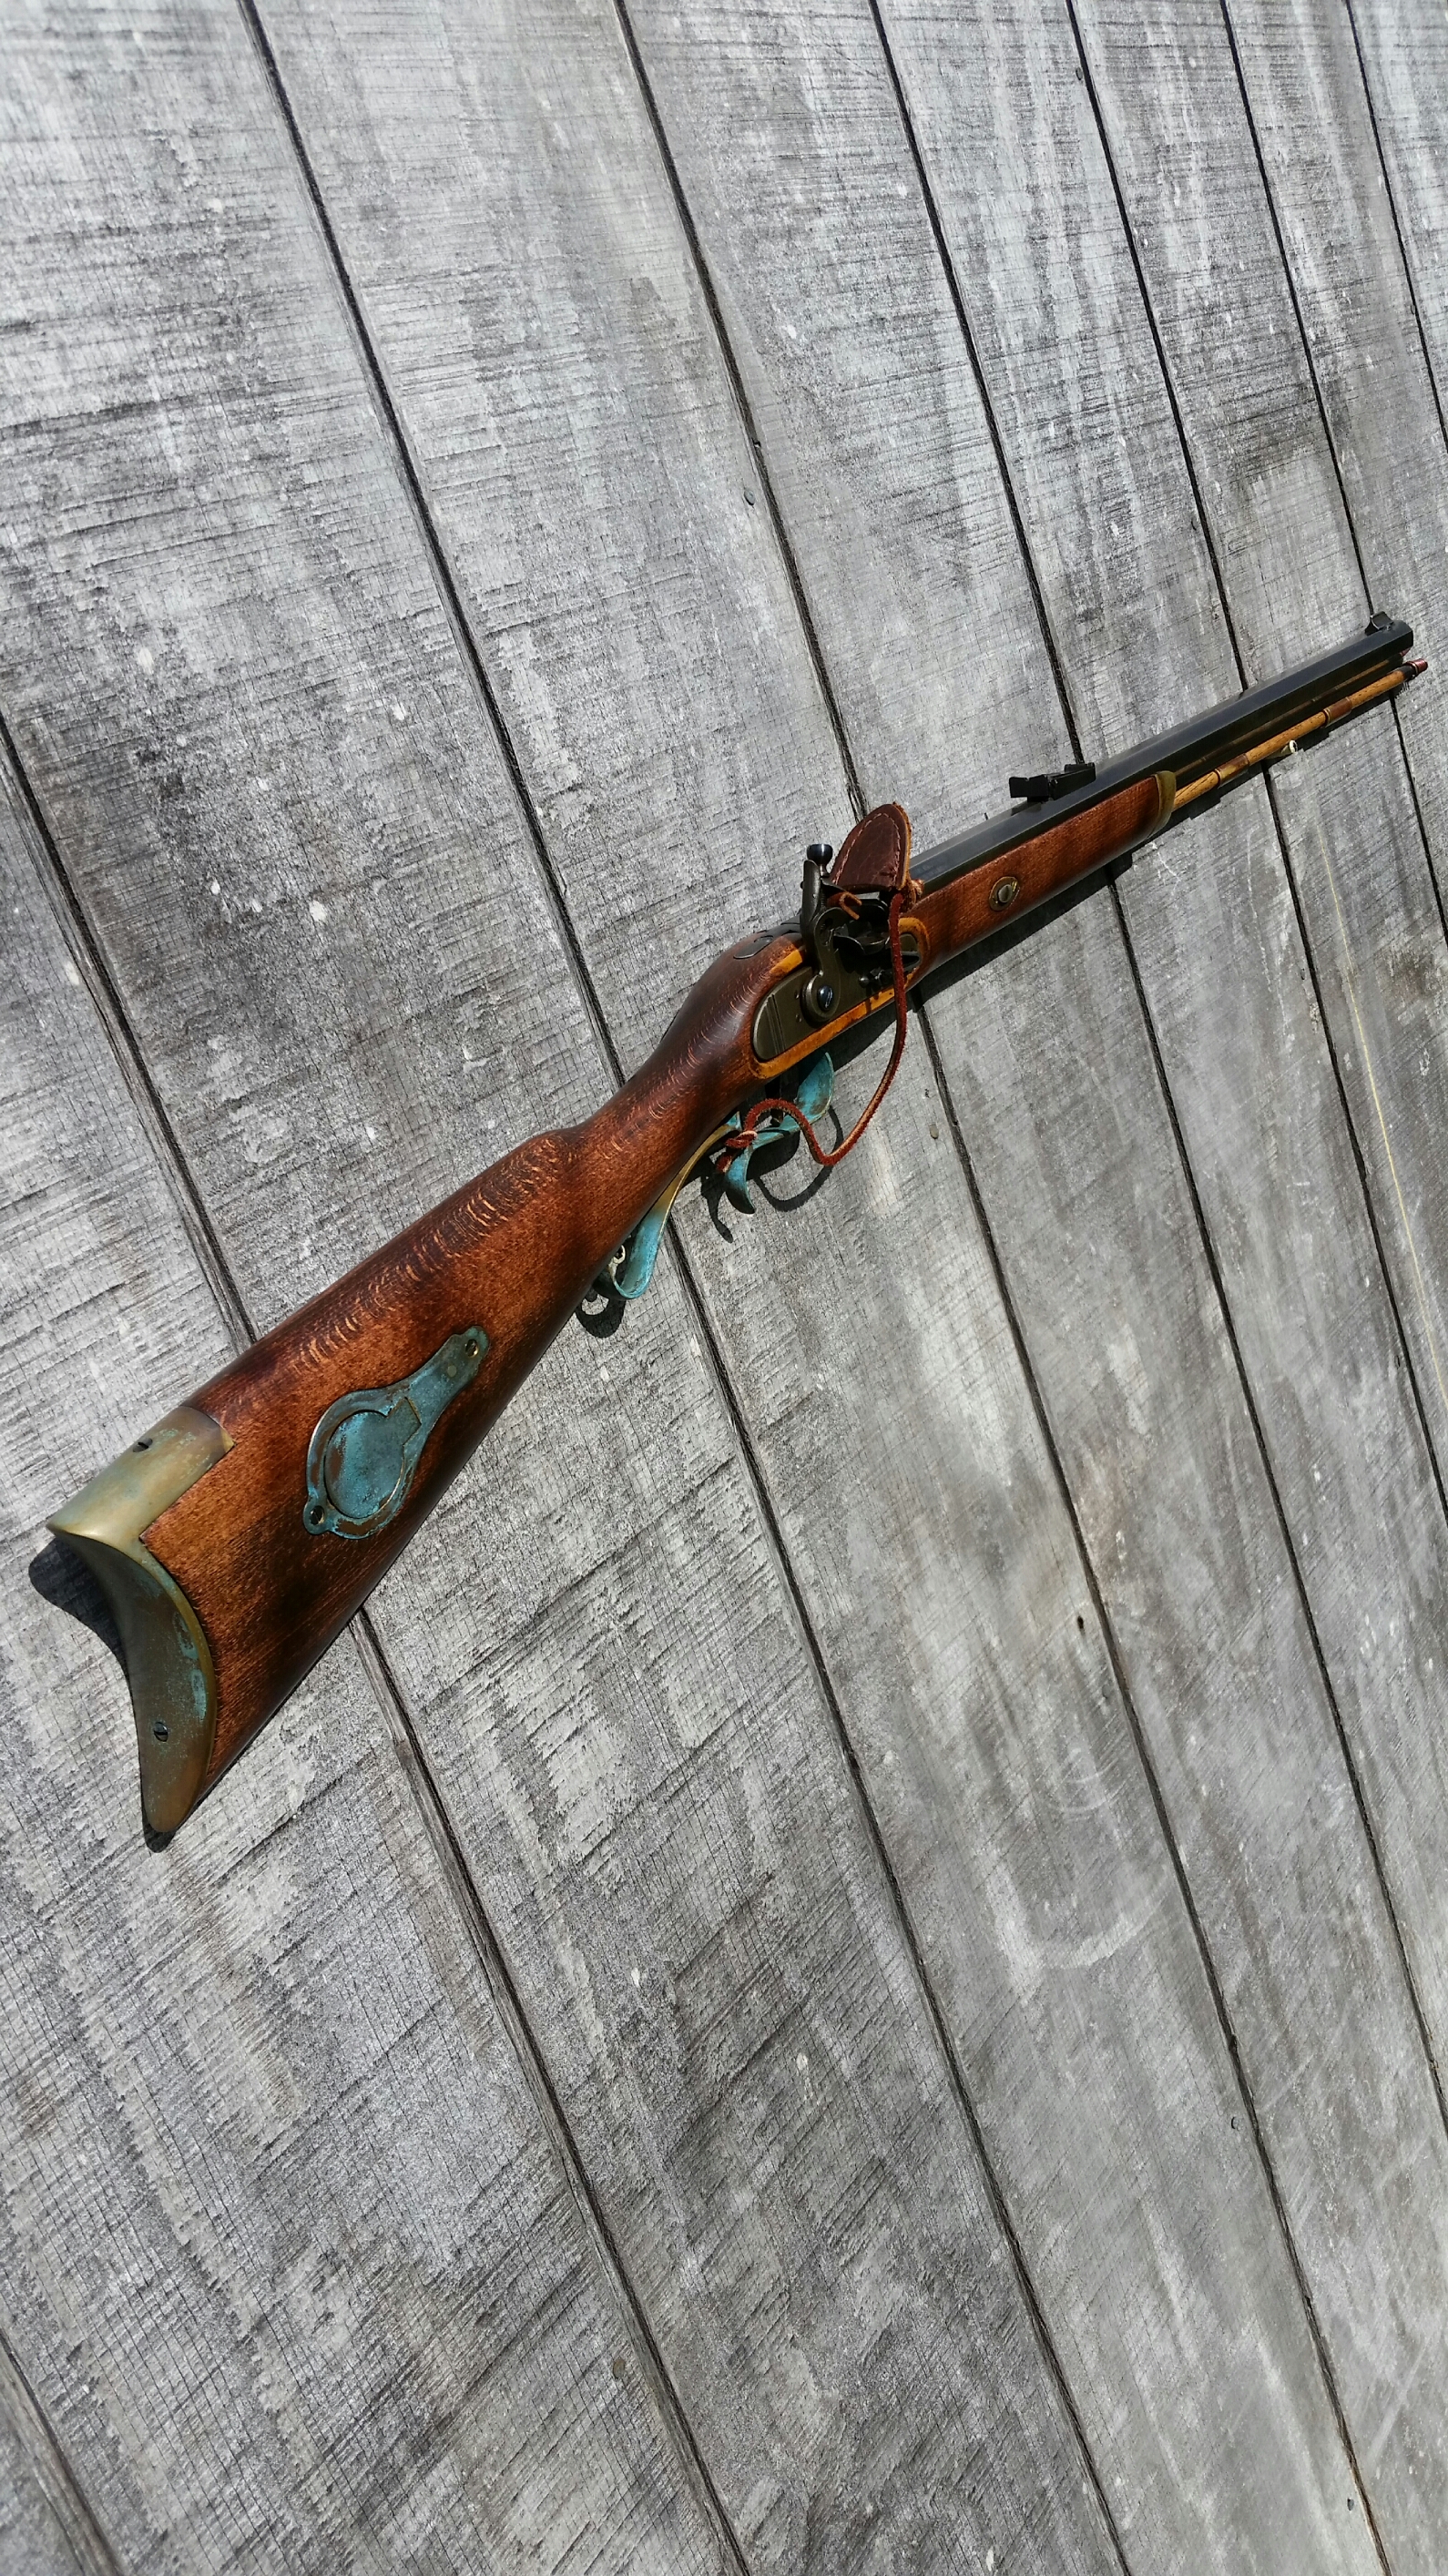
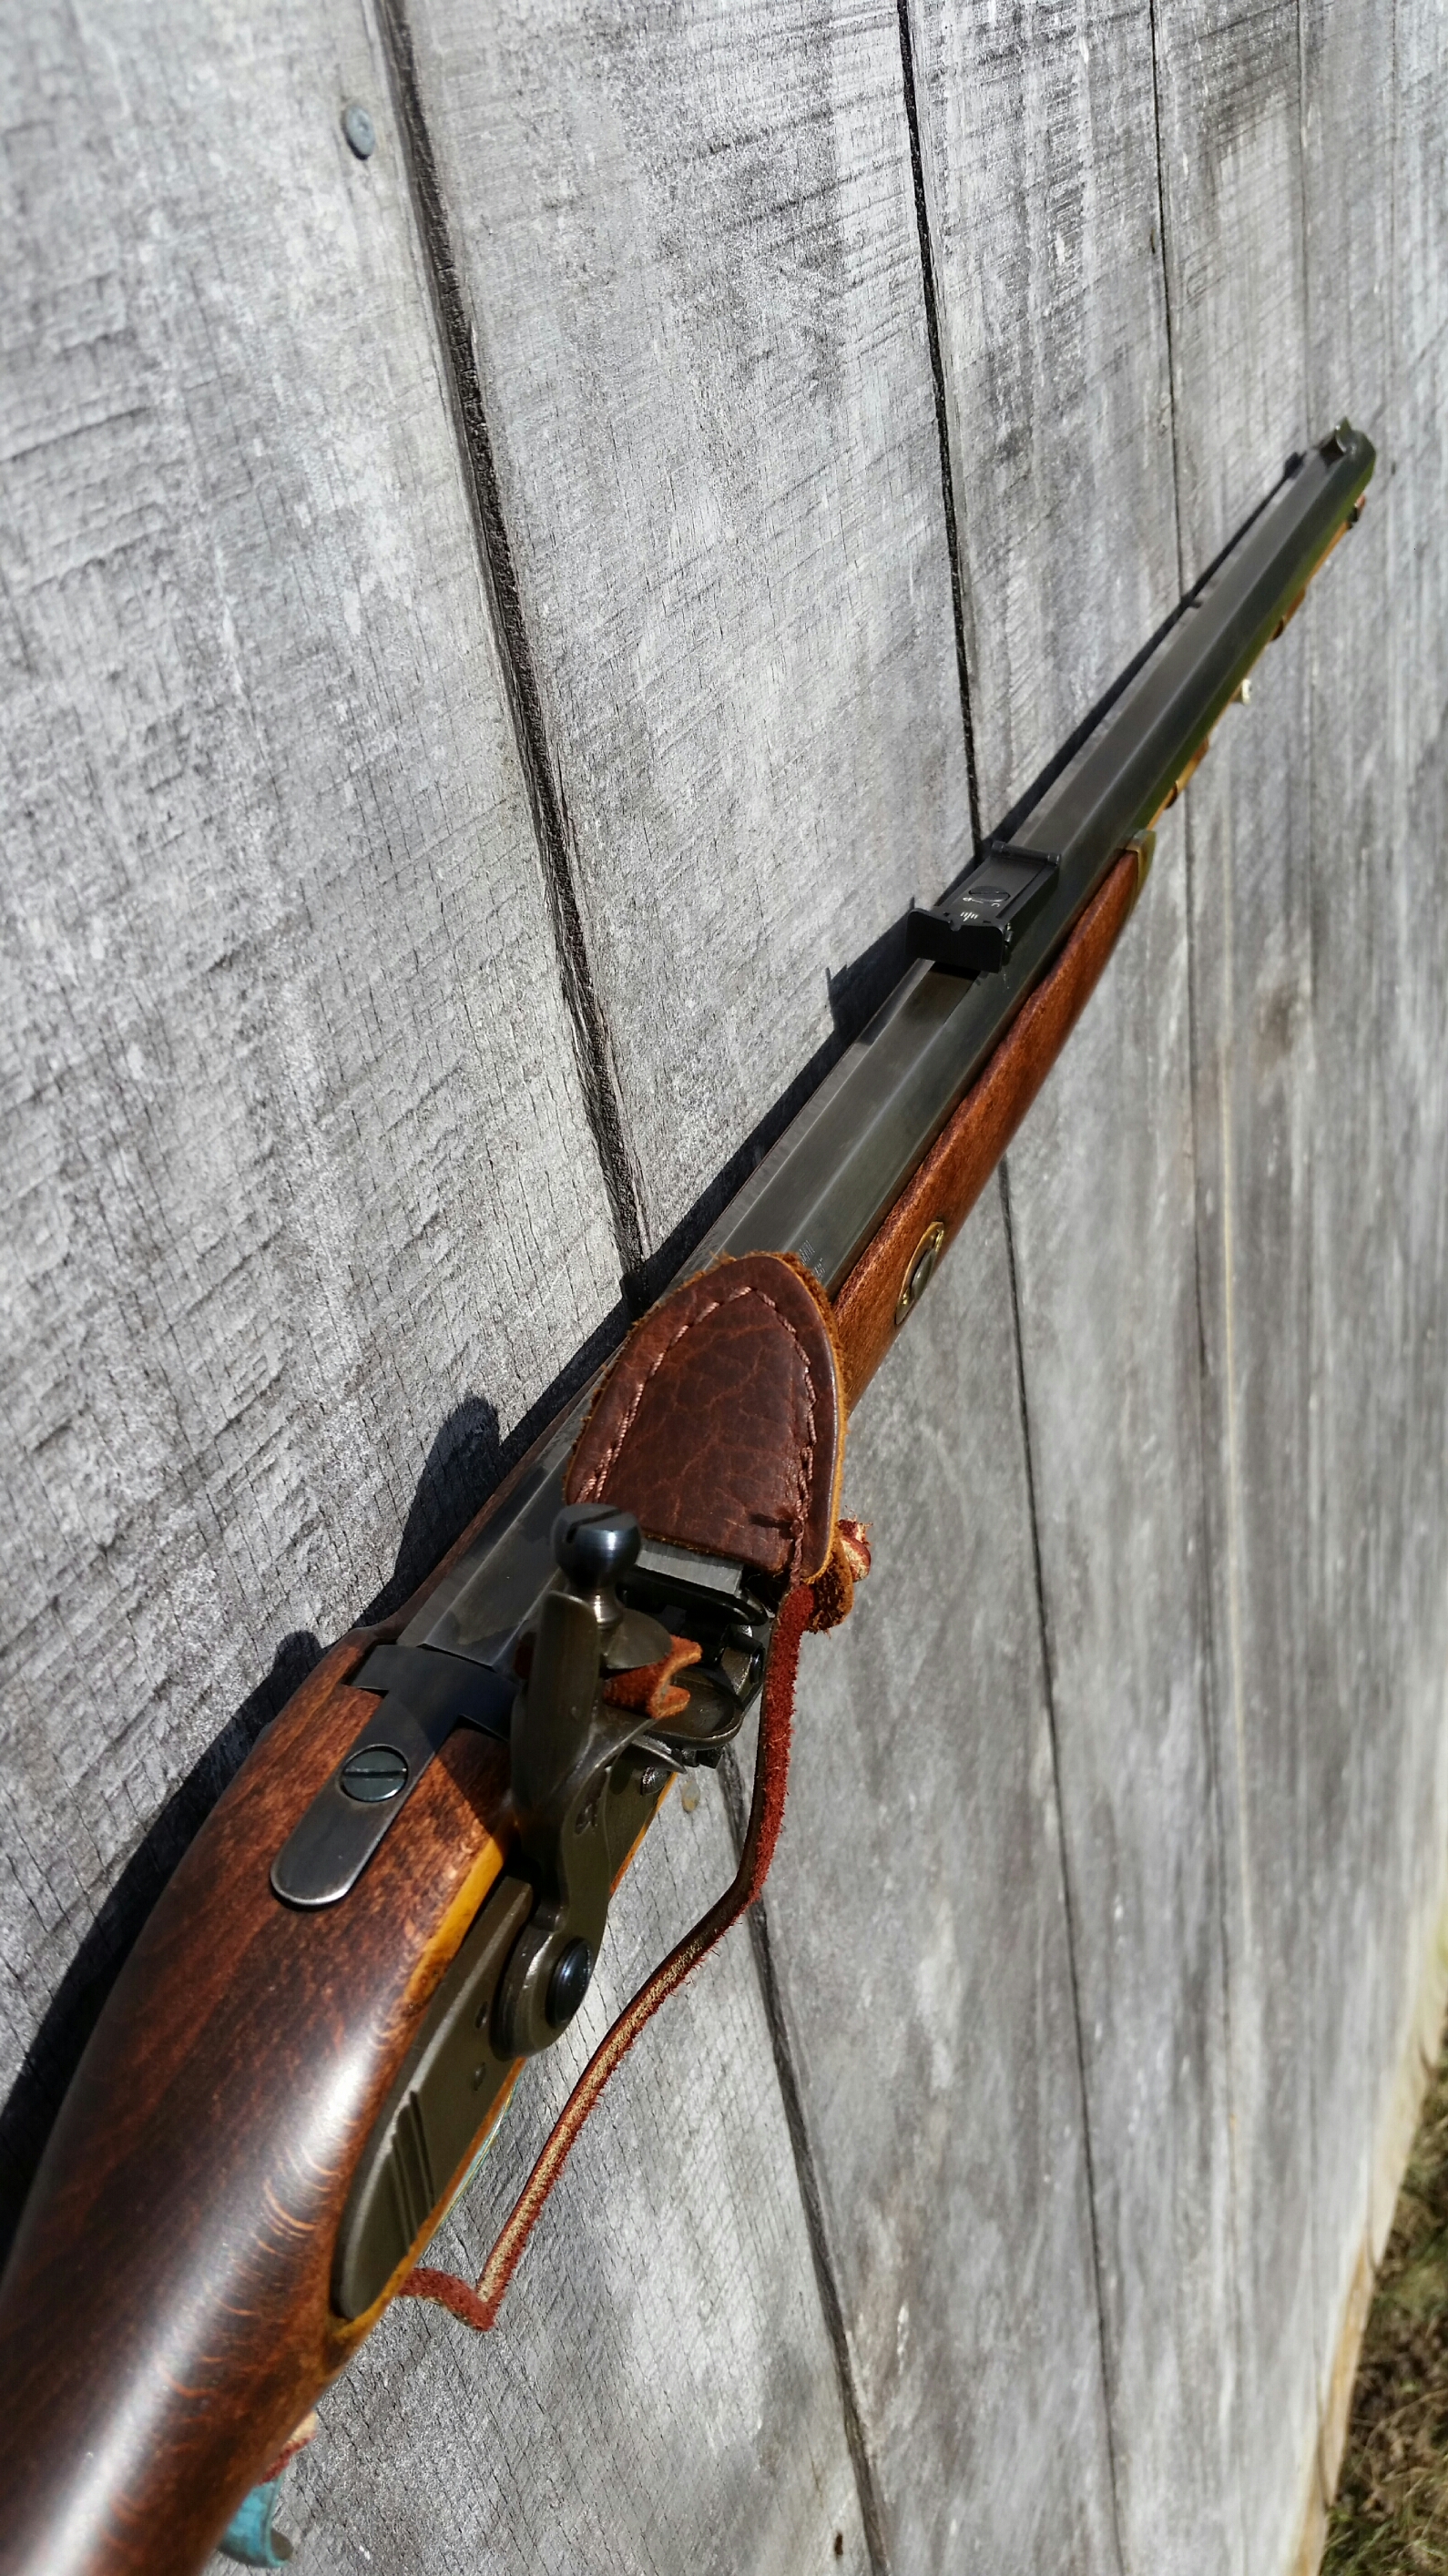
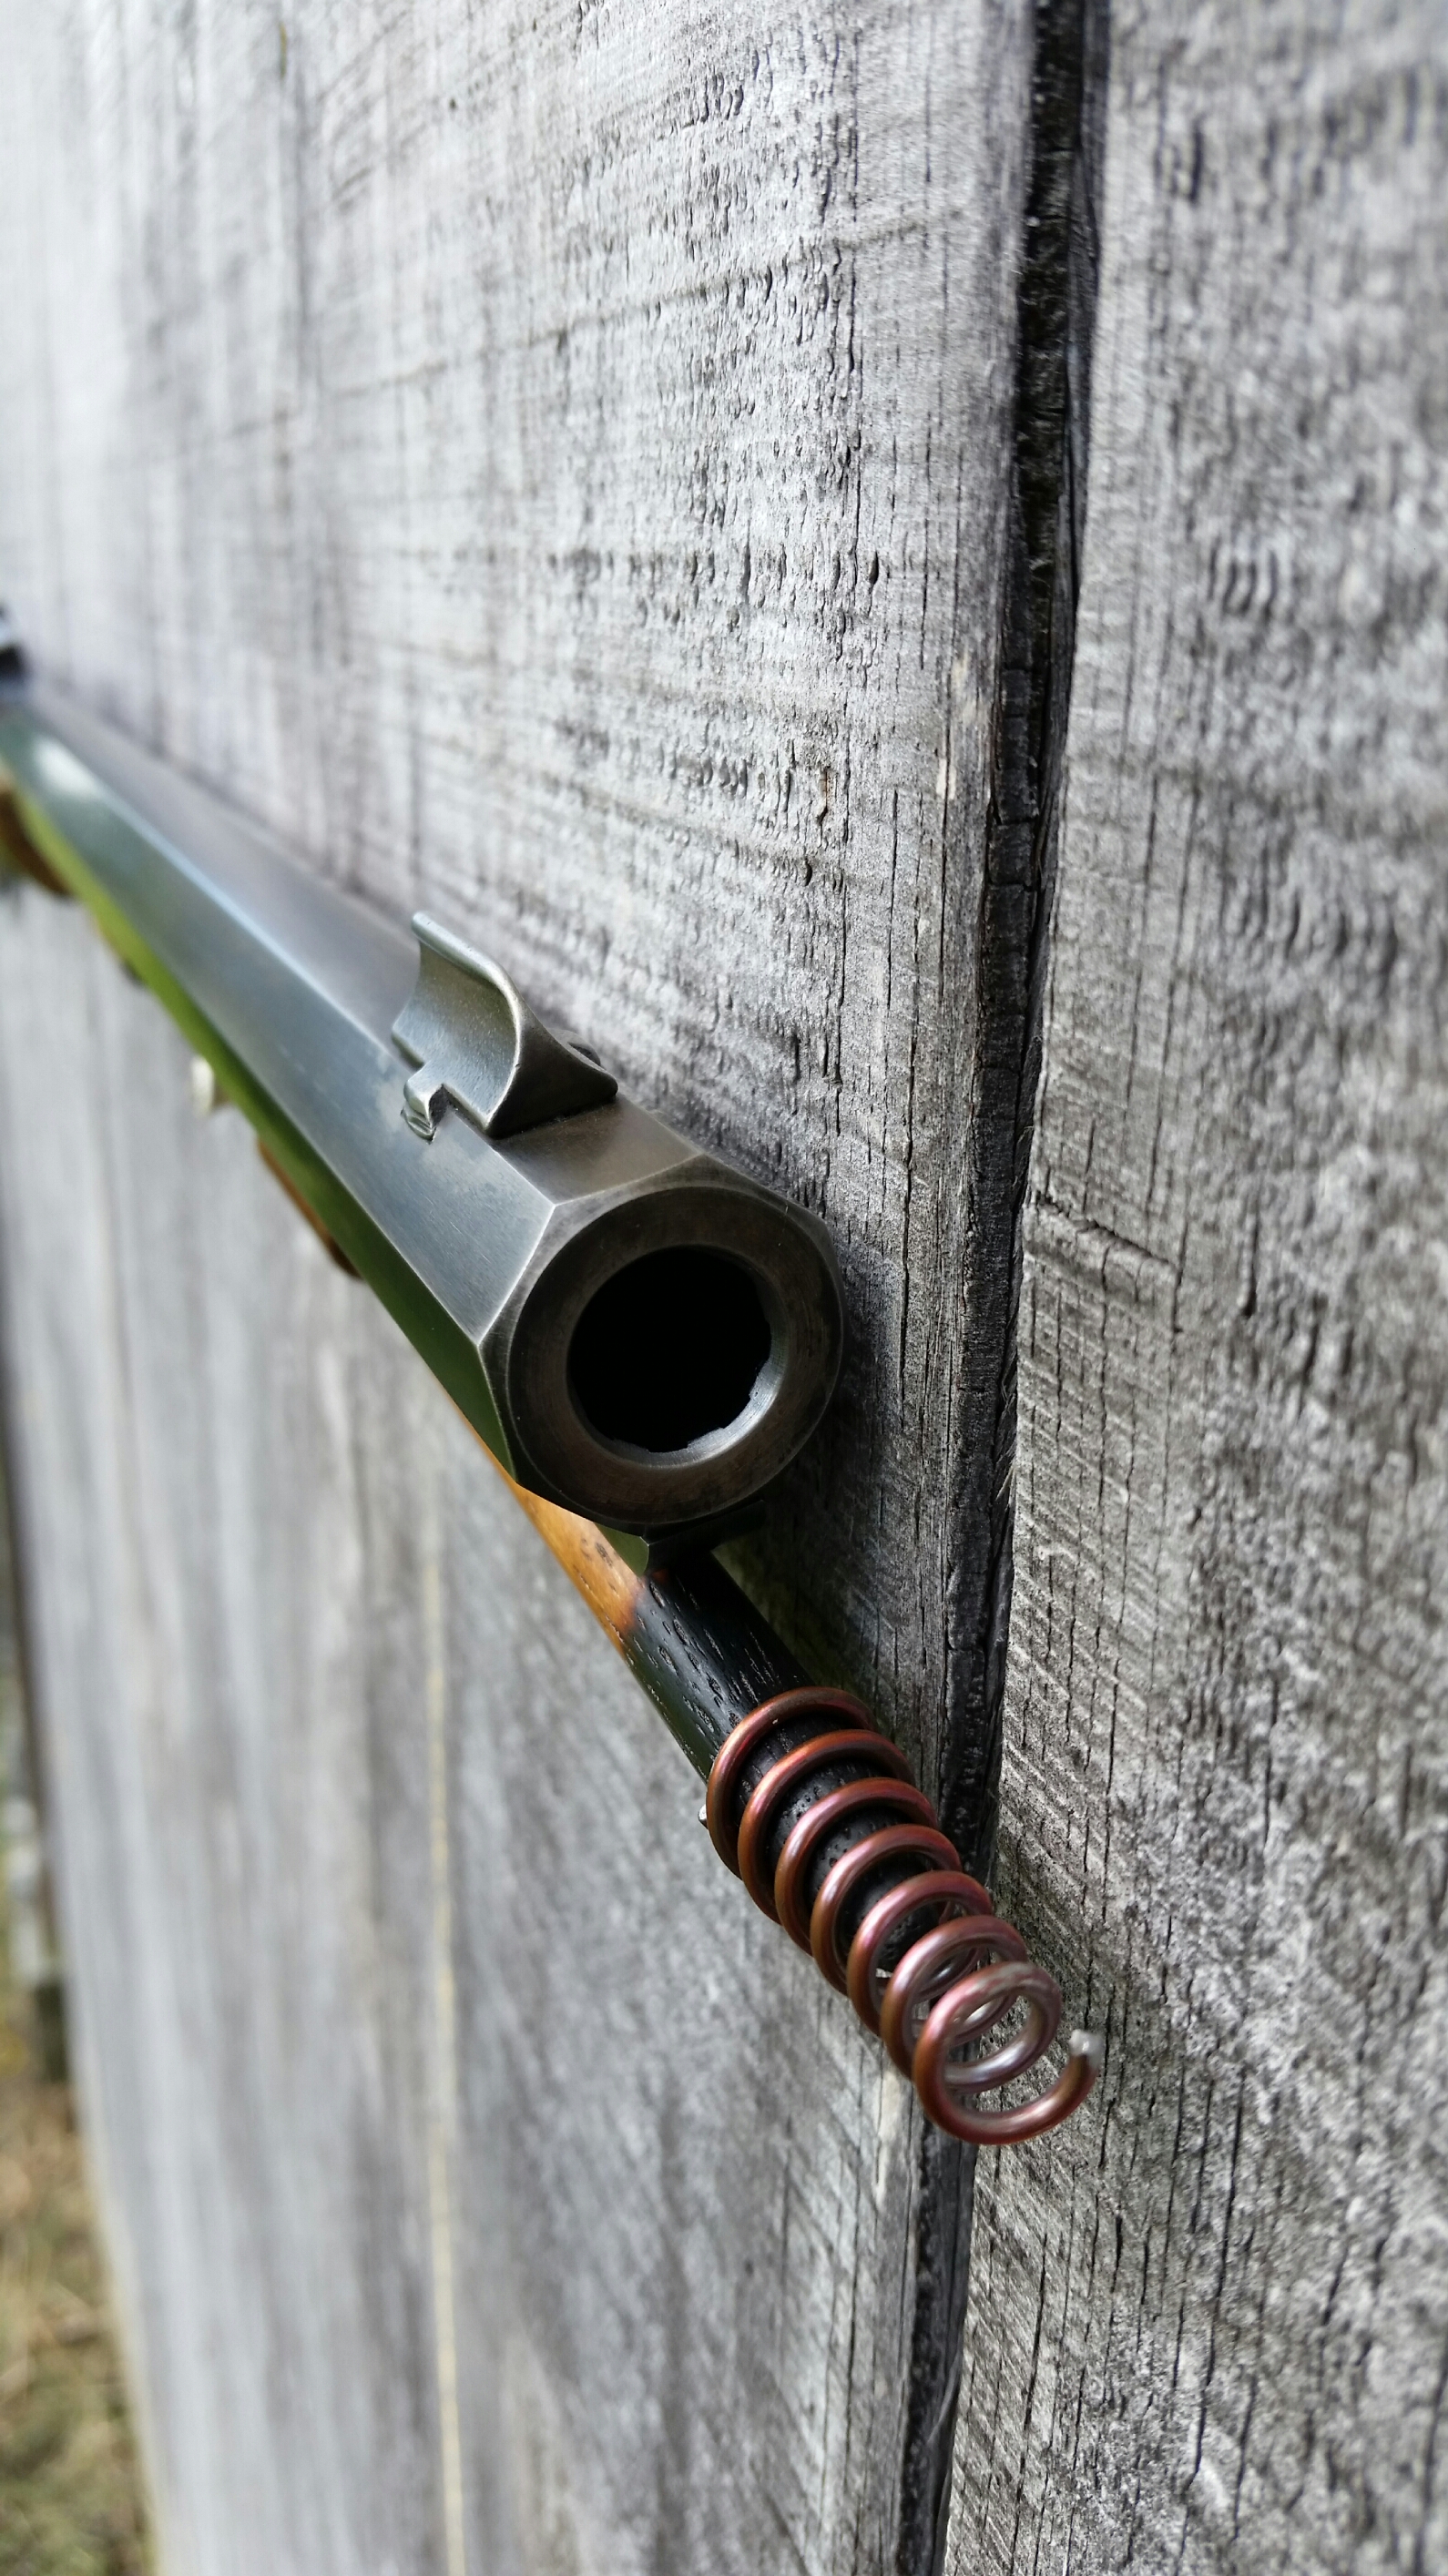
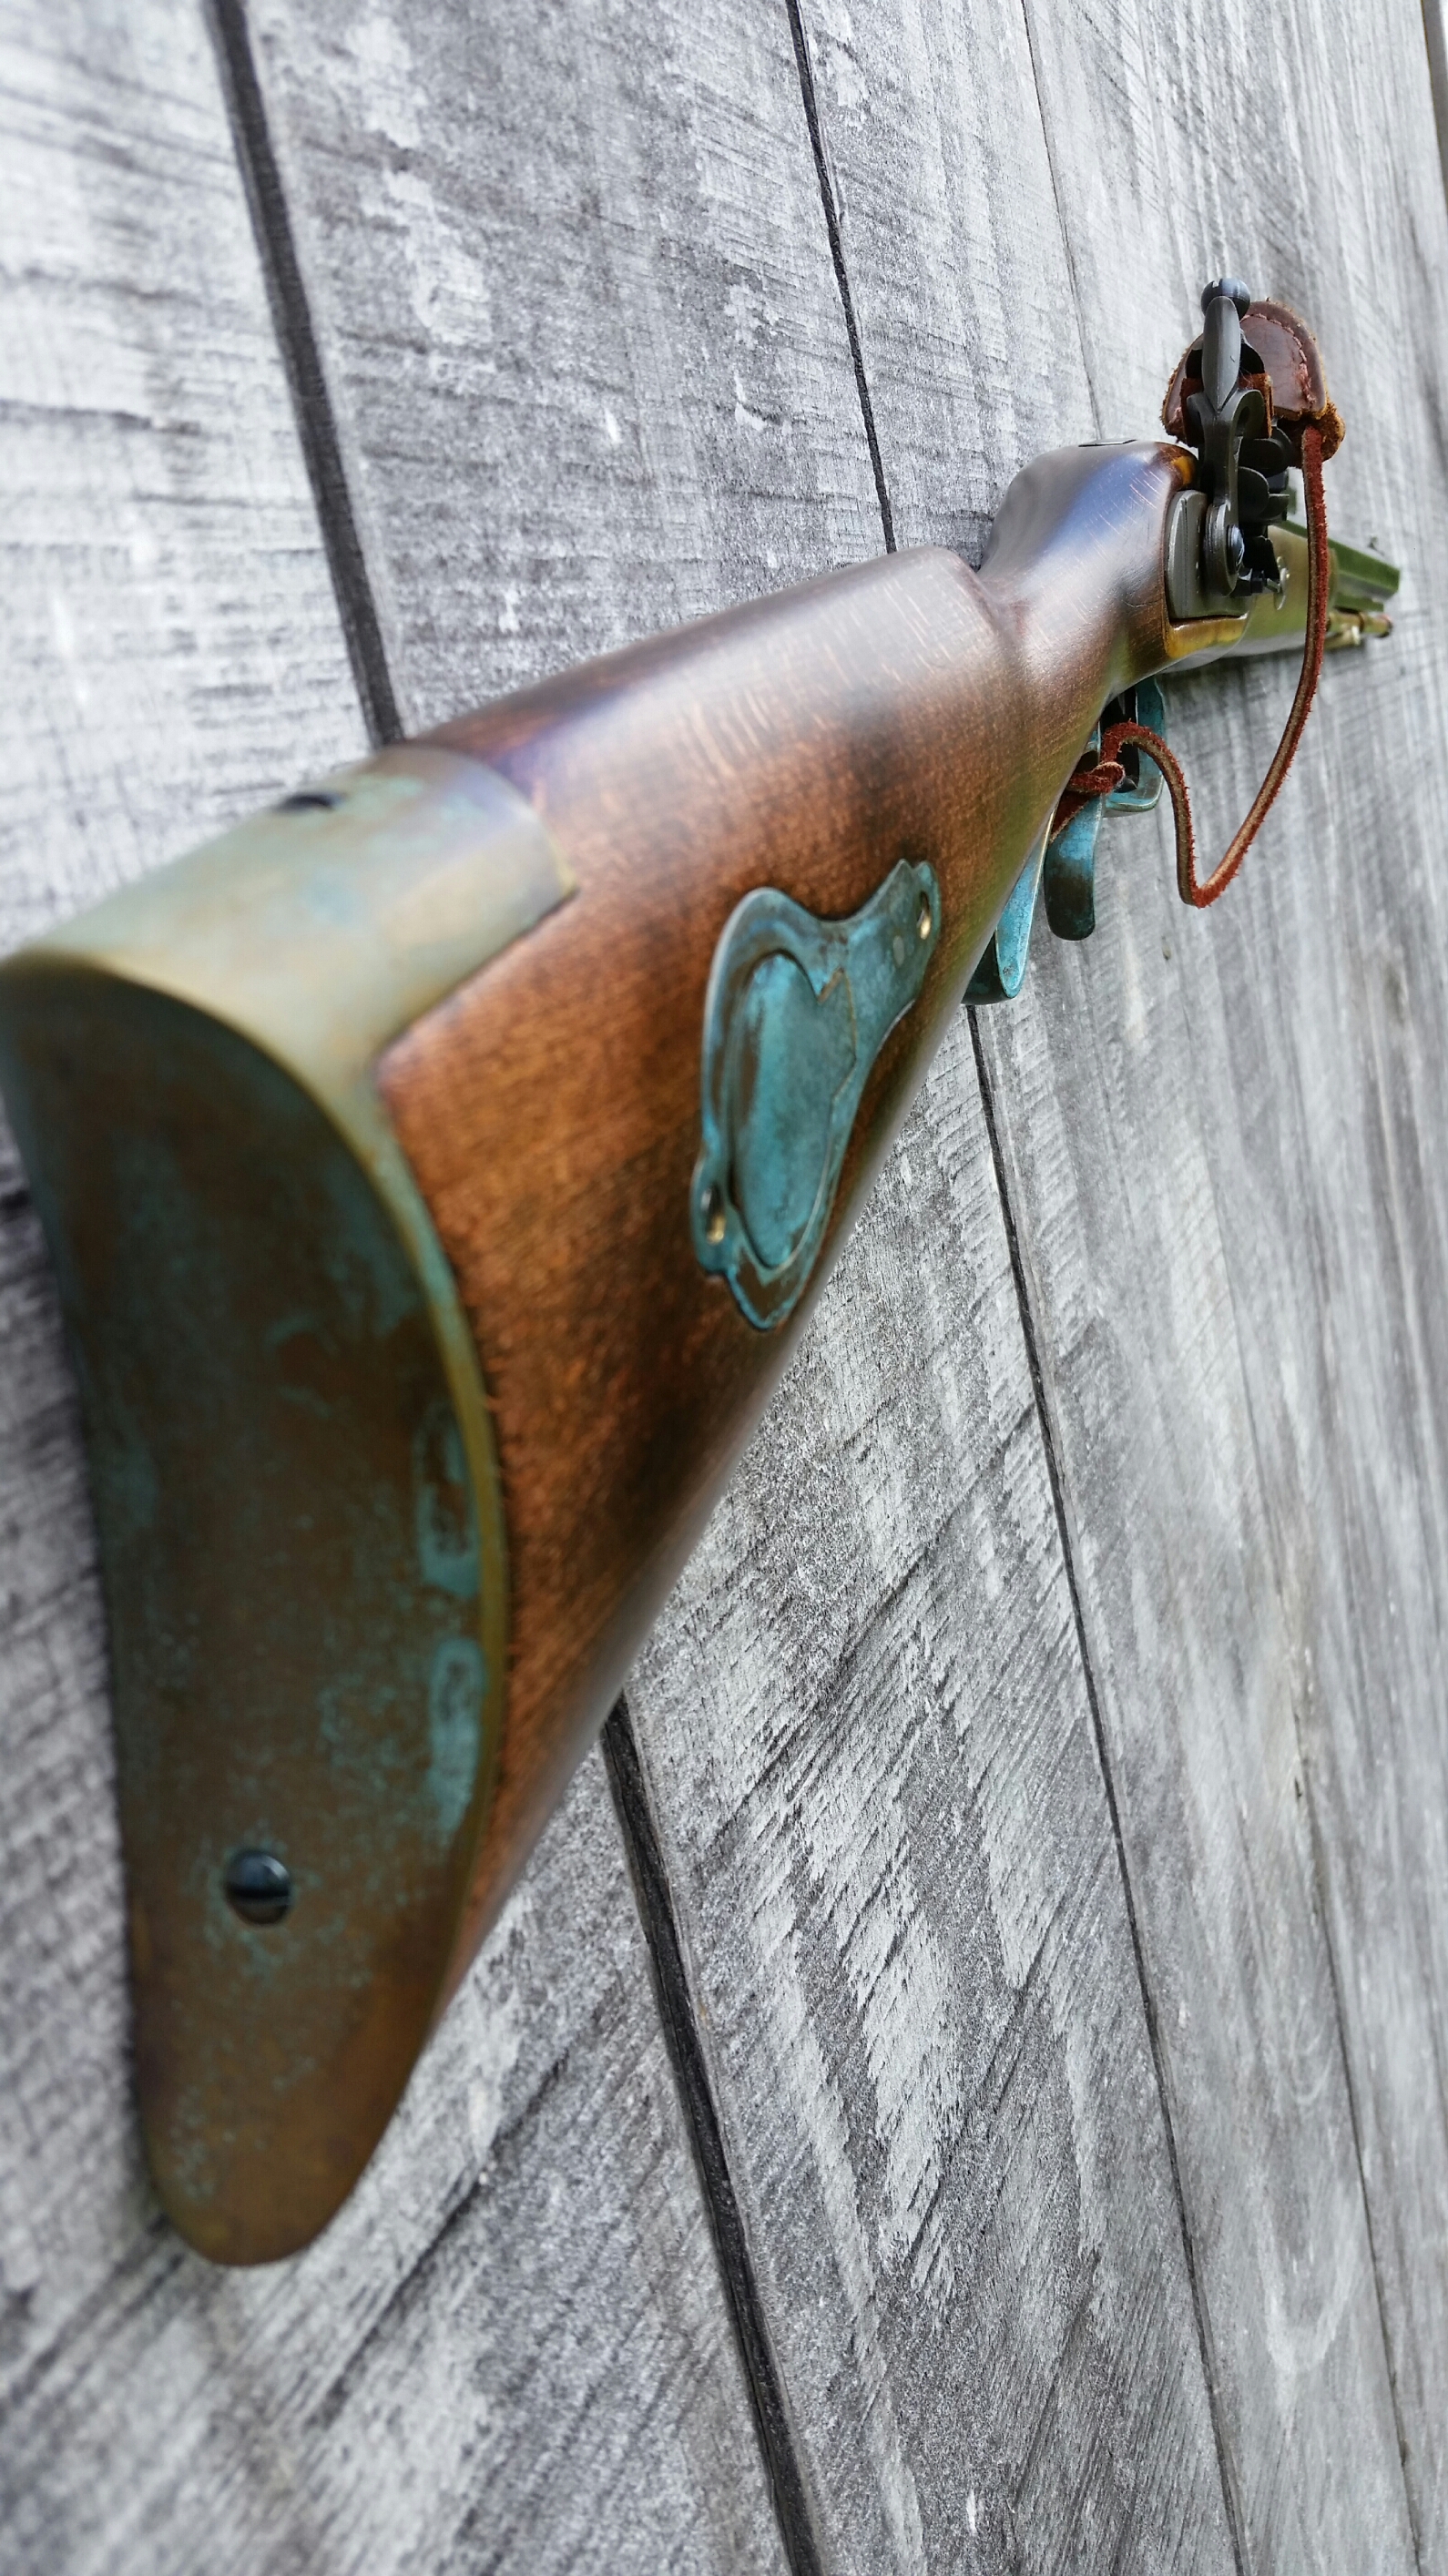
Hi all, sure it's been discussed a 1,000 times... Forced patina finishes, I wanted to start this thread out of my own curiosity, and to offer help to anyone else who may be curious of doing exactly what I'm about to do... I came up with this plan after making a few custom triggers, I had originally decided to strip the finish off a Traditions .50 cal Hawken after the trigger work, brown the entire rifle and call it a day. However, I've been compelled to give ordinary mustard a shot for an aged forced patina after loving the results once applied to a few blades of mine. I've seen many examples of the "forced patina look" IMO, I think many make the mistake of making the piece look to uniform with an unrealistic aged appearance. The goal here will be to utilize the common availability of ordinary mustard and its safe ease of use, also I just have to walk to the fridge! One obviously will not achieve the results of the available metal finishes and such sold online and in store's, however we are again going for a completely different result. I'm hoping my "experiment" will help others who admire the aged look and are curious about possibly trying it themselves! Stay tuned! :hatsoff:
 
I aged an Italian made 1860 Colt by looking at old worn colts. I steel wooled the areas where natural wear occurs, and the results turned out great. I also aged the grips, to look like old dark finished gun wood. I sold the gun for more than I paid for it, and even though I told the buyer it was a fake, I think he believed it was real. I just hope he didn't try to pass it off as a real Colt.
 
I would love to see some pictures for reference purposes if you have any available. Being a traditions rifle I'm not to worried about flaws or mess ups... Certainly something I've never tried on a larger scale per say, but I think the whole process will certainly be a good learning curve. I've always loved the aged finish on old timers and figured it would be worth a shot at trying to replicate the look per my own curiosity. Rifle is a dandy shooter non the less! Here she is before I removed the bluing.

zrta2kS.jpg


She wears an L&R RPL lock, wonderful shooter after dropping in the new lock and also a new vent liner from RMC.
 
I'm glad you started this thread as I like the old look.

I know there has got to be a city slicker on here that has tried Grey Poupon and just dying to share the results. :stir: :idunno:

Jack
 
Unfortunately, I did not take pictures of the pistol, and I sold it at a gun show. Mostly, I just used the scothbrite pads and steel wool to remove the bluing on areas where wear would normally occur. I removed the shiny finish on the grips and used dark walnut stain and linseed oil finish. I believe someone on this forum built a Hawken rifle and came very close to duplicating an original, but I don't know if a search would find it or not.
 
Lol! Now that would certainly turn into an expensive overall finish! Wanted to give a little update and say I started the application process with very light coats of mustard applied with a simple acid brush, allowed to sit over night and the results are pleasing! (Pics to follow this evening).
 
I am very eager to see the results. I am currently building a .40 TN rifle and am putting serious thought toward a gray finish and your results will play a big role in deciding whether or not I choose to go that route.
 
The best way to "age" a finish is to use the gun. Artificially aged pieces often look "fake"...
 
Yes I agree, however I wanted to give this a try out of curiosity. I've seen many firearms that have been artificially aged and look swell. Just as we brown our firearms to replicate the old time finish, thought I'd give it a go. Yet, I've got another method that's yielding good results, more on that later.
 
This is the only way to learn -- but it does have it's down side :( . By the way that "before" rifle looked real nice I'm glad it is a great shooter for you :) . Try rust bluing the barrel but don't go for the "aged look" :( -- that's just me as I'm not a fan of it :wink:
 
That's a bit of a shame, but that's trial and error I suppose. The plumb brown on the buttplate of one of my rifles is wearing and leaving a very nice gray color. Maybe plumb brown your barrel and then steel wool most of it off?
 
If you want to duplicate rust and a spotted finish, just apply 44-40 cold bluing, leave some spots untouched, and apply in splotches. This stuff will rust within a few hours, if it is not neutralized. But you will have to keep a close eye on it, because it is a very aggressive cold blue. Once it rusts, you can card it back, and then neutralize it to stop the rust process. 44-40 cold blue will also turn brass as black as coal. Then you can steel wool it to the desired color and patina.
 
Finally completed, after several trial and error runs... I went the route of removing all bluing, and using Birchwood Casey's super bluing applied in 5 light coats by hand. Each coat was knocked back with scotch brite pad. Also allowed each coat to sit in my humid out building for 2 hours, which seemed to intensify the process and yield a better overall finish IMO. I Also felt the need to age the brass, did this with clear ammonia in a styrofoam box with a mason jar half full containing a 50/50 mix of boiling water and vinager. This process was completed over a two day period. Overall, very pleased with the results.

Rwnw1q9.jpg


PLE94Dk.jpg


4lDmL6b.jpg


1Tb0ddz.jpg


RxmeQvh.jpg


4nsctm1.jpg
 
WOW! Very nice finish. I might knock back a bit of the verdigris on the brass parts but you have a real winner there otherwise. Very nice pictures too. :hatsoff:
 
Thank you, it is somewhat prominent, yet I have a liking for it. Also the wife is all about the "pretty blue" so anything that gets her in the spirit to shoot, I'm all for it!
 
Back
Top