Amazing what works, huh. One video a guy believed it came out better if done in an iron box with sliding lid, when done, flip over and pull out lid from under so it all falls in at once.
When you say 4 charcoal to one bone gets what you want, what do different mixes give you for pattern or colors.
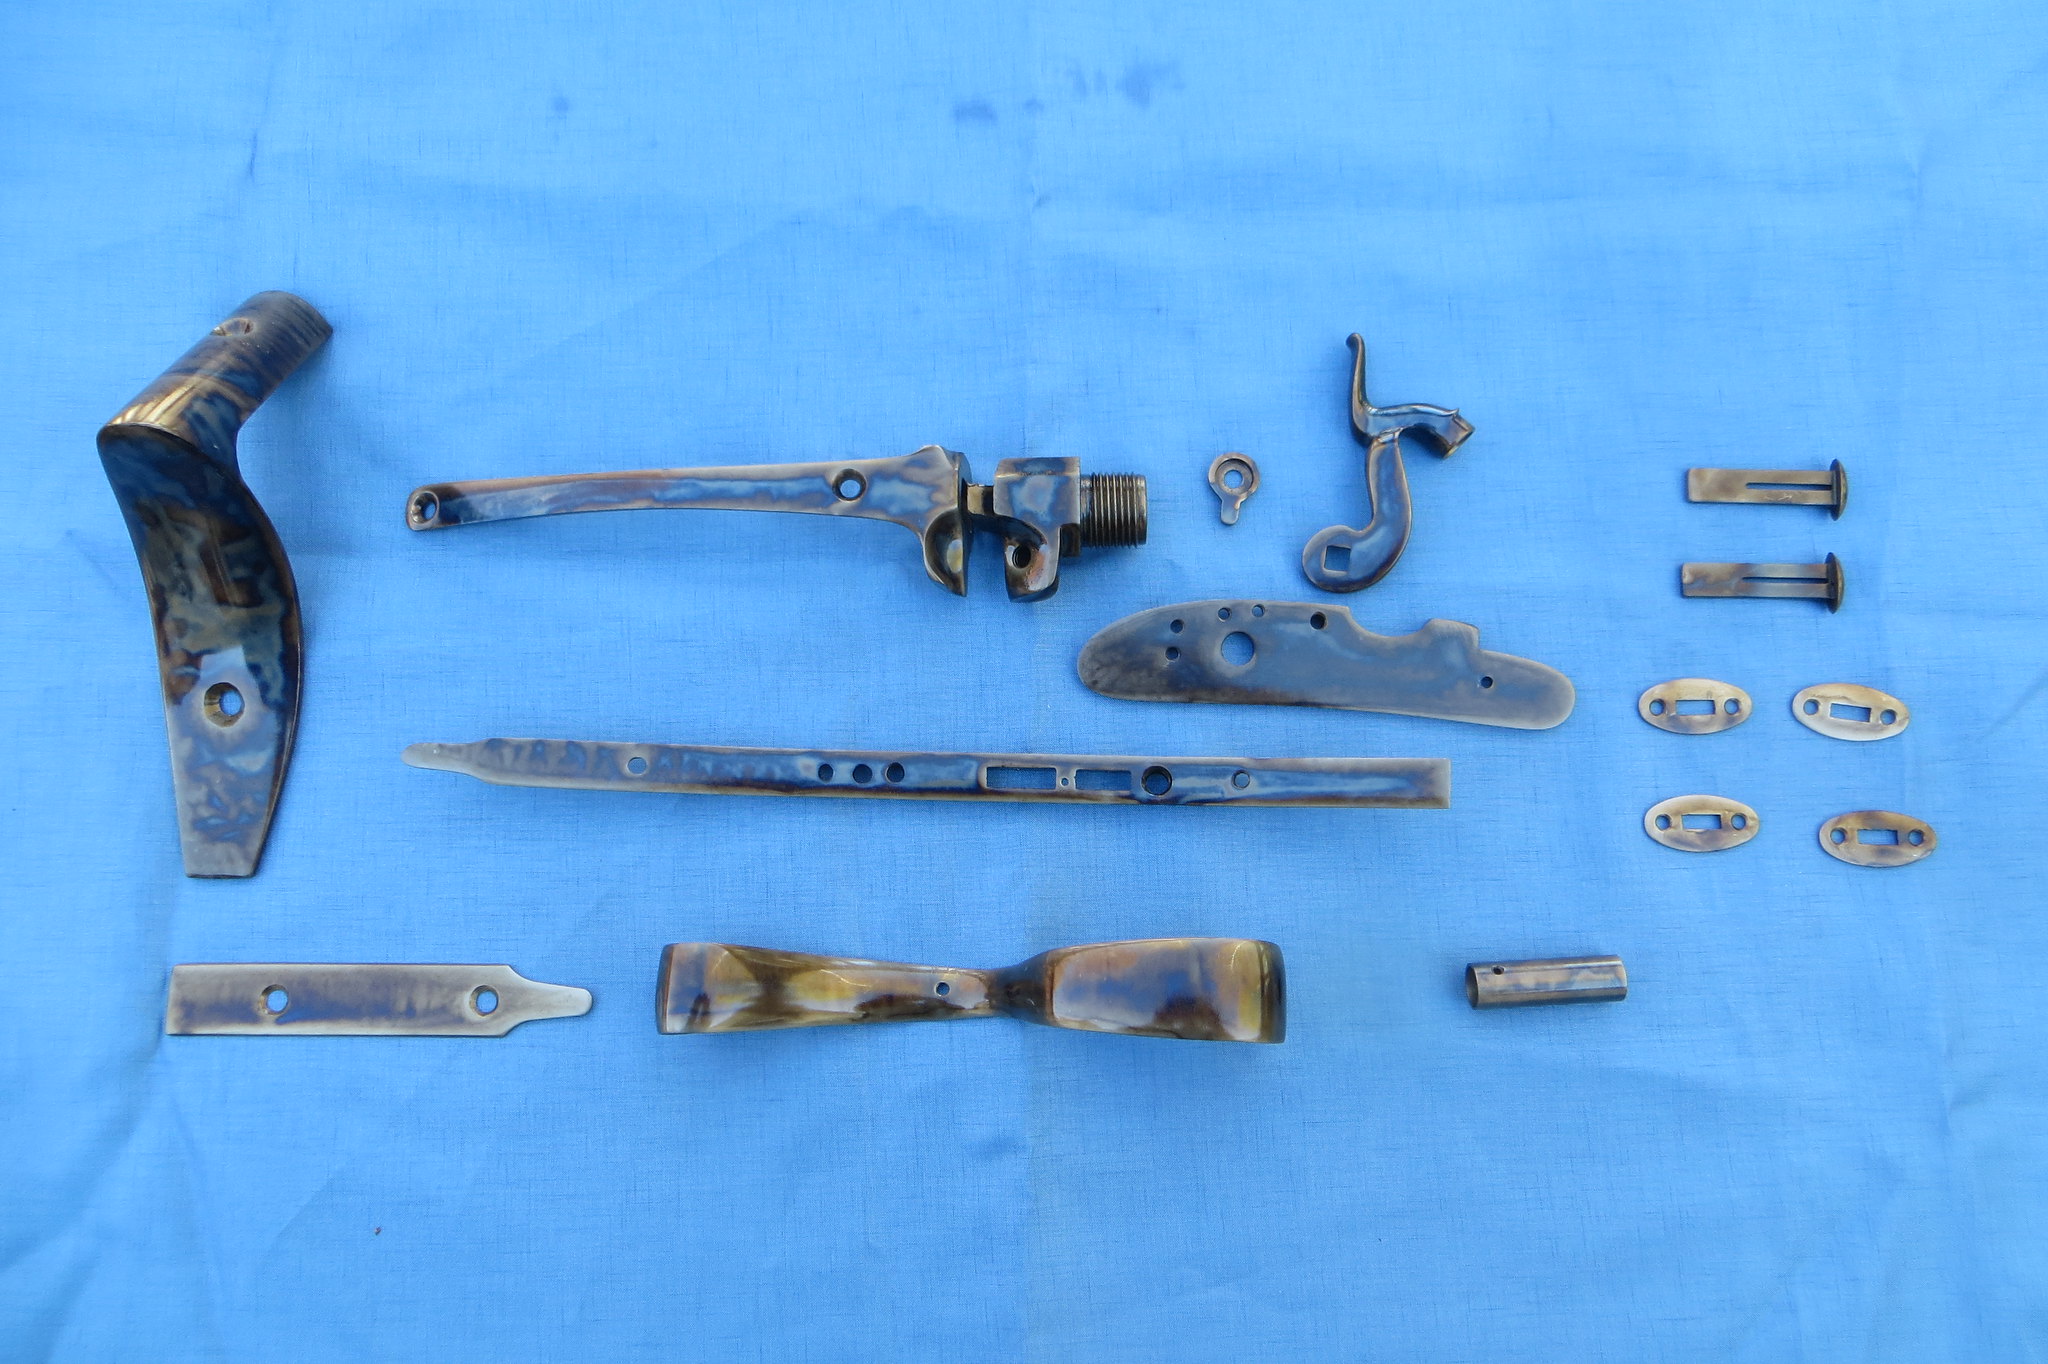
Click on my avitar and see this is what I was talking about. I love the pattern.
 MVI_0507 by Oliver Sudden, on Flickr


 IMG_1099
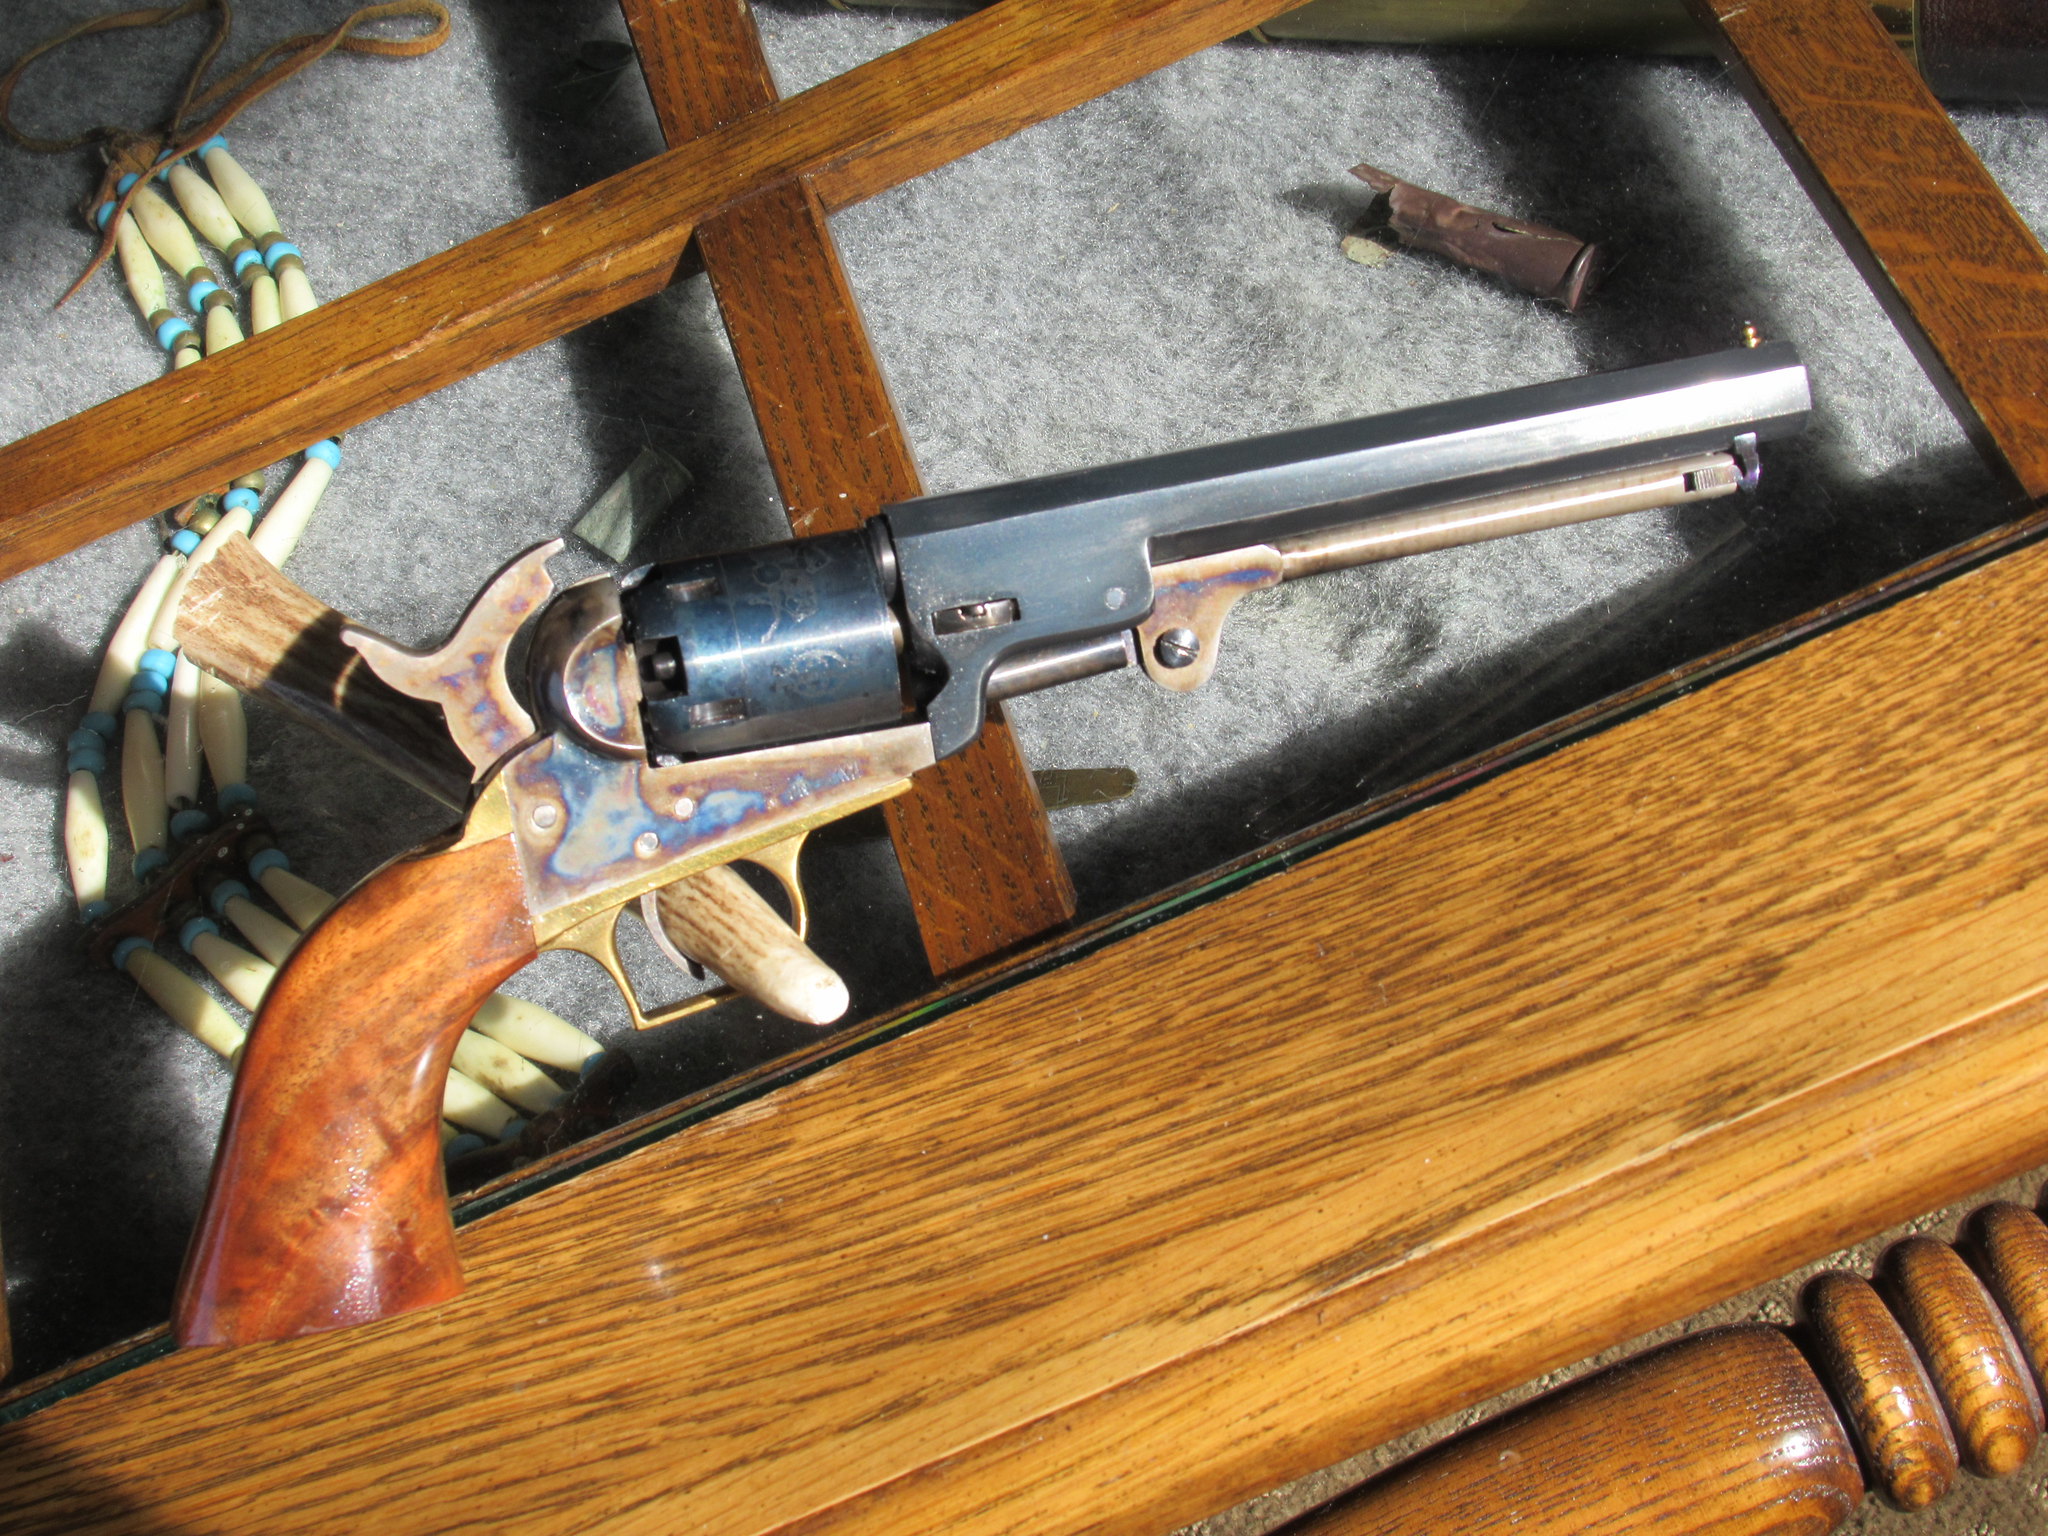 IMG_0400