- Joined
- Nov 26, 2005
- Messages
- 5,101
- Reaction score
- 10,357
Hi Brokennock,
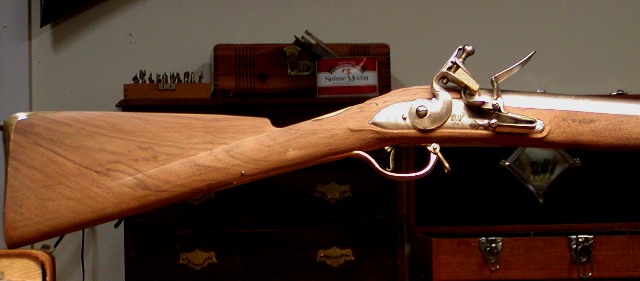
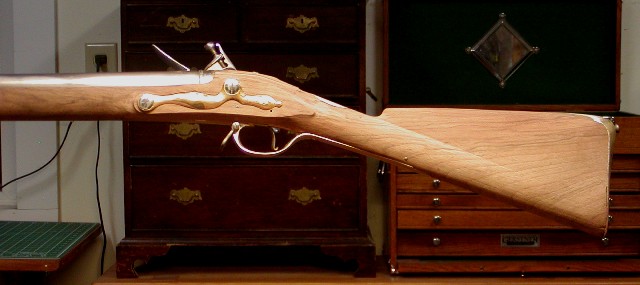
Those are good questions and I can address all of them. It is called the pattern 1760 because that is the year of the British ordnance warrant specifying the gun. They were produced during 1761-1762. Ignore dates on the locks because ordnance simply used locks already in storage. The carbine (it is 65 caliber) was developed because several high ranking officers who served in North America realized they needed lightly equipped light infantry to use as scouts and flankers during warfare in forested environs. The gun was ordered and developed too late to be used during the F&I war. In 1771, William Howe reconstituted the light companies and they were equipped with the carbine, which had been in storage. Pattern 1760s were issued to light companies before the Rev War and most if not all light infantry had them during the first years of the war. That is significant because the British companies that faced off Parker's militia at Lexington on April 19, 1775 were light infantry units from the 4th and 10th regiments. They were led by a Marine Lieutenant named Jesse Adair (the odd leadership situation was because Gage sent officers with combat experience to lead the troops to Concord. Most of his men and officers were green). Consequently, the first shots by the British at Lexington likely were from pattern 1760 carbines not Brown Bess muskets. The carbines were lightly built, more like fowlers than muskets, and weighed 7-8 lbs. That was their weakness, however. They could not stand long, hard service and were eventually replaced by pattern 1769 and 1777 short land muskets.
dave

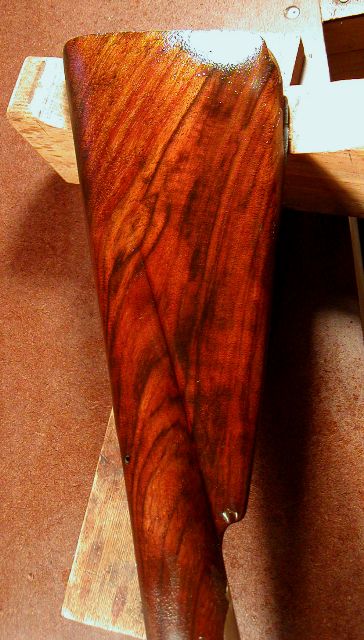
 Now if I can just remember to study it next time I work on a walnut stock...