


coehornboy
40 Cal.
- Joined
- Mar 24, 2005
- Messages
- 218
- Reaction score
- 1
I'm back..it's been a busy Fall, and I'm just starting back on this project.
Here's an image of the original:
And here are links to the previous posts, so that you don't have to go searching:
Part I: Link
Part II: Link
Part III: Link
Part IV: Link
These close-ups of the original show the firing mechanism assembled and disassembled. Notice the flat-spring button trigger.
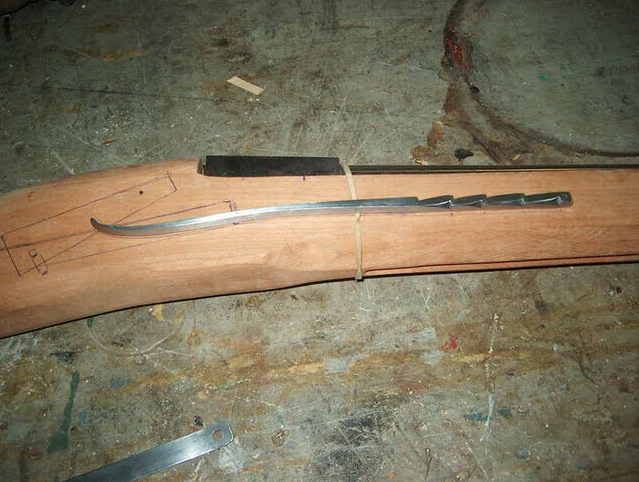
Here is the flat-spring button trigger laying on the stock where it will be inletted into the stock. The spring material was bent to shape, and the teat that protrudes through the brass lockplate was riveted into place, as was the button trigger.
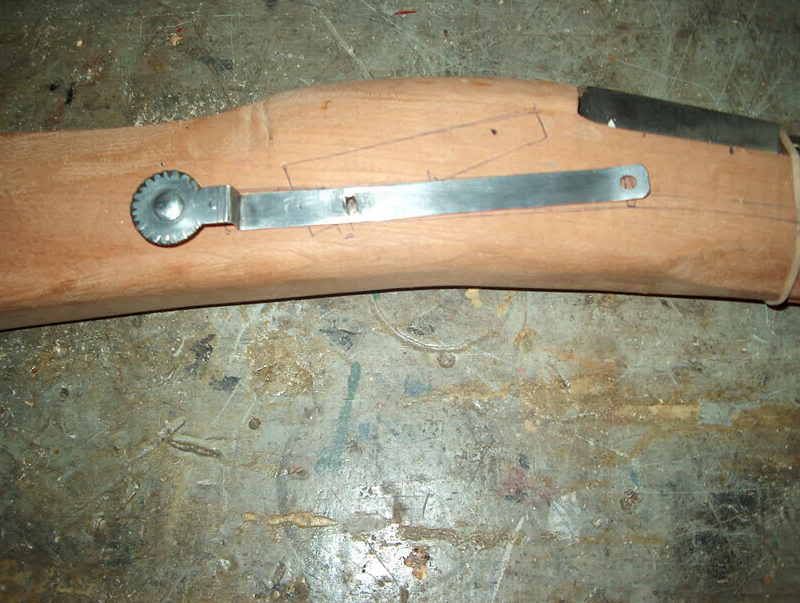
Here is the external spring where it will be on the finished piece:
And here's the stock marked for where the inleting needs to be done:
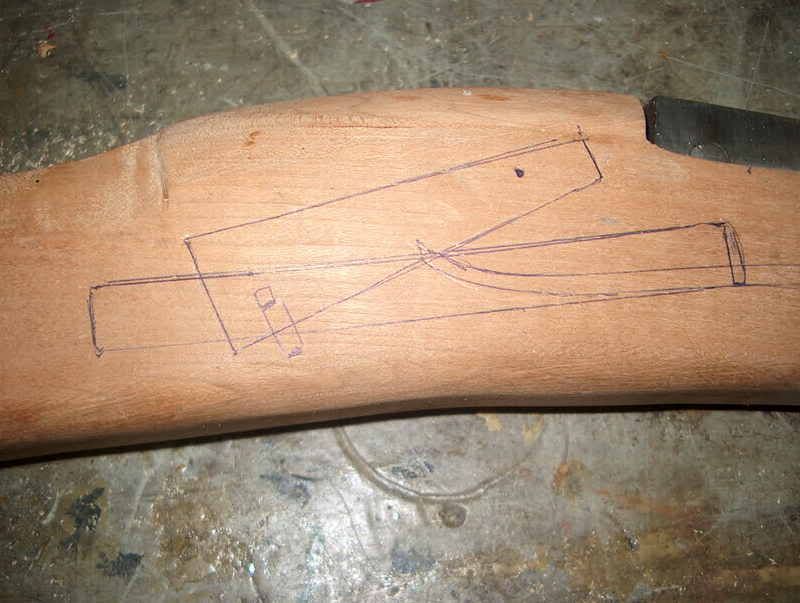
Next, I'll focus on the barrel (breech plug, tang, pan, under-barrel lugs, and setting the barrel in the stock). When the barrel is in place, I can then make the dog/ match holder, and then inlet for the firing mechanism.
Here's an image of the original:
And here are links to the previous posts, so that you don't have to go searching:
Part I: Link
Part II: Link
Part III: Link
Part IV: Link
These close-ups of the original show the firing mechanism assembled and disassembled. Notice the flat-spring button trigger.
Here is the flat-spring button trigger laying on the stock where it will be inletted into the stock. The spring material was bent to shape, and the teat that protrudes through the brass lockplate was riveted into place, as was the button trigger.
Here is the external spring where it will be on the finished piece:
And here's the stock marked for where the inleting needs to be done:
Next, I'll focus on the barrel (breech plug, tang, pan, under-barrel lugs, and setting the barrel in the stock). When the barrel is in place, I can then make the dog/ match holder, and then inlet for the firing mechanism.
")
