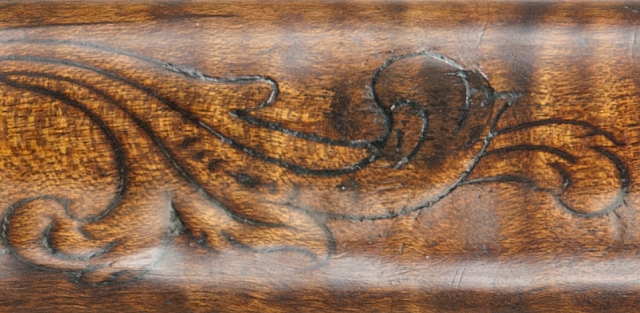
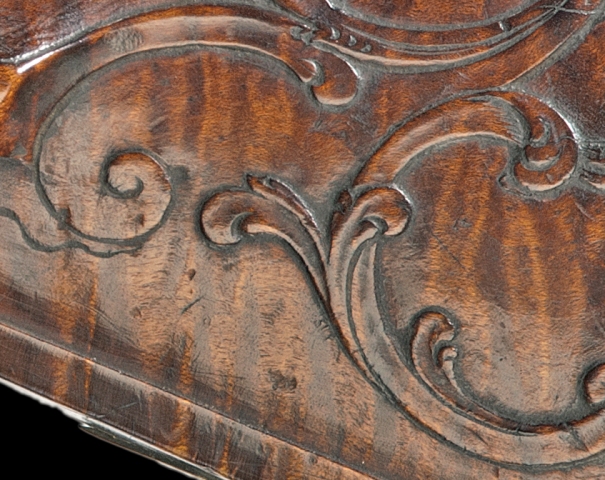
Wow, well done! I've done some carving before - not guns, I did a jewelry box. I found the actual carving to be easy to do exactly what I drew - as long as I didn't rush, stopped to strop, and braced for any slips. The design though, that was the hard part, drawing something that looked good, and looked good in relief proved to be very challenging.