Before I post this I'd like to add a disclaimer:
I am not a gunsmith. Before building/assembling my 2 'Frankenrifles' I had never attempted anything like this before. I have had no instruction on how to do this & if anyone sees anything I've done that would be considered unsafe, anything that could be done better or anything that I didn't do that I should; please, please chime in so that I & others will know better for next time!
Thanks
Okay, that out of the way, let's begin:
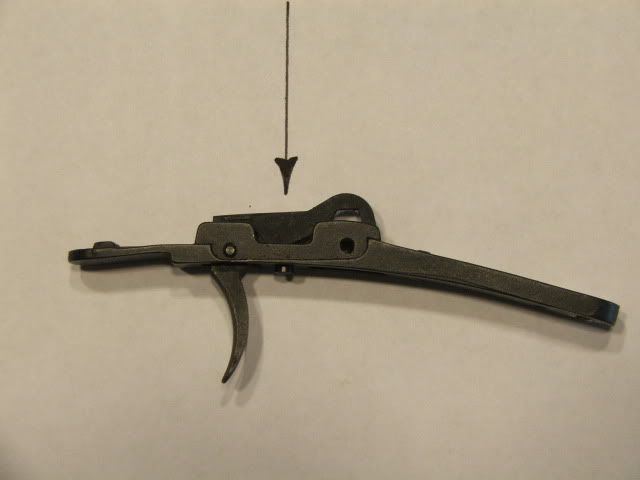
First, remove your lock & trigger.
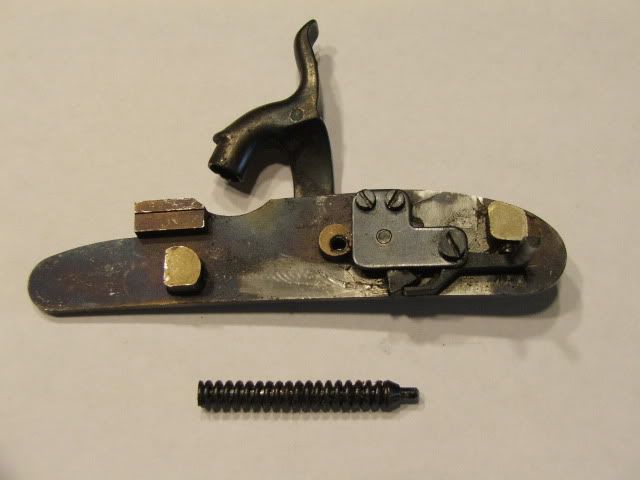
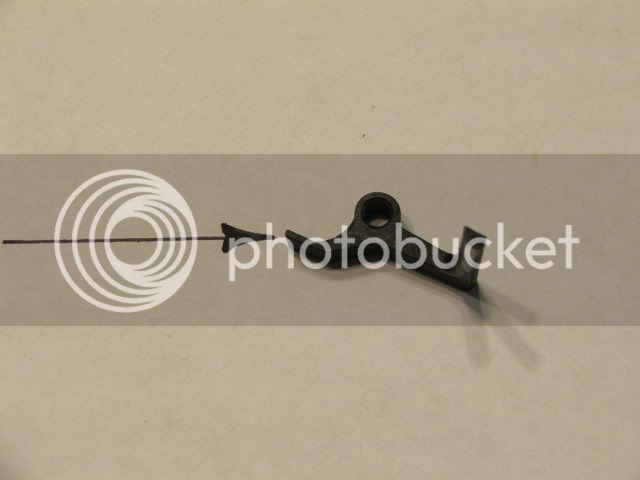
The trigger I'll show is a standard Lyman/Investarms double set unit, with the set trigger mechanism removed.
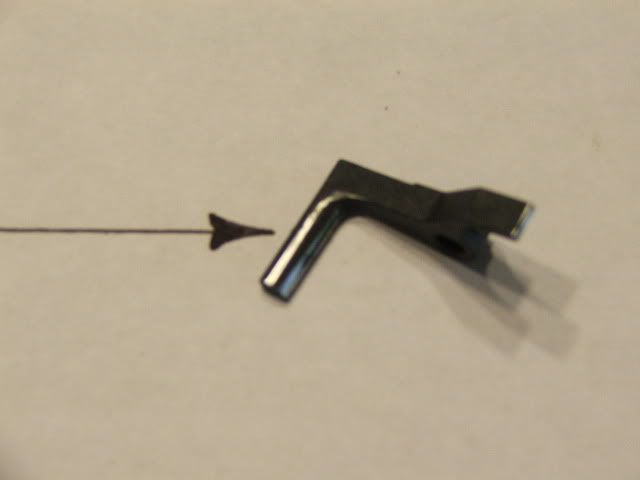
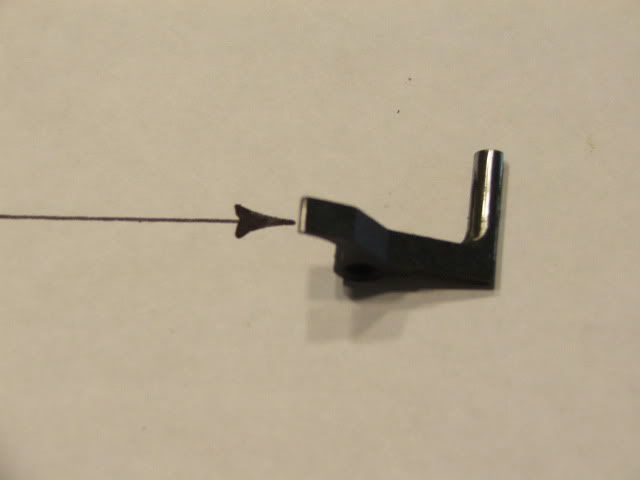
Smoothly polish the contact area of the trigger bar (I use very fine EDM stones, but 800 grit wet & dry paper works just as well)
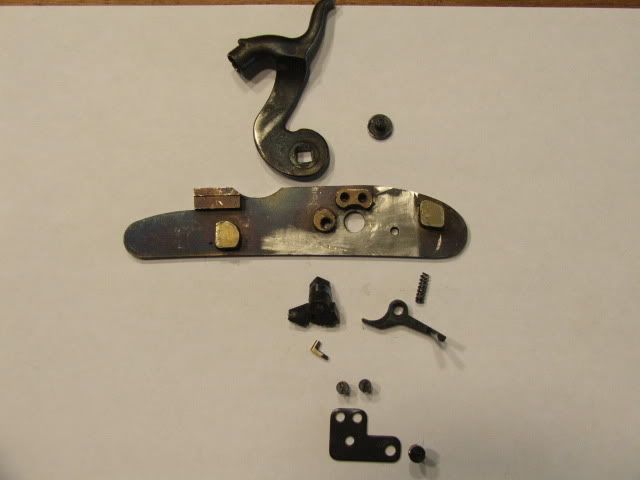
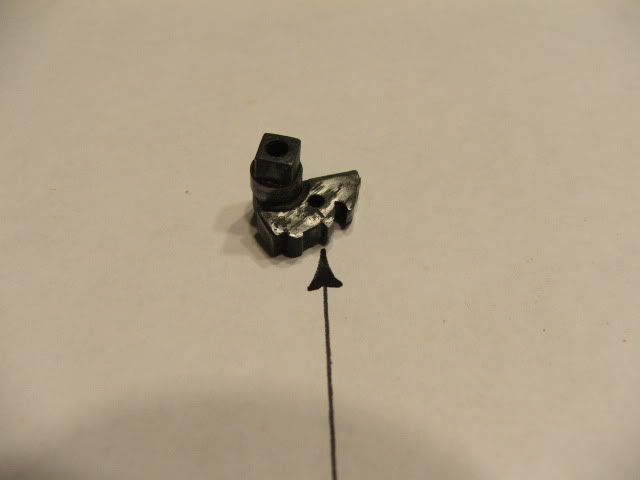
Strip the lock. You'll need to compress the mainspring to remove it & the guide from the tumbler. You'll also need to be carefull when you remove the lower of the 3 screws in the bridle. It holds the sear in place & the sear is under sprung tension.
Once fully disassembled, & all the screws, springs & fly have been put in something the cat can't get into (the bastard.....) you can start to polish the sear.
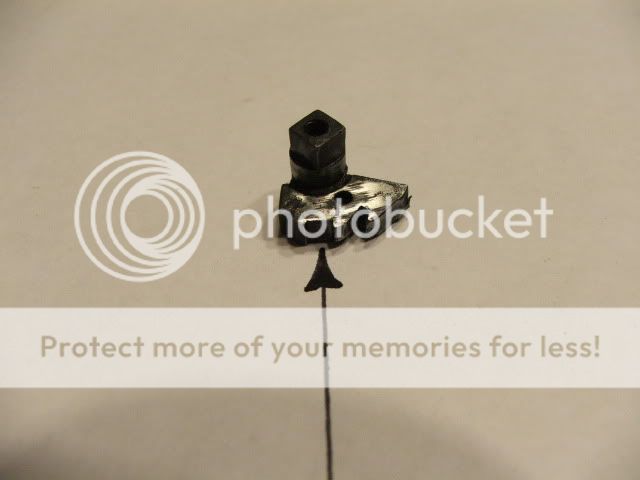
First, polish the trigger contact area (I don't know if this has a special name. If it does, polish that bit)
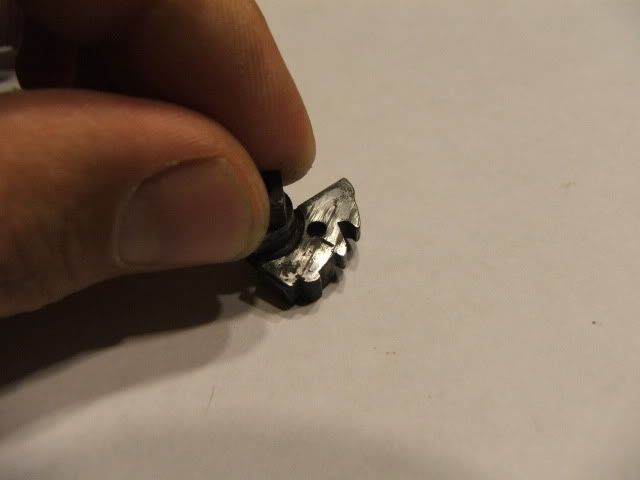
Next polish the tip of the sear. You can round off the edge lightly. Not enough that it won't catch in the full-cock-notch, just enough that it rides smoothly over the edge.
There are 4 specific areas of the tumbler that need looking at.
1)The flat contact surfaces that sit against the bridle & lockplate,
2)The full cock notch tip,
3)The full cock notch flat &
4)The pivot that protrudes the lock plate. Again, please forgive my terminology, I don't necessarily know what every little bit is called.
1)
2)
3)
4)
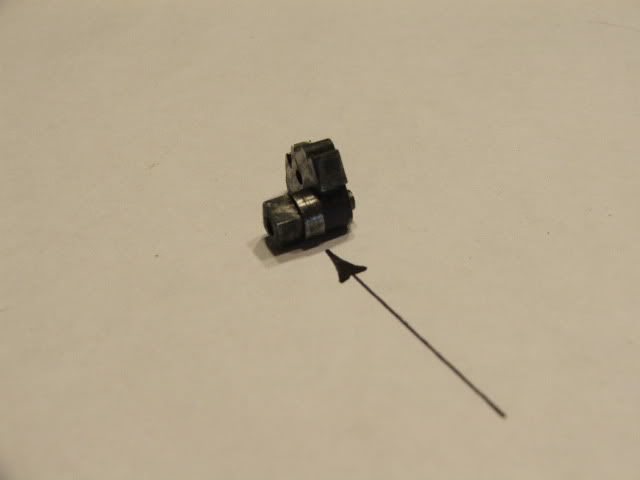
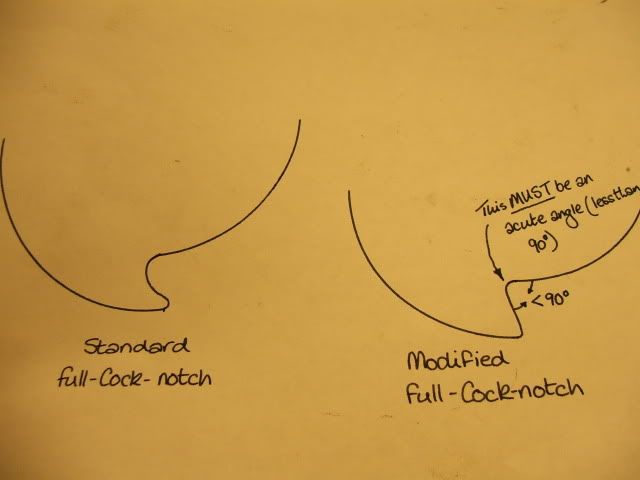
If you look at the full-cock-notch, you'll see that it is 'hooked' so that the tip of the sear sits firmly in place. The trouble is that when you pull the trigger to release the sear, you are actually trying to rotate the tumbler backwards so that the sear-tip can pass this hook. I removed just enough metal from the hook so that it was flat surface. I left it so that the angle of the notch is such that the sear can't slip over the edge, even with repeated 'test whacks on the table edge' but it doesn't have to move the tumbler to disengage.
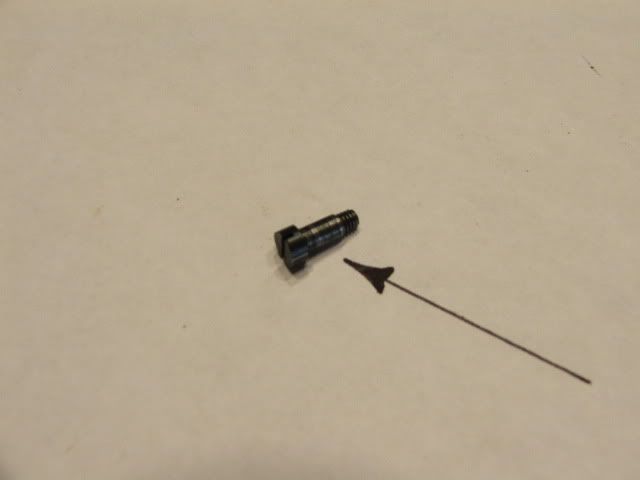
Also, it couldn't hurt to polish the pivot area of the screw that holds the sear.....
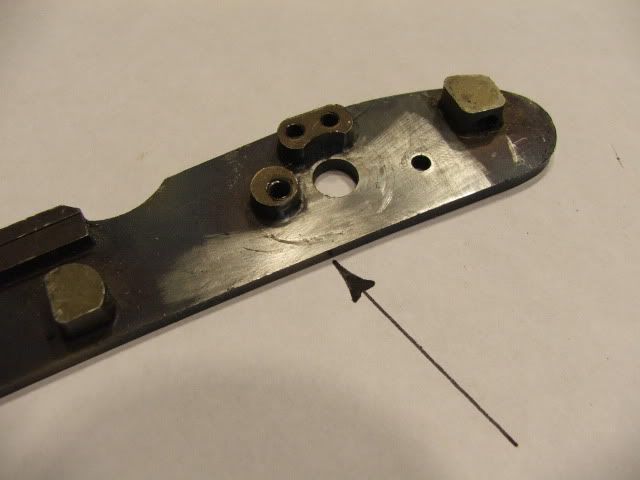
Finally, polish the back of the lockplate where everything sits, slides, turns & touches.
You can see some pretty nasty gouges in the back of mine that I didn't need to polish out after doing everything else....
I have also removed 1½ coils from my sear spring, but had I known then what I know now, I would've left this until I had done everything else & tested the lock. It was the first thing I tried, simply because I figured it would be the easy option.
By itself it dropped 1# off the trigger pull weight.
Judicious polishing & 'tuning' of the lock dropped 3# which would've given me exactly what I wanted. As it is, my trigger pull is now 2# & this being a hunting gun, I would've preferred a little heavier.
When I reassemble the lock, I use a tiny, tiny amount of lithium grease. Barely enough to be visible, but enough to prevent any metal-metal contact. Maybe I just got lucky, but by looking at what touched or rubbed against what & making those areas as smooth as I could be bothered (I KNOW I could've got it better & next time, I will) I've ended up with a lock & trigger that feel as smooth as anything I've ever felt. The trigger breaks like a glass rod, with zero creep.
Once again, please don't take this as a 'definitive guide to tuning locks' 'cos I'm pretty sure it's a dang long way from that! It's just a quick pictoral of what I did to MY lock & trigger to try & get them a little better than they left the factory.
Like I say, if the guys who actually know what they're doing are reading this & chuckling into their beards, could they please point out what I need to do to improve, so that folk like me who like to tinker don't make the same mistakes twice!
I am not a gunsmith. Before building/assembling my 2 'Frankenrifles' I had never attempted anything like this before. I have had no instruction on how to do this & if anyone sees anything I've done that would be considered unsafe, anything that could be done better or anything that I didn't do that I should; please, please chime in so that I & others will know better for next time!
Thanks
Okay, that out of the way, let's begin:
First, remove your lock & trigger.
The trigger I'll show is a standard Lyman/Investarms double set unit, with the set trigger mechanism removed.
Smoothly polish the contact area of the trigger bar (I use very fine EDM stones, but 800 grit wet & dry paper works just as well)
Strip the lock. You'll need to compress the mainspring to remove it & the guide from the tumbler. You'll also need to be carefull when you remove the lower of the 3 screws in the bridle. It holds the sear in place & the sear is under sprung tension.
Once fully disassembled, & all the screws, springs & fly have been put in something the cat can't get into (the bastard.....) you can start to polish the sear.
First, polish the trigger contact area (I don't know if this has a special name. If it does, polish that bit)
Next polish the tip of the sear. You can round off the edge lightly. Not enough that it won't catch in the full-cock-notch, just enough that it rides smoothly over the edge.
There are 4 specific areas of the tumbler that need looking at.
1)The flat contact surfaces that sit against the bridle & lockplate,
2)The full cock notch tip,
3)The full cock notch flat &
4)The pivot that protrudes the lock plate. Again, please forgive my terminology, I don't necessarily know what every little bit is called.
1)
2)
3)
4)
If you look at the full-cock-notch, you'll see that it is 'hooked' so that the tip of the sear sits firmly in place. The trouble is that when you pull the trigger to release the sear, you are actually trying to rotate the tumbler backwards so that the sear-tip can pass this hook. I removed just enough metal from the hook so that it was flat surface. I left it so that the angle of the notch is such that the sear can't slip over the edge, even with repeated 'test whacks on the table edge' but it doesn't have to move the tumbler to disengage.
Also, it couldn't hurt to polish the pivot area of the screw that holds the sear.....
Finally, polish the back of the lockplate where everything sits, slides, turns & touches.
You can see some pretty nasty gouges in the back of mine that I didn't need to polish out after doing everything else....
I have also removed 1½ coils from my sear spring, but had I known then what I know now, I would've left this until I had done everything else & tested the lock. It was the first thing I tried, simply because I figured it would be the easy option.
By itself it dropped 1# off the trigger pull weight.
Judicious polishing & 'tuning' of the lock dropped 3# which would've given me exactly what I wanted. As it is, my trigger pull is now 2# & this being a hunting gun, I would've preferred a little heavier.
When I reassemble the lock, I use a tiny, tiny amount of lithium grease. Barely enough to be visible, but enough to prevent any metal-metal contact. Maybe I just got lucky, but by looking at what touched or rubbed against what & making those areas as smooth as I could be bothered (I KNOW I could've got it better & next time, I will) I've ended up with a lock & trigger that feel as smooth as anything I've ever felt. The trigger breaks like a glass rod, with zero creep.
Once again, please don't take this as a 'definitive guide to tuning locks' 'cos I'm pretty sure it's a dang long way from that! It's just a quick pictoral of what I did to MY lock & trigger to try & get them a little better than they left the factory.
Like I say, if the guys who actually know what they're doing are reading this & chuckling into their beards, could they please point out what I need to do to improve, so that folk like me who like to tinker don't make the same mistakes twice!