- Joined
- May 6, 2014
- Messages
- 16,892
- Reaction score
- 15,309
Dave,
Sorry, my FIOS went bust for a while. Lost my internet, cable and phone all at the same time. They did get it fixed fairly quickly though.
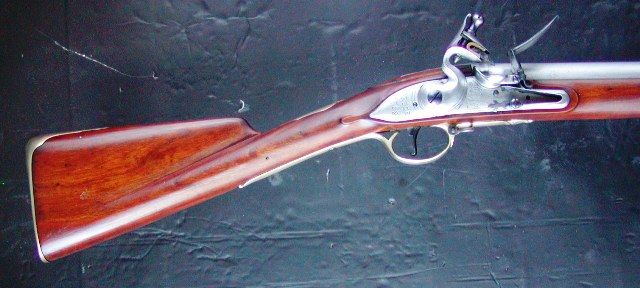
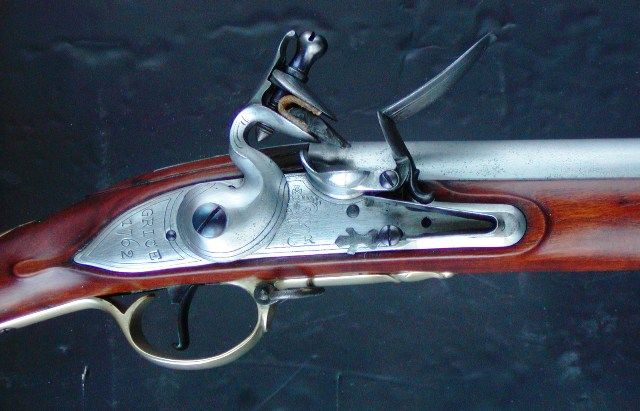
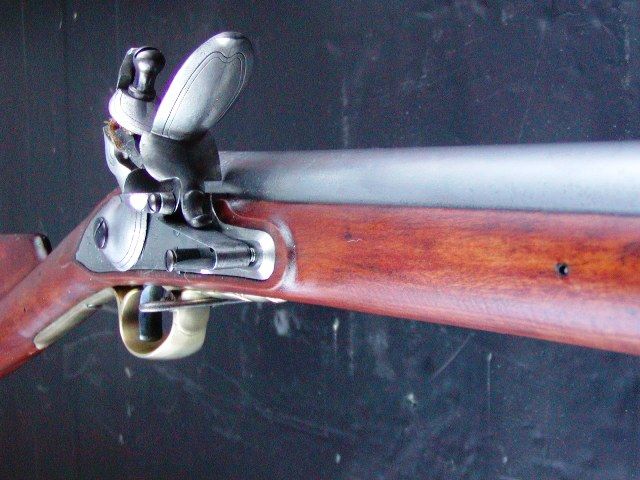
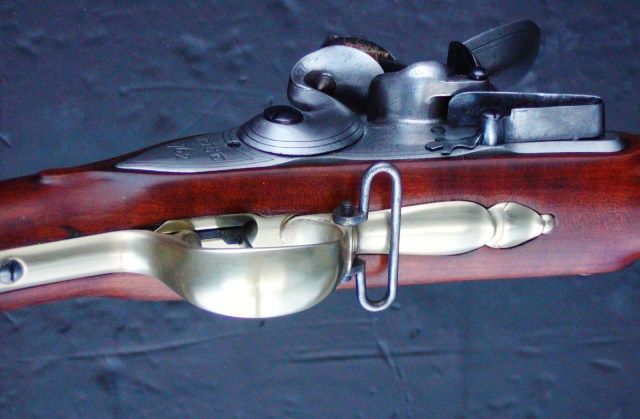
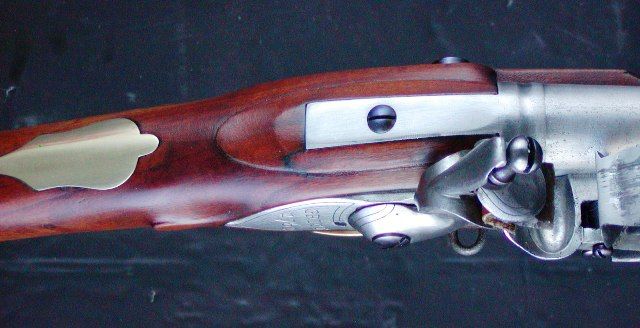
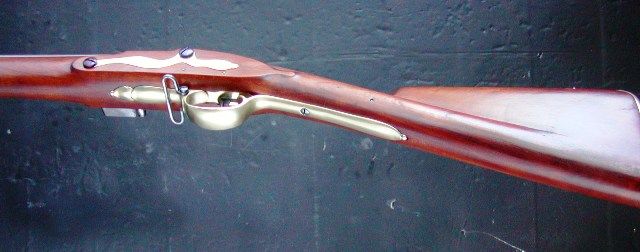
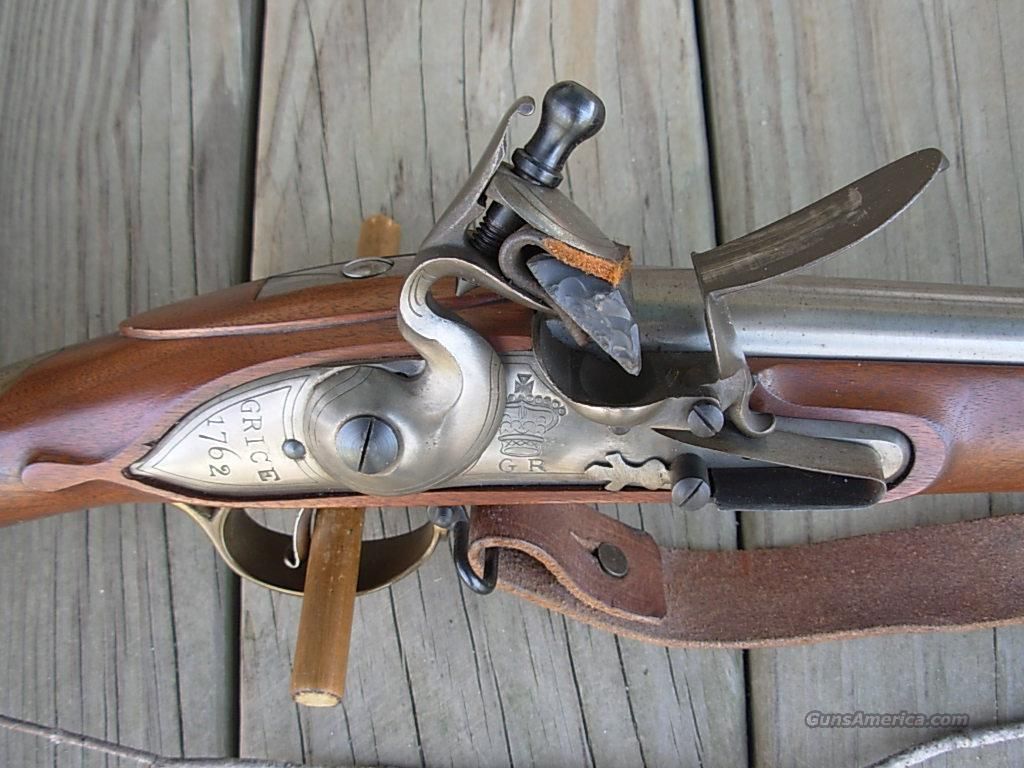
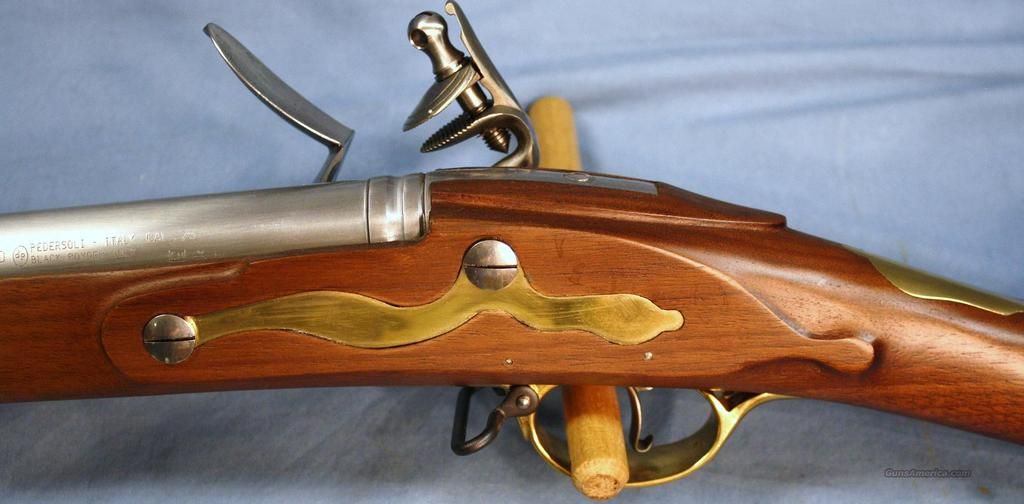
If I may add one VERY UNCOMMON problem I have run across on Brown Bess’s, it is the really rare times the bottom of the Trigger is too long and actually hits or drags on the inside of the bow of the trigger guard. I have only run across this twice out of working a few dozen Bess’s, but the first time I ran across it, it almost drove me NUTS trying to figure out why the Sear Nose kept catching on the Half Cock.
I did all the “normal” and even some extraordinary things to ensure the Sear would not hit the Half Cock, but it still did it about 2 out of 5 times and as you know, ONCE is too much. I studied that Bess for over an hour trying to figure out what caused it and finally noticed a very small and slight rub on the trigger guard bow under the trigger. You could only BARELY feel the trigger rub there when pulling the trigger and most folks would not notice it, unless they were especially looking for it. OK, so I shortened the trigger just a bit and rounded the bottom a little more, so it cleared the trigger guard bow. That completely cured the problem of the Sear hitting the Half Cock along with everything else I had done. (The first time I found it, it was on a Miroku Bess which are known for the bent trigger guards, but I also found it one time on a Pedersoli.)
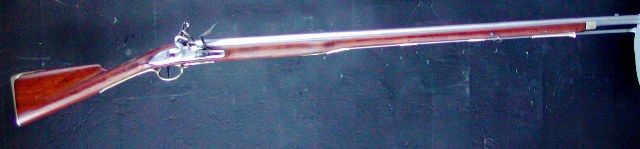
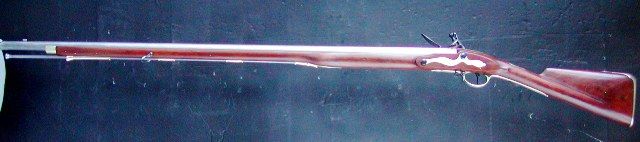
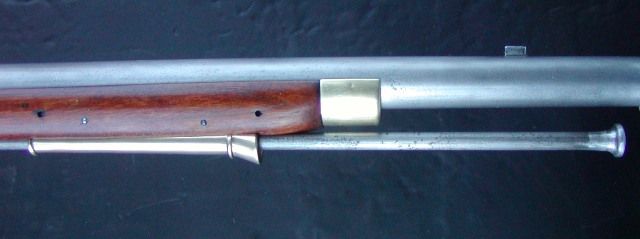
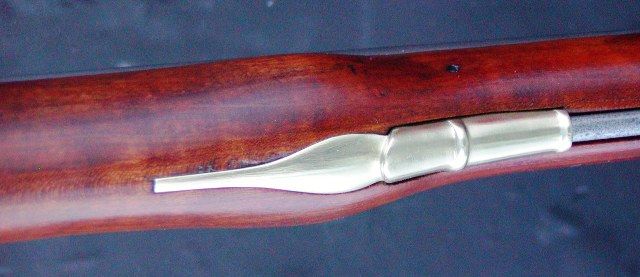
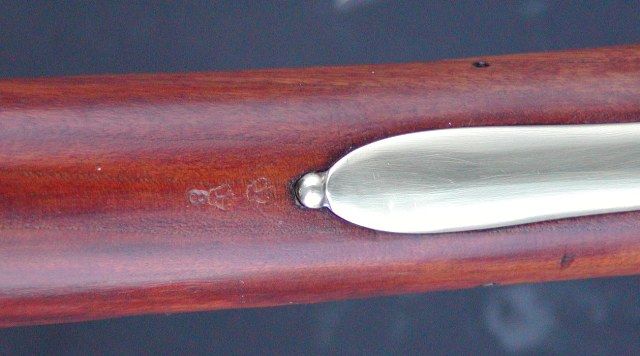
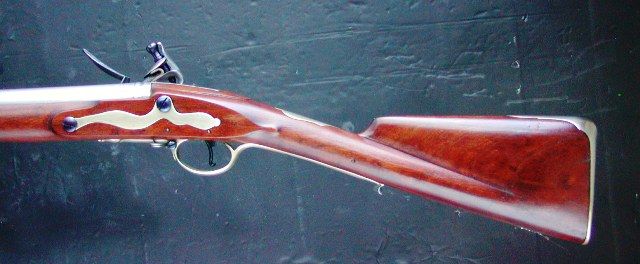
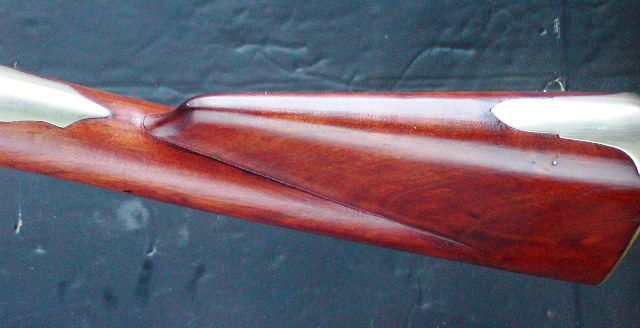
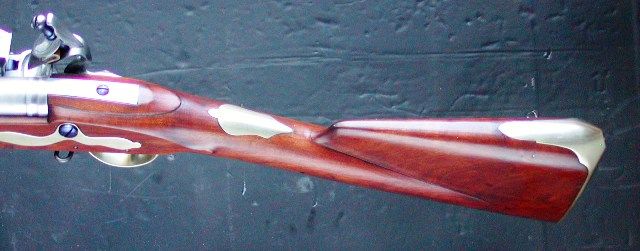
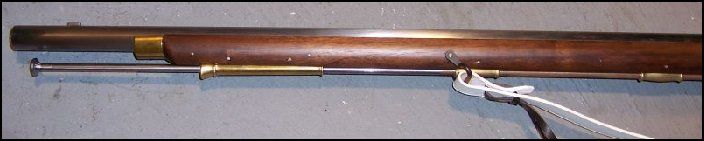
I have to say the Bess looks absolutely lovely after your modifications. The way you tapered the bottom of the “Hand Rail” of the stock would not have been noticeable had you not mentioned it, but it really does make the butt stock look much better.
I cannot thank you enough for this thread and all the pictures and explanations you offered. It is exceptionally gracious of you to have done it and is appreciated more than you might imagine.
Gus
Sorry, my FIOS went bust for a while. Lost my internet, cable and phone all at the same time. They did get it fixed fairly quickly though.
If I may add one VERY UNCOMMON problem I have run across on Brown Bess’s, it is the really rare times the bottom of the Trigger is too long and actually hits or drags on the inside of the bow of the trigger guard. I have only run across this twice out of working a few dozen Bess’s, but the first time I ran across it, it almost drove me NUTS trying to figure out why the Sear Nose kept catching on the Half Cock.
I did all the “normal” and even some extraordinary things to ensure the Sear would not hit the Half Cock, but it still did it about 2 out of 5 times and as you know, ONCE is too much. I studied that Bess for over an hour trying to figure out what caused it and finally noticed a very small and slight rub on the trigger guard bow under the trigger. You could only BARELY feel the trigger rub there when pulling the trigger and most folks would not notice it, unless they were especially looking for it. OK, so I shortened the trigger just a bit and rounded the bottom a little more, so it cleared the trigger guard bow. That completely cured the problem of the Sear hitting the Half Cock along with everything else I had done. (The first time I found it, it was on a Miroku Bess which are known for the bent trigger guards, but I also found it one time on a Pedersoli.)
I have to say the Bess looks absolutely lovely after your modifications. The way you tapered the bottom of the “Hand Rail” of the stock would not have been noticeable had you not mentioned it, but it really does make the butt stock look much better.
I cannot thank you enough for this thread and all the pictures and explanations you offered. It is exceptionally gracious of you to have done it and is appreciated more than you might imagine.
Gus