old ugly
40 Cal.
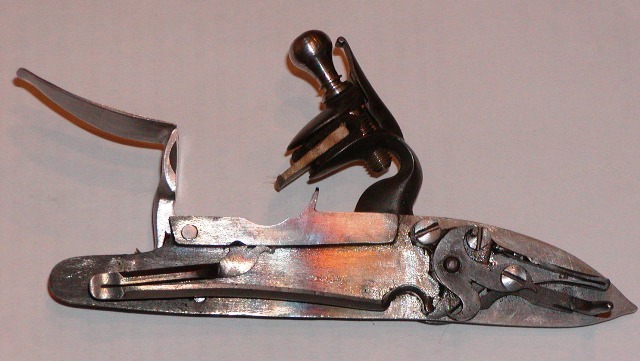
this is the lock that came with my gun kit, I could not get it to work and spark properly. I sent it back to the manufacturer who told me the frizzen was cracked and said he replaced the frizzen and tested it and it works perfect, he said just remember to put the flint in upside down.
I tried lots of different sizes of flints installed at as many ways as I could and it still no spark and smashed flints.
I finally gave up on it and bought an L&R and fit it into the rifle. which worked perfect.
But I am back looking at this lock again and want to make it work. the frizzen spring is quite stiff but I think maybe the frizzen has been installed incorrectly. if you have any ideas on how I can make it work please let me know.
thanks
ou tom
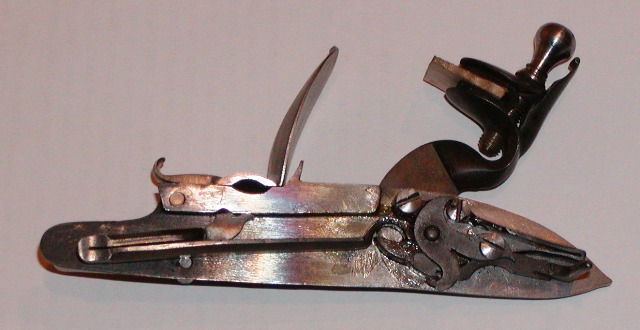