-
This community needs YOUR help today. We rely 100% on Supporting Memberships to fund our efforts. With the ever increasing fees of everything, we need help. We need more Supporting Members, today. Please invest back into this community. I will ship a few decals too in addition to all the account perks you get.

Sign up here: https://www.muzzleloadingforum.com/account/upgrades -
Friends, our 2nd Amendment rights are always under attack and the NRA has been a constant for decades in helping fight that fight.
We have partnered with the NRA to offer you a discount on membership and Muzzleloading Forum gets a small percentage too of each membership, so you are supporting both the NRA and us.
Use this link to sign up please; https://membership.nra.org/recruiters/join/XR045103
You are using an out of date browser. It may not display this or other websites correctly.
You should upgrade or use an alternative browser.
You should upgrade or use an alternative browser.
Powder Horn Build-Along
- Thread starter Jasseji
- Start date

Help Support Muzzleloading Forum:
This site may earn a commission from merchant affiliate
links, including eBay, Amazon, and others.
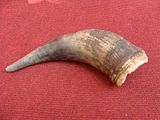
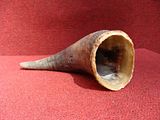
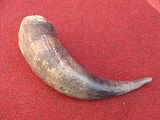
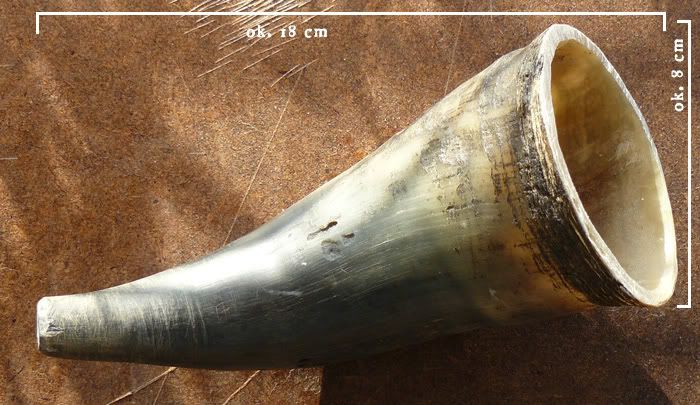
Lenghts in centimetres.
The Horn needs to be grinded on both sides to create an even surface:
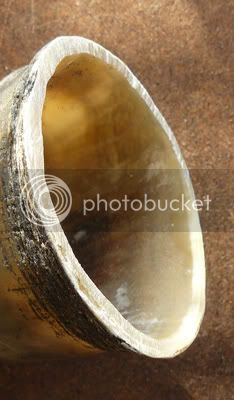
Next we drill an opening for pouring the powder.
It is best to use a fixed drill - the horn is easy to break during the drilling process.
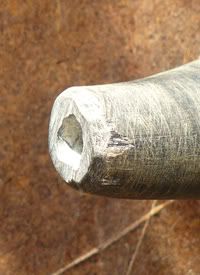
After we have a hole it is recommended to sand off any rough edges to avoid damage to the horn while using it
The Horn needs to be grinded on both sides to create an even surface:


Next we drill an opening for pouring the powder.
It is best to use a fixed drill - the horn is easy to break during the drilling process.

After we have a hole it is recommended to sand off any rough edges to avoid damage to the horn while using it
- Joined
- Jul 7, 2007
- Messages
- 2,657
- Reaction score
- 10
Thanks for sharing the photo's with us....looks real good!
:thumbsup:
:thumbsup:
DanChamberlain
45 Cal.
- Joined
- Jan 11, 2007
- Messages
- 612
- Reaction score
- 9
Your English is just fine. Nice photos as well.
Dan
Dan
Capt. Fred
50 Cal.
- Joined
- Nov 18, 2008
- Messages
- 1,192
- Reaction score
- 0
Yup, your English is great. Way better than our Polish I expect, so thanks.
Thanks for the build along too!
Thanks for the build along too!
And here it comes:
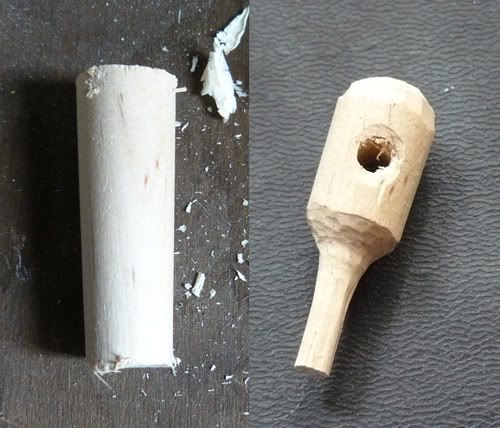
Making the rear plug:
We take a bit of wood (i used Pine but it's hard to work on it), in this case the size was 4,3x 6,8 cm
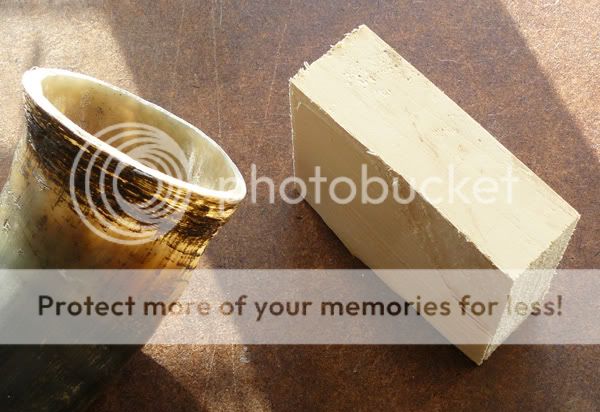
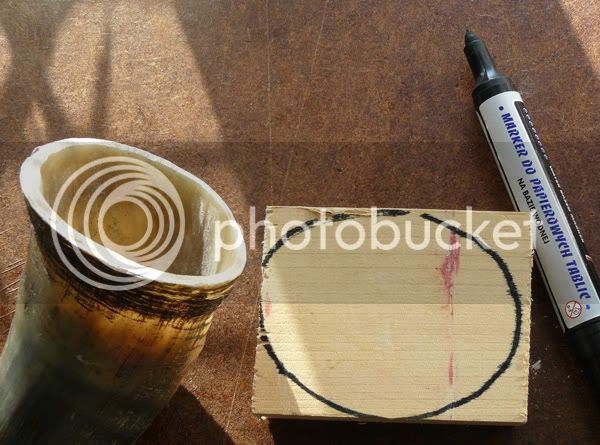
First we need to mark the work area and then remove the excess wood with a saw:
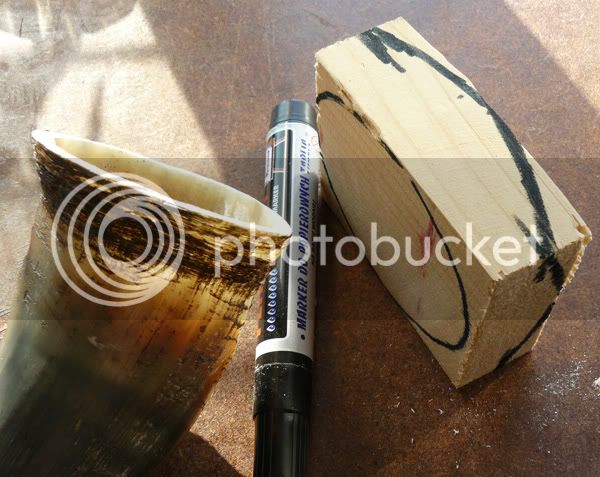
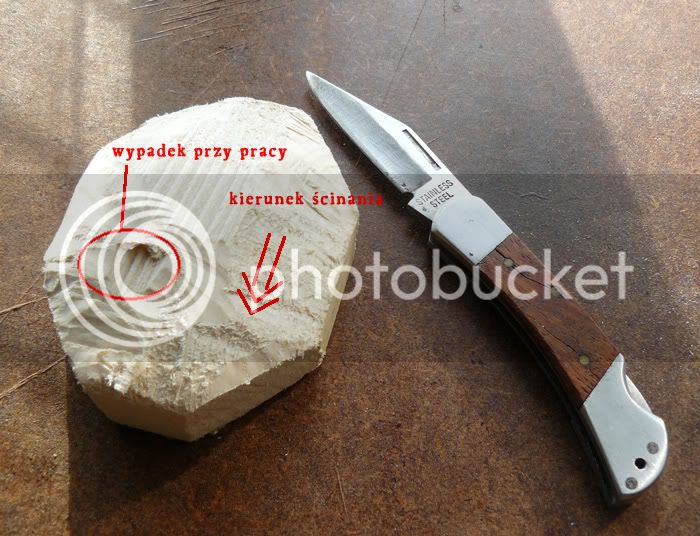
Afterwards we start the knife work, making sure to cut along the wood's lines (area marked with an oval was an accedident while trying to make it faster so take it slow):
Making the rear plug:
We take a bit of wood (i used Pine but it's hard to work on it), in this case the size was 4,3x 6,8 cm

First we need to mark the work area and then remove the excess wood with a saw:


Afterwards we start the knife work, making sure to cut along the wood's lines (area marked with an oval was an accedident while trying to make it faster so take it slow):

After having the Rear plug finished (it takes a bit of knife work then sanding with different grade sandpaper), cut the edges so it will fit inside the horn (a bit trial and error required here) - sorry for the image quality here - camera died back then and a mobile phone was used to take pics:
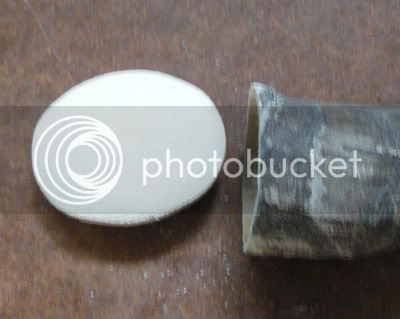
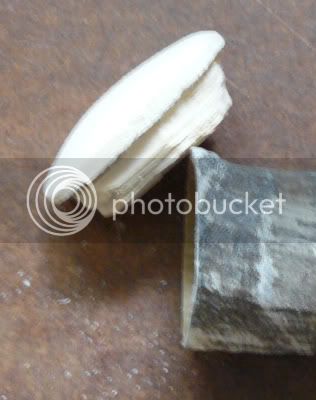
This is how it looks fitted:
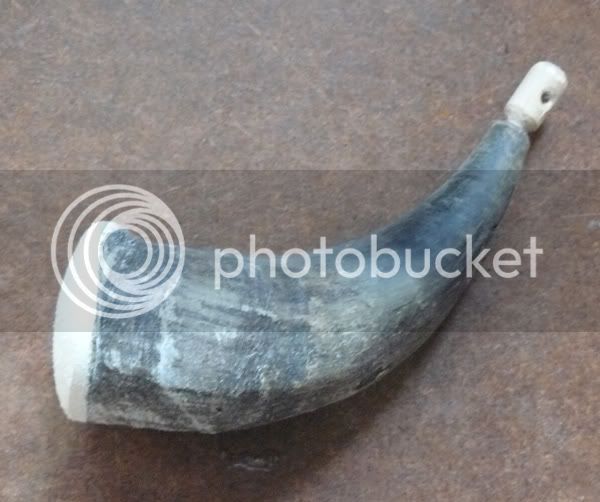
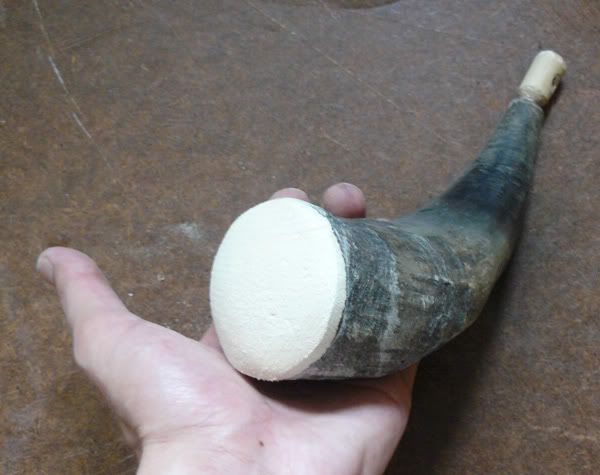


This is how it looks fitted:


Ater a few days, the idea came how to fit the hanger on the whole thing and how to stick the rear permanently into the horn:
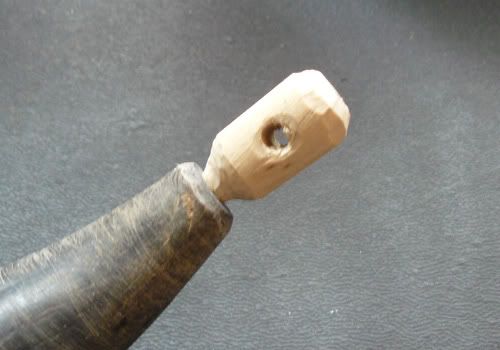
The concept was to make a second plug to have a means of fastening the horn on a leather strip:
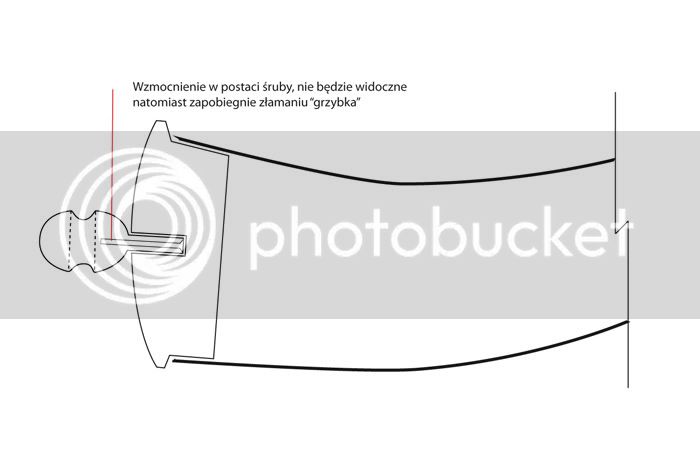
The rear "nipple" is drilled in the center and a bit of steel is added inside (like a piece of drill bit or a screw) to avoid the thingie being broken off.
You can then drill a hole in the rear plug for it and screw it in or just use glue - either works:
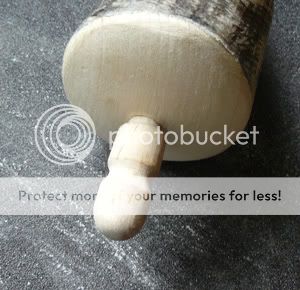
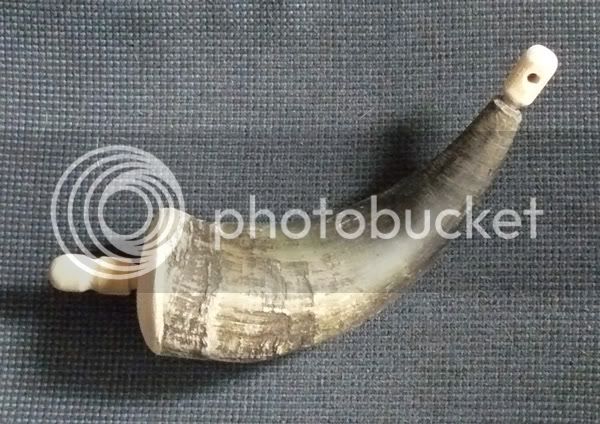
The concept was to make a second plug to have a means of fastening the horn on a leather strip:

The rear "nipple" is drilled in the center and a bit of steel is added inside (like a piece of drill bit or a screw) to avoid the thingie being broken off.
You can then drill a hole in the rear plug for it and screw it in or just use glue - either works:


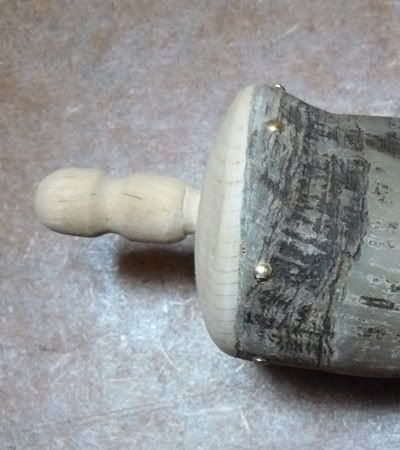
The last step would be to permanently seat the rear plug in the horn.
I used glue plus some copper nails (hammer them in gently - best to drill small holes in the horn first to avoid cracking it while inserting the nails):
The finished stuff as from the first post:
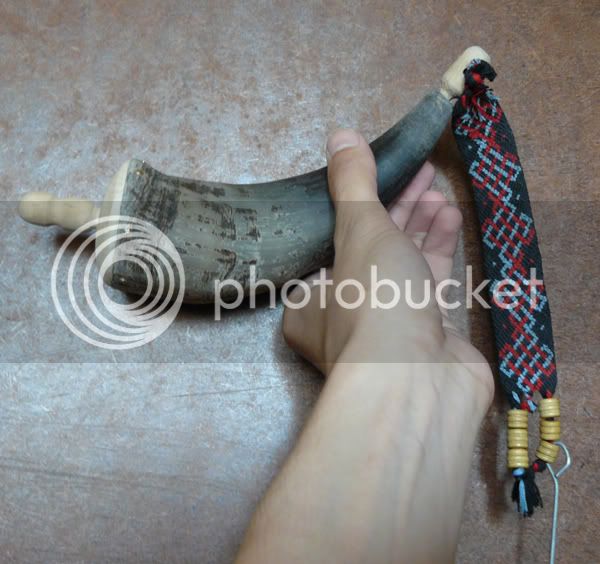
Fit for Battle:

Total work time: 6h (did 30mins in the evenings when i had time and the will to do it)
Total cost: 20$ including horn and sandpaper - the wood i just took from my father's "bits left which we'll some day use" shed
I used glue plus some copper nails (hammer them in gently - best to drill small holes in the horn first to avoid cracking it while inserting the nails):

The finished stuff as from the first post:

Fit for Battle:

Total work time: 6h (did 30mins in the evenings when i had time and the will to do it)
Total cost: 20$ including horn and sandpaper - the wood i just took from my father's "bits left which we'll some day use" shed
Horn ok. But I would have to scrape it smooth. When you get ready to mark the base plug, first press the horn on a foam dinner plate, cut out circle and fit in horn, then use the piece of foam circle to mark your wood base. Saves a lot of work. :thumbsup: Dilly
Dilly: The foam dinner plate is a stroke of genius! Thanks for the tip! :bow:
Jasseji: While most horns I have seen are indeed scraped smoother, I think yours has wonderful character. Boy, it looks like a good, plain, useful tool. Nice job.
that was actually the point - this horn is used for a shooter persona for 17th Century re-enactment - not for a regiment nor some rich guy who could afford fancy stuff.
It was supposed to look like something functional and nice which could have been made by hand in the era and look as much historically accurate as possible.
It was supposed to look like something functional and nice which could have been made by hand in the era and look as much historically accurate as possible.
:thumbsup: Good point!........most of us horn makers are guilty of just that. We (or at least I'm guilty )try to make this very fancy horn that only some rich merchant, or military officer of high rank could have owned. When in fact I suspect that the little common guy had a very plain (but funcional) horn.Jasseji said:that was actually the point - this horn is used for a shooter persona for 17th Century re-enactment - not for a regiment nor some rich guy who could afford fancy stuff.
I have in my pocession several (4) old original horns and they are all quite roughly made, but served the purpose very well.
Just my :2 ..........
Soggy
- Joined
- Jul 7, 2007
- Messages
- 2,657
- Reaction score
- 10
Jesseji,
Your Tutorial is very refreshing and probably is the best basic instruction for making a common homespun powder horn todate! We American's are always in a hurry to do something fast and easy!
The people of the earlier Centuries on both sides of the big pond didn't worry about a high-speed world as we do today and all the technology associated with it, good or bad.
Thanks for sharing with us,
Rick
Similar threads
- Locked
- Replies
- 6
- Views
- 549
- Replies
- 2
- Views
- 474
- Replies
- 17
- Views
- 828


