• This community needs YOUR help today. We rely 100% on Supporting Memberships to fund our efforts. With the ever increasing fees of everything, we need help. We need more Supporting Members, today. Please invest back into this community. I will ship a few decals too in addition to all the account perks you get.


    Sign up here: https://www.muzzleloadingforum.com/account/upgrades
  • Friends, our 2nd Amendment rights are always under attack and the NRA has been a constant for decades in helping fight that fight.

    We have partnered with the NRA to offer you a discount on membership and Muzzleloading Forum gets a small percentage too of each membership, so you are supporting both the NRA and us.

    Use this link to sign up please; https://membership.nra.org/recruiters/join/XR045103

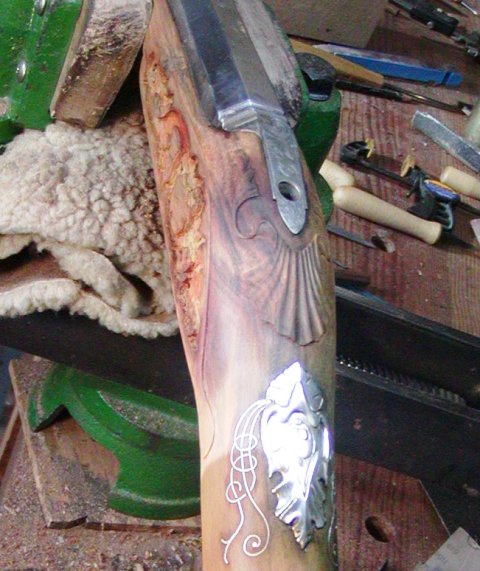
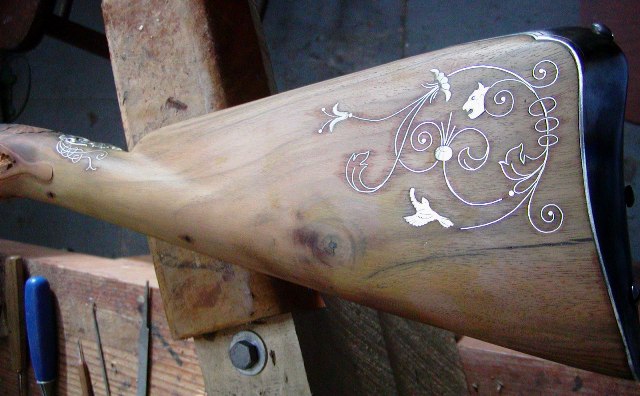
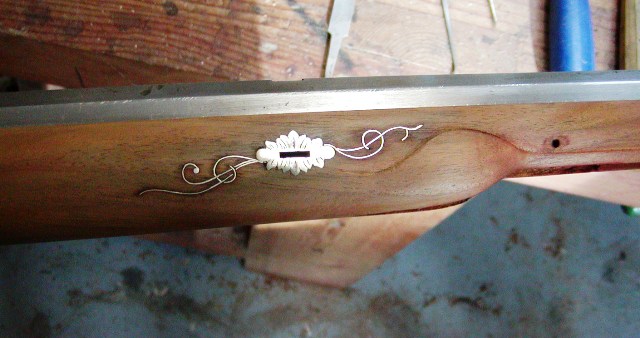
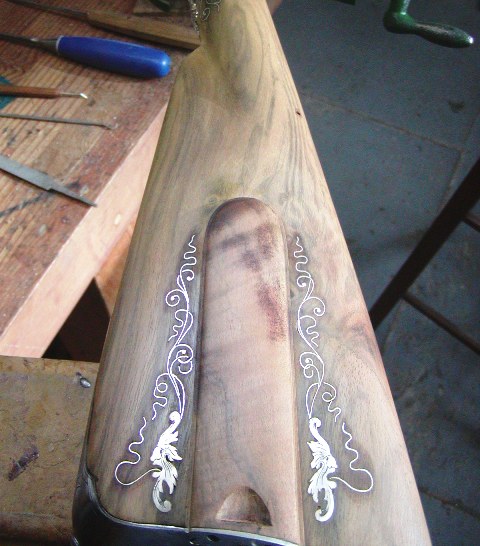
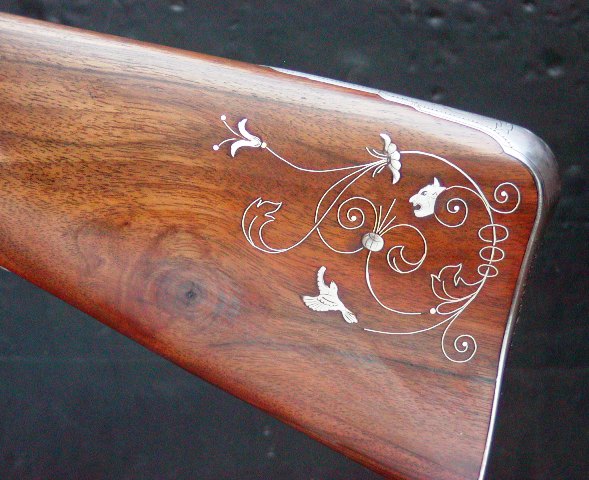
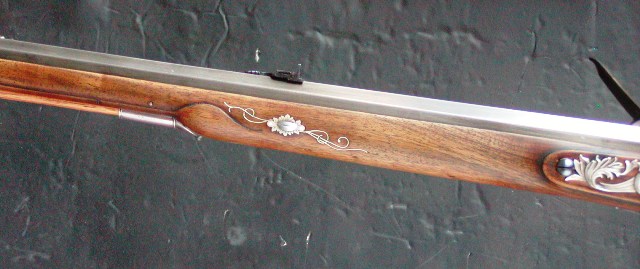
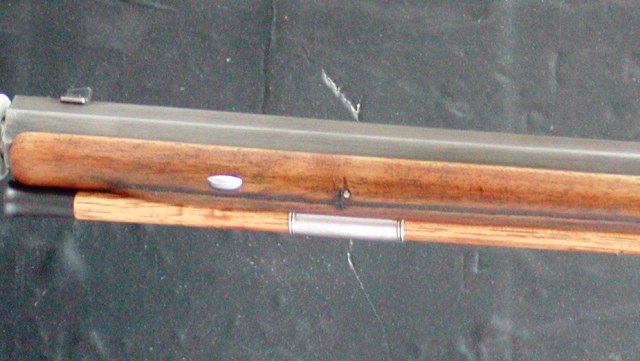
Making a fine mid-18th century English rifle

Muzzleloading Forum

Help Support Muzzleloading Forum:

This site may earn a commission from merchant affiliate links, including eBay, Amazon, and others.
Hi,
The history is really fun. Gun making was a major industry in Britain. In Birmingham, during the late 18th century the population was around 70,000 and perhaps 8,000-10,000 of those worked at trades related to gun making. There still is a section of the city called "The Gun Quarter" where many of the little shops and businesses were clustered. Further, there were no big factories containing all those trades in one place and under one roof. The "factories" were collections of little shops spread out in the city and neighboring towns. Think of women and errand boys carrying baskets of gun parts down city alleys from shop to shop and you have a sense of how the trade was run.

dave
 
Hi Gary,
No, it is not a special gift. It is just a great desire to understand how these things were done and an attitude that I can do anything if I put my mind to it and do the work. Kind of a very "conservative" mindset don't you think. With a combination of reading, examining original work, and practice, I've figured out many of these details that were once the secrets of lowly tradesmen. I don't think it requires any more talent than perseverance and understanding through study. So if I have any talent it is I love the process of learning and study, and I never balk at the work. I had some good mentors during my early years but all of this stuff I am describing here, I learned on my own because I just jumped in and did it. No classes, no internet videos, no CDs, and no website forums.

dave
That is exactly right. Anyone reading this here is capable of doing the same type of work. The secret is nothing more than paying attention to what you are doing and take your time. Let it take as long as it is going to take. If that means you spend three months inletting a lock into scrap wood over and over before you get it just right, then do it. Dave is not doing anything that is actually hard. He is doing stuff that requires lots of time and patience. After you have done it a number times it begins to go faster. And all the little tricks are things that anyone can figure out on their own if you were to just sit down and think about it.
The most important thing to realize is that the people that are doing the best work are the people that build guns because they love to do it. The goal is not the finished rifle. It is to enjoy the time that you spend working on it.
 
Hi Bill,
I could not have said it better. I, and I am sure you are the same, love the process of making guns and learning how to do the work at any level we desire. The sky is the limit without being restricted by skill or knowledge because we have no doubts we can learn the necessary skills and acquire the necessary knowledge. That leads to real freedom of expression. But it takes work to really learn that process and you have to love the work. For me every gun is an historical adventure and I pick my adventures carefully. That is why I don't just build any guns and am not fond of building plain guns unless there is some really compelling historical context, like Brown Besses, where I have to dig into those historical details in a big way. To cut away wood with a scary sharp chisel, shaving it away with little force and seeing the chisel leave a polished sheen on the wood, seeing a perfect curl of metal form at the front of your graver as you cut, putting on the first coat of finish and seeing that you got the color just right, and then realizing incredibly skilled craftsmen did this kind of stuff routinely 200 years ago brings me feelings of pure unadulterated joy.

dave
 
I am immensely enjoying looking at your incredible handicraft skills, and I'm building this whole post into a file record to remind me just what a klutz I am.
 
Hi,
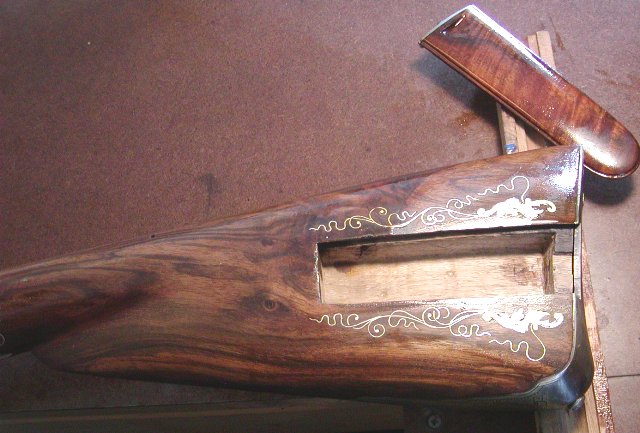
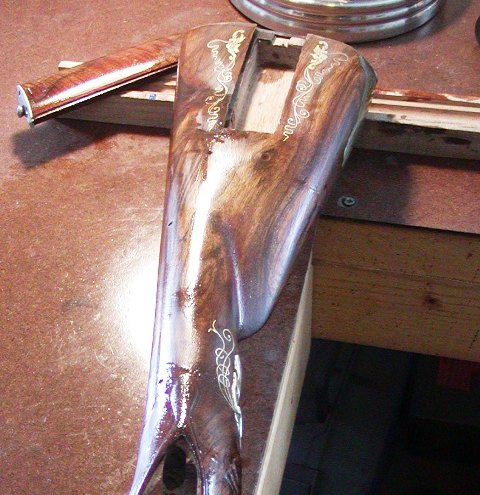
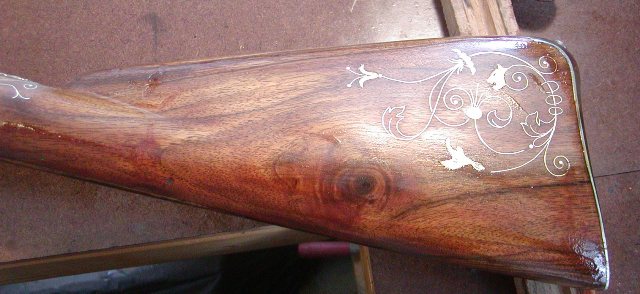
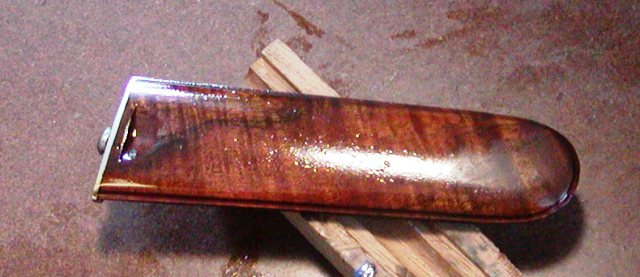
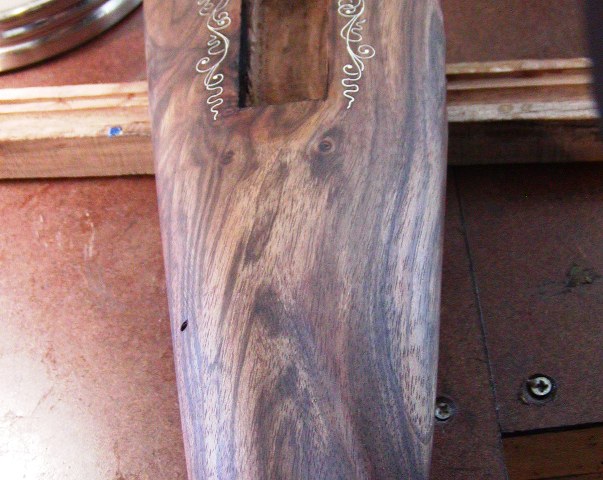
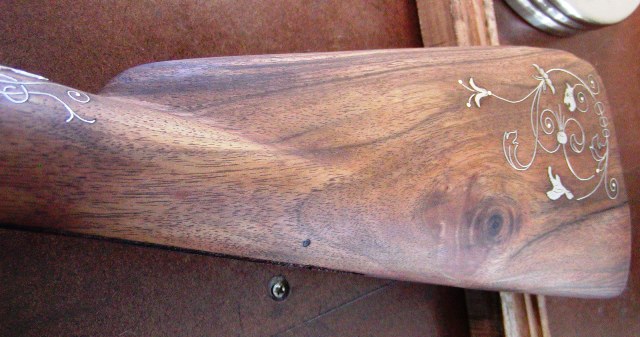
Stained the stock today. This stock was a challenge. I bought it from Dave Rase in Washington and he had machine inlet the barrel and ramrod groove and hole for a 44" octagon to round barrel, which came with the stock. Probably Dave Rase and Jim Kibler do the very best jobs of inletting barrels as you could ever find. Dave told me the stock had some issues like some beetle holes and knots and of course he sold me the stock at a low price. So I bought it expecting issues I could fix. The attraction was it had really dramatic black streaks that are referred to as "marble cake" in English walnut. After a year in my shop the stock developed the worst warp and twist I ever experienced. Most of the problem was near the muzzle and I ultimately decided to use the stock for a short barreled rifle, not a long fowler. Consequently, I cut away most of the twisted fore stock. Because the octagon swamped barrel was bigger than the machine inlet, changing the stock over to a rifle was no problem. The beetle holes were mostly cut away and the few remaining were filled with AcraGlas and invisible. The knots were still issues that require finesses and AcraGlas to fill and stabilize. Finally, a crack in the butt stock developed but that was filled and stabilized with epoxy. Because of the knots and figure, it the stock had some incredibly hard spots that defied anything but the sharpest chisels and brute force. Regardless, it all worked out. When I stained the stock with alkanet root, it was apparent it needed more. Despite the marble cake, it had a cold grey-brown undertone that you sometimes find in English walnut. It needed warmth. So using scrap wood to test, I devised a stain combining alkanet root, Laurel Mtn Forge walnut stain, and oil soluble yellow aniline dye. That did the trick. My lighting right now does not show the color well but when I put on my finish, you will see marble cake and streaks of red, orange, and brown.
BSsKeTU.jpg

dwJ0Kk7.jpg

0OXgFTn.jpg

ZX8TKsx.jpg


dave
 
When you decide to use alkanet root and other seemingly oddball dyes, like yellow aniline, do you just know what the effects will be from previous experience in experimentation, or were a lot of these dyes used historically? I know you mentioned the alkanet was historically used but that's the first I've seen yellow aniline mentioned
 
Hi,
Always one of my favorite days when making a gun, the first coat of finish. Truth revealed. On this gun, I applied the first coat of Sutherland Welles polymerized tung oil low sheen with 320 grit sandpaper. I dip the paper in the oil and sand the stock creating a thin slurry of sawdust and finish. I used 320 grit rather than 220 because I wanted to go a little easier on the wire inlay. I will let the finish and sawdust dry to a crust and then sand it off with 320 again. That fills the grain on walnut giving a glassy smooth finish in the end.
Svwqkdi.jpg

Po8gEND.jpg

8BQSp95.jpg

skGysKb.jpg

You can see the nice warm colors emerging and the marble cake on the patch box side. The photos were taken just after applying the finish, which is still wet.

Just as an historical note, it is my observation that 18th century makers did not obsess about wood finishes on gun stocks. I think we take much more time with it in the modern era and of course we have much better wood finishes to choose. I am not sure if the method I use to fill walnut was common in the 18th century. I do know it was used extensively on better guns during the 19th century.

dave
 
When you decide to use alkanet root and other seemingly oddball dyes, like yellow aniline, do you just know what the effects will be from previous experience in experimentation, or were a lot of these dyes used historically? I know you mentioned the alkanet was historically used but that's the first I've seen yellow aniline mentioned
Hi HU,
That is a very good question and thanks for asking that. Aniline dye is a 20th century product but so is polymerized tung oil and Laurel Mtn Forge walnut stain. I use them to create stock colors that look authentic but I don't seek to recreate the old finishes, just appearance. HU it is sometimes hard to know what the original guns looked like after 200 years of aging and darkening of the finish. However, on my originals and restorations. I've uncovered what may be authentic original appearances and use that knowledge to color my creations. As I wrote in the post above, 18th century gun makers seemed not to be obsessed with their finishes but they still sought to enhance the beauty of good wood. Furthermore, they did not waste any wood, even if it needed patches, gluing, or filling. For example, I have a very fine fowler by Joseph Heylin made in 1767. When I removed the solid silver butt plate it was clear the wood was stump crotch walnut with big voids. Those natural voids were filled with lead. My current rifle using less than perfect wood is exactly consistent with the way those old London gun makers worked. They wasted nothing particularly because at that time, much of their "English" walnut was imported from Italy.

I have a lot of experience staining wood and I believe that I am good at it. Because I build mostly from rough blanks, I usually have scrap wood upon which to test staining regimes and finishes, which I always do. My success comes from examining originals and experimenting with scrap wood ultimately congealing into experience.

dave
 
I’ve been absent in following your process and as usual am struck by the amazing work unfolding in your hands. Many things to see and learn. My first take-away was the brilliant idea of grinding a small pilot hole in the inlay to avoid using a punch. That, Dave, is so simple but genius. It’s just one more trick I have learned from you.
Needless to say this is a wonderful tutorial into the birth of a masterpiece. Don’t forget to include it in your book!
Gratefully,
Bob
 
Dave, you also have the ability to write well to explain what you are doing. Often people who are highly skilled at something as you are do not have the ability to explain what they do and how they do it. I appreciate your gift to us in sharing what you do.

You should consider combining what you share here in books so it is not lost to future generations.
 
Hi Bob and thanks,
I am thinking about it, one that focuses on making British flintlock guns. Something that fills in gaps in other resources like "Gunsmith of Grenville County" or "Recreating the American Longrifle". I have to figure out how to go about it though.

dave
Dave I hope you do write this book. I would definitely buy it. I am fortunate enough to have a really good teacher in my town but you're tutorials are excellent and have helped me many times. My mother is an artist and teacher and has published several books through publishers but now she self publishes using Amazon. Maybe you could handle all of the publishing aspects yourself using Amazon or a similar service.
 
Hi,
Thanks for looking and the kind comments. They inspire me to keep going. Just a short note today. I want to show the effectiveness of the way I fill the grain on walnut. I learned the trick from Taylor Sapergia, one of the best muzzle loader makers in North America but I later discovered it was used by gun makers in the 19th century. Anyway, I hope the photos show that after one coat of finish applied with sandpaper to create a slurry of sawdust and finish, letting dry and then sanding off the crust, and then a regular coat of finish, which is applied with a brush and then rubbed off completely after 15 minutes, the grain is filled. The surface is glass smooth. Now just a few more coats will give me the satin sheen I want.
UXlibwJ.jpg

ogDuOqb.jpg


This works well for any walnut including black walnut and will save you an enormous amount of time filling the grain on walnut.

dave
 
Hi,
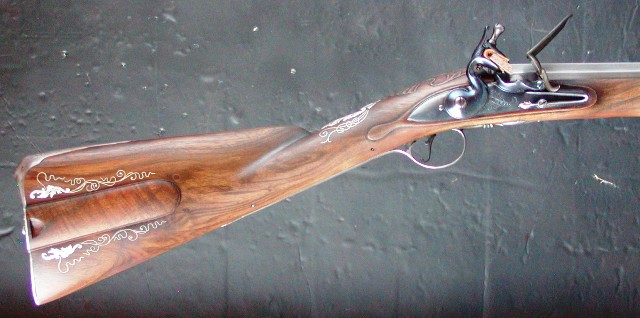
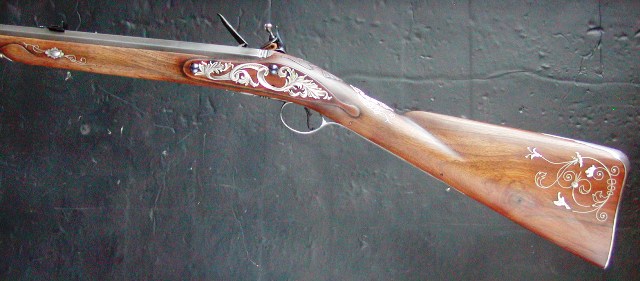
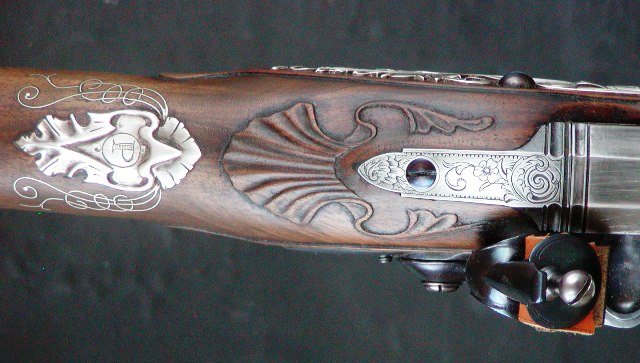
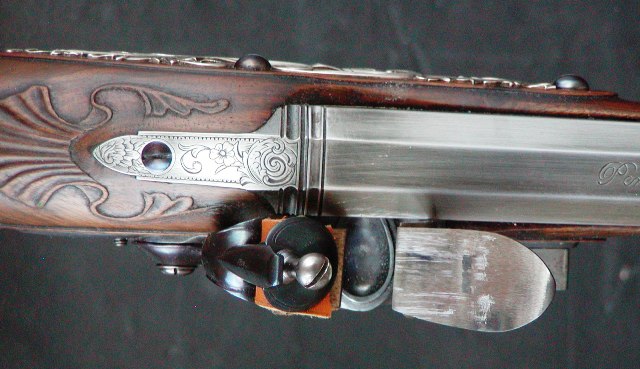
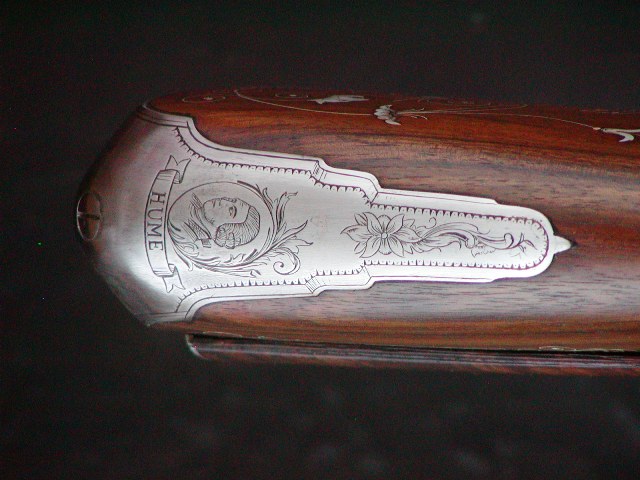
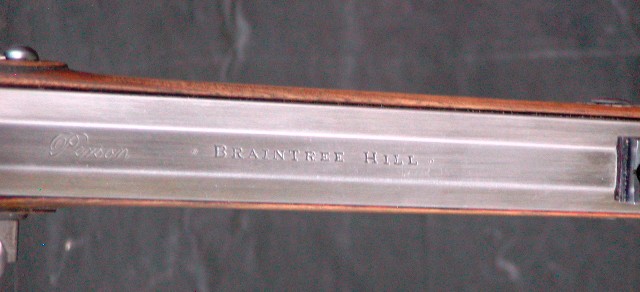
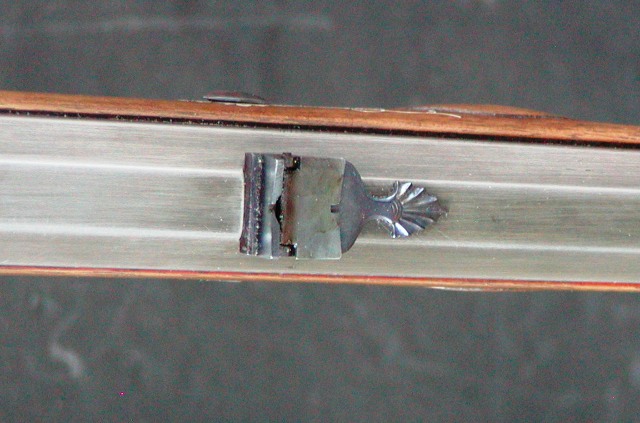
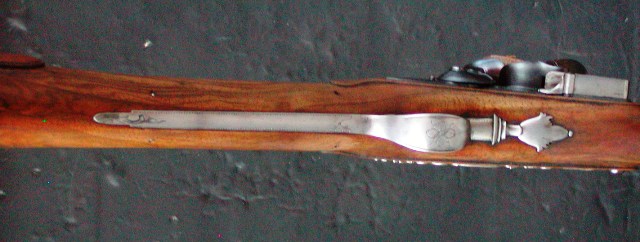
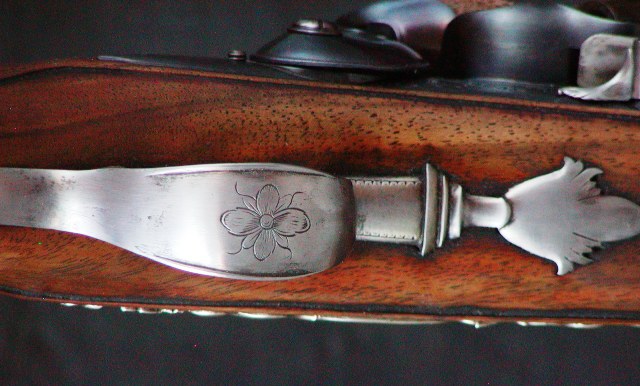
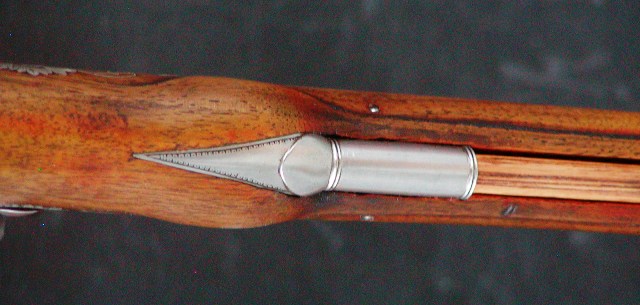
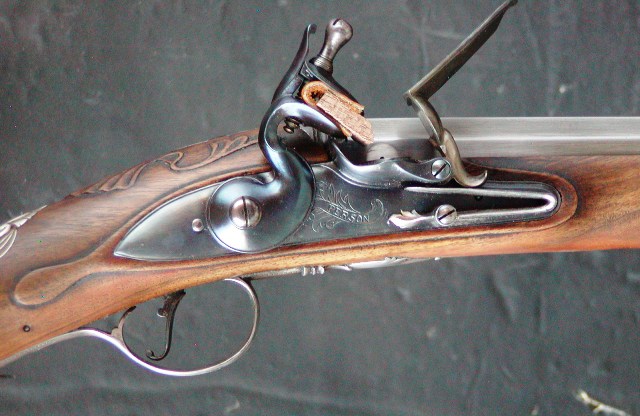
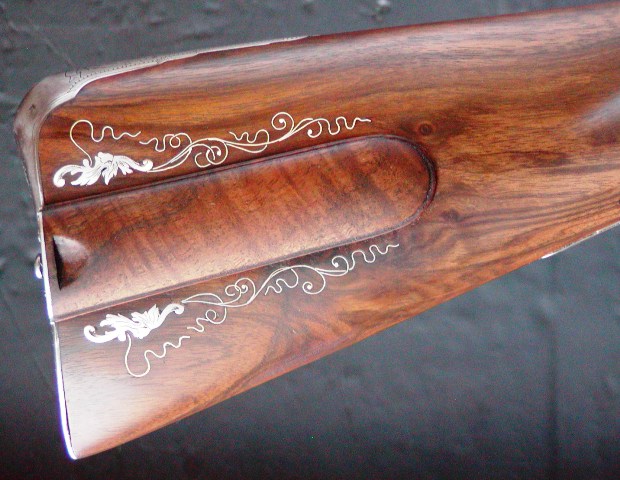
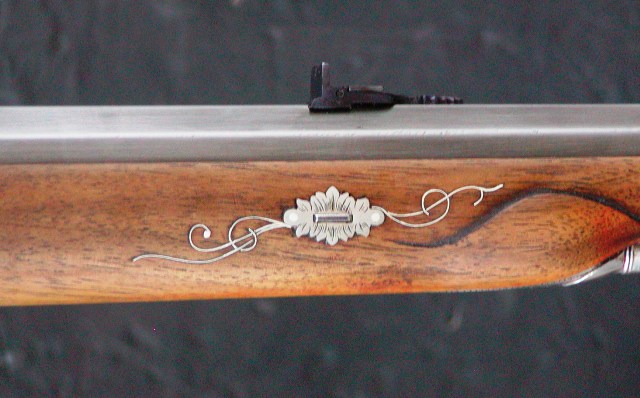
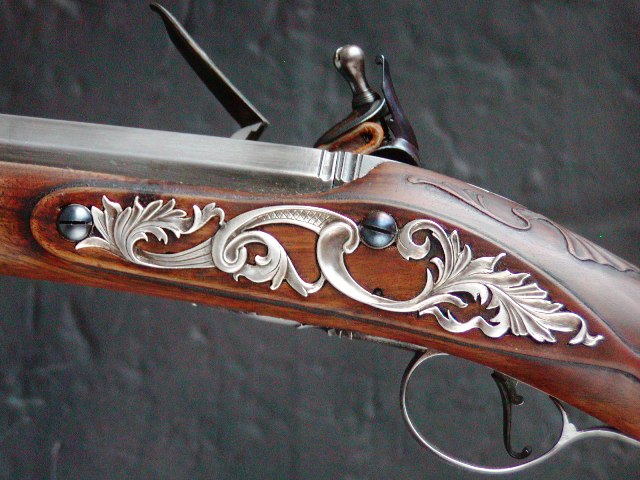
Finished. I may apply one last coat of finish but I will let the stock cure for a week before deciding. The rifle came out well and shoulders like a champ. I won't shoot it until the finish has had a chance to cure. I am looking forward to some sunny days with temps above 70 degrees soon. That will do the job very nicely.
1eotydP.jpg

UAzK3hC.jpg

hQuR8YI.jpg

9QgprWS.jpg

wnFCVQT.jpg

tWLTocB.jpg

hhq9aLN.jpg

fyMfMd3.jpg

JSyaHAU.jpg

f6BR7Rl.jpg

kVh0IUi.jpg

kxManPK.jpg

APht5fU.jpg

BeI96UT.jpg

GrOre67.jpg

ellOP4f.jpg

XgBsIuj.jpg

LHHhOSo.jpg

tSMok26.jpg


dave
 
Beautiful! I did like the look of half stock English sporting rifles pretty well, but I think I like that a whole lot better!

I think many people would be interested in a beginner tutorial on engraving ;)
 
Hi and thanks folks,
The rifle really shoulders well and will be a joy to shoot. I set the windage using my laser bore sighter and elevation should be on paper at 50 yards when I shoot it. I know what my load will be from shooting the previous version of the gun so zeroing should be easy. I'll start at 50 yds and then move back to 100. I have my own range at my shop and home so just have to step outside and shoot it when the stock is ready.

HU, a tutorial on engraving would be a very large endeavor because there is a lot to cover even at a basic level. I suggest a better route would be to buy John Schipper's book on engraving and sold by the NMLRA on their website. There are also some pretty good CDs showing how to get started.

dave
 
Back
Top