


Came across a British regular this morning before the sun fully painted the morning sky. Took upon trade what he called a newly invented haversack...
Okay, the catch phrase probably wasn't the greatest... None the less I personally think this haversack is!
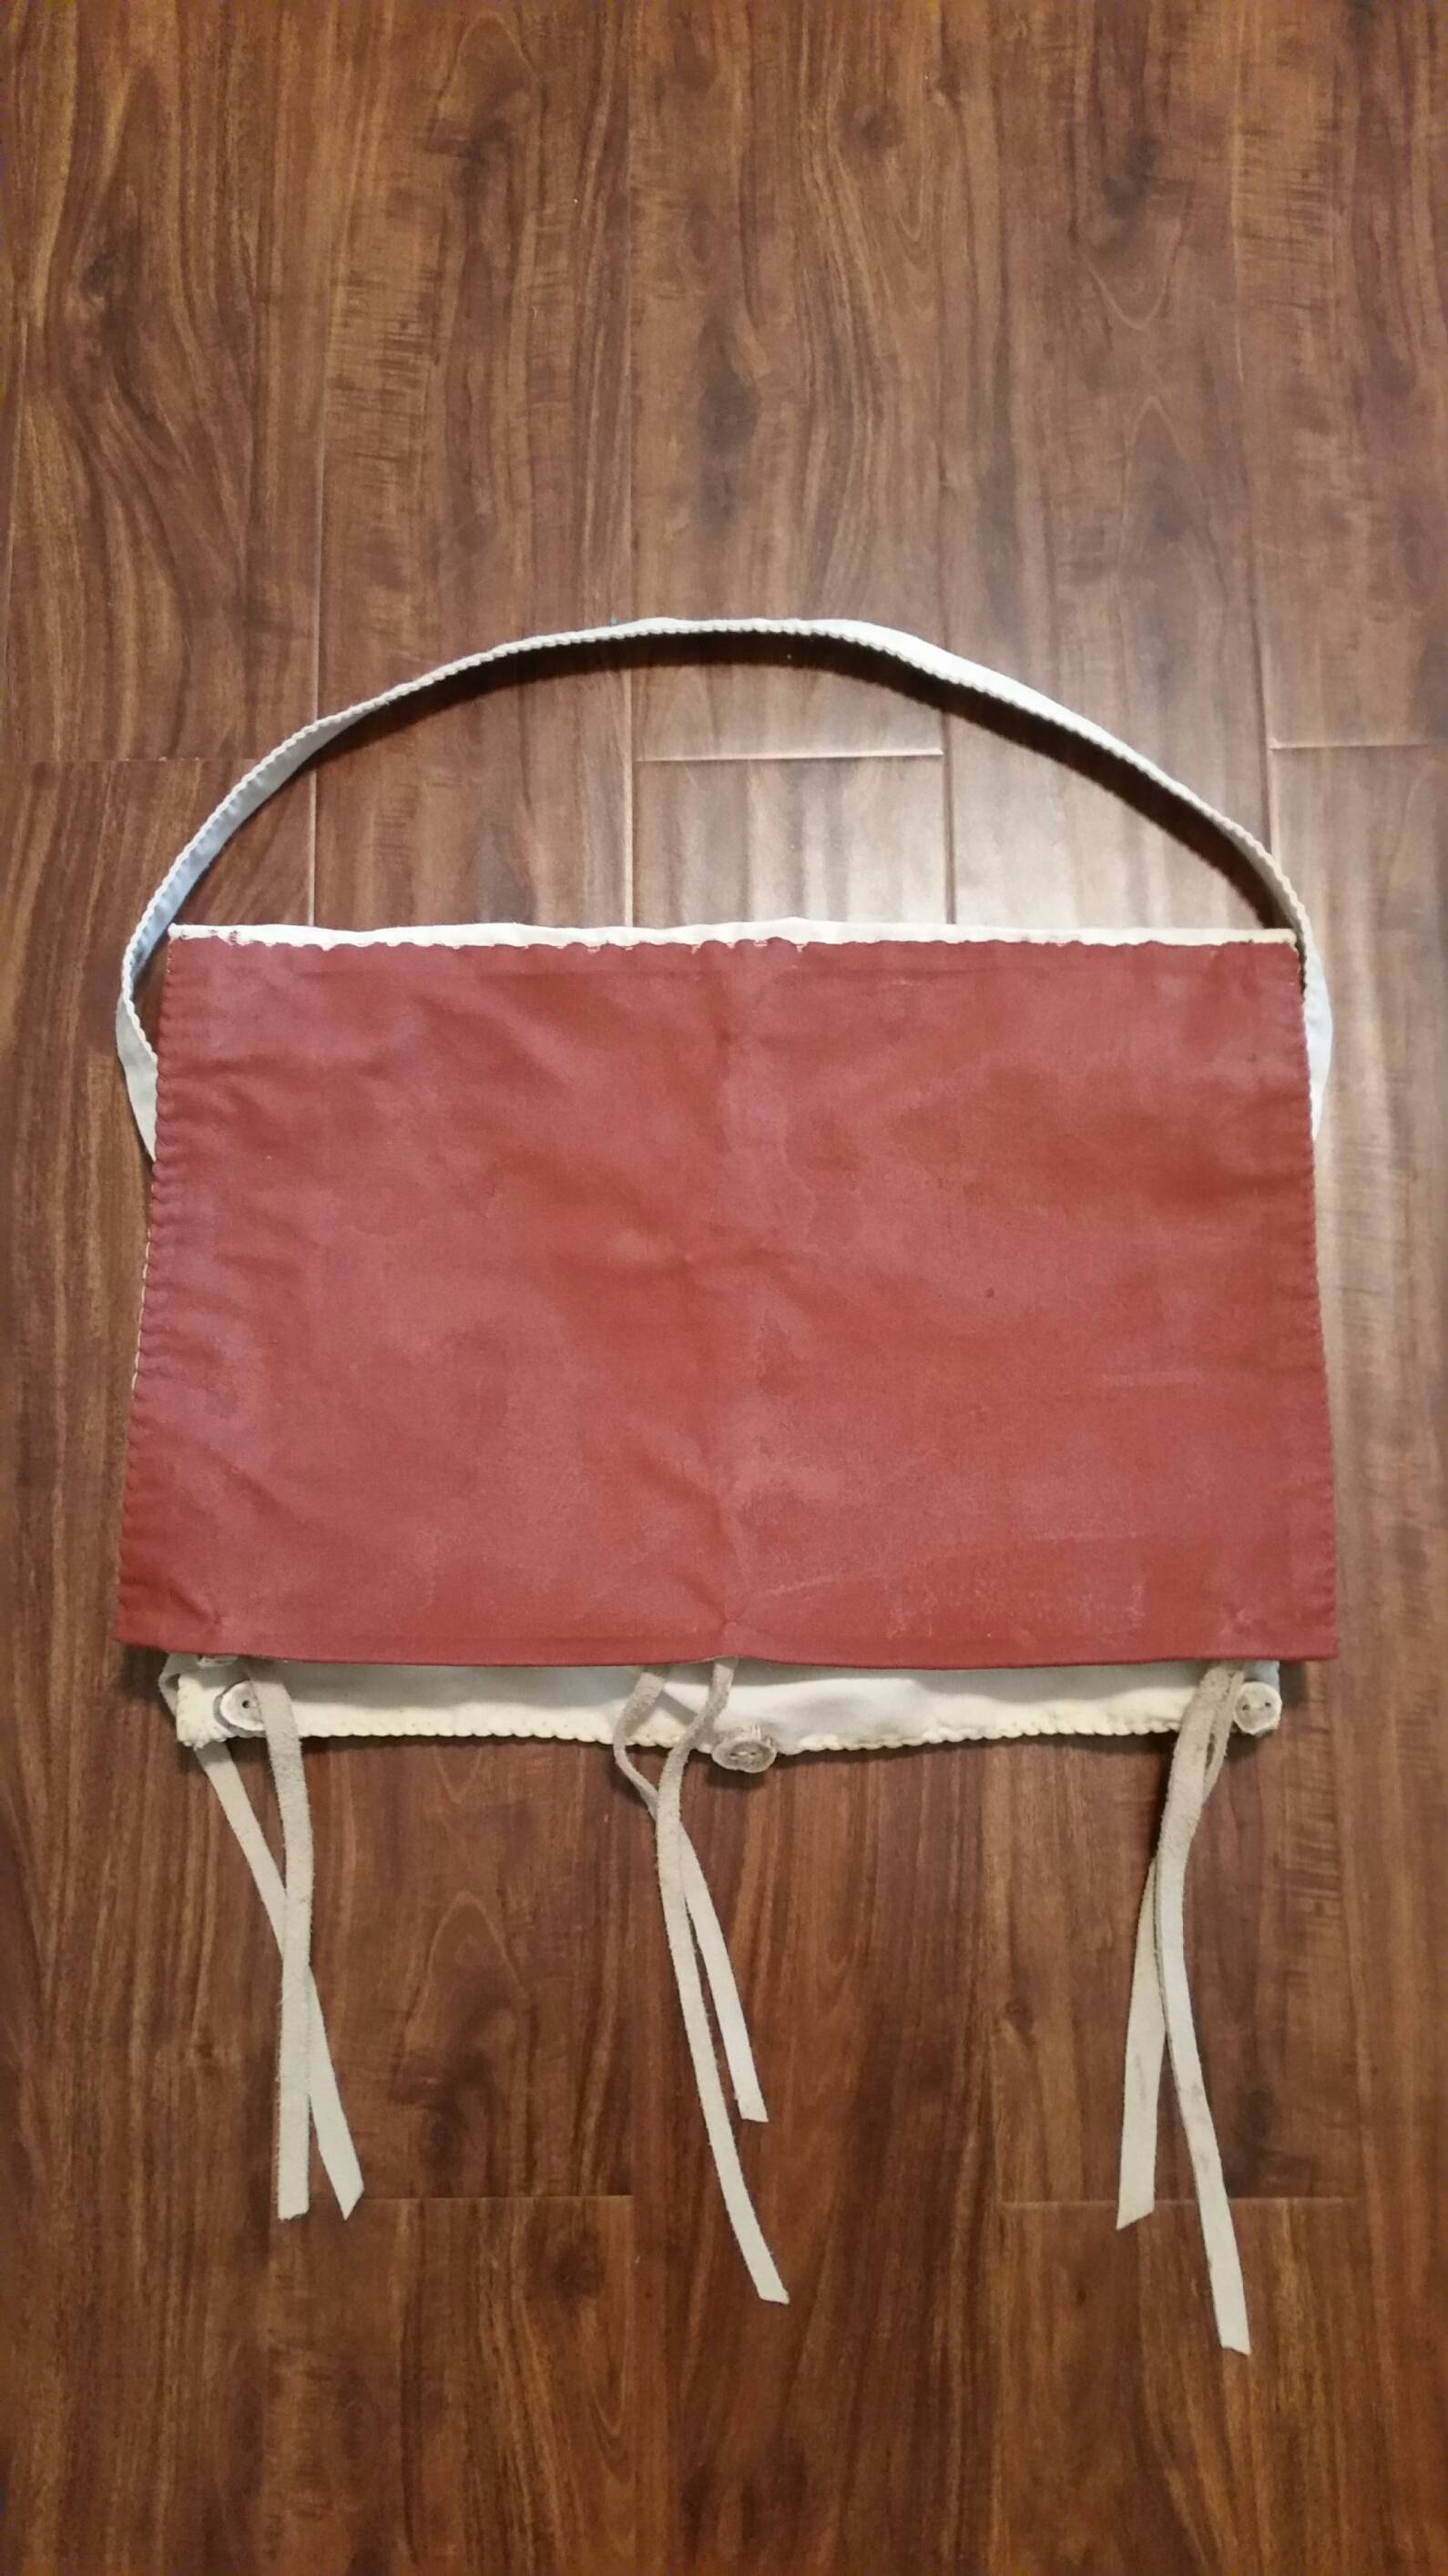
If anyone came across a previous post of mine, I was trying to gather some information on this particular style of haversack. Thanks to a few fellow members I was able to construct my own off of good documentation. Now I'm certainly not claiming this to be an authentic "HC" haversack, nor do I care. From my own investigation I think I've done a rather fine job in trying my best to replicate the piece as well in customizing it as one may have done to fit their needs.
To start, the entire piece has been hand sewn. I decided upon a whip stitch and a running stitch in a few areas due to the amount of sewing. The entire bag was sewn with waxed linen (doubled up), as to which I had to order more because I spared no expense sewing! Dug into the reserve stash...
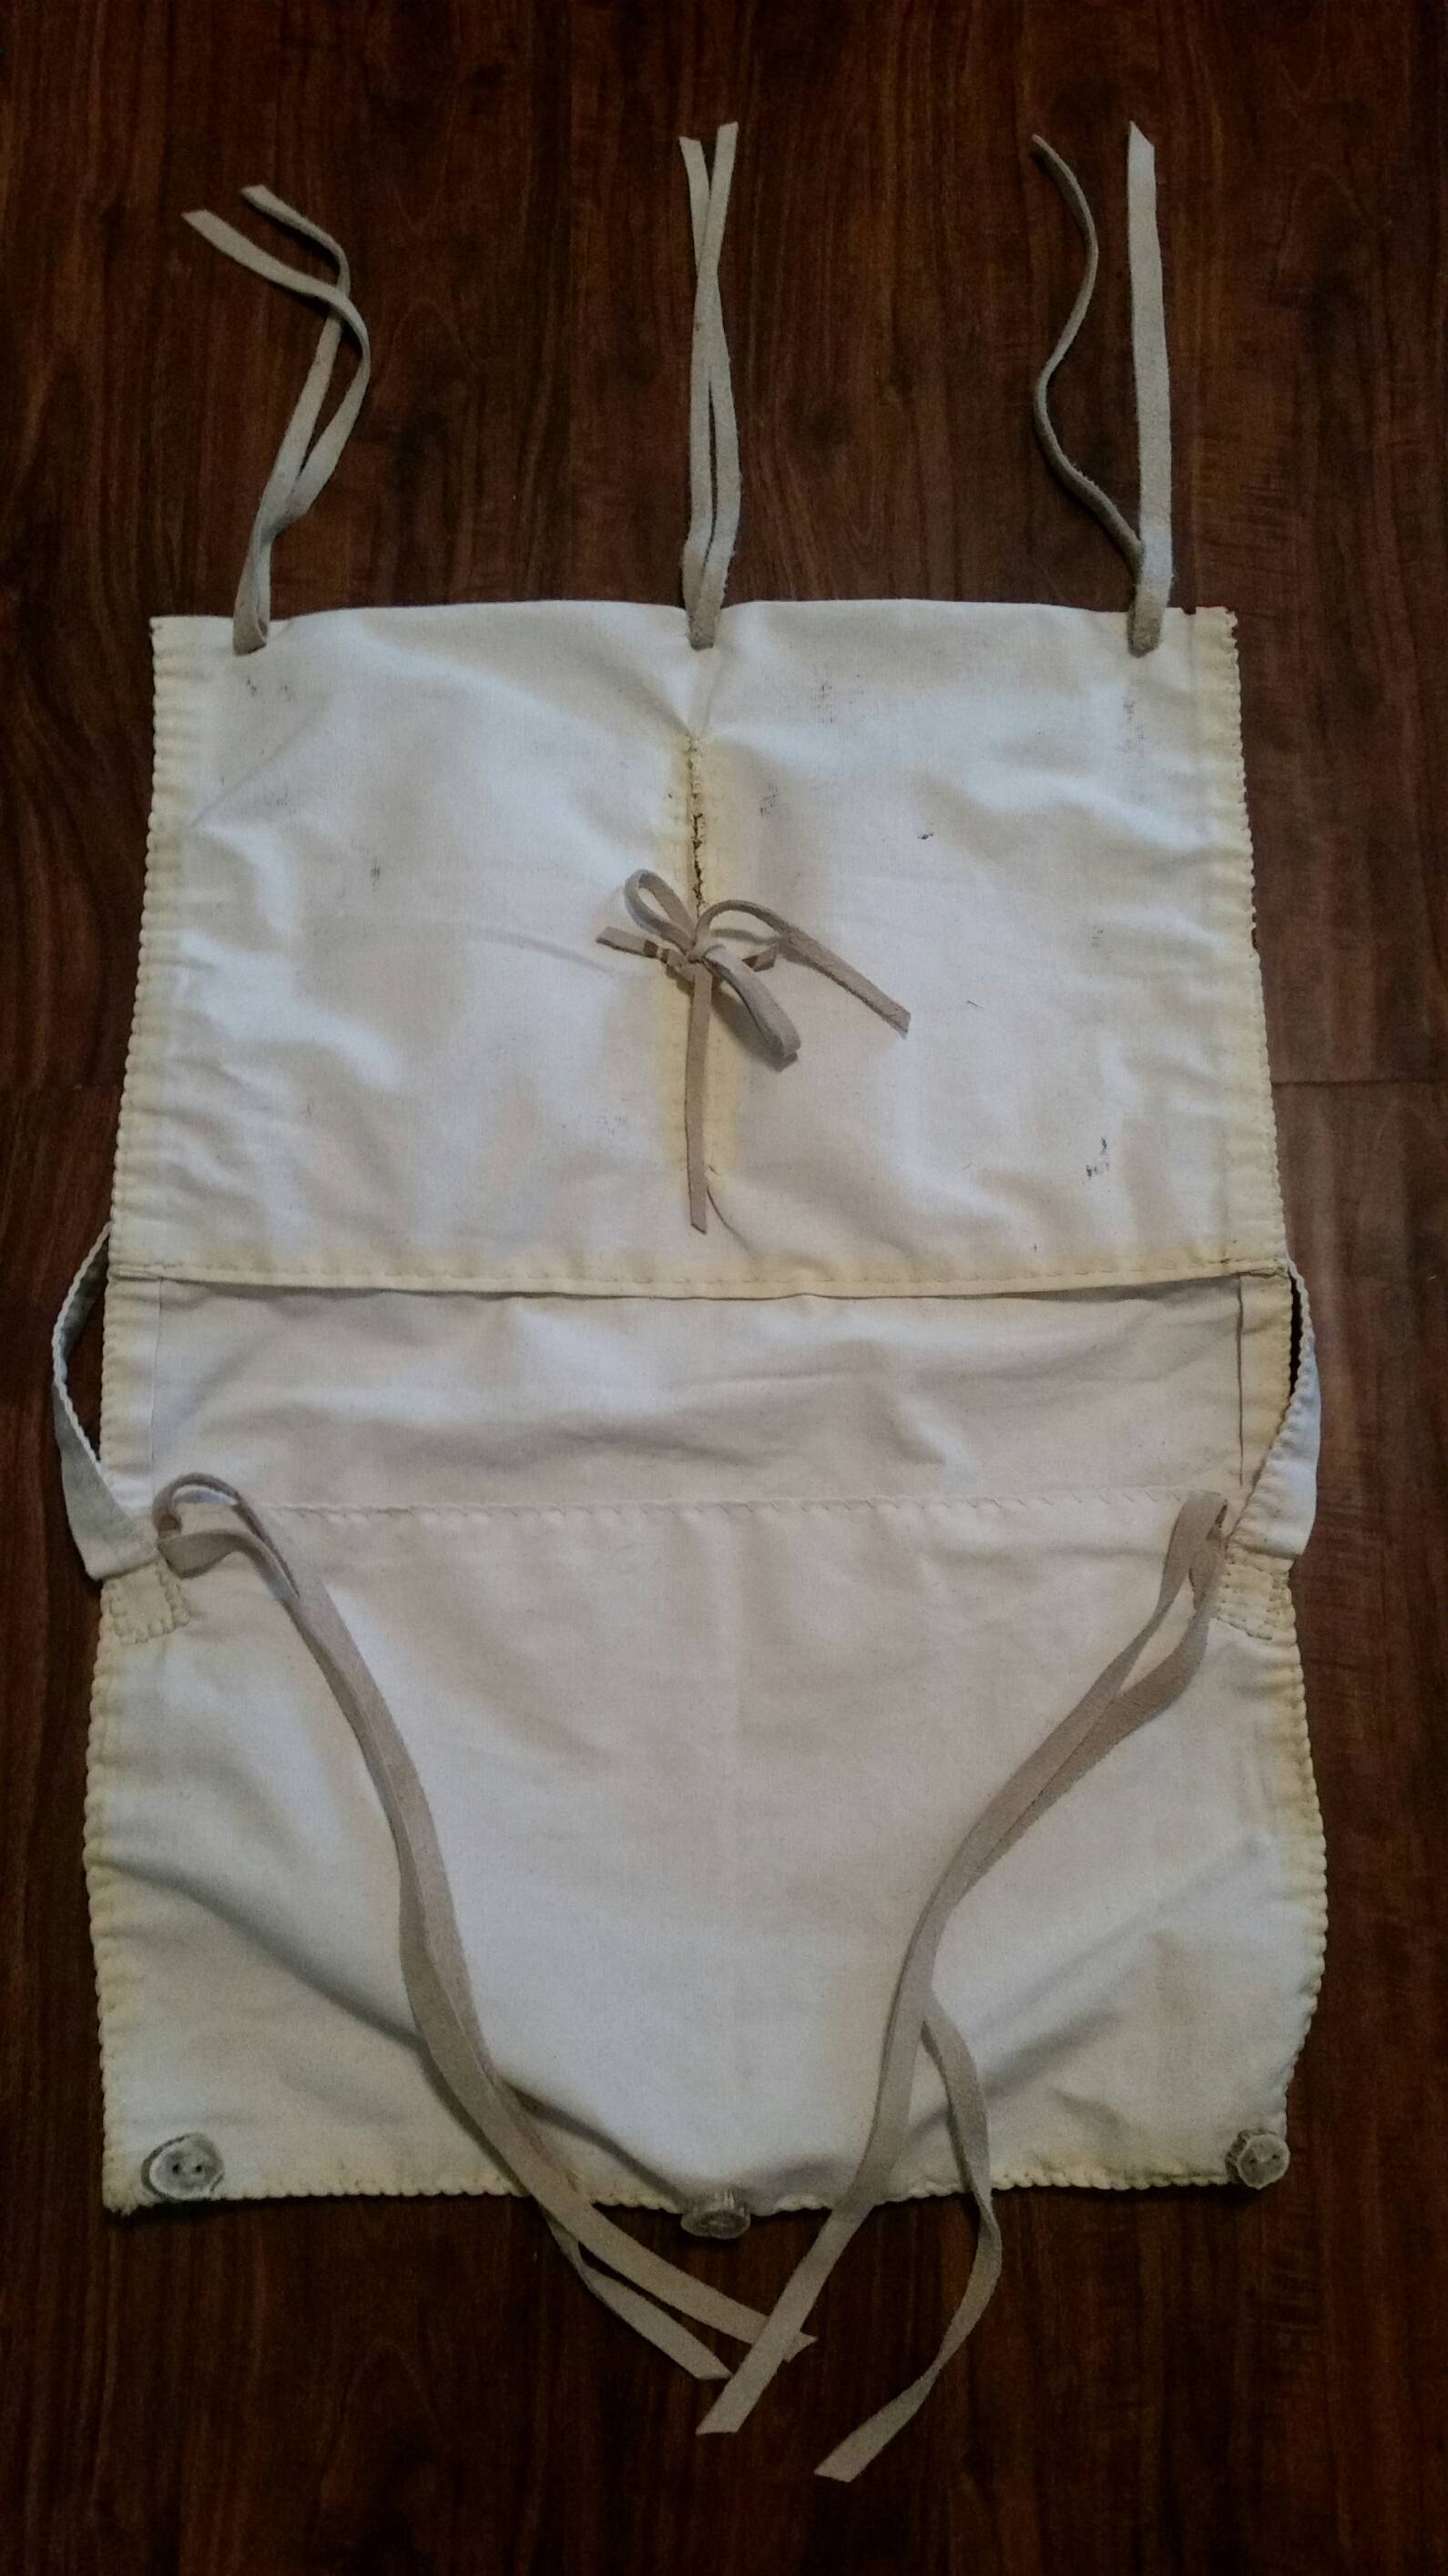
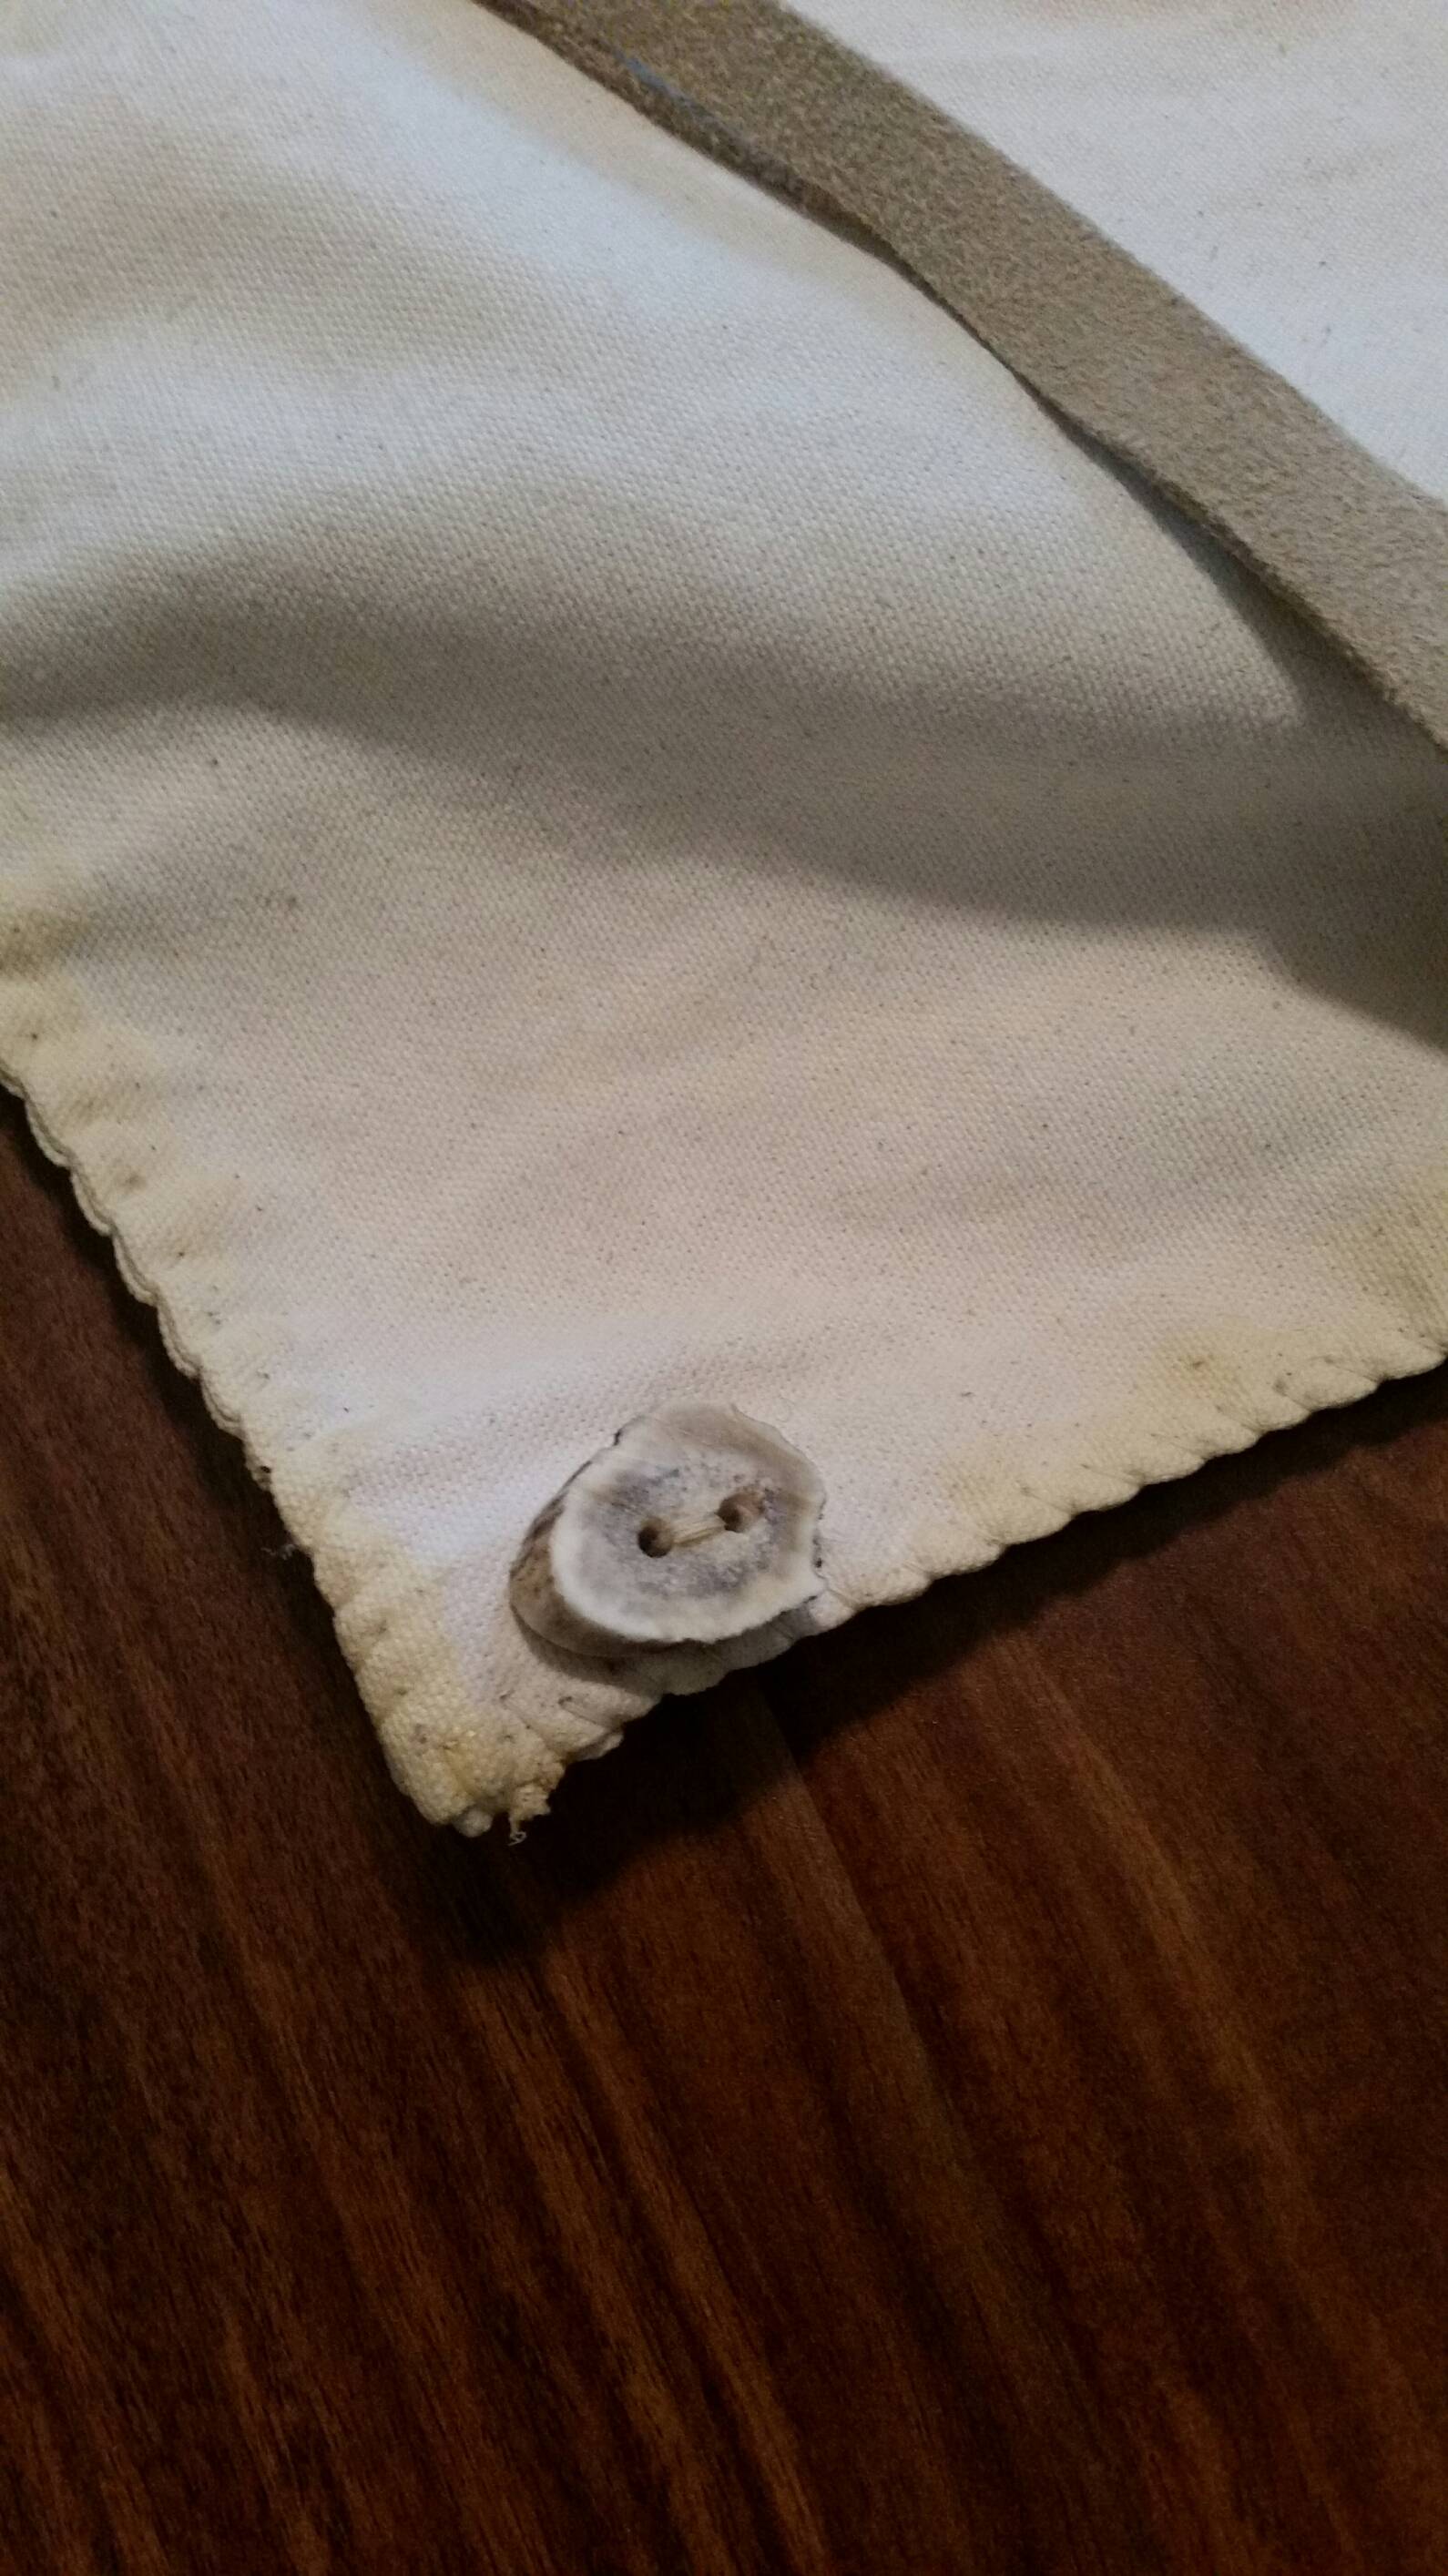
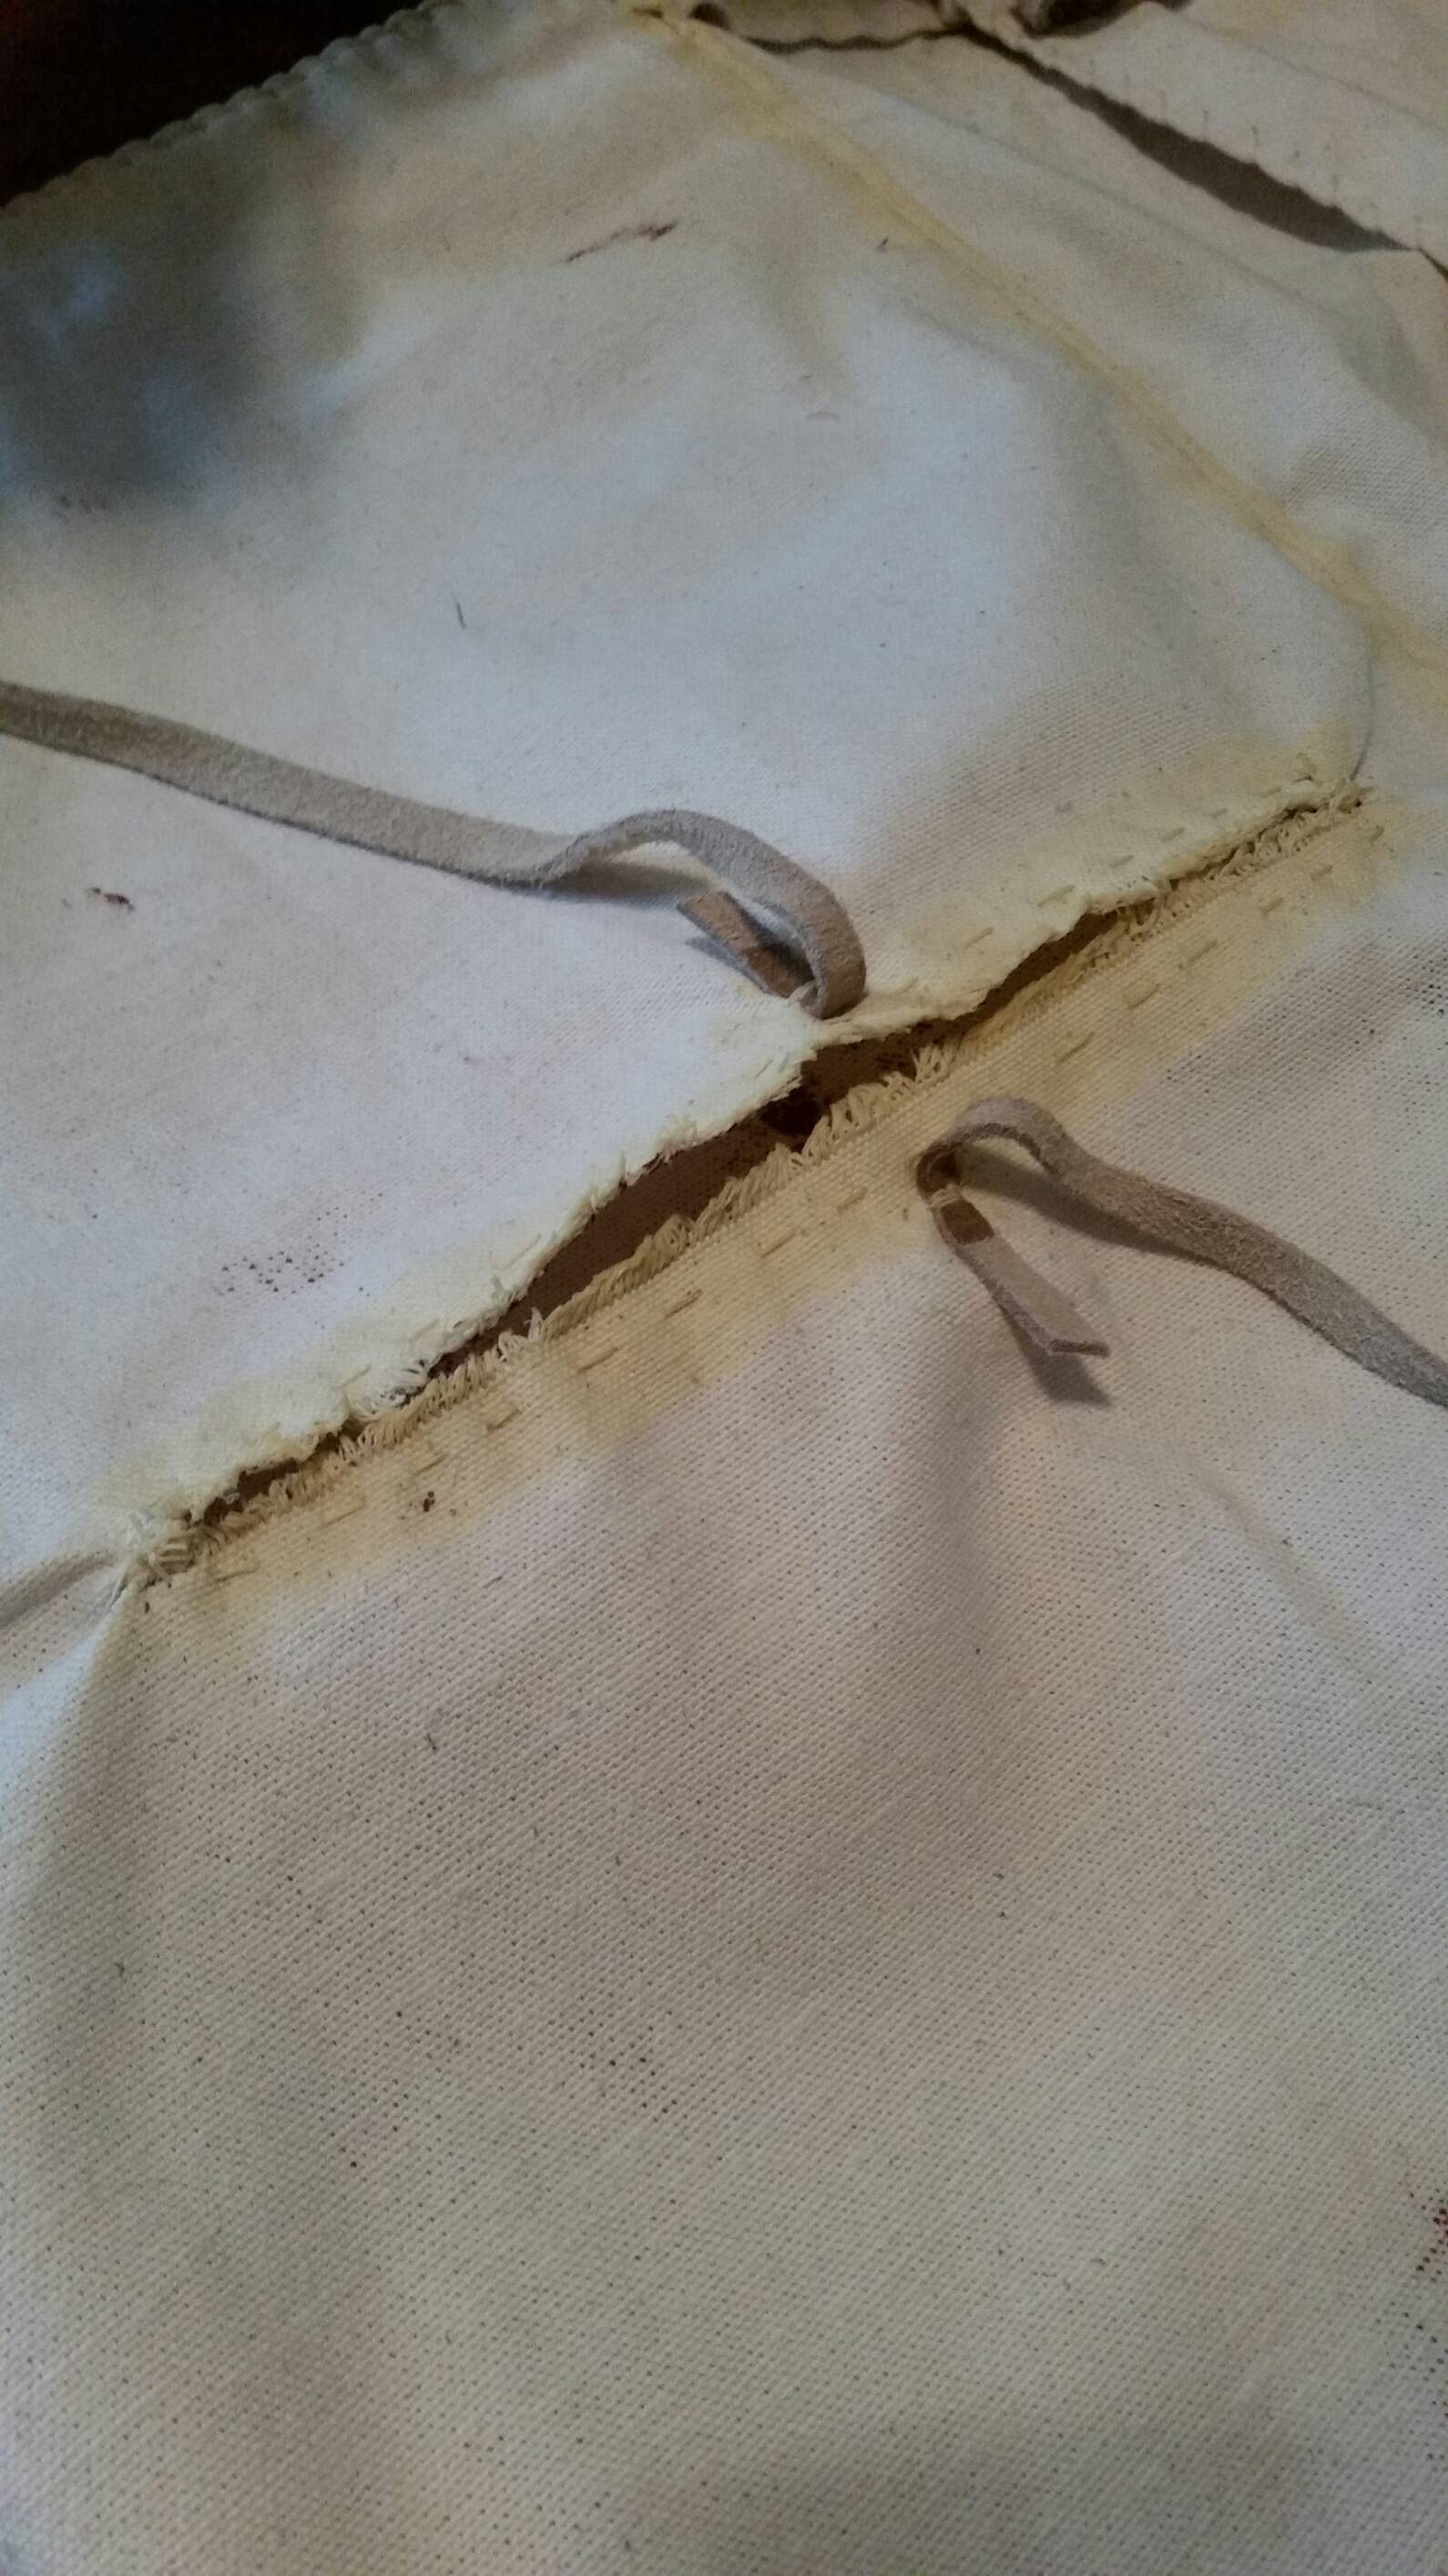
Material used was 12oz canvas washed and dried twice, I also decided to utilize elk hide thongs rather than buckles. My reason behind this was of my own imagination. Say a Native took this on trade or from a fallen regular... Later in life maybe the buckles broke, or he just didn't like them for whatever reason. He then decides to add antler or bone buttons and leather thongs to simplify the piece/ retain function. Also, he adds two extra to secure a blanket in the interior. So there's how my mind works!
Speaking of the elk thongs, each is sewn and secured with quadruple stiching and my waterproof hide glue mix.
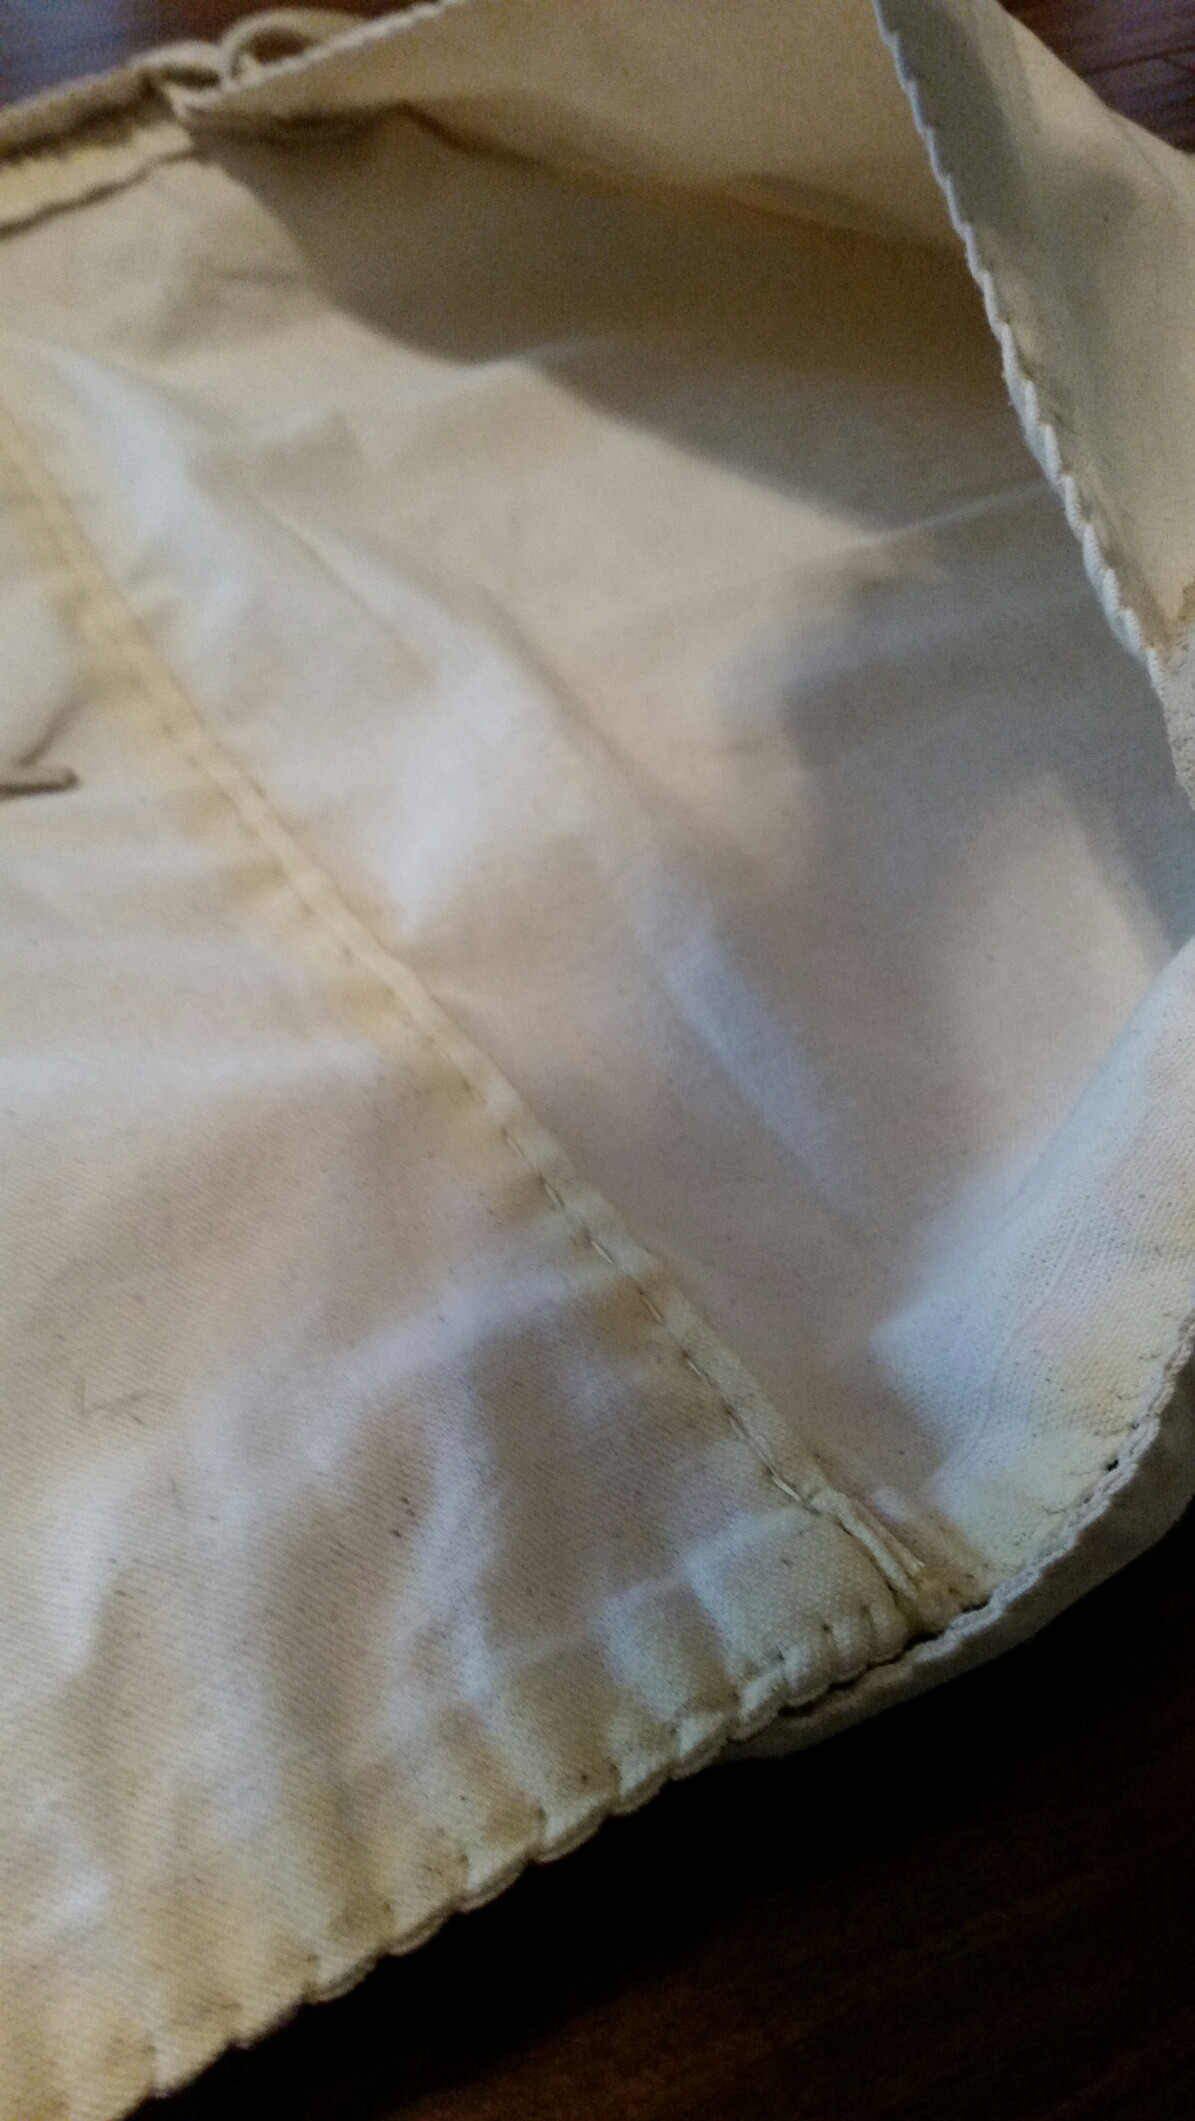
All seams are also waterproofed with the same mixture. Now I decided against waterproofing the entire bag, the canvas alone had a super tight weave and replies water, so well I left it alone. The flap however I painted with my red oilcloth waterproofing mixture for the traditional red allot of these seemed to have been adorned with. From what I've found, allot of British units would paint their regiments insignia upon the red background. It also obviously is a waterproofer as well to protect the contents.
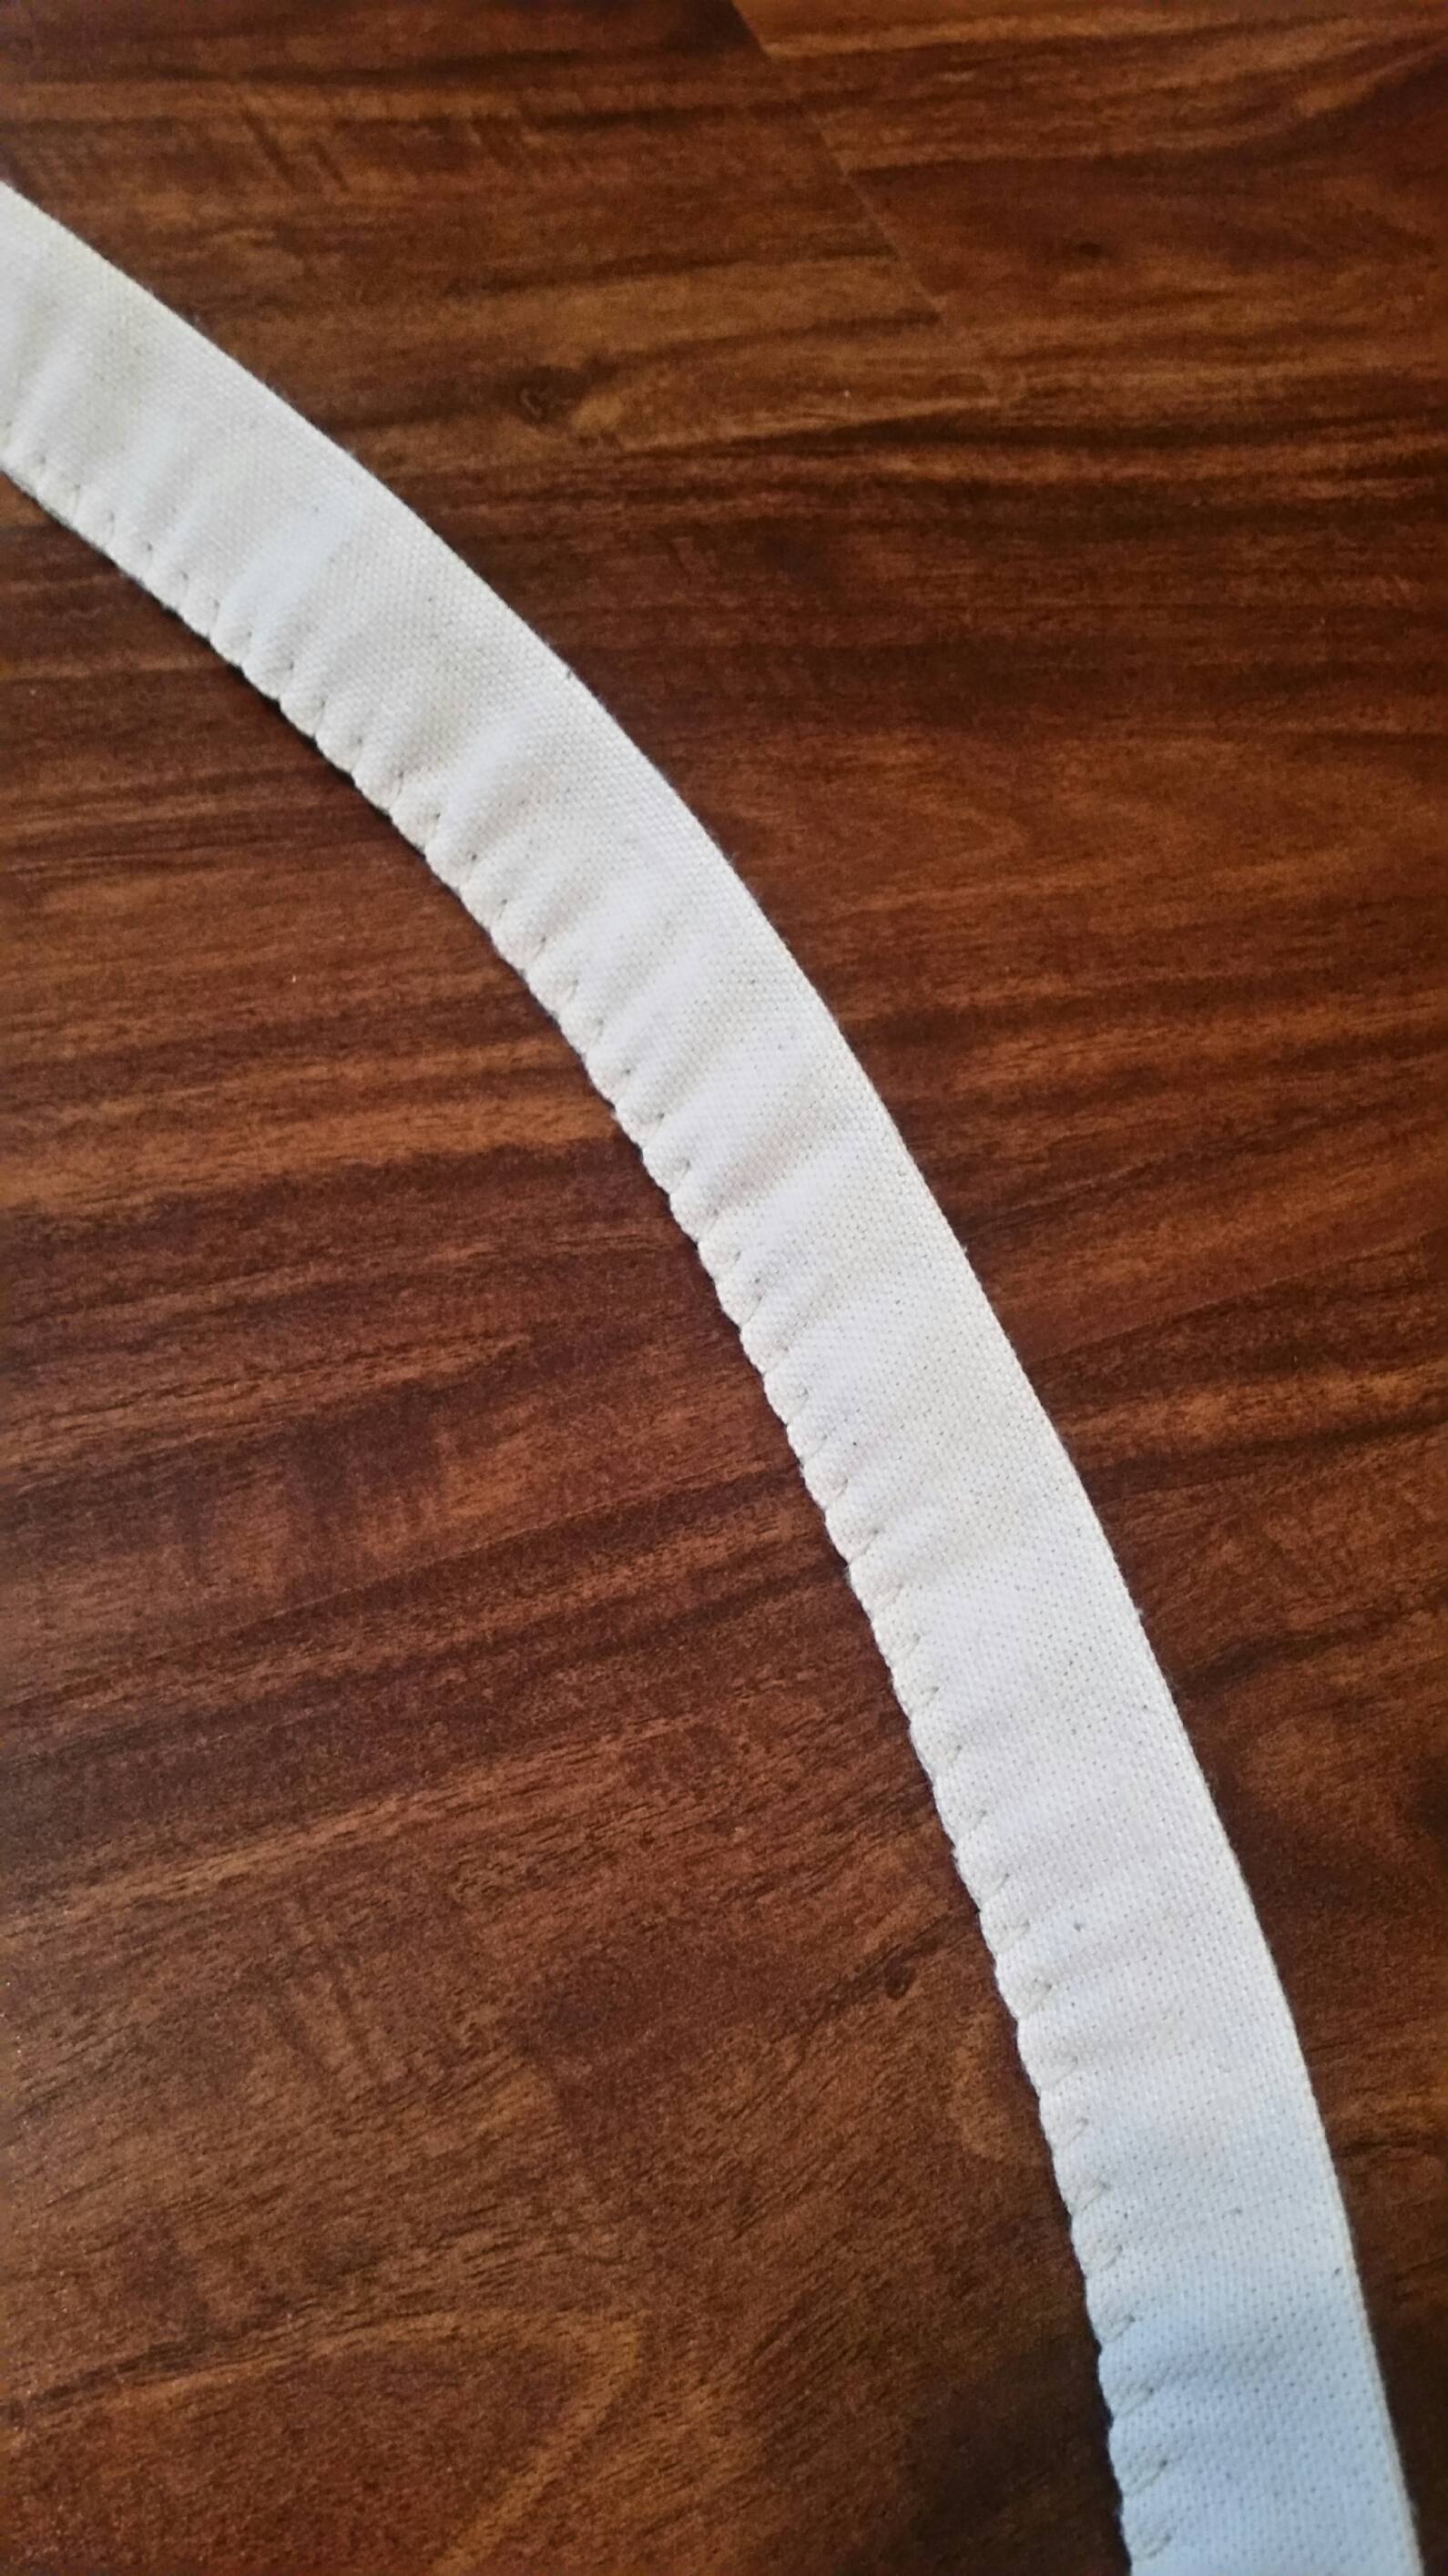
The strap was hand sewn utilizing the same canvas that was quadruple folded and sewn making it very stout and durable.
This entire project was done while watching Shawshank Redemption, great movie! Not much of a TV guy but I had surgery again last Thursday so the boss being an RN is ruling with an iron fist... So I don't get away with much.
I did get away with packing my essential gear and giving it a small go down the lane, absolutely in love with how it carries and packs! If anyone is interested I'll get the measurements for you which I forgot! Hope this sparks some interest, I must say between my snapsacks and this I can't wait to fly commercial! All joking aside, I'm very pleased with this simple project. I live by the less is more mentality and this nice bag securely stowes away everything you need for a weekend or more in the woods! Hope you all enjoyed the read! :hatsoff:
Okay, the catch phrase probably wasn't the greatest... None the less I personally think this haversack is!
If anyone came across a previous post of mine, I was trying to gather some information on this particular style of haversack. Thanks to a few fellow members I was able to construct my own off of good documentation. Now I'm certainly not claiming this to be an authentic "HC" haversack, nor do I care. From my own investigation I think I've done a rather fine job in trying my best to replicate the piece as well in customizing it as one may have done to fit their needs.
To start, the entire piece has been hand sewn. I decided upon a whip stitch and a running stitch in a few areas due to the amount of sewing. The entire bag was sewn with waxed linen (doubled up), as to which I had to order more because I spared no expense sewing! Dug into the reserve stash...
Material used was 12oz canvas washed and dried twice, I also decided to utilize elk hide thongs rather than buckles. My reason behind this was of my own imagination. Say a Native took this on trade or from a fallen regular... Later in life maybe the buckles broke, or he just didn't like them for whatever reason. He then decides to add antler or bone buttons and leather thongs to simplify the piece/ retain function. Also, he adds two extra to secure a blanket in the interior. So there's how my mind works!
Speaking of the elk thongs, each is sewn and secured with quadruple stiching and my waterproof hide glue mix.
All seams are also waterproofed with the same mixture. Now I decided against waterproofing the entire bag, the canvas alone had a super tight weave and replies water, so well I left it alone. The flap however I painted with my red oilcloth waterproofing mixture for the traditional red allot of these seemed to have been adorned with. From what I've found, allot of British units would paint their regiments insignia upon the red background. It also obviously is a waterproofer as well to protect the contents.
The strap was hand sewn utilizing the same canvas that was quadruple folded and sewn making it very stout and durable.
This entire project was done while watching Shawshank Redemption, great movie! Not much of a TV guy but I had surgery again last Thursday so the boss being an RN is ruling with an iron fist... So I don't get away with much.
I did get away with packing my essential gear and giving it a small go down the lane, absolutely in love with how it carries and packs! If anyone is interested I'll get the measurements for you which I forgot! Hope this sparks some interest, I must say between my snapsacks and this I can't wait to fly commercial! All joking aside, I'm very pleased with this simple project. I live by the less is more mentality and this nice bag securely stowes away everything you need for a weekend or more in the woods! Hope you all enjoyed the read! :hatsoff:
 ff
ff