


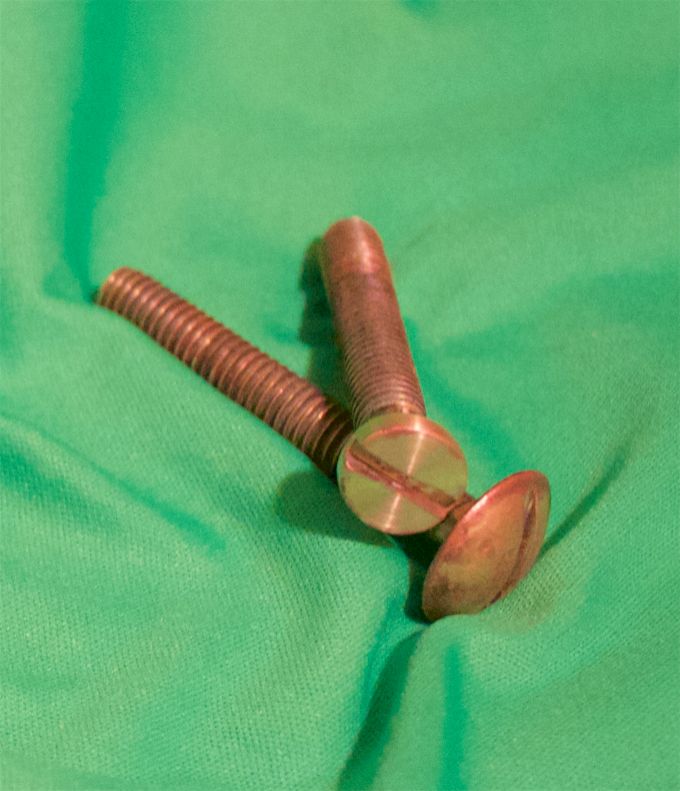
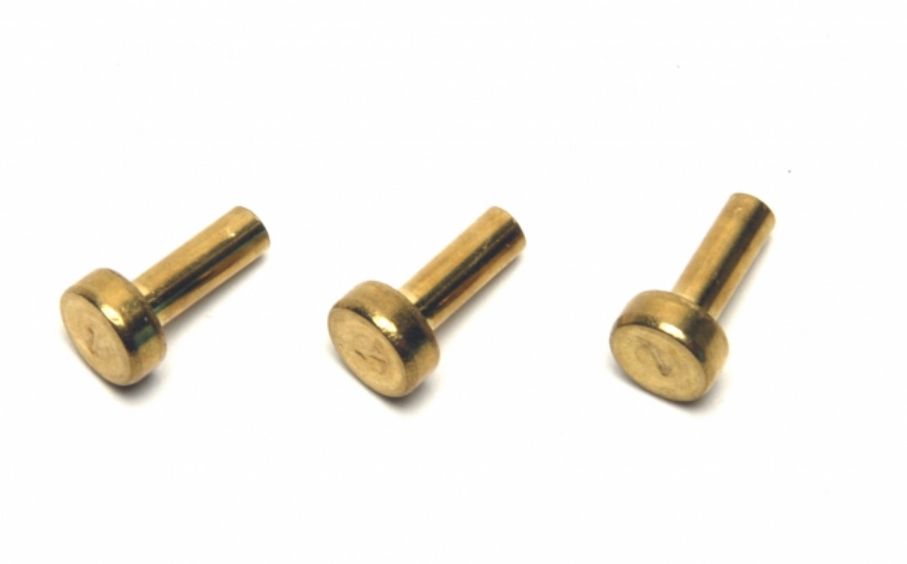
I started out using old toilet seat brass bolts, looked like the bottom one to start.
Of course you can save a lot of work by just using brass round stock at a closer size to start with. I like re-purposing old scrap metal, and tinkering, so I chose this route. You can also buy locator buttons sold by Dillon Precision as seen in some of the other articles. These will get you close to start. Part #14060 for locator button #3 See pictures at the end of this article and in Pettifogger's articles as well.
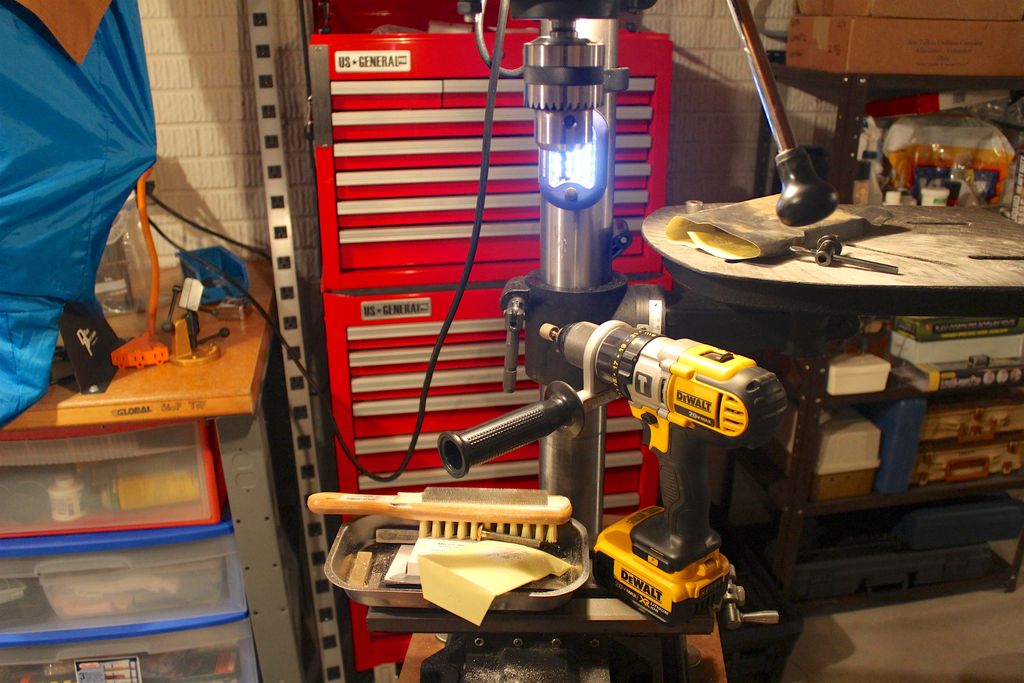
I cut the bolt head down using my drill press, files, and emery cloth.
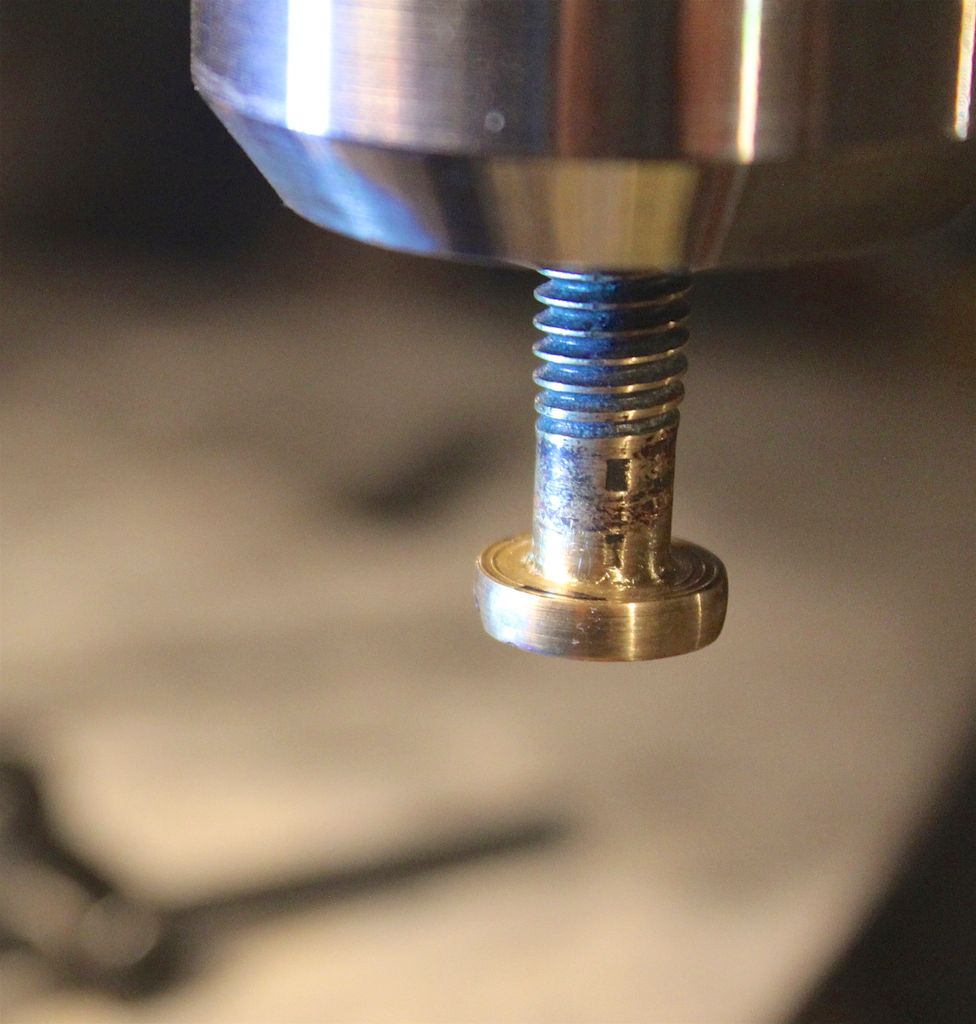
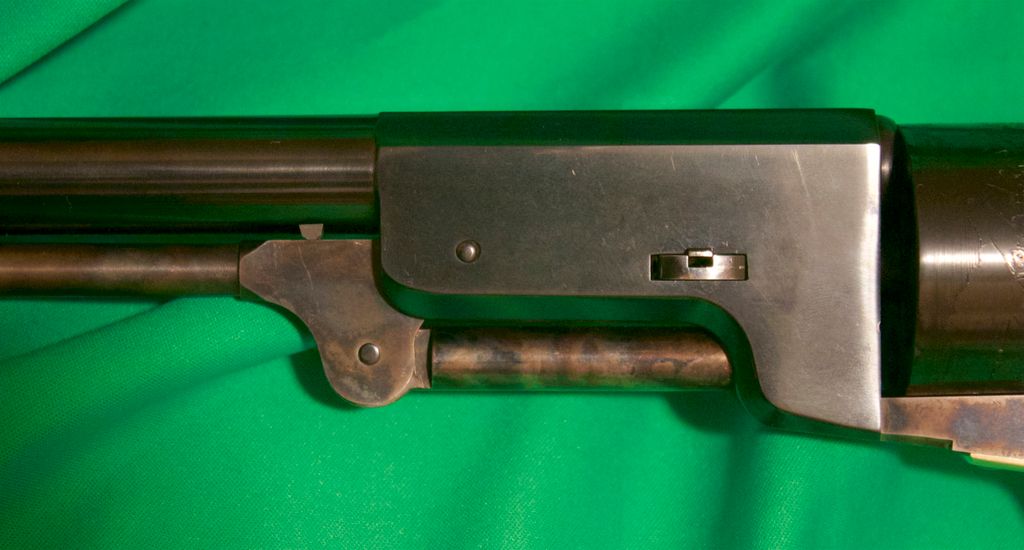
I had measured the gap between the arbor face and barrel assembly hole to be .095" arbor too short.
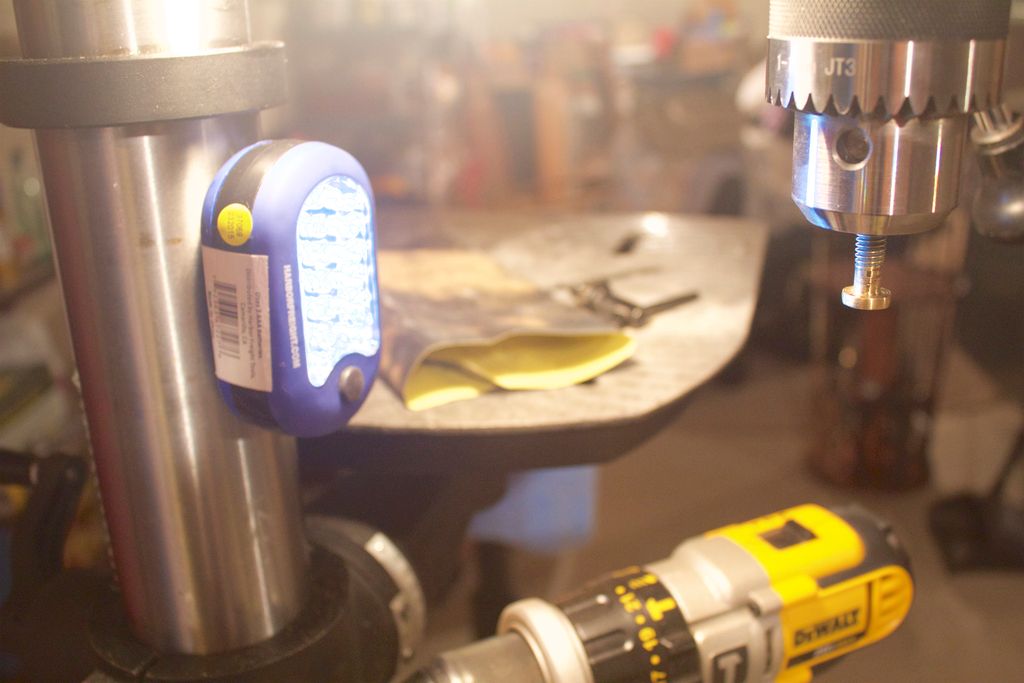
Using digital caliper, and micrometer I cut the thickness of the bolt head down to .095" using the drill press at low RPM, and my DeWalt hand drill with a sanding disc in the chuck. With both drills running this gave a very smooth, level finish. I final finished using a hard flat piece of steel block to rest every paper on 400 grit, 600 grit, 800 grit to final finish, checking thickness often to get to .095"
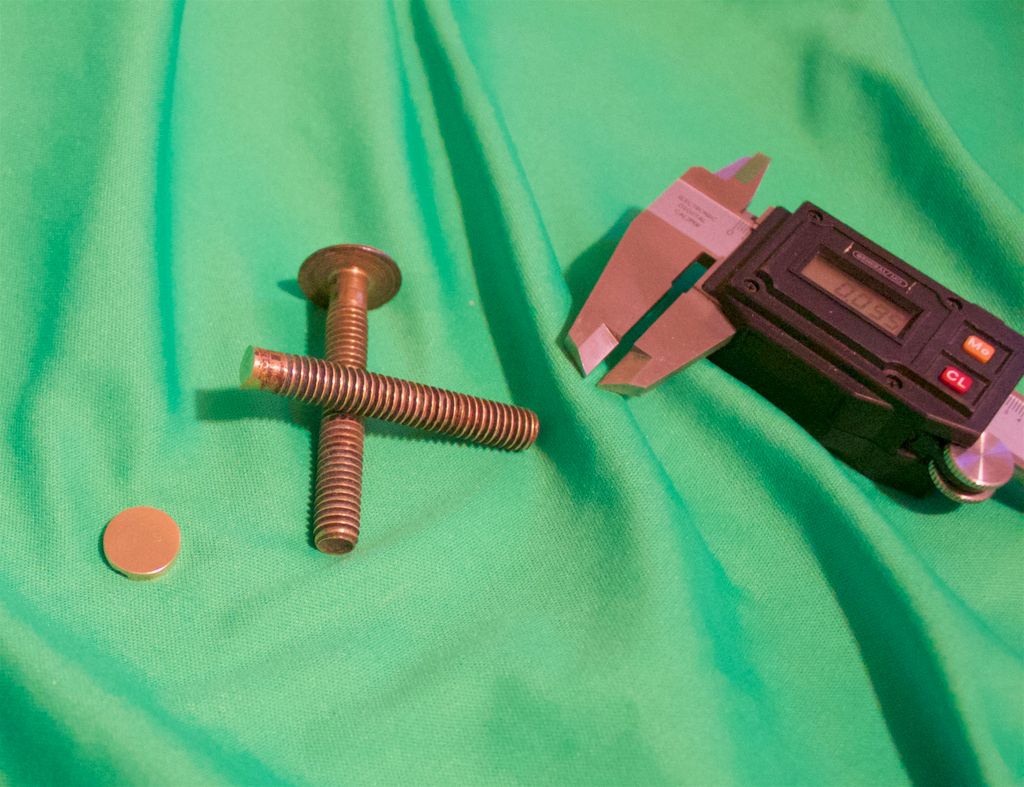
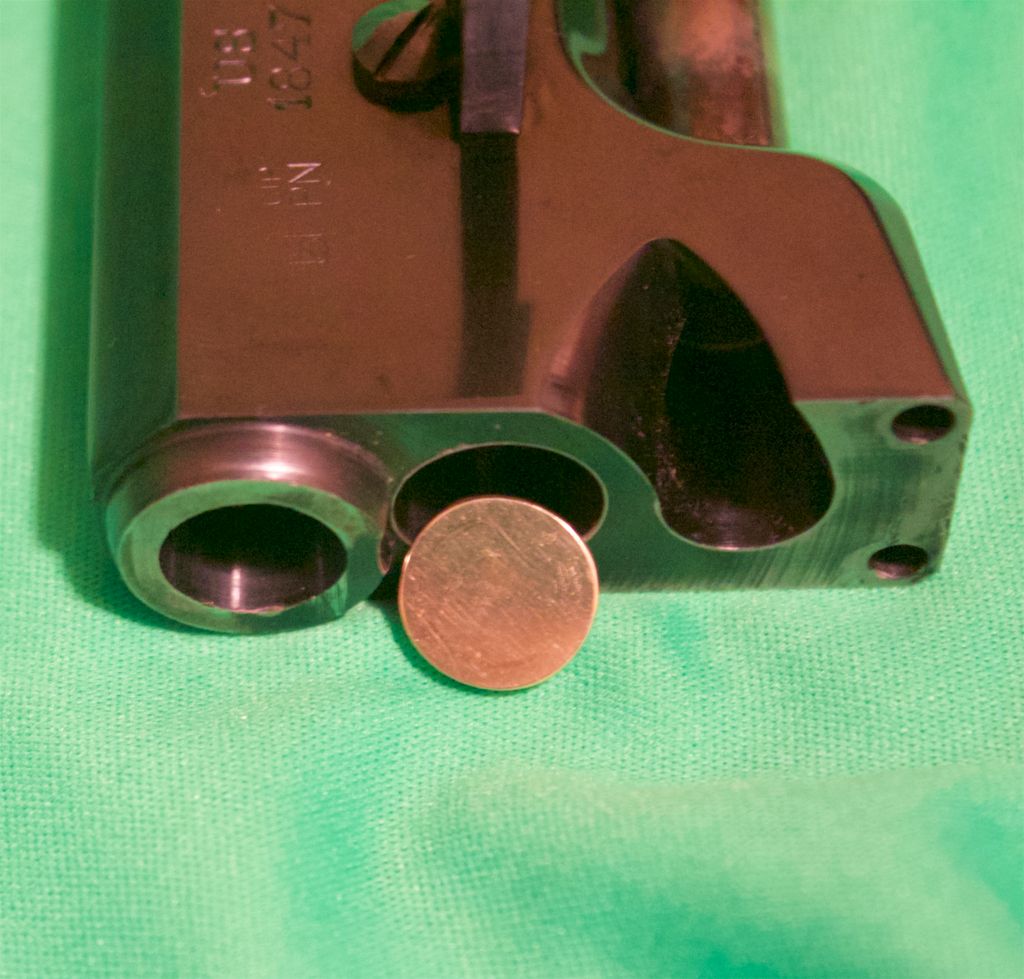
Finished shim cut to close fit in barrel assembly hole.
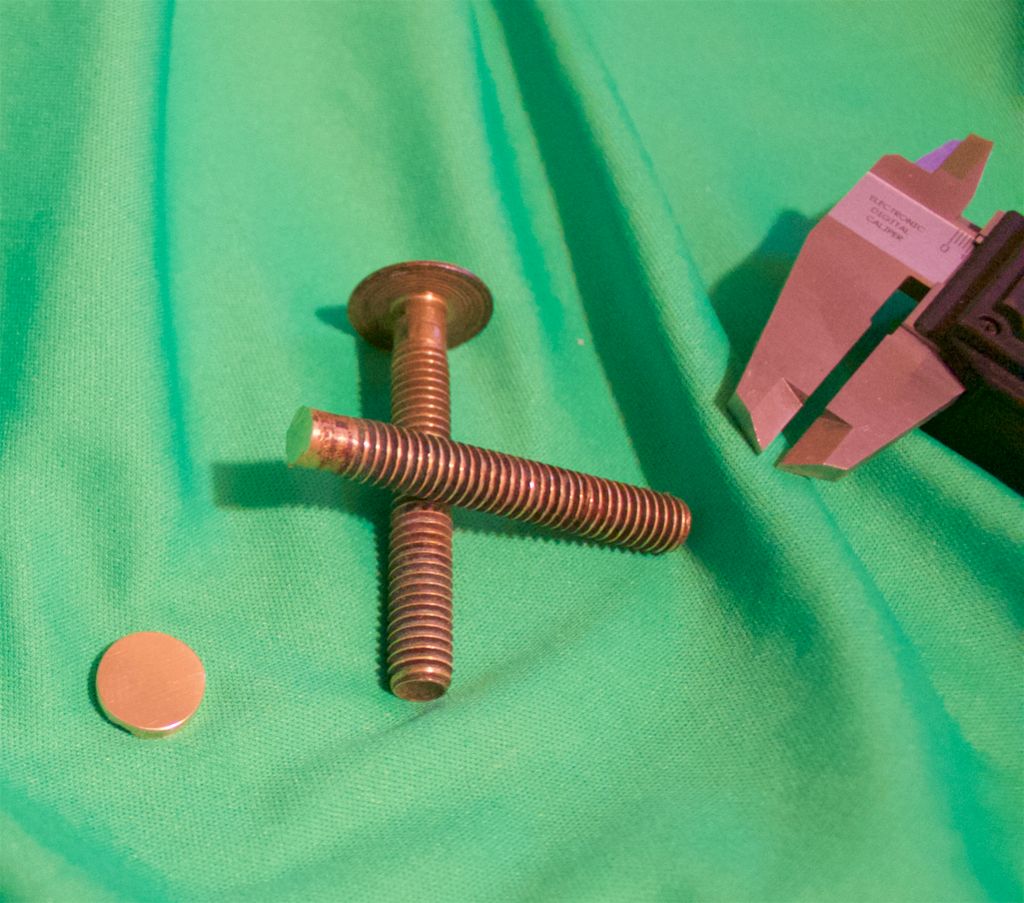
Finished shim.
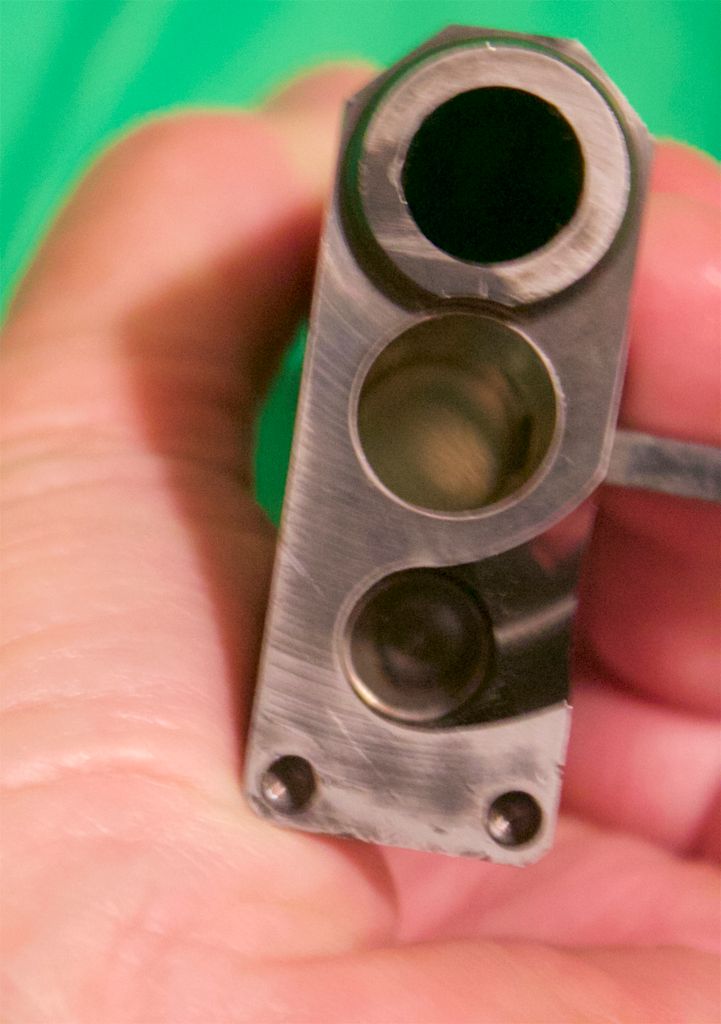
Sitting atop arbor, and in arbor hole.

You can silver solder the shim to the arbor or use a dab of JB weld in the arbor hole to hold it in place if desired. I left mine lose.
All reproduction Colt Open Top revolvers need to be shimmed. The arbors are always too short. Without the shim, the barrel assembly will flex upwards when you drive the wedge home. This moves the barrel from perpendicular with the cylinder face, causing the revolvers to shoot high as it also raises the sight. It also makes it near impossible to get repeatable wedge insert every time. With the shim in place the assembly locks up solid against the arbor and with the frame at the two pins on the frame assembly at the bottom of the barrel assembly. Now the cylinder gap remains constant, not flexing, no pinching at top. The wedge will go in the same distance every time. The revolver will shoot close to POA, and generally lower than an un-shimmed revolver.
For more info on why this needs to be done to all your Open Top revolvers see the links below to Larson E. Pettifoggers great articles in the SASS Cowboy Chronicles.
http://www.theopenrange.net/articles/Tuning_the_Uberti_Open_Top_Revolvers_Part_2.pdf
http://www.theopenrange.net/articles/Tuning_the_Uberti_Open_Top_Revolvers_Part_3.pdfhttp://www.theopenrange.net/articles/Tuning_the_Uberti_Open_Top_Revolvers_Part_4.pdf
You may wish to read his articles on tuning the Pietta, in fact I recommend Uberti users read this first as well.
http://www.theopenrange.net/articles/Tuning_the_Pietta_Part_One.pdf
http://www.theopenrange.net/articles/Tuning_the_Pietta_Part_Two.pdf

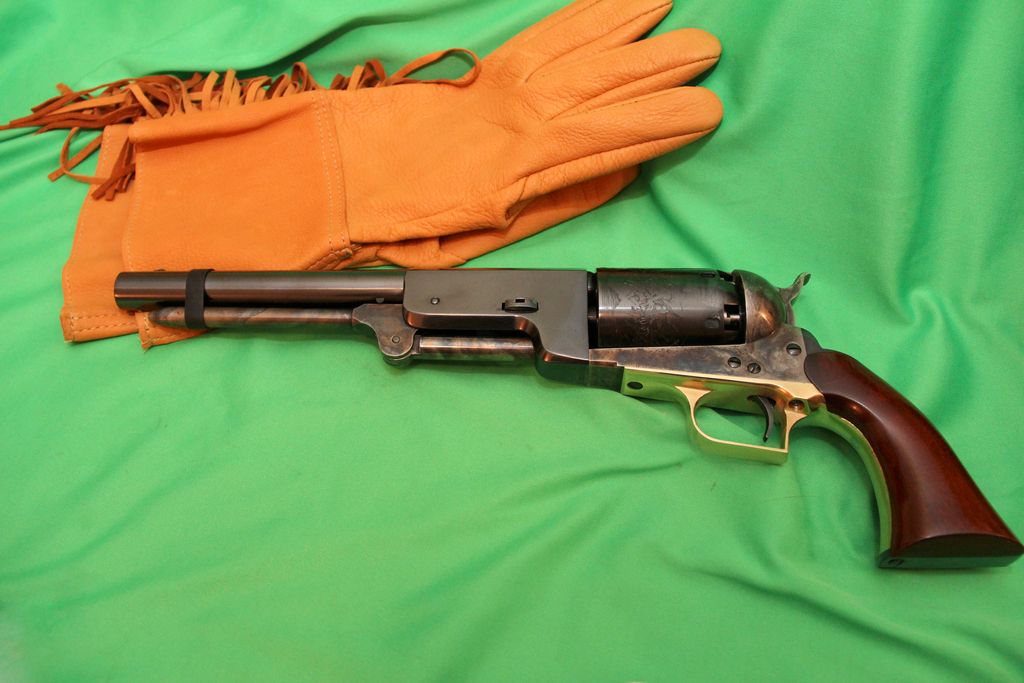
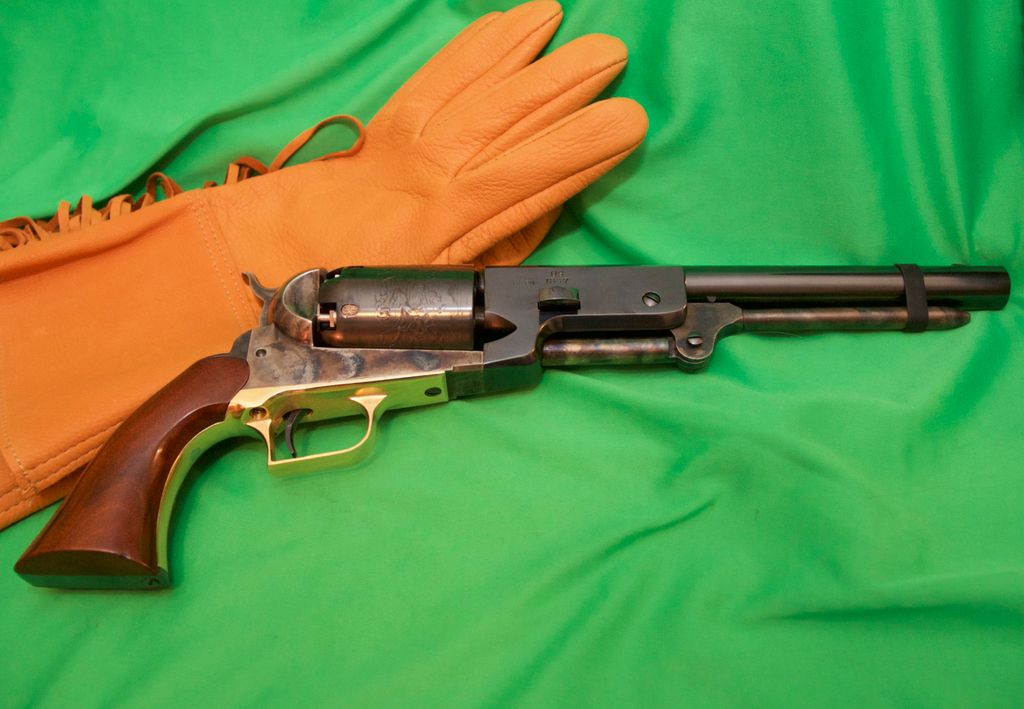
Finished Walker with shim in place locks up like a steel drum! No flex, consistent wedge depth each time.
Of course you can save a lot of work by just using brass round stock at a closer size to start with. I like re-purposing old scrap metal, and tinkering, so I chose this route. You can also buy locator buttons sold by Dillon Precision as seen in some of the other articles. These will get you close to start. Part #14060 for locator button #3 See pictures at the end of this article and in Pettifogger's articles as well.
I cut the bolt head down using my drill press, files, and emery cloth.
I had measured the gap between the arbor face and barrel assembly hole to be .095" arbor too short.
Using digital caliper, and micrometer I cut the thickness of the bolt head down to .095" using the drill press at low RPM, and my DeWalt hand drill with a sanding disc in the chuck. With both drills running this gave a very smooth, level finish. I final finished using a hard flat piece of steel block to rest every paper on 400 grit, 600 grit, 800 grit to final finish, checking thickness often to get to .095"
Finished shim cut to close fit in barrel assembly hole.
Finished shim.
Sitting atop arbor, and in arbor hole.
You can silver solder the shim to the arbor or use a dab of JB weld in the arbor hole to hold it in place if desired. I left mine lose.
All reproduction Colt Open Top revolvers need to be shimmed. The arbors are always too short. Without the shim, the barrel assembly will flex upwards when you drive the wedge home. This moves the barrel from perpendicular with the cylinder face, causing the revolvers to shoot high as it also raises the sight. It also makes it near impossible to get repeatable wedge insert every time. With the shim in place the assembly locks up solid against the arbor and with the frame at the two pins on the frame assembly at the bottom of the barrel assembly. Now the cylinder gap remains constant, not flexing, no pinching at top. The wedge will go in the same distance every time. The revolver will shoot close to POA, and generally lower than an un-shimmed revolver.
For more info on why this needs to be done to all your Open Top revolvers see the links below to Larson E. Pettifoggers great articles in the SASS Cowboy Chronicles.
HTML:
http://www.theopenrange.net/articles/Tuning_the_Uberti_Open_Top_Revolvers_Part_1.pdfhttp://www.theopenrange.net/articles/Tuning_the_Uberti_Open_Top_Revolvers_Part_2.pdf
http://www.theopenrange.net/articles/Tuning_the_Uberti_Open_Top_Revolvers_Part_3.pdfhttp://www.theopenrange.net/articles/Tuning_the_Uberti_Open_Top_Revolvers_Part_4.pdf
You may wish to read his articles on tuning the Pietta, in fact I recommend Uberti users read this first as well.
http://www.theopenrange.net/articles/Tuning_the_Pietta_Part_One.pdf
http://www.theopenrange.net/articles/Tuning_the_Pietta_Part_Two.pdf
Finished Walker with shim in place locks up like a steel drum! No flex, consistent wedge depth each time.
Last edited:
