


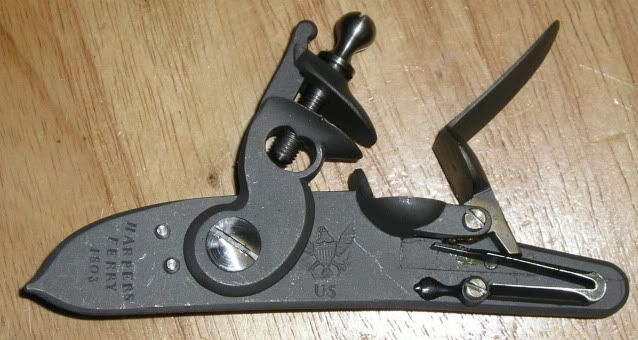
I just picked up a replacement Davis lock for my repro 1803 Harpers Ferry flinter. I believe the originals were in the white? I wanted some advise on removing the dull, gray finish.....can I assume varying grades of emory cloth to polish?
Thanks,
Tom
Thanks,
Tom
