• This community needs YOUR help today. We rely 100% on Supporting Memberships to fund our efforts. With the ever increasing fees of everything, we need help. We need more Supporting Members, today. Please invest back into this community. I will ship a few decals too in addition to all the account perks you get.


    Sign up here: https://www.muzzleloadingforum.com/account/upgrades
  • Friends, our 2nd Amendment rights are always under attack and the NRA has been a constant for decades in helping fight that fight.

    We have partnered with the NRA to offer you a discount on membership and Muzzleloading Forum gets a small percentage too of each membership, so you are supporting both the NRA and us.

    Use this link to sign up please; https://membership.nra.org/recruiters/join/XR045103

another wheellie!

Muzzleloading Forum

Help Support Muzzleloading Forum:

This site may earn a commission from merchant affiliate links, including eBay, Amazon, and others.
:applause: :applause: You guys that make your own locks amaze me!
I hope to get to that level some day...I'm just a dumb wood butcher.
Very sexy!!
 
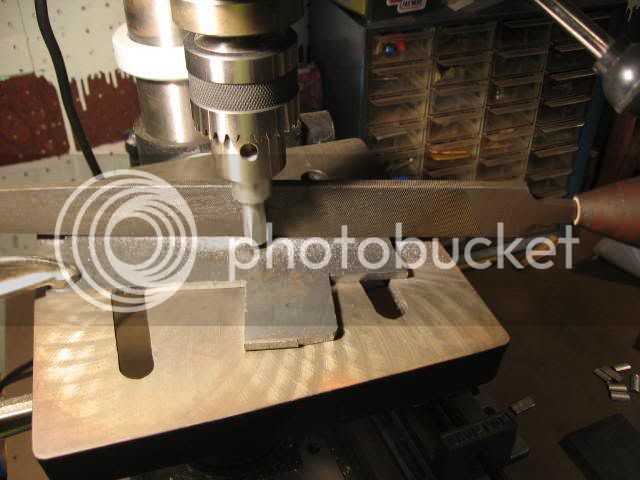
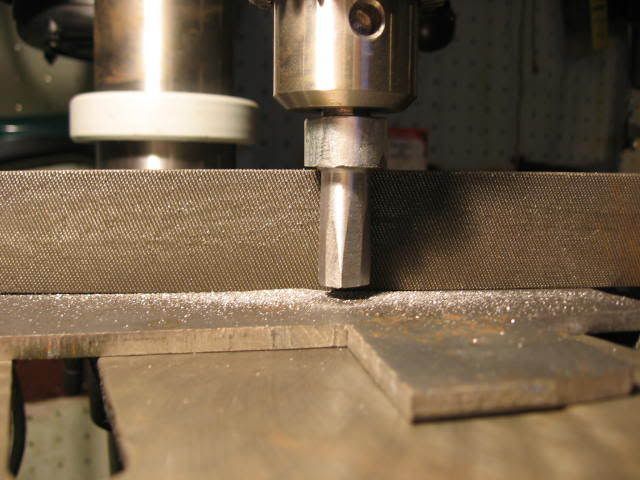
Here are a couple more pics. In the first I show the set up for truing and rounding the second shaft. The next pic is closer in and shows some of the rounding done. I find if I put too much pressure on the file it follows the misshape. A light pressure doesn't work as fast but takes only the high spots off.

truing002.jpg


truing001.jpg


volatpluvia
 
Pitchy,
Yes, the satisfaction is high when you do it yourself and it works. I still have that second lock setting in the cabinet. You know, the one that is a mechanical success but won't lite prime?
hee hee!

Mr. Gray,
I started out the same way back in 1978! How old are you? Sexy is one way I hadn't looked at locks yet. Now some of the fancy carved,inlaid and chisled yeagers and wheellock rifles....

volatpluvia
 
Great work Volatpluvia! :bow:

I have been trying to figure how to square the circle and circle the square, and not reached any good conclusion. Your approach seems the most direct.

The 'light cut in a fixed drill' is a good idea. I was considering using a drill mounted with a belt grinder or angle grinder with a depth stop, but its unlikely the inherent slop would let it be better than slow hand work.
 
V,
I'm 43.spent many years as a cabinetmaker/carver
The weelie has always facinated me. I'm looking foward to seeing the progress of your lil' beauty.
By the way, I've got one of those sexy Jaegers in the works now.
 
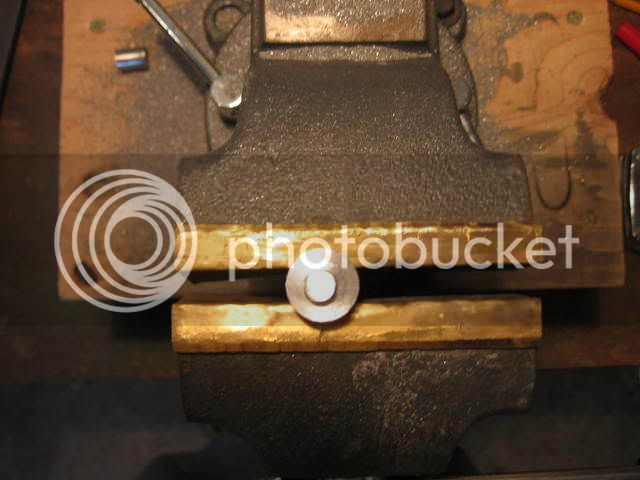
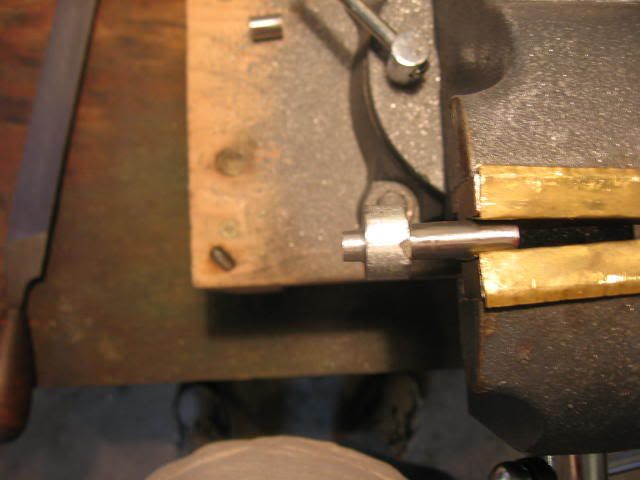
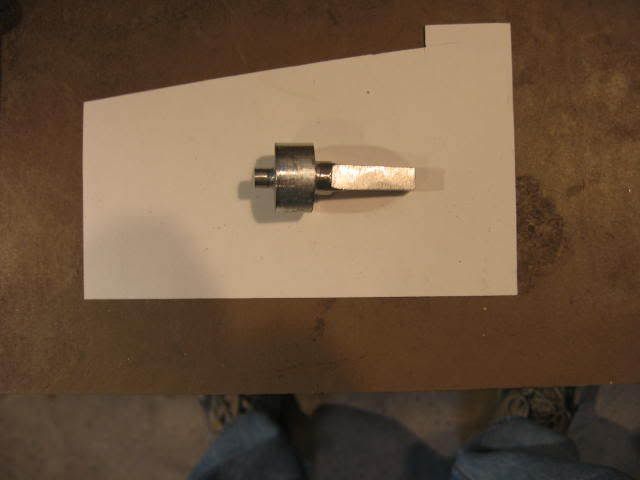
I did a little work at a time over the last couple of weeks. The end of the spindle that I was power filing I decided would be the short end that rides in the bridle. So I cut it off and began to file down the size to fit that .20 hole in the bridle. The first pic shows just how far off center you can get power filing with nothing fixed as in a lathe. The second pic shows the same from the side view.

nonconcentric001.jpg


nonconcentric002.jpg


So with careful measurement and equally careful hand filing I recentered the short shaft. I had enough thickness left to file off one side and make it round again. The next pic shows the profile, the stubby end fits in the bridle and spins without binding. I have begun the process of fitting the round part of the other end thru the hole in the plate. I drilled it with a three eighth bit. According to my construction calculater three eighths is supposed to be .375. according to my digital caliper that bit measures .366. That is why I can never get a shaft of a stated diameter thru a hole drilled with that size of bit. My guess is that the bit is to be small enough so one an use a reamer to finish it. Oh, well! I will leave the hole as drlled and carefully reduce the shaft by hand until it fits. If the shafts are concentric with each other, it will work. If not I will have to find someone with a lathe.

progress002.jpg


volatpluvia
 
You arn`t done yet :blah: looks like your getting it done and will be spinning a wheel soon. :thumbsup:
 
Volatpluvia,
Looks like neat work and you have more endurance than I would have doing that without a lathe. If it doesn't work send me the dimensions and I'll turn you one on my lathe.

Regards,

Alex Johnson
 
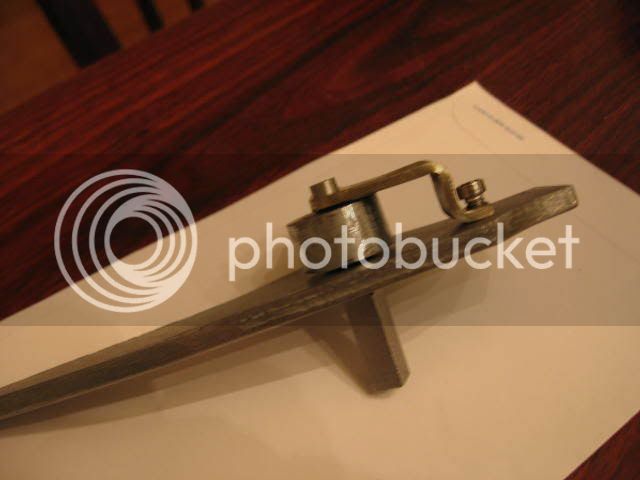
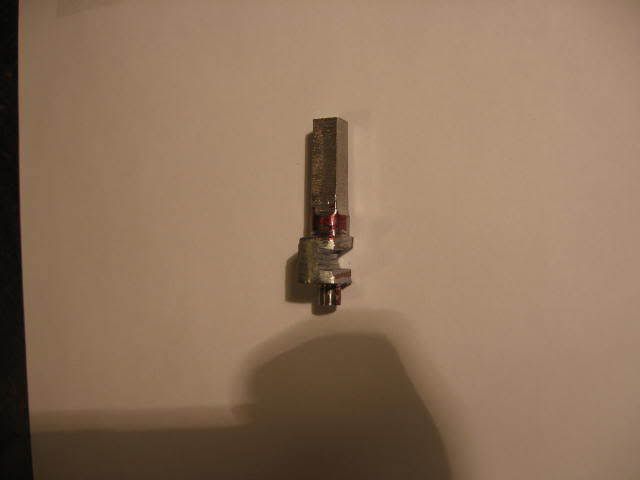
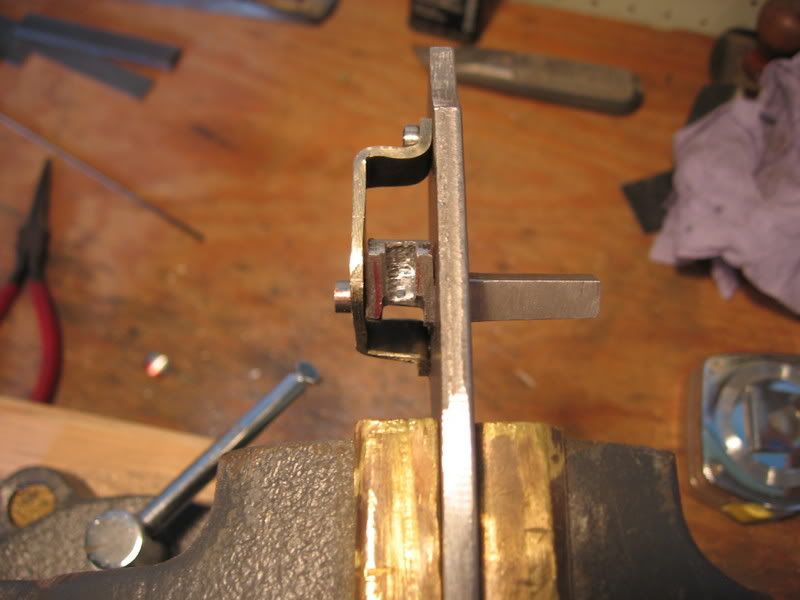
I am shocked. Considering how many times I had both ends out of round and not concentric with each other the axle spins in the lock with finger pressure. There are a few places where there is resistance and I will clear that up with valve grinding paste. My method was to coat the large end with red magic marker and insert it into the hole thru the plate as far as it would go and then needle file a little where the ink was rubbed off. It only took three times to get it thru. The I put the bridle on and turn the screws in part way and it worked!

Now you can observe that the large round part in the middle has to be thinned some so I can tightend the bridle bolts down. Then I will be able to remove that part of the radius that is not needed for the cam that opens the pan.

axlemounted001.jpg


volatpluvia
 
Pitchy,
Here are couple more pics. After all the hand work to get those two posts concentric and round and leaving that big round collar on there I just cut away seventy five percent of it. Oh, Well, that is how it is done. I first made the axle spin freely in the plate and bridle and then did the cutting. The two pics are from different angles. And it is not done yet. I have to plough the trough deeper leaving the ends intact.

shaping001.jpg


shaping002.jpg


volatpluvia
 
Kinda how i saw lumber, start with a log and end up with a board. :haha:
Looks like your getting that part close too done, that opens the pan cover right.
 
Looks good Leon! At the moment, I'm making a couple "apostles" to feed my Dutchie. Turning them out of a hickory limb. Got the bottles almost finished, Lids tomorrow. Will post a couple of pics when I get them done. Cheers, Bookie
 
Yes, Pitchy,
It's amazing what you have to remove to get where you're going. Yes, this part will soon be finished but then there is the chain, the spring, the pan....

Bookie,
I look forward to seeing your 'apostles' when you post pics.

volatpluvia
 
look forward to the pics of the chain making. looks like a dificult task to make all the little things work properly. :grin:
 
Okay,
Next step is to cut a round trough in that slot. I got out a little cutter to put in the electric drill and discovered the cutter is not large enough to even get to the bottom of the slot.
I have a medium graver that had the tip broken off, by me of course. I also have a small swatch of diamond belt mounted on a piece of curly maple that I bought at Dixon's Gunmaker's Faire a number of years ago. I used the diamond belt to reshape the nose of the graver backwards so that the wide spine of the graver became the cutting edge. This took less time than you might think as diamond cuts even the hardest steels easily. Then I began to cut thin wafers of steel out of the slot until it was deep enough and a round radius. This also did not take as long as I had supposed.
I did discover that I had to make a few cuts and then run the edge over the hard Arkansas stone with a drop of cuttng oil on it. The next cut was then enthusiastic. But the tiny chisel dulled quickly, so back to the stone.
So here is pic of the finished trough. It is not smooth, but it is large enough that the end of the chain link will not touch rough radius.

chisled001.jpg


And now for the chain!
volatpluvia
 
Okay,
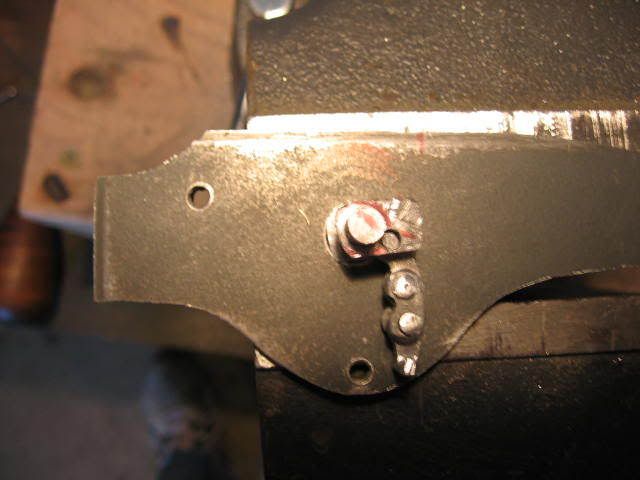
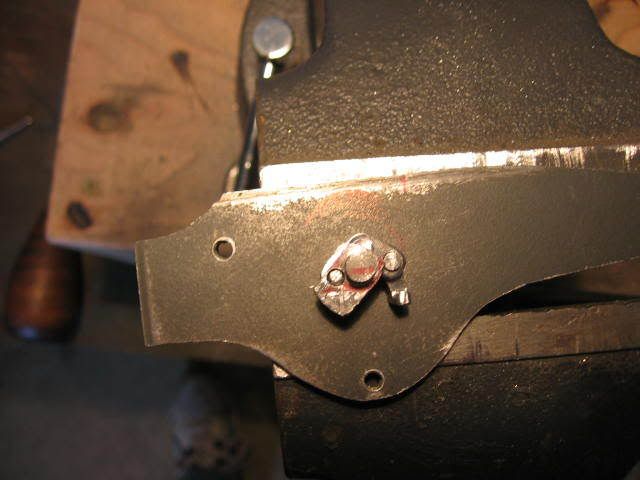
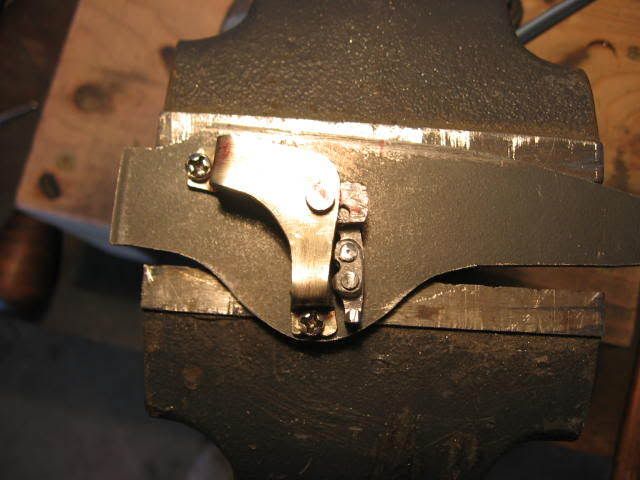
Here are some pics of the chain. This lock is smaller so I had to make the chain shorter. Everything else will be more compact as well and will require more precise positioning, etc. This is my first attempt to make the traditional self opening pan cover with parts I made instead of bought, thus the cam on the axle. So I am hoping all this will work. I am beginning work now on the pan, but won't shoot pics until it is ready to put on the plate.

chain001.jpg


chain002.jpg


chain003.jpg


volatpluvia
 

Latest posts

Back
Top