


koauke
40 Cal.
- Joined
- Jun 14, 2014
- Messages
- 168
- Reaction score
- 99
Well, after asking about haversacks in a previous thread and getting some helpful information I got to work on making my own. I searched through the internet looking for additional information on making haversacks, haversack photos and looked over a reproduction civil war haversack I picked up at a reenactment a few years back. I also browsed through youtube on stitching techniques as I have never sewed before. I decided on using a back stitch as it was noted to be the strongest and most flexible hand stitch.
I picked up some natural cotton canvas, a thinner natural cotton fabric, and cotton thread.
So here is what I came up with. Is it HC or PC? I don't know.....but for a first try I think I kept it pretty simple and drew from many sources. Apologies for all the photos and detail.
I'm not sure if I want to add a front flap closer like a button or not. So for now the haversack is done! Thanks for looking! Thoughts/comments are appreciated.
Photo 1: After some careful thinking I drew up a plan and created a basic pattern out of poster board for each of the main parts of the bag and got to work cutting the canvas.
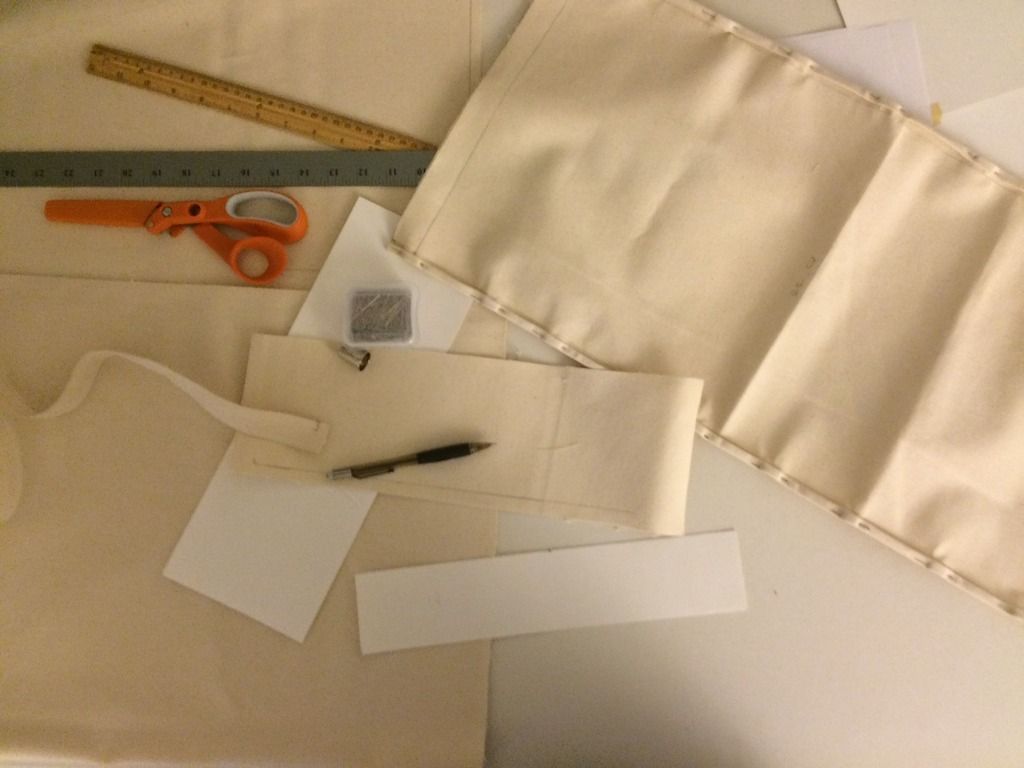
Photo 2: I left enough material to fold over and sew to prevent the raw edges from fraying. This photo shows the beginning of this process.
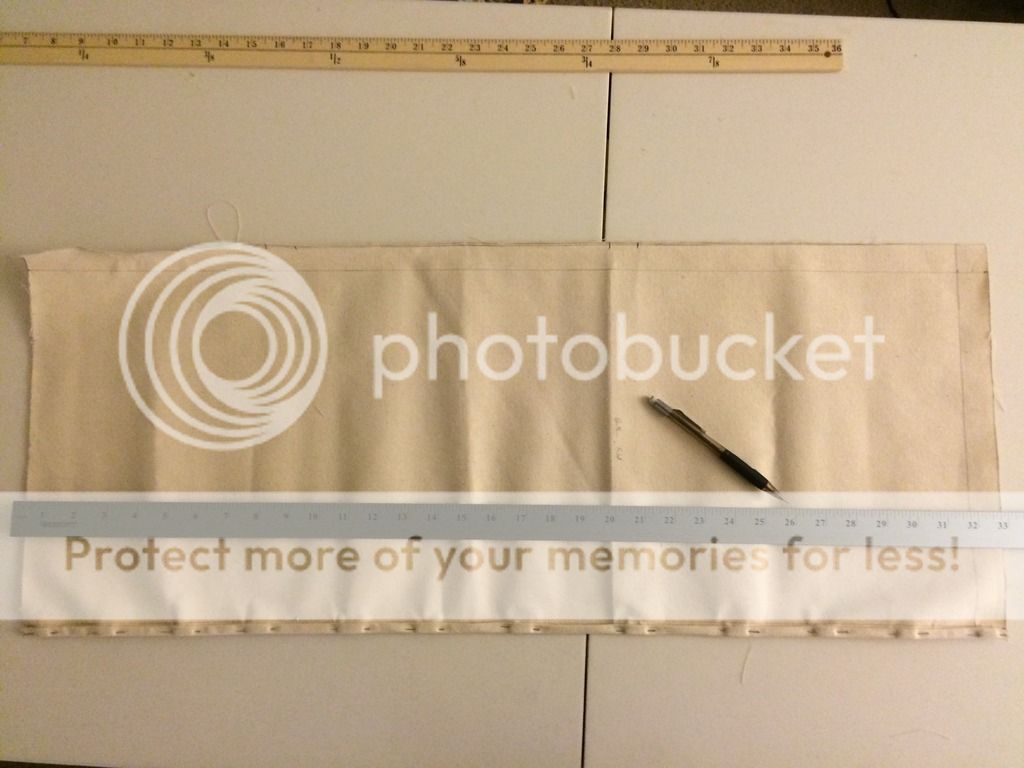
Photo 3: In looking over my civil war haversack I noticed there was reinforcing material on points of stress.....the front flap, the front of the bag where the closer attaches, and where the strap attaches. I decided to do the same to my bag.
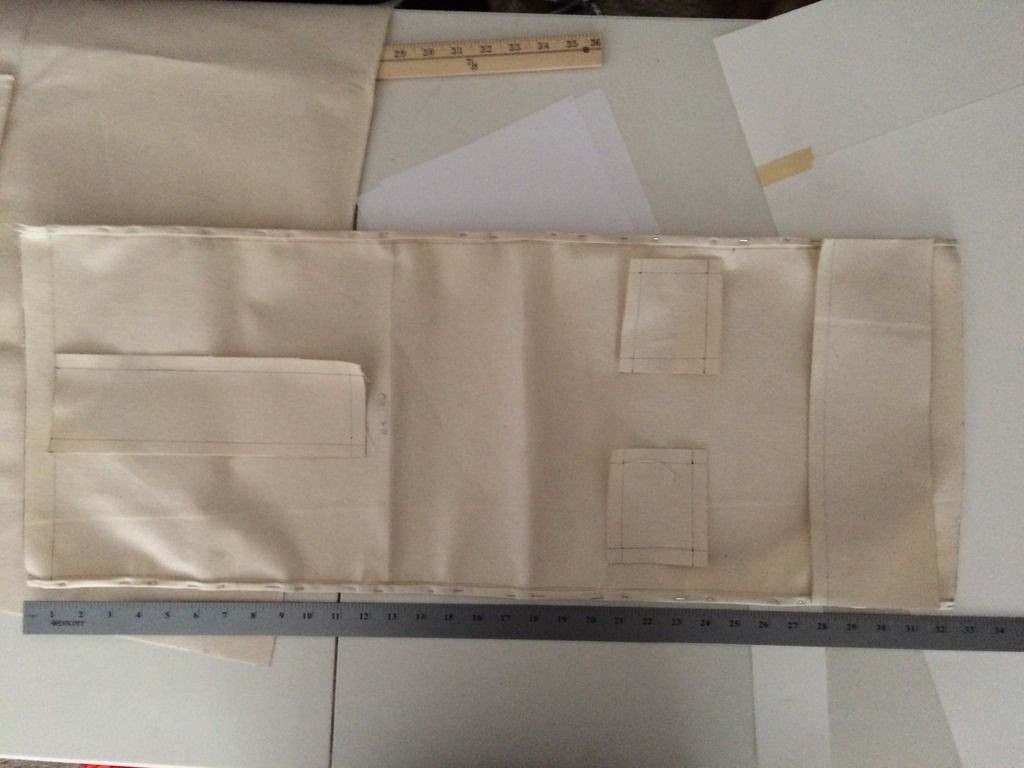
Photo 4: Again I left enough material on these reinforcing areas and folded the edges over to prevent the raw edges from fraying. This photo shows all edges of the bag folded, pinned and ready to sew. After sewing the edges I folded the bag and began to sew the shell closed.
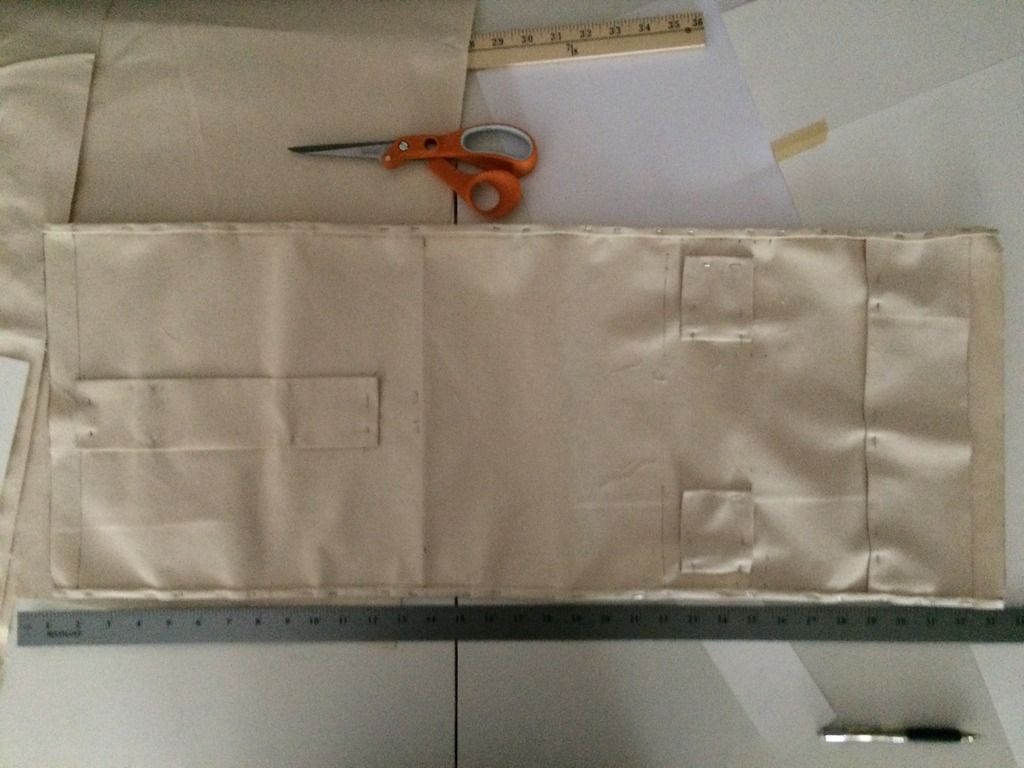
Photo 5: After hours of hand stitching the haversack began to take shape. I had intended to sew the bag wrong side out and flip it inside out when done, however I realized it would create some issues with the flap that I decided to avoid dealing with. Due to the way I folded and sewed the edges the flap would have had an awkward fold and rather than lay naturally flat. So I began sewing up the sides of the bag together.
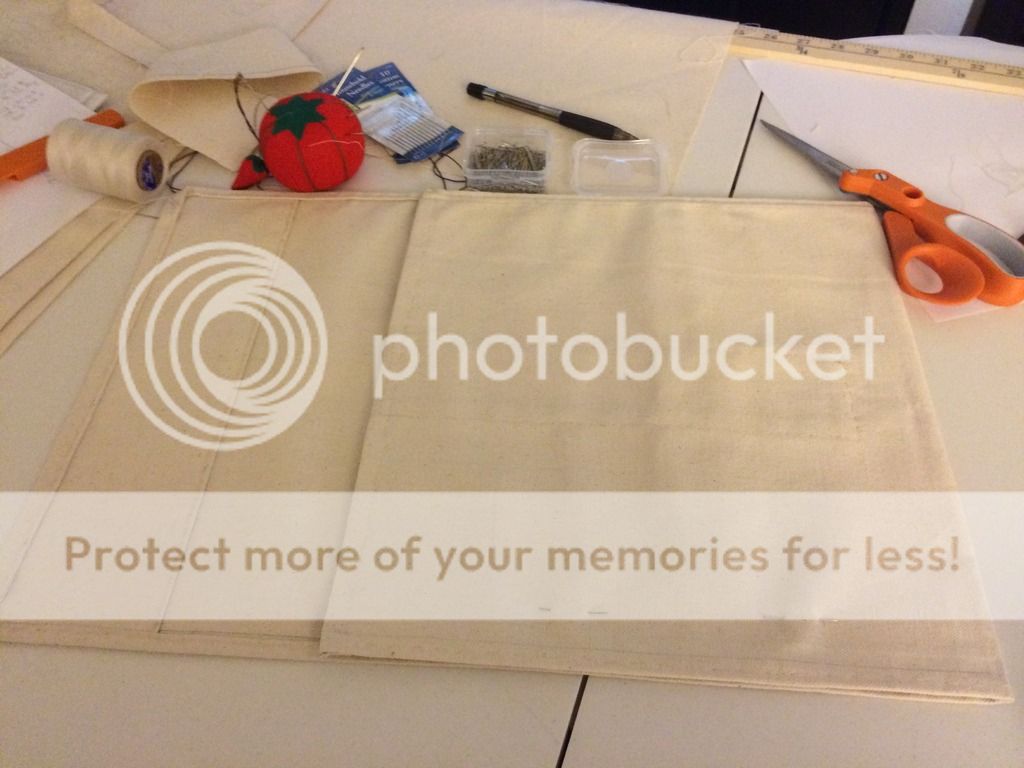
Photo 6: I sewed up only one side of the bag as it became apparent that sewing on the strap would be more difficult with both edges sewn. This photo shows the haversack up to that point along with the reinforcing material on the inside of the bag.
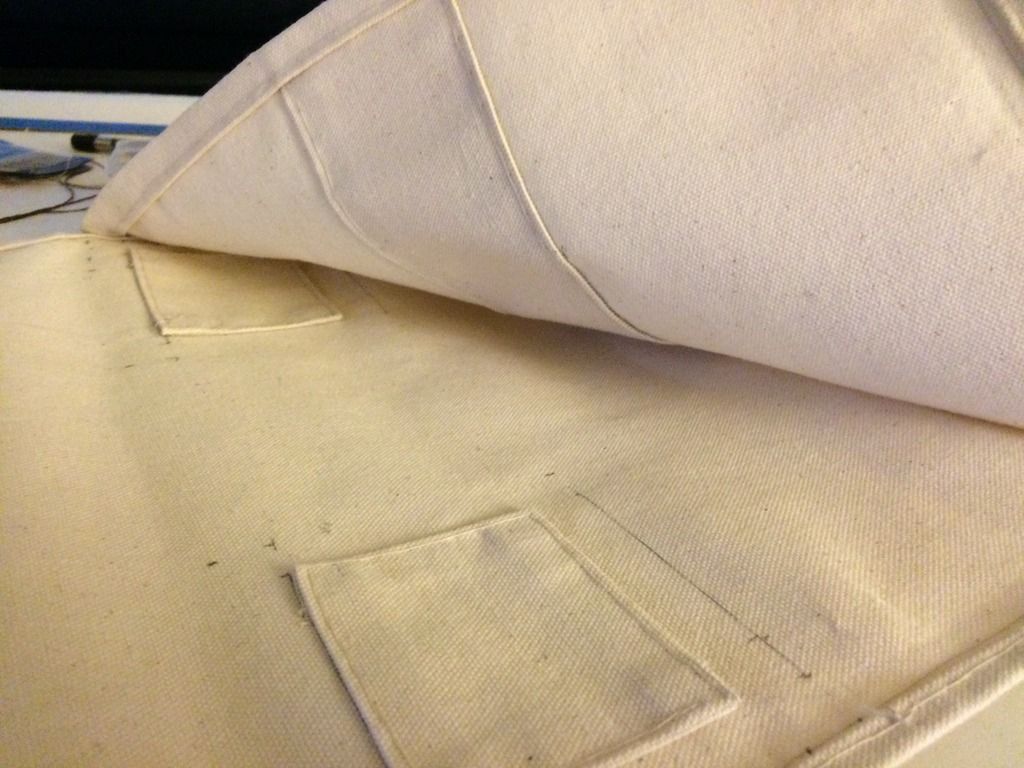
Photo 7: Another view showing the front of the bag.

Photo 8: one more view
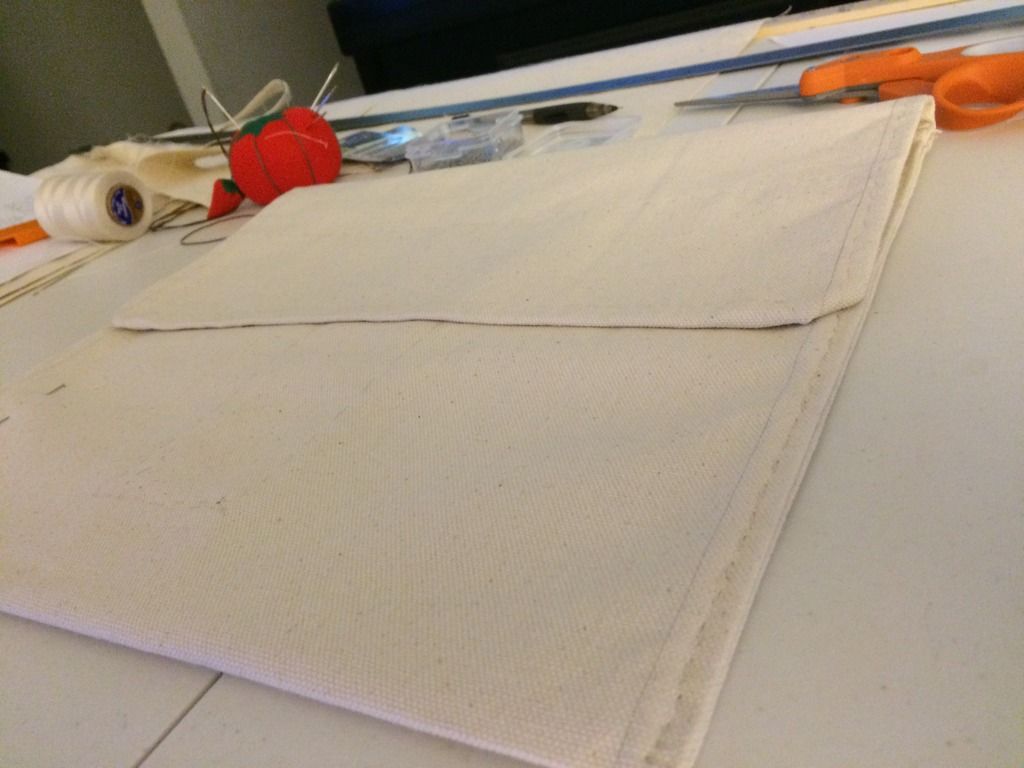
Photo 9: At this point I began work on the strap. The strap was created using a long strip of canvas 5 inches wide. It was folded in half and the raw edges rolled in another half inch to keep them from fraying. This gave me a 2 inch wide strap.
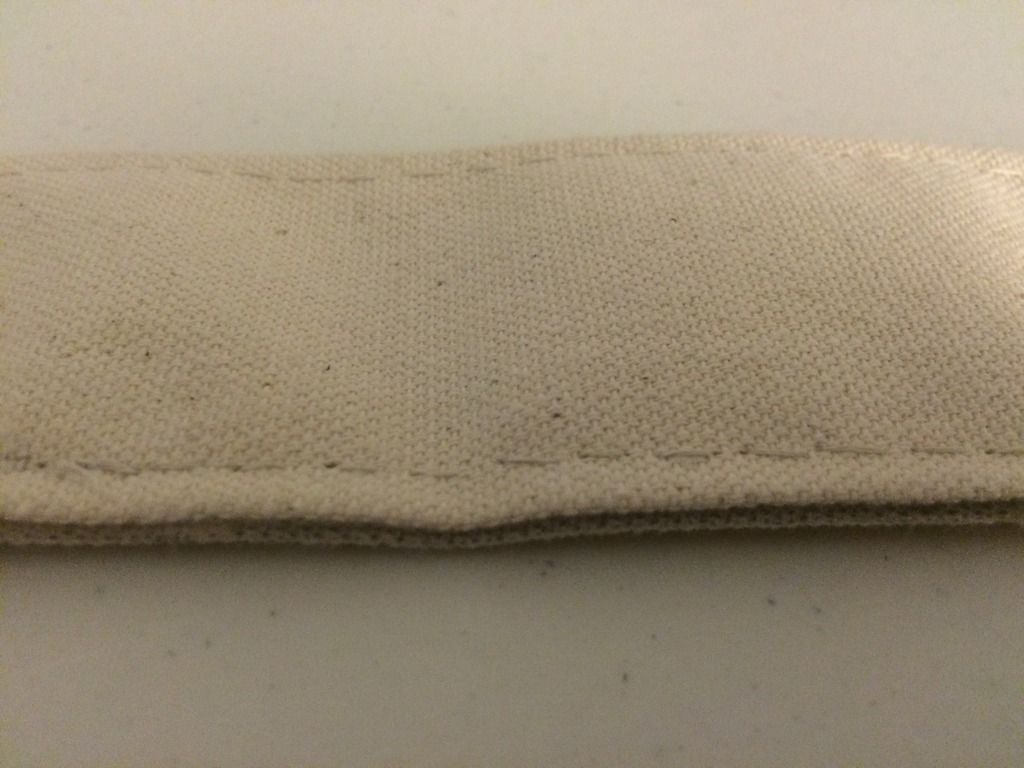
Photo 10: After sewing the edges of the strap I attached the strap to the bag and sewed up the remaining side of the bag.
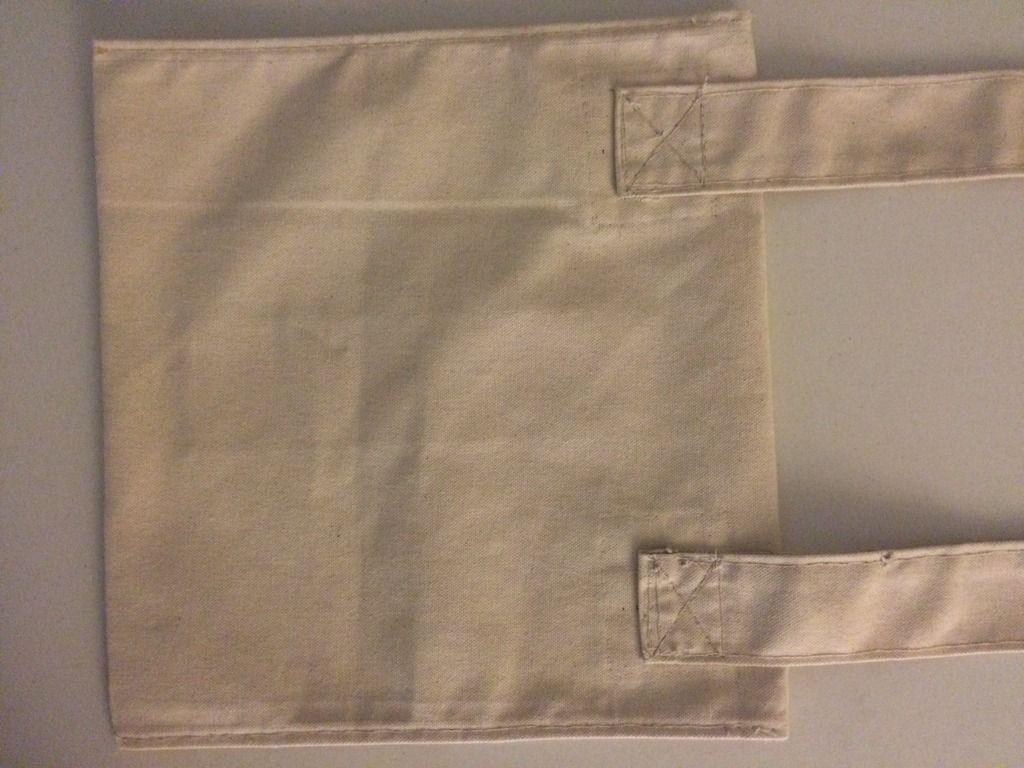
Photo 11: Front view.
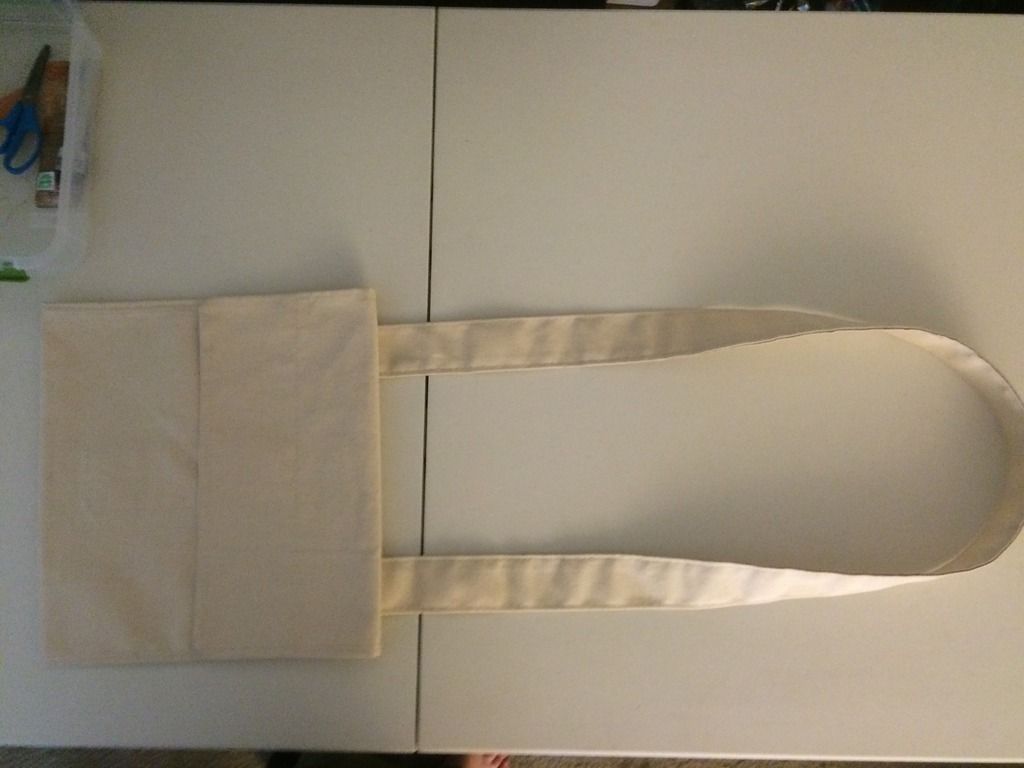
Photo 12: I wanted to create a lining for the bag but rather than sewing one in, I decided to create a button in cotton liner as I liked this feature of the civil war haversack I have. So I took some measurements and began working with the cotton fabric. Again I left enough material to fold over and sew to prevent the edges from fraying.

Photo 13: Just as with the haversack itself I folded the material and sewed up the edges. I sewed it up wrong side out so that the "finished" side would be visible on the inside of the haversack creating a nicer look. I also cut and sewed three button holes. One on the front and two on the back.
Here is a front view of the liner with one button hole.
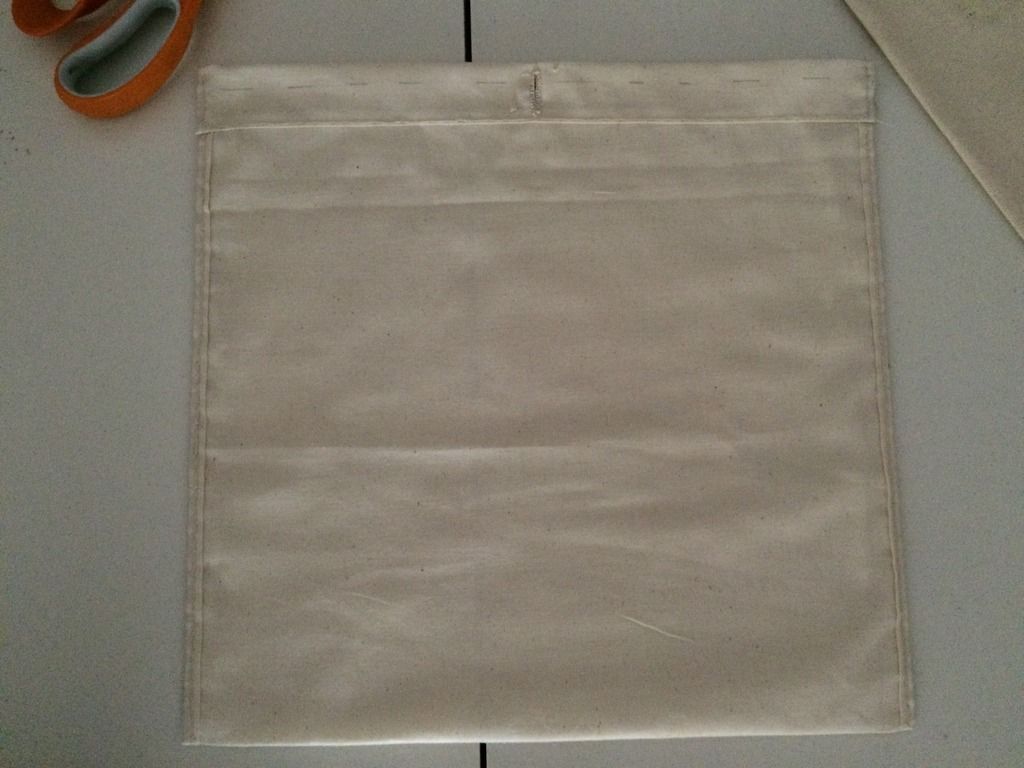
Photo 14: The back of the liner, two button holes.
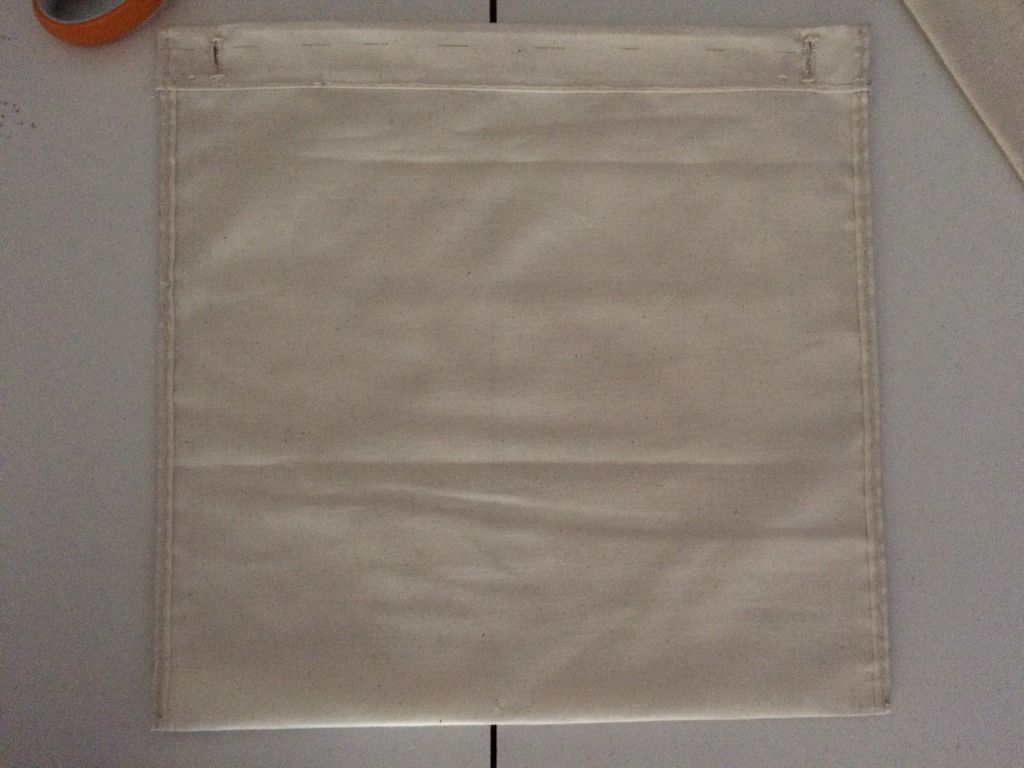
Photo 15: Close up of the button hole. When researching how to sew an 18th century button hole the I learned the thread to use is silk buttonhole twist. It was also mentioned that pearl cotton embroidery thread could be used as a substitute (tho not HC I suppose). I used the cotton pearl thread as the silk twist was not available locally and I didn't really want to wait.
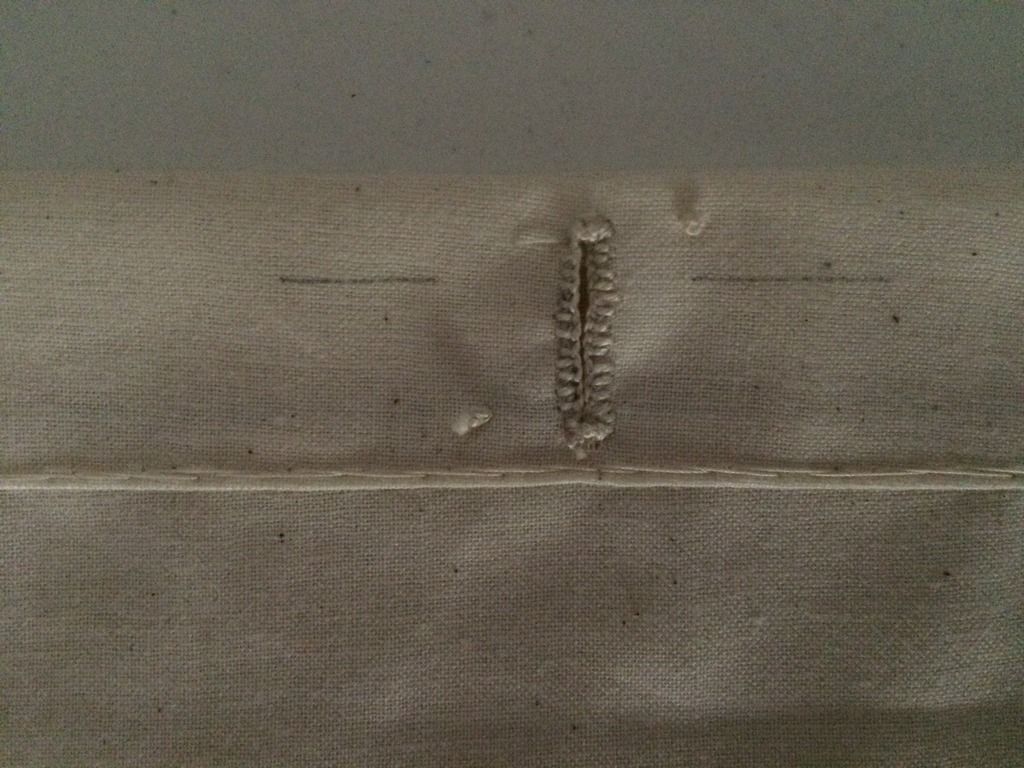
Photo 16: After completing the liner all that was left was to sew on the buttons as shown in the photo below. I chose these particular buttons as the color and texture kind of resembled antler.
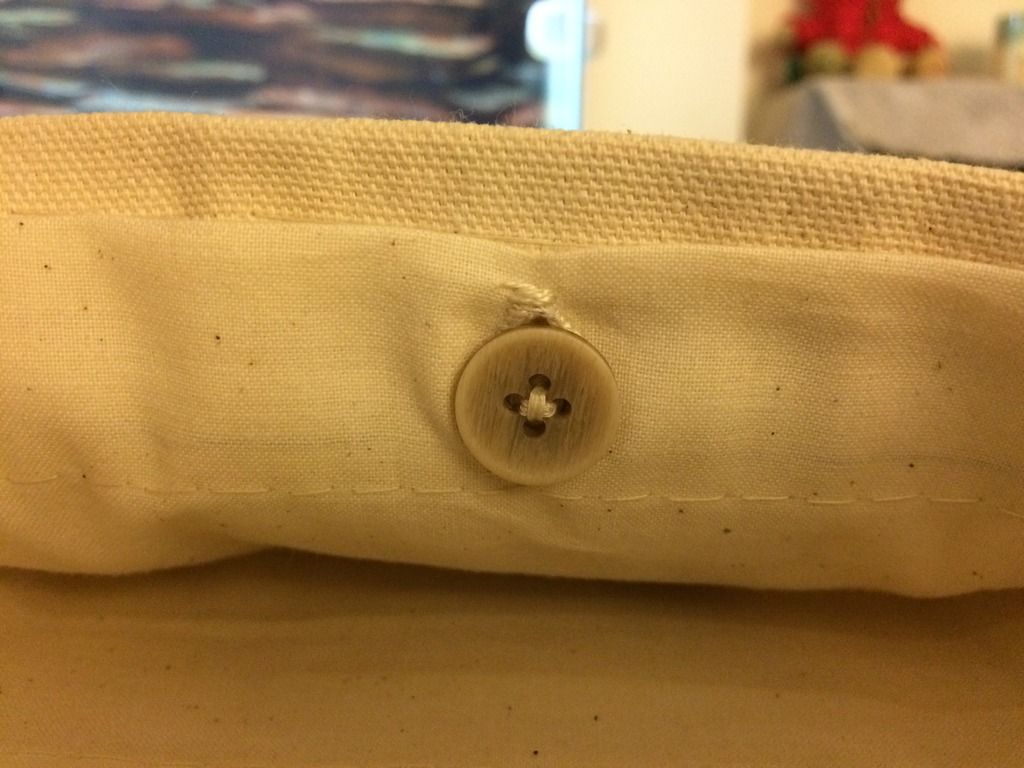
Photo 17: View of completed liner and buttons.
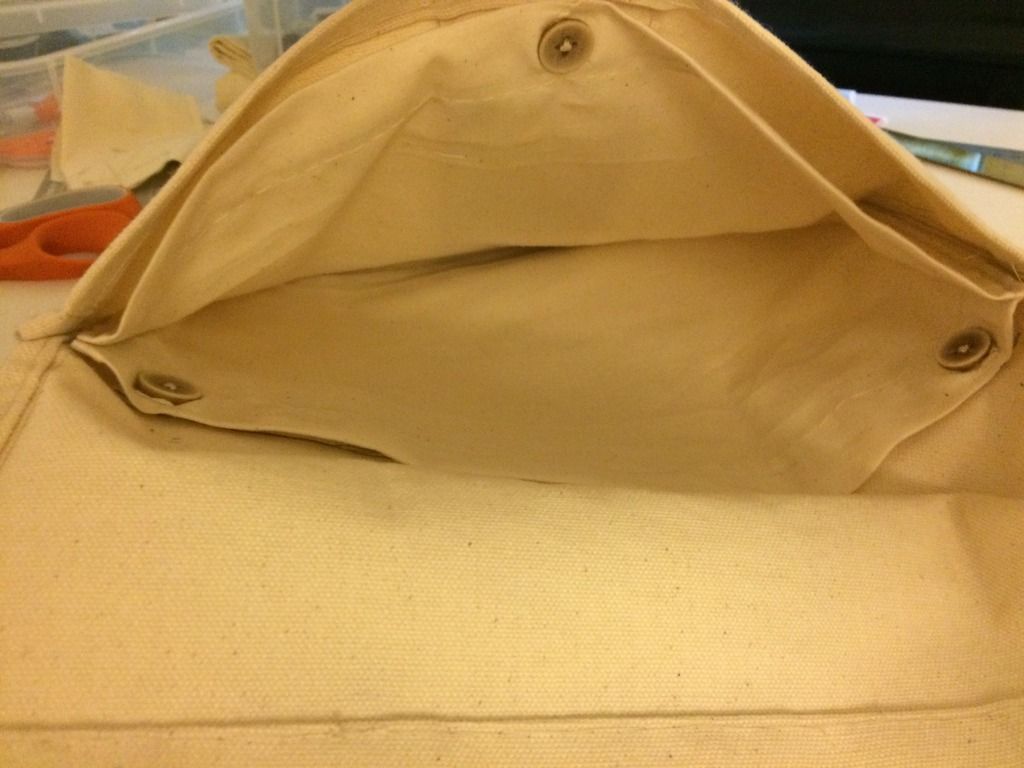
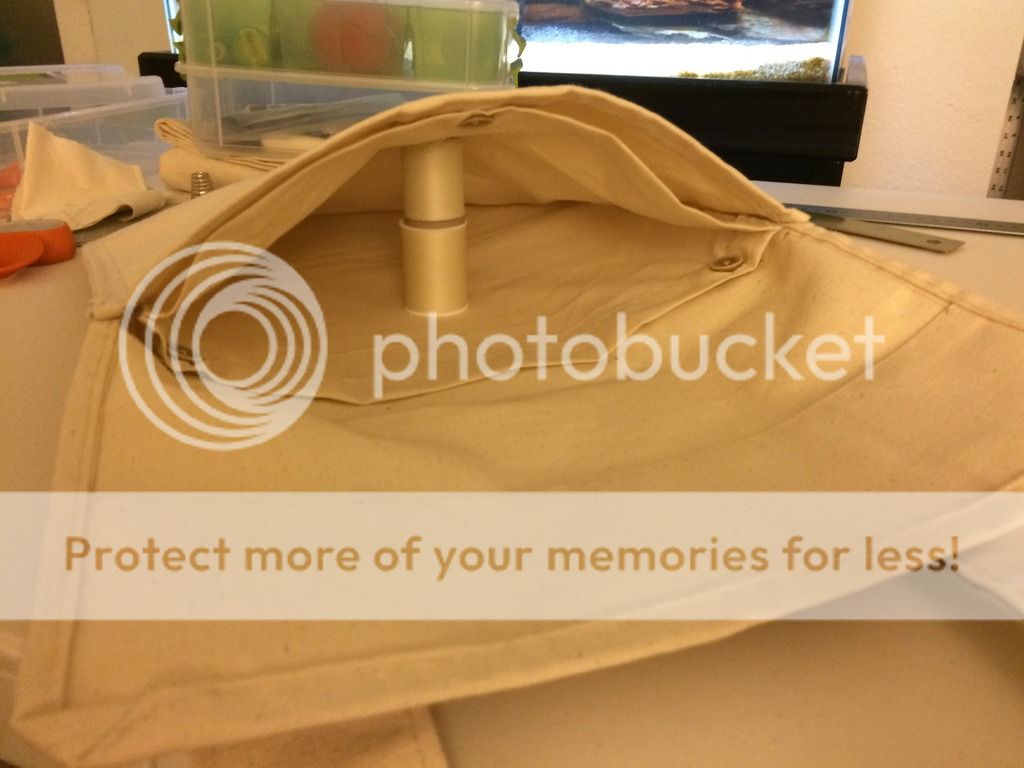
Photo 18: Another view.
I picked up some natural cotton canvas, a thinner natural cotton fabric, and cotton thread.
So here is what I came up with. Is it HC or PC? I don't know.....but for a first try I think I kept it pretty simple and drew from many sources. Apologies for all the photos and detail.
I'm not sure if I want to add a front flap closer like a button or not. So for now the haversack is done! Thanks for looking! Thoughts/comments are appreciated.
Photo 1: After some careful thinking I drew up a plan and created a basic pattern out of poster board for each of the main parts of the bag and got to work cutting the canvas.

Photo 2: I left enough material to fold over and sew to prevent the raw edges from fraying. This photo shows the beginning of this process.

Photo 3: In looking over my civil war haversack I noticed there was reinforcing material on points of stress.....the front flap, the front of the bag where the closer attaches, and where the strap attaches. I decided to do the same to my bag.

Photo 4: Again I left enough material on these reinforcing areas and folded the edges over to prevent the raw edges from fraying. This photo shows all edges of the bag folded, pinned and ready to sew. After sewing the edges I folded the bag and began to sew the shell closed.

Photo 5: After hours of hand stitching the haversack began to take shape. I had intended to sew the bag wrong side out and flip it inside out when done, however I realized it would create some issues with the flap that I decided to avoid dealing with. Due to the way I folded and sewed the edges the flap would have had an awkward fold and rather than lay naturally flat. So I began sewing up the sides of the bag together.

Photo 6: I sewed up only one side of the bag as it became apparent that sewing on the strap would be more difficult with both edges sewn. This photo shows the haversack up to that point along with the reinforcing material on the inside of the bag.

Photo 7: Another view showing the front of the bag.

Photo 8: one more view

Photo 9: At this point I began work on the strap. The strap was created using a long strip of canvas 5 inches wide. It was folded in half and the raw edges rolled in another half inch to keep them from fraying. This gave me a 2 inch wide strap.

Photo 10: After sewing the edges of the strap I attached the strap to the bag and sewed up the remaining side of the bag.

Photo 11: Front view.

Photo 12: I wanted to create a lining for the bag but rather than sewing one in, I decided to create a button in cotton liner as I liked this feature of the civil war haversack I have. So I took some measurements and began working with the cotton fabric. Again I left enough material to fold over and sew to prevent the edges from fraying.

Photo 13: Just as with the haversack itself I folded the material and sewed up the edges. I sewed it up wrong side out so that the "finished" side would be visible on the inside of the haversack creating a nicer look. I also cut and sewed three button holes. One on the front and two on the back.
Here is a front view of the liner with one button hole.

Photo 14: The back of the liner, two button holes.

Photo 15: Close up of the button hole. When researching how to sew an 18th century button hole the I learned the thread to use is silk buttonhole twist. It was also mentioned that pearl cotton embroidery thread could be used as a substitute (tho not HC I suppose). I used the cotton pearl thread as the silk twist was not available locally and I didn't really want to wait.

Photo 16: After completing the liner all that was left was to sew on the buttons as shown in the photo below. I chose these particular buttons as the color and texture kind of resembled antler.

Photo 17: View of completed liner and buttons.

Photo 18: Another view.

