• Friends, our 2nd Amendment rights are always under attack and the NRA has been a constant for decades in helping fight that fight.

    We have partnered with the NRA to offer you a discount on membership and Muzzleloading Forum gets a small percentage too of each membership, so you are supporting both the NRA and us.

    Use this link to sign up please; https://membership.nra.org/recruiters/join/XR045103

Starting with a blank, need guidance

Muzzleloading Forum

Help Support Muzzleloading Forum:

This site may earn a commission from merchant affiliate links, including eBay, Amazon, and others.

Tennessee.45

40 Cal.
Joined
May 8, 2016
Messages
115
Reaction score
1
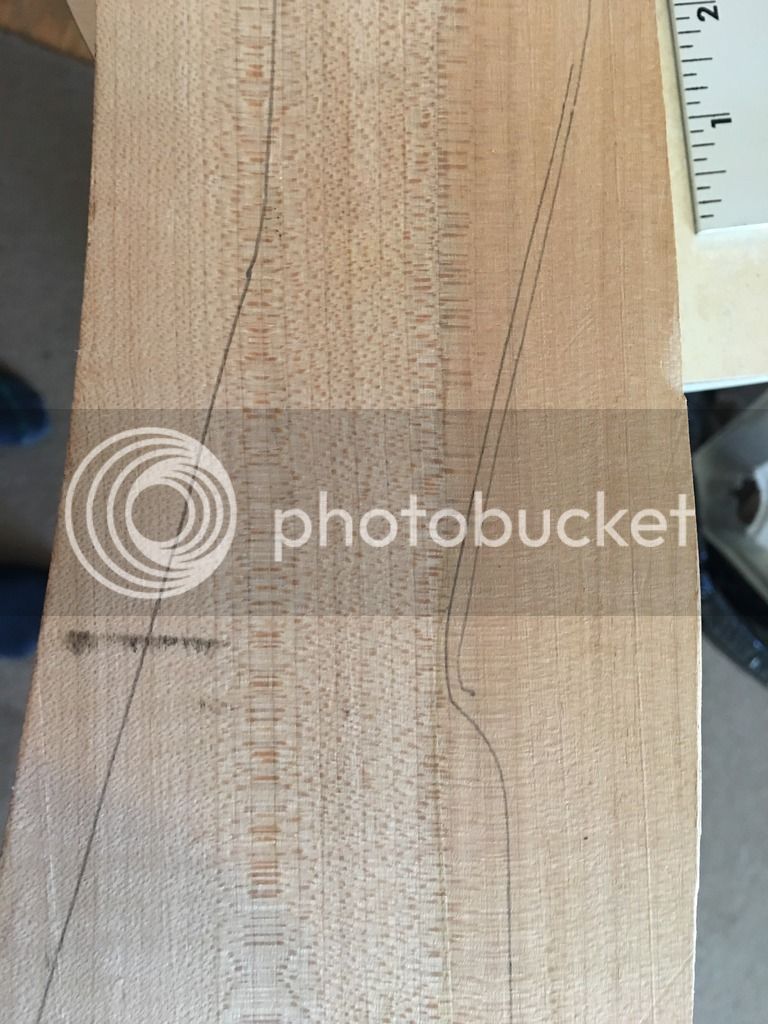
I got my stock blank and have the stock shape and drop traced on the stock, where do I go from there?

I'm kinda nervous as this is my first build using a blank, all the others were with a precarve
 
Cut out your profile, leaving an extra 1/16" all around.

Inlet the barrel, breech, lock, trigger, buttplate, triggerguard, pipes, in that order.
The barrel will give you location for the lock, the lock for the trigger, the trigger for the buttplate and triggerguard.
Hope that helps.
 
Gunsmith of Grenville county. buy it. save yourself a lot of doing stuff out of order. I think it`s $35 USD from track
 
In Ice carving I was taught to "Carve away everything that doesn't look like a Swan" same premise. :v
 
I'm new here, but 2nd the Grenville book.

You will need a ramrod drill too.

A long straight edge, a small square, in letting black, a 3/8 round file for a 3/8ths ramrod.

I think you might be better off using a straight barrel. I built a 36 inch 45 cal 13/16ths. However, I bought a 42 inch and cut it down to 36 because it felt too front heavy. That little 6 inch extra piece was sure handy.
 
why would he need a straight barrel??
ease of inletting??????

Swamped barrels have way better balance the longer they are.

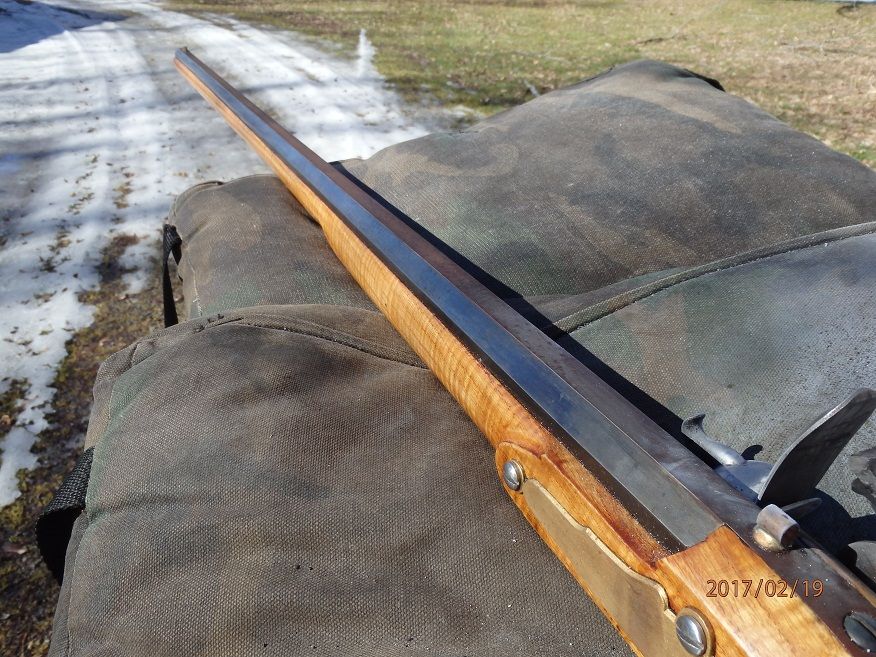
here's a 42 Virginia barrel in 58 cal from Rice.......on the range....great balance swamped.

Nothing like the T/C's fence posts I own and shoot.

P2190337_zps932dlpd9.jpg
 
I don't know how you plan to cut the barrel channel but if you are going to use a router, be sure to true up the top surface so that it is flat and true up one of the sides so it is straight and perpendicular to the top.

Also, leave the wood on both sides of the barrel channel as wide as possible. This means, do not try to trim the width on either side of the future barrel channel down.

That will give you a a good, wide straight surface to rest the router on and to serve as a guide for the fence so that an accurate, straight channel will be cut.
(This applies for both a straight octagon or a swamped barrel. The initial channel must be straight. With a swamped barrel, the larger swamped areas are then cut into the newly machined straight channel.)

If you are going to use a router, I suggest you use a straight cutting carbide bit that is about the same width as the flats on the barrel.

For a 7/8" octagon that would be about 3/8" in diameter. (The actual barrel flat calculates to be .362" but the slightly larger .375 size will not cause a problem.)

I do not recommend trying to cut the 45° angles with the router.

If you cut the center of the channel width straight down using many passes while increasing the depth of cut a little bit with each pass, when you reach full depth you will have the bottom flat.

Then, reset the fence so that the side of the cutter will be cutting a channel that is closest to the guide side of the stock.
(You will have to do some calculating to determine where this will be but if you are using a 3/8" bit and cutting a groove for a 7/8" barrel, the fence will be set .250 (1/4") closer than it was when you made the center cut. (.250 + .1875 = .4375).

Likewise when you set the fence to do the far side of the channel you would set the fence 1/2" further than it was set to cut the near side.
It's a good idea on cutting the far side to take many measurements on the total width of the slot before making any long cuts. Start out on the narrow side and slowly adjust the fence until the cutter is producing a width you want to end up with.

Now, about the depth of these two cuts. (The near and far side of the channel.)

As before, start with a shallow cut and slowly increase the depth as you make passes down the length of the stock.
The depth of the near and far side cut will be (for a 7/8" barrel) .256 less than the center slot was cut. (1/4" less will do).

When you've finished with these 3 cuts you will have a deep center channel with an area on each side that is 1/4" more shallow than the center cut.

If you use a 3/8" wide chisel you can remove the two ledges that are on either side of the center channel by cutting it on a 45° angle. This will essentially remove all of the wood and leave you with the two angular side flats to finish out the channel.

Before someone asks, yes, I've used this process on two stocks made from blanks and it works very nicely.
 
Don't cut yet!

This is how I was taught...

So far I have traced originals to give me a good pattern. I lucked out as the original I traced fits the future owner well.

Some will draw up a complete plan. On mine I'll sketch out a life size drawing based on my traced template onto poster board using the barrel, lock, triggerguard, triggers and buttplate. For the drawing I sketch out the butt to the forestock as much as the poster allows. What I am doing here is checking basic compatibility of components.

Now, the original template in my case is only a guide. It gives me the basic architecture that I'll tweak to fit the barrel and furniture I'm using. The drawing helps tie all of this together based on the parts I'm using ...not what the original rifle had.

What I am doing is creating a new rifle based off the architecture of an original. You can do the same with your template...or even design own based on the architecture of the school you are emulating. I'm sorry if this sounds clear as mud.

If this was a "bench copy" the barrel profile lock and all the components would match or be modified to match near exactly what the original had.

Transfer to wood...

So you have a blank. You'll need to transfer your completed design onto the wood.

This is what I do...

First you need to find the location of the rifle in the wood. Take your template and place it onto the stock. Just eyeballing now. What you are trying to find is the best grain for the wrist. Also there may be some knots and bark inclusions to work around and avoid. Don't trace yet, You are just looking..getting an idea.

Sometimes stocks are really crooked or have a bow. You may need to square the drawing side the best you can. It does not have to be perfect by any means but it needs to be reasonable.

My wood was pretty straight so I did not have to plane the sides.

Since I used a full size template that I confirmed by my drawing would work. I traced this to the lock side of the blank. Taking care to keep the template straight. It worked out that the top of the breech was just about the top of the blank in that area....That's not always the case. The template was marked where the barrel breech was so I make that mark on the top of the blank. I then lay the barrel on the blank and match it to the template out line and breech mark. I make sure everything looks straight.When laying this out try to leave an inch or so below the toe of the butt.

I measure and mark the breech. I measure and mark the muzzle.

On the side of my blank I have the stock shape drawn out. I have vertical line marking the breech and another marking the muzzle of the barrel.

I have the top of the barrel marked by a small horizontal lines at the breech and the muzzle.

From these horizontal lines at the breech and muzzle I use a square and calipers to confirm the bottom of the barrel.
I make horizontal lines at the breech and the muzzle...measured precisely as possible. These lines are connected.This is the bottom of the barrel.
I divide these measurement at the breech and then the muzzle. I mark and connect. This is the mid point of the side flat or...the top of the barrel rails.
From the Bottom barrel line I measure down and mark a line 3/16 below the breech. I then measure down and mark 1/8 inch below the muzzle. I then Connect these lines. This is the WEB and is also the top of the ramrod groove.
Lets say I'm using a 3/8 inch rod. I measure down from the Web line 3/8 at the breech and the muzzle I connect these lines. This is the bottom of the ramrod groove.
The template should show about where ramrod entry is. Measure up from here to split the 3/8 measurement. Mark at entry and at the muzzle. This mmarks the rails of your ramrod groove in the upper forestock.
Mark 1/8 inch below the bottom of the ramrod line at the breech and entry. This is roughly the bottom of the lower forestock.
mid barrel
-----
bbl
----
web
----
RR
----
----
bottom
This is the side barrel layout.

Now you do the top side of the blank.

Some may skip this because it's going to be cut off but I was taught this way....
Lining up with your side lines. Position the barrel on the top of the blank. The advantage of marking the top now is most of the time you can easily lay the barrel down the full length of the stock.
Mark the sides of the barrel and the center. Mark the Breech and the muzzle across the top and down the sides of your lock side layout. Mark a line 1/8 in beyond the muzzle....this is a cut line.

Draw out the top center line of the barrel to the end of the blank. Figure out any cast off or cast on and mark. Double check this with your buttplate...making sure it is not hanging off the side.
Make sure there is enough width for the lock bolster and side plate.
Sometimes on a thinner blank, you may have to angle the barrel for cast off or to miss any bad knots.
With this so marked....now go back to the side layout.
Have you noticed no sawing yet? :shocked2: That's good!
On the side layout, measure, find and mark where the internal face of the breech plug is. Mark this on your center barrel (rail) line. Make allowance for any vent liner.
Now place the lock and line it up with the web and the vent location to roughly find the sear...circle the sear.
Place your triggers based on the sear.
Place the guard based on the triggers.
Place the buttplate down based on the triggers.
Compare to the template....
Does everything look good and line up...
Is the LOP correct....
If anything is amiss now is the time to correct this.
If it's all good now You can saw.

Only cut off the top portion of the blank. Stay out side the lines maybe by 1/8 or so depending on your equipment. You can always plane and rasp the excess down.
Cut the center barrel or side rail line and angle up to the breech. Do not try to do the swoop up to the breech as most band saws will not cut it well...just cut off square or at an angle and finish later with a rasp or even chisels.
Cut off the excess past the muzzle on your cut line.
You can cut off outside your template down to the heel of the butt.
Do Not cut off the bottom..leave that for now.
Why? You may ask....
If you screw up the barrel channel...You can always go deeper and bring the whole topside of the rifle rifle down to correct mistakes.
Once the barrel is down, then cutout the bottom portion and do your ram rod groove.


Once the top is cut you will most likely have to square the barrel rails with the side of the blank. Use a plane, rasp, combo square and a pencil.

P.S.
Save the top you pieces you cut off. They have layout lines that you can easily transfer to the new top.

See!! There's a lot more to it than simply cutting a shape out. :hmm:
 
My 2nd LR was from a blank and seeing at that time I didn't have a bandsaw, a circular saw did most the work and a lot of wood had to be removed after sawing. Then came the bandsaw and w/ replacement ball bearing blade guides, the 3rd LR's stock was sawn on the line which saved quite a few hrs. Of course the bandsawing was done after the bbl was inlet and the RR work was completed. After doing the bbl and RR work on the first 4 LRs, I then had Fred Miller do that work and never did it again.

Then the order of procedure was done exactly as enumerated in "Recreating the American Longrifle" by Buchele. One of the "how to" books should be studied and I was lucky that the book I chose had the order of procedure.....some books don't have it.

The Bucks County buttstock template was enlarged from a tracing of a LR in RCA1. This template has been used numerous times w/ some changes...mainly the angle of the buttplate.

For the early Lancaster style of LRs, the buttstock is drawn freehand...it's a much easier style to emulate.

Won't go further than this because the "how tp" books should supply the info....Fred


54ball said:
Only cut off the top portion of the blank. Stay out side the lines maybe by 1/8 or so depending on your equipment. You can always plane and rasp the excess down.
Cut the center barrel or side rail line and angle up to the breech. Do not try to do the swoop up to the breech as most band saws will not cut it well...just cut off square or at an angle and finish later with a rasp or even chisels.
Cut off the excess past the muzzle on your cut line.
You can cut off outside your template down to the heel of the butt.
Do Not cut off the bottom..leave that for now.
Why? You may ask....
If you screw up the barrel channel...You can always go deeper and bring the whole topside of the rifle rifle down to correct mistakes.
Once the barrel is down, then cutout the bottom portion and do your ram rod groove.

Another good reason to profile and inlet the barrel first, before cutting the rest of the stock to profile, is that it keeps the wood from flexing as you are inletting the barrel. The last one I did I cut the profile out before starting inletting, and ended up clamping a 2x4 under the fore-end to compensate. Really annoying.
 
Should I move the pattern up or down more to avoid grain run out in the wrist or should I leave it? Sorry the picture is so big I'm not good with computers or phones.

IMG_0706_zpsa9vu7cqj.jpg
 
All the replies to your post are correct but can be just separate facets to building from a blank. You'll have to arrange them in order.

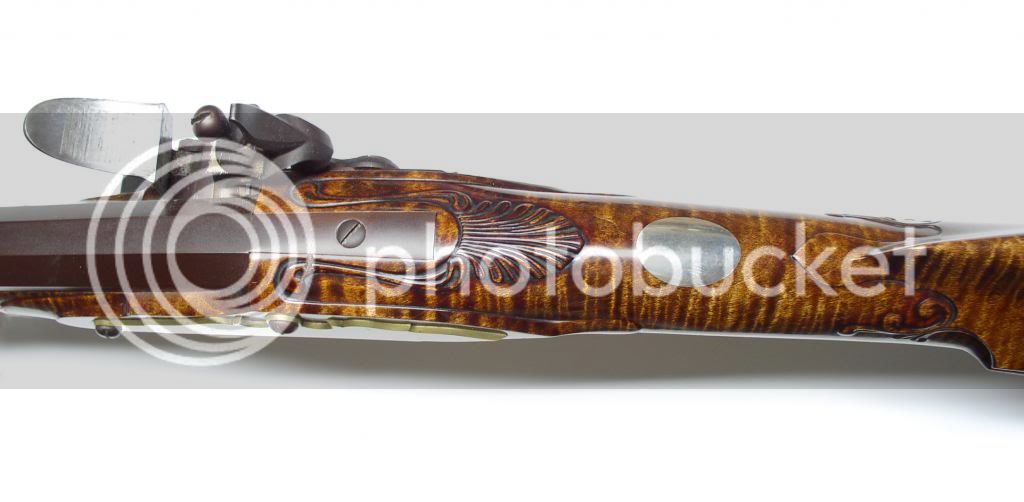
My 2nd build was from a blank and after reading and studying 3 "how to books" decided on "Recreating the American Longrifle" by Buchele....this book has an enumerated building procedure which helped me enormously and along w/ the many details was responsible for my completing the LR shown below.

Even though the "book" gave me guidance, there were times when I was puzzled and had to proceed slowly and w/ a lot of thought.

I started to write a detailed procedure for you, but it became a book because of all the details, so my suggestion is to read and STUDY a good "how to" book and then proceed.

There are no "shortcuts" and through the difficult instances, I found that out. Perhaps I'm not the "brightest star" in the night sky, but certainly am not the dimmest. You can do it and good luck on your project.....Fred

 
In addition to that, decide if you want to do pins or keys. Keys are more work, but are faster for take down. Many folks also install estrucheons with keys. You should locate the places for your RR pipes before you install your barrel lugs and pins/keys, because you don't want them interfering with one another.

Also, make sure you allow for the size / length of your muzzle cap when planning the locations for the above. It can get pretty crowded up there right around the muzzle, so plan all 3 together (pipes, keys/pins, estrucheons, muzzle cap) if you can.
 
Back
Top