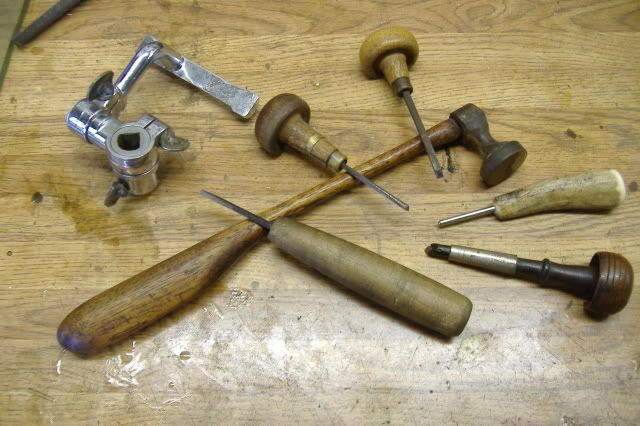
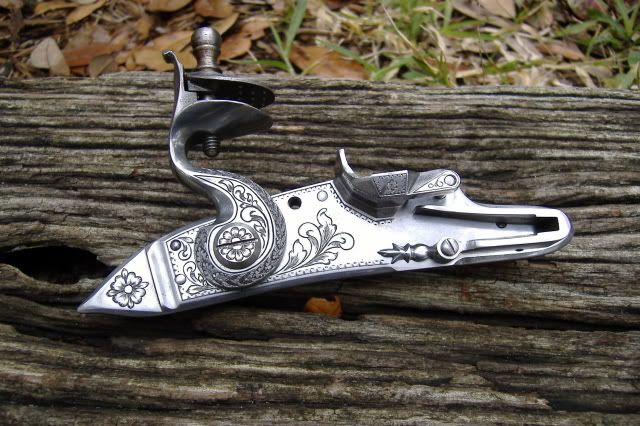
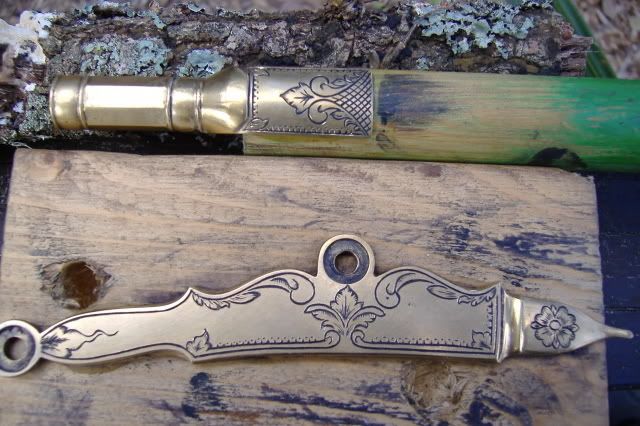
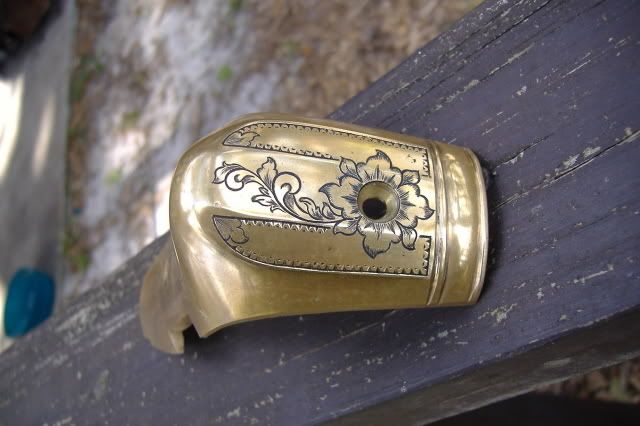
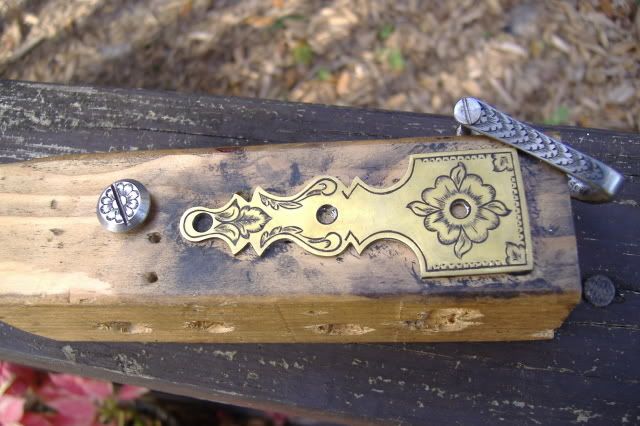
If you like the pattern, you're welcome to use it. I'll post a few more, but the main theme here is that one does not need to spend a lot of money on these tools. The square graver in the long handle is my main working graver. I've got maybe $5.00 in it. The flat graver near the hammer head I use for the nick and dot borders I made from a piece of file, tempered back a tad. I use a couple of push/palm gravers to detail and clean up lines. They are cheap. The shiney tool in the antler grip is a burnisher, the engravers "eraser". I made that from a piece of drill rod. The Crocker sharpening fixture is old and about worn out. That was given to me, but they are not too expensive anyway. And everything I know came from Lynton McKenzie tapes, and trial and error. The hardest part of engraving is learning to draw it. I probably spent 20+ hours drawing and laying out that lock, but less than half that time cutting it. Here are a few more pieces that went on the same gun.
http://i37.photobucket.com/albums/e77/wicklrb/pennyknifThanks Wick,
I really appreciate the pointers. What are you using to draw on the brass with? When I Scrimshaw a horn or something, I draw it on with a pencil and spray it with Fixative to keep my paws from rubbing it off. I have not found anything that will write on brass or GS or polished steel for that matter. Do you coat it with some kind of paint?
Again, very nice work. Thank You.
e148_640x480.jpg