Col. Batguano
75 Cal.
- Joined
- Feb 10, 2011
- Messages
- 5,034
- Reaction score
- 1,407
Guys,
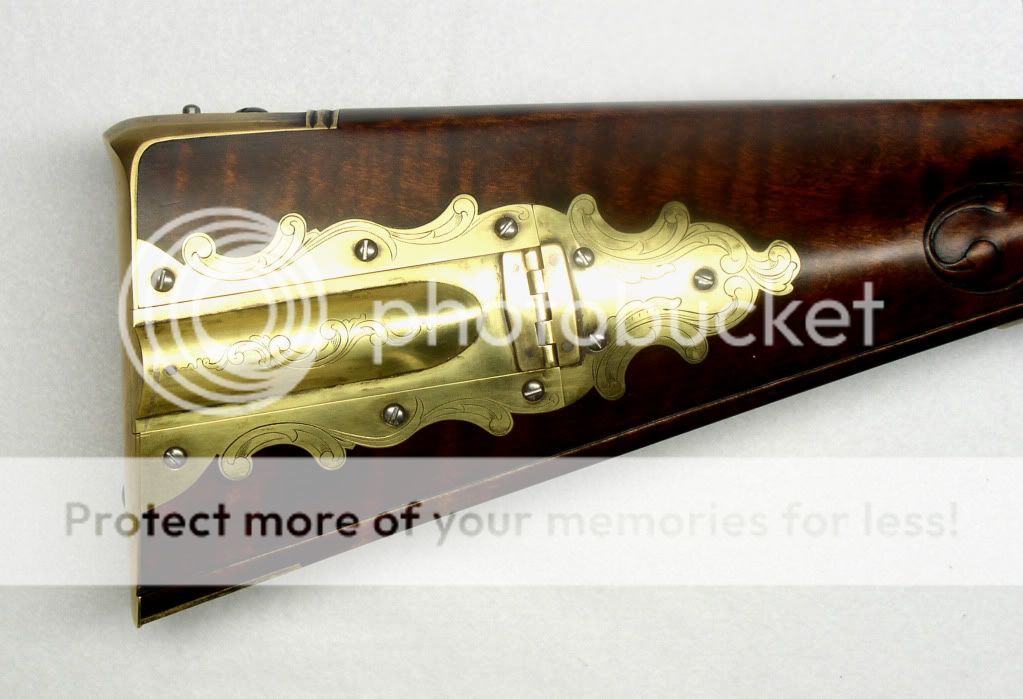
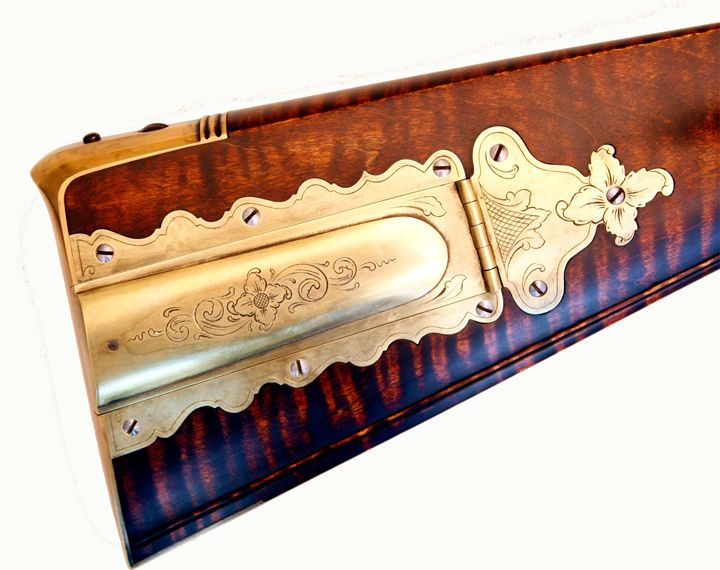
I'm doing a domed PB on this current build. The question is; in the space between the PB cavity and the web of the butt, do you leave wood that conforms to the concave shape of the PB, or just take it down to be flush with the rest of the butt plate? I think I have enough wood proud to the butt plate to make it work.
Yes I know that the more wood I leave will make the hole through the remaining web for the pin latch more oval (actually sort of funnel shaped, vertical on the lock side, and angled rearward on the butt plate side if done perfectly) to accommodate the longer swing.
Also, when soldering on the end piece do you try and file it to conform to the inside part of the dome, or just solder it to the end? That's how I did my muzzle cap. Just soldered it on top of the complex shape of the muzzle cap and filed it down to conform. I figured it would have been too hard to get every little nook and cranny just right. But with a much more simple shale like a patch box dome, I figure it might be easier to get a good fit.
P.S.; it's a bought PB assembly, rather than one I hammered out and formed myself. Some times life is a little easier that way. It cost me about $8.00 more than starting with sheet brass, but I probably saved that much in contributions to the "swear jar" too.
So when it comes to the release mechanism, the originals seem to have the pin in the middle of the PB lid, and the release sticking out the rear. with a button on the right of the butt plate to move upwards to loosen the latch. How do you get the internal mechanism to attach to the inside? It seems the ideal place is on the top, or comb side to keep dirt and grit from falling down and jamming up the spring cavity. The bottom would be easiest, but that's also the wort place. The original was done in the middle. Unfortunately, I've not seen the pictures of the inside of the original.
The last one I did this way I did the pin on the top portion, which of course worked. I tinkered with the notion of putting a dog leg in the spring bar, but I couldn't fit that through to hole in the BP and be tight to the web, so the solution was to put it through the top edge, and just live with the off center silver spot showing through the brass.


