• This community needs YOUR help today. We rely 100% on Supporting Memberships to fund our efforts. With the ever increasing fees of everything, we need help. We need more Supporting Members, today. Please invest back into this community. I will ship a few decals too in addition to all the account perks you get.


    Sign up here: https://www.muzzleloadingforum.com/account/upgrades
  • Friends, our 2nd Amendment rights are always under attack and the NRA has been a constant for decades in helping fight that fight.

    We have partnered with the NRA to offer you a discount on membership and Muzzleloading Forum gets a small percentage too of each membership, so you are supporting both the NRA and us.

    Use this link to sign up please; https://membership.nra.org/recruiters/join/XR045103

#3 Hawken Full Stock

Muzzleloading Forum

Help Support Muzzleloading Forum:

This site may earn a commission from merchant affiliate links, including eBay, Amazon, and others.
OK, so I got to here tonight. Here is the finished tang. I've got to figure out how far back of the tang does the comb start. Does the lay out look right? Like to put a couple small wood screws in the tang to hold while doing the keys. I will finish the triggers and lock when the new plate comes in. Anyway im done tonight. I have a full night to work on it tomorrow as I need to stay up and reset my clock before 4 days of midnight patrol.


Here is the only picture I have of an original tang so It looks like my bolt position is pretty close. I cant go back much more on the front bolt or it will run into the bow screw on the front of the trigger plate.

 
That looks like it should work to me. You should miss all the stuff coming across the other way and won't run into the front trigger guard screw. Should hold stuff together quite nicely! :thumbsup:
 
No work on the gun for 4 nights. I have to work for real. I lost a day somewhere working on this thing. I'm pleased with the outcome of my first long tang. For those thinking of their first. Take your time, Black it then just shave off the black. I must have repeated that 100 times or more. I used a riffle file very carefully to just remove the black on the sides at the end. Sometimes just a single pass or a single pass scraping with a fine chisel. I moved the comb front, back just a touch as the tang went into the front. Now that things are coming together nicely, I have to resist the urge to rush (My biggest Problem)

The dark next to the breech is a shadow not a gap. I haven't leveled the wood to the tang there yet.


Some of the originals I've seen have an almost vertical front comb, others taper back. Im kind of in the middle until I decide which direction to go . If you have an opinion Chime in please.


Time for the Keys to go in.
 
sean30ber said:
Rookie question.

I'm going with the L&R late English Percussion and have to order the 1/2 inch powder drum, nipple, and nipple install tool. I've never installed one before so not sure which one to order. There is one that is pre-drilled for a clean out screw on the end and one that has an install lug that you cut off after the install. On the lug one, is there a hole for taping for a clean out once cut off, do you file the lug square for later removal like the old Leman lugs. Or just cut it off, file it flat and have a perm. install. Does it mater for correctness what style. I cant find good pictures of Hawken percussion conversions, The one I did find has the Leman square but it was noted that the install was half-A@@. I figure the style would have depended on the converter back then. Opinions!! Thanks


A drum and nipple a on Hawken?
Its a definite down grade from a "patent" breech.
They are also prone to come "adrift".
Dan
 
I think I mistook Don when he told me most original full stock didn't have hooked breeches.

Don: "The only barrels I have on hand in 54 cal are deHaas and I have only maple stocks on hand. The barrels are 1" to 7/8 taper. I can provide a long flint style breech. I do not provide the lock so you can use the L&R as you choose. Original Hawken fullstocks do not usually have hooked breeches anyway. I have Davis and L&R triggers on hand".

I took that to mean they were drum conversions. I didn't think about the breech being converted to snail. My other thinking was being able to drop in the late English flint if I decided to revert to flint, without having to build a new gun. I'm not shooting for a historical gun just a close representation with my personal wants.

One on of my references was a picture that Mr. Burrows put up of a Smithsonian Hawken that has a drum conversion on ARL. Or at least looks like it to me. My thinking is. I'm not going to be using it like my life depended on it every day. Just some recreational shooting. If I get the lock plate fitted super tight, It should support the drum for a lot of years of my shooting. I know its not optimal but, to late now. Thanks for the comment Dan. I read a lot of your posts and comments on ARL.


Sean, here is a couple of good shots of tangs on two original full-stocks. The first is a J&S (so earlier) and the second is an S.

Between the two, if they are indicative, one shows the nose of the comb quite close to the end of the tang. The other shows a decent space.

And one is a hooked breech and the other is not.

fullstocktangs_zps63096554.jpg
 
I don't have any measurements at all on it, but here is what I have as far as pics.

JandSeasterntriggerguard_zpsb88a159f.jpg


What I have noted about this rifle in a previous post. It uses what is now called an "early snail" which has been dated to between 1835-43. Also, the trigger guard is almost identical to what their father used (he was a prolific Maryland gunsmith and probably made the guards himself).

I have seen another rifle with the same breech which used the more "typical" Hawken trigger guard. Based on that I suspect that this rifle was most probably built really close to the mid 1830's which may make it one of their earliest in the Plains/Mountain style.

There is much debate as to when this style first developed and there is almost no evidence of what their rifles looked like in the mid/late 1820's that were produced in St. Louis.

The lock plate (at the very least) shows evidence that it could have been used for a flintlock. Now that could have been how they bought it and converted it to percussion before it ever was installed OR, (my theory), nobody knew what a "caplock" looked like when they first started building them so they simply built the plate the way they always had (John Armstrong built his own locks (he straddled the end of the flint era and worked well into the percussion era) and even his later percussion locks could have as easily been made into a flint as percussion)
 
If you are going for an "earlier" look you can go with the longer/slimmer wrist (eastern influence).

As time went on the rifles got heavier/chunkier in the wrist until the style was developed.

You are building this in a 54 cal (?? - poor memory) - if so you may want a slightly "beefier" wrist.
 
i'd get some one with an oxy/act torch to weld up the plate and re file to fit. there is no "hardness" to the plate. it is 8620 cast steel. tie wire works fine.
 
santabob said:
i'd get some one with an oxy/act torch to weld up the plate and re file to fit. there is no "hardness" to the plate. it is 8620 cast steel. tie wire works fine.

I was thinking the same thing, but I'm far from an expert on this black powder stuff. I've worked on lots of modern guns though, and welding something like this, where great strength is not essential is pretty common practice. It's your nickel though. :wink:
 
I've got to find a welder here. I don't know anyone. Probably only take a minute to fill. I already ordered a new plate for this project but Im planing on building a Leman in the future so I will be able to use this plate after its fixed. It was a stupid mistake that shows my difficulty with patients. Lesson learned. All is well.
 
Make a cardboard template with your lockplate as the pattern.

Then fit the cardboard one - sometimes the lock does funny things when it's totally in place and you can't quite tell how it's going to fit, where, until it is right in place.

And as you have seen, sometimes, by the time you see what's going on, it's too late.

You can mess all you want with template and then just transfer that to the plate - and then still go at it slow..
 
Excellent idea. Didn't think about that. Thanks Graham

While you seem to be the highest responder to my post and a most knowledgeable guy, I have a safety question. The underlugs are dovetails. Ive done a few but always get the comment that they are to deep. Is there a certain depth they need to go, or just in enough to hold good. These are thick cast and ill have to do a lot of filing to thin them down. Thanks in advance. Sean
 
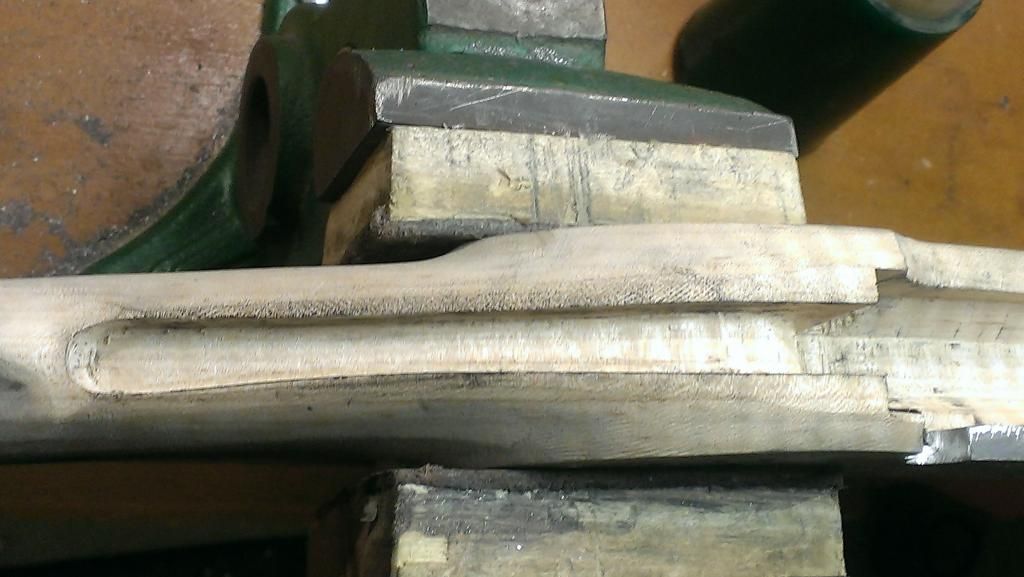
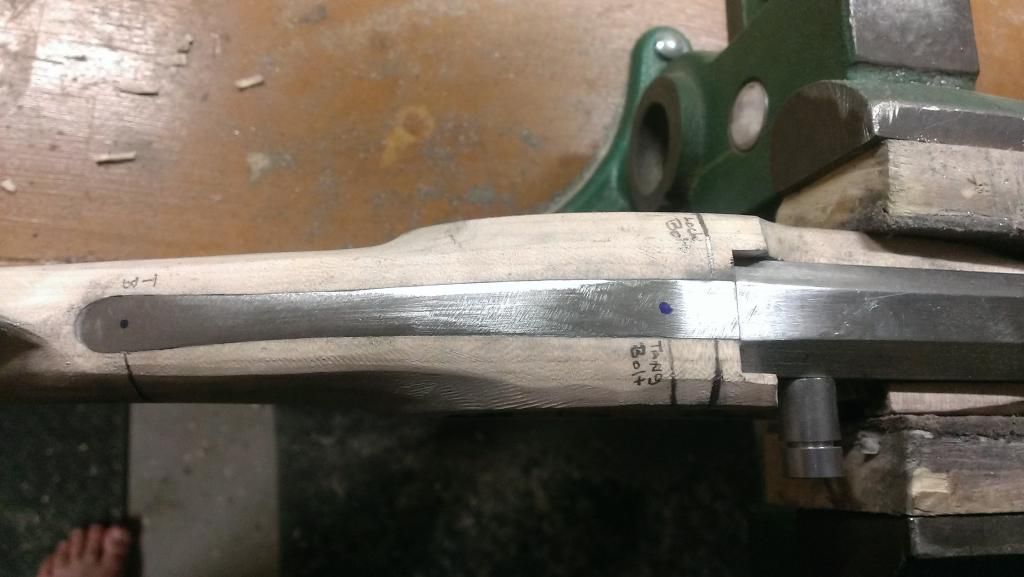
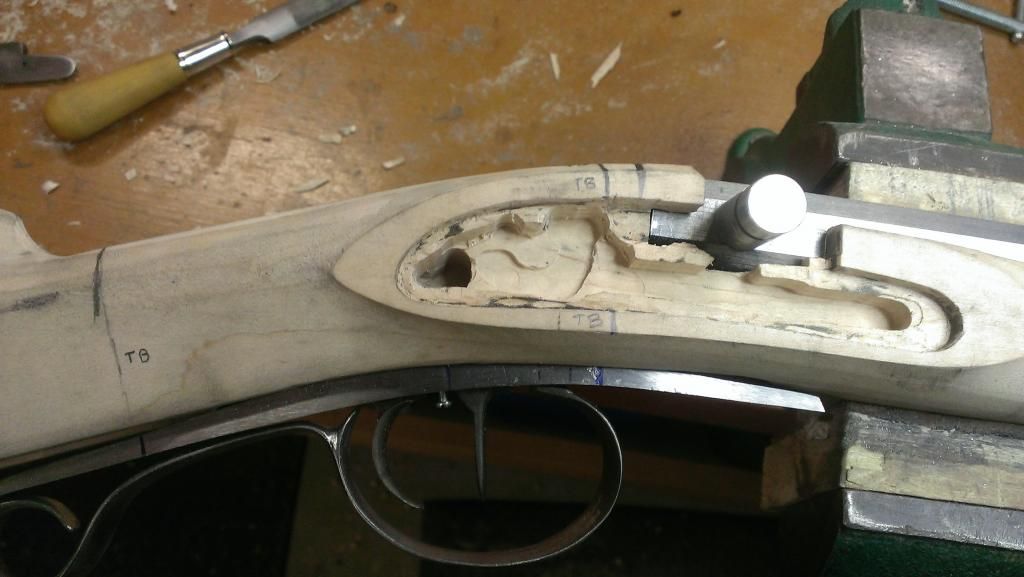
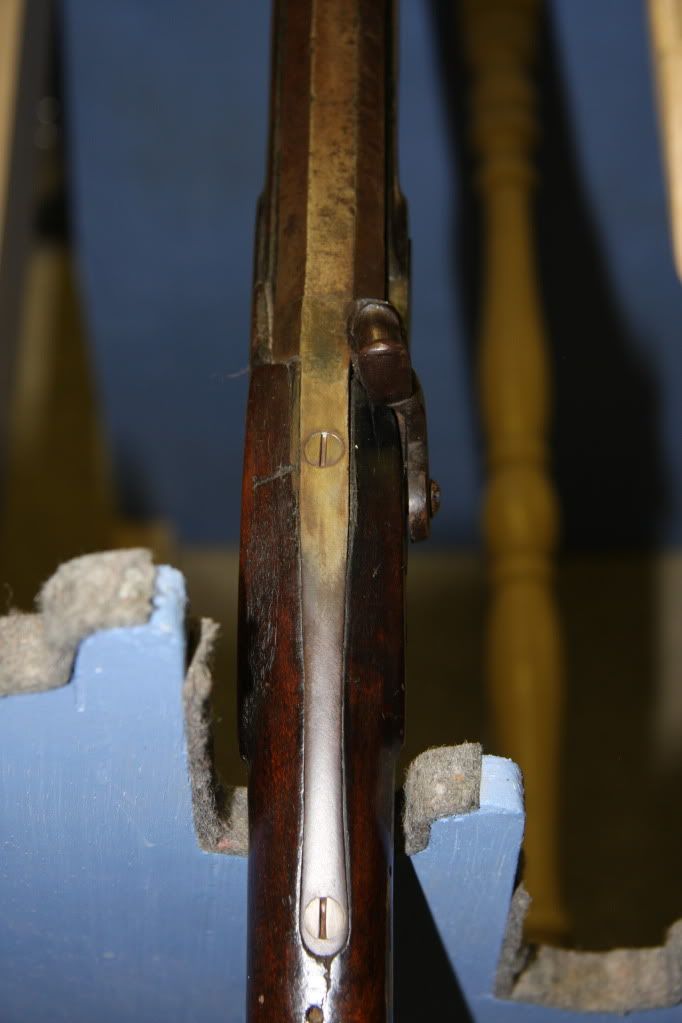
I almost never install dovetails to hold the barrel - prefer staples - and if they are not possible (thin waists on swamped barrels) I solder them on.

Having said that, the "general wisdom" states that you should leave a minimum .050" wall thickness between the bore and your dovetail (whether for a sight or under-lug).

I feel a little better with .080" if I can manage that.

So, just do the math.

For example I did a 7/8" ATF, straight 50 cal barrel recently - it has .012" square rifling.

So the barrel overall is (7/8") = .875"

= .875 - .500 (bore) - .012" - .012 (the rifling on both sides of the bore) = .351" remaining (on both sides of the bore combined) -

So, .351/2 = .1755" of "wall thickness" beyond the extreme of the rifling.

By the "minimum" you could go .1255" deep or by my standard .0955" deep with a dovetail and have "lots of meat" left.

A "standard" dovetail is about .0625" deep (or there abouts) and a staple hole is about .0725".

(if you are going for "some" HC, staples would be more correct on a Hawken than a dovetailed lug)

So in the example above unless you are going super crazy with the depth, you would be more than fine.

So my (golden rule) is, if there will be less than .080" wall left, I solder a lug - just to be safe.

(although, if it was at the muzzle end I may be inclined to go down to the .050" minimum - it's most important to keep a safe wall thickness at the breech and it diminishes somewhat the further you get down the barrel towards the muzzle).

p.s. I saw you posted over at ALR and that Taylor responded. Taylor is pretty "up there" in terms of modern builders of Hawken rifles - use his advice and don't be afraid to ask. Don Stith also is a (somewhat) regular contributor and occasionally Louie Parker, who just may be the best contemporary Hawken builder at present.

My own interest in the Hawken brothers is simply incidental to studying their father whom is my favorite rifle builder - they just kinda hog the limelight :)
 
Simple but installing them can be dangerous.

See that rifle at the bottom of my posts? It's short barrel is the result of my messing up when I drilled a staple hole. The drill bit broke thru the barrel wall into the bore.

The only good things about it was the problem was at the front underlug so I only had to remove a bit over 6 inches of the barrel to save it.
The rifle I built with it turned out to be one of my better efforts. :)
 
New lock plate came in, and fitted it up. When the tang is screwed down its a nice tight fit around the whole bottom half of the drum. I used Inlet black the last few swipes with the file and its nice coverage. Should hold the drum for a long time.

BEFORE


AFTER
 
Back
Top