mikemeteor
45 Cal.
- Joined
- Nov 16, 2008
- Messages
- 660
- Reaction score
- 3
After going through all the tutorials on pouring a nosecap, figured I'd give it a try on my current mountain gun build.
Kept it simple - straight nosecap - no designs for my first tme.
drilled some anchoring holes and undercuts.
a couple went all the way thru, some didn't.
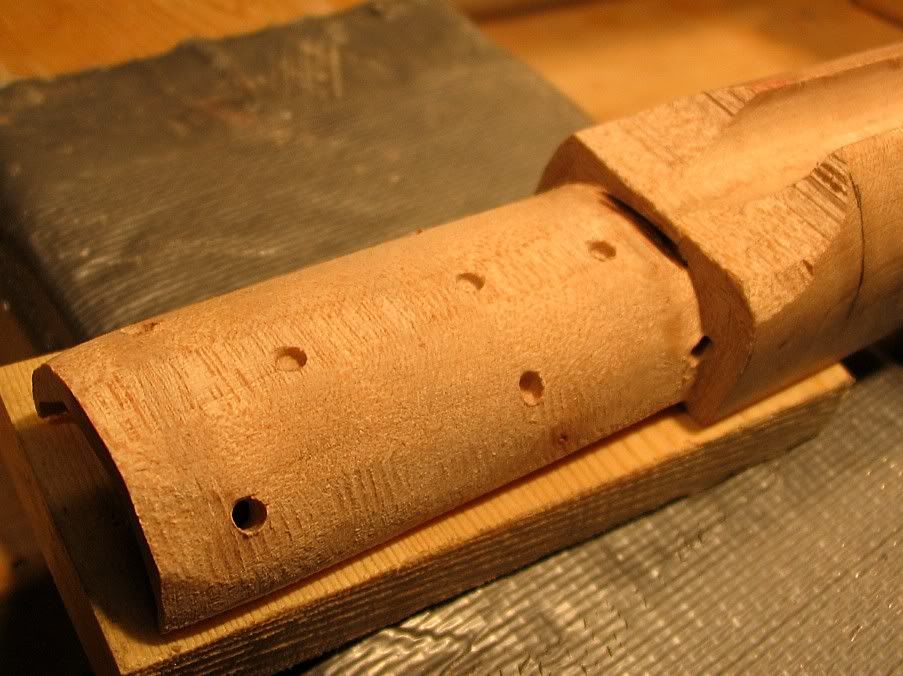
Put modeling clay in all the nooks and crannies, smoothed it out, then taped on the mold - I used regular old file folder cardstock.
And a half a' roll of masking tape.
Wrapped the barrel in some of wifey's parchment paper from the kitchen. no thickness, easy release.
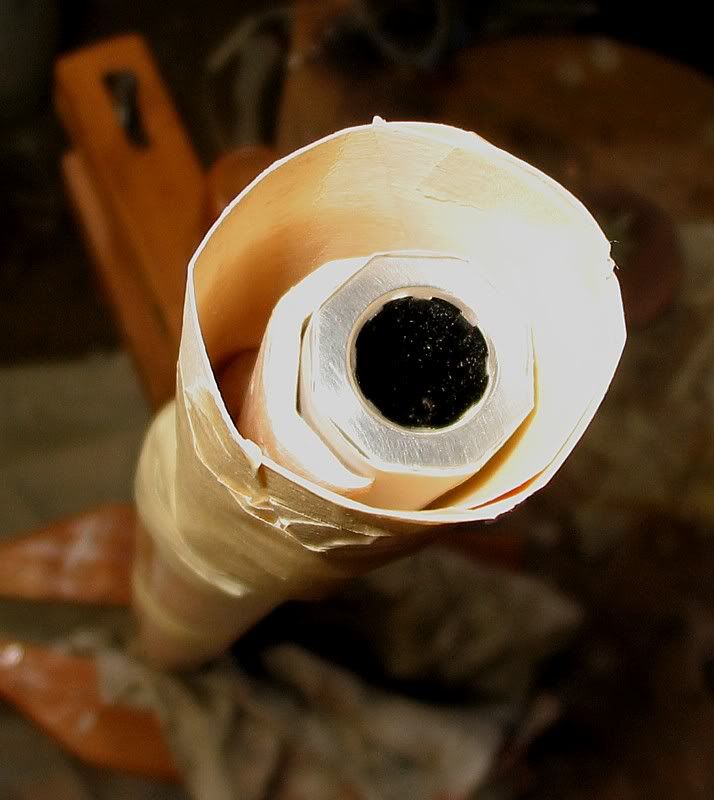
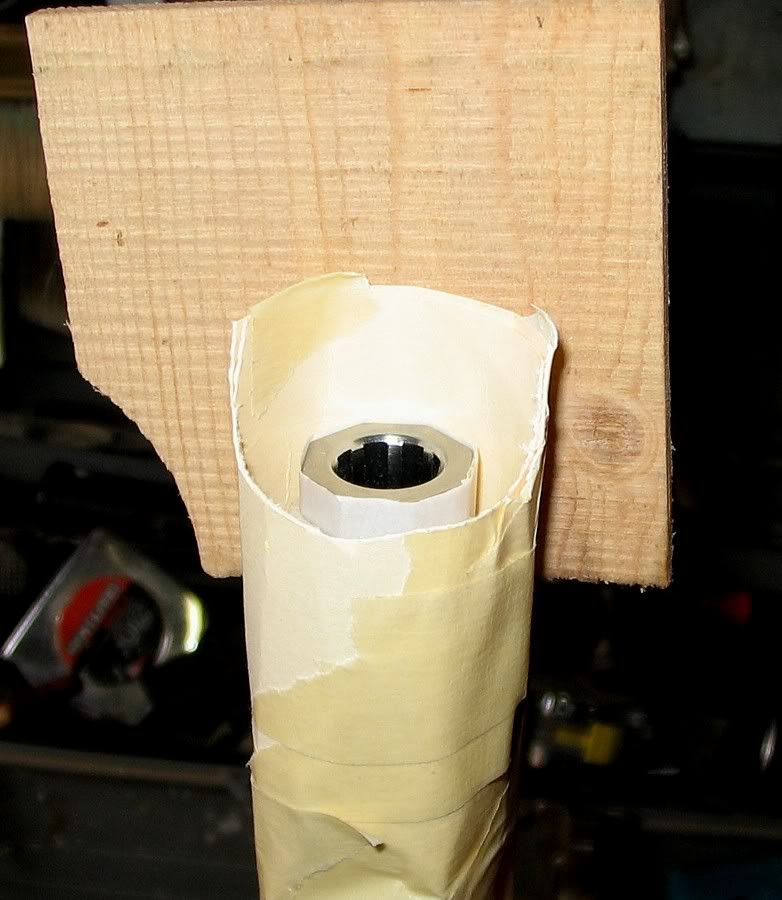
Dropped a screamin' hot bolt down the barrel to warm things up, as per tutorials (thanks Ken G.!), melted the pewter chunks in a $4 stainless soup ladle over my campstove, and poured it in.
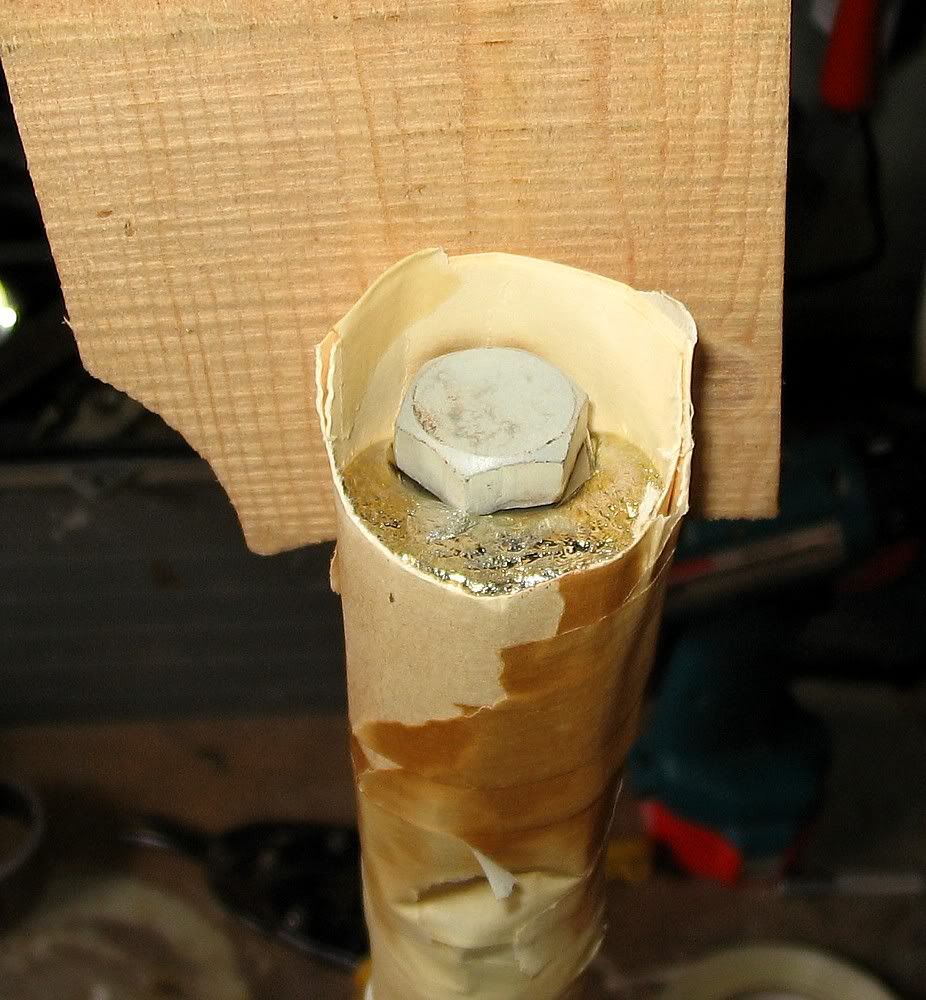
Dang near had a disaster - almost an overpour that came close to going down the barrel. :barf:
When you're into the pour, that stuff develops a surface tension that, when it lets go, ya get more than ya bargained for.
(Kinda like when the ice in the glass lets go and ya get faceful of iced tea. :haha: )
I don't know if the bolt head woulda' saved me or not.
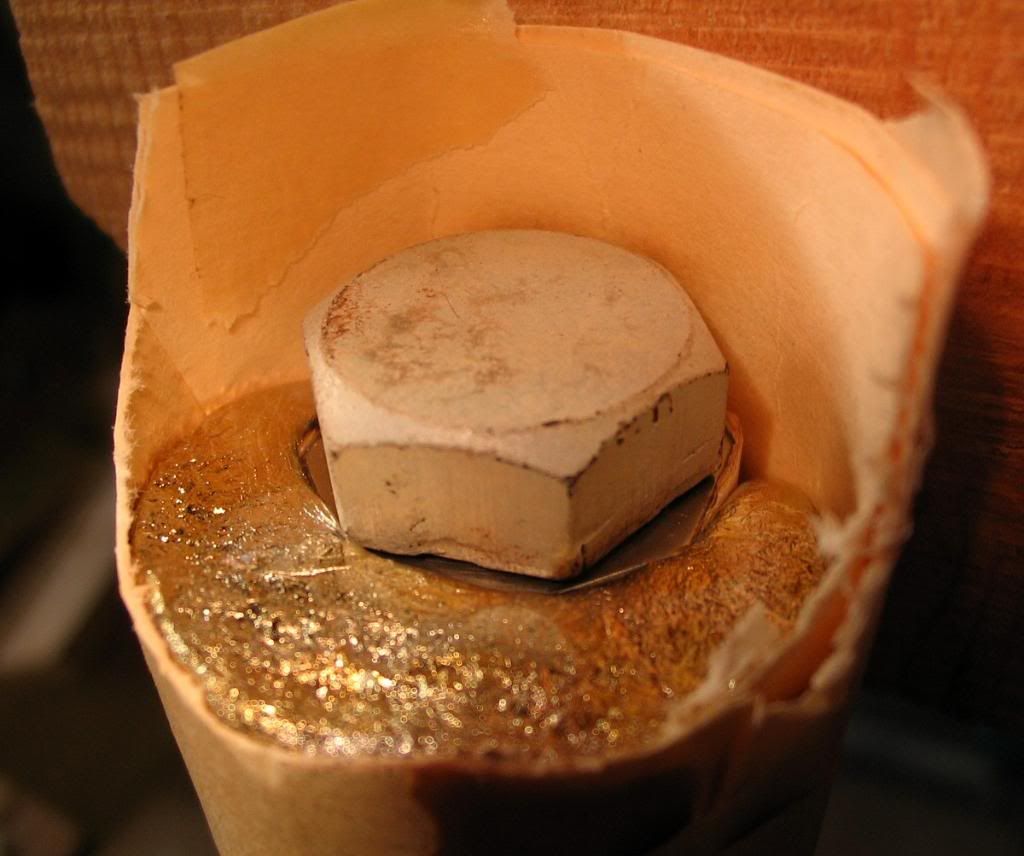
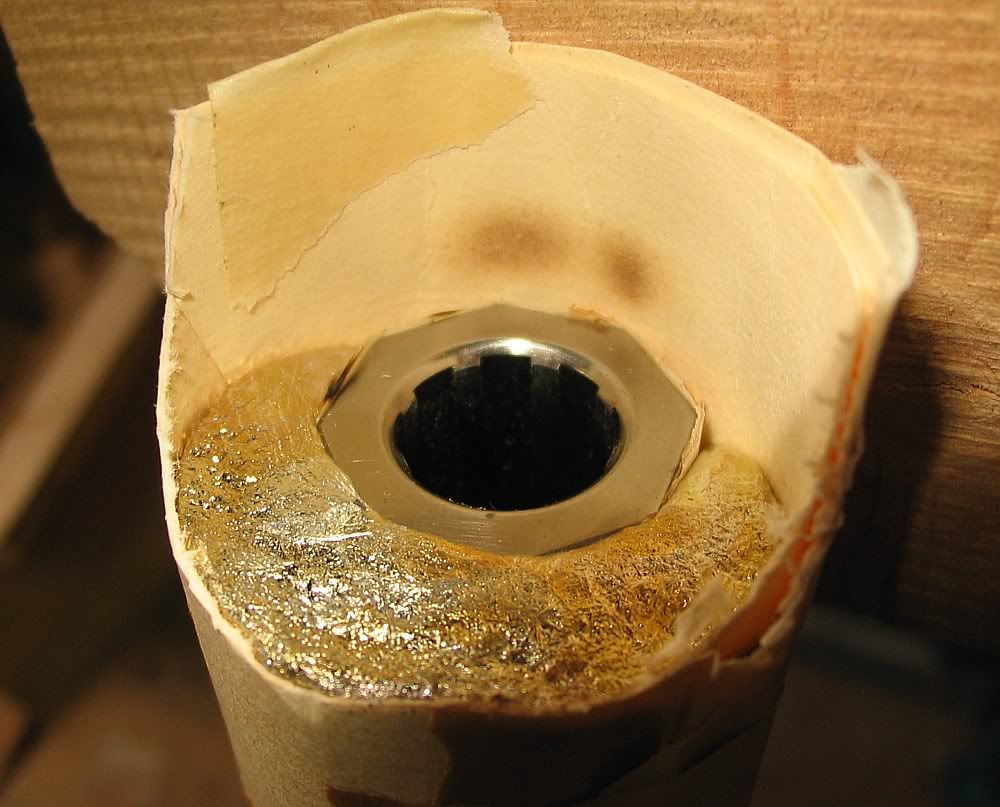
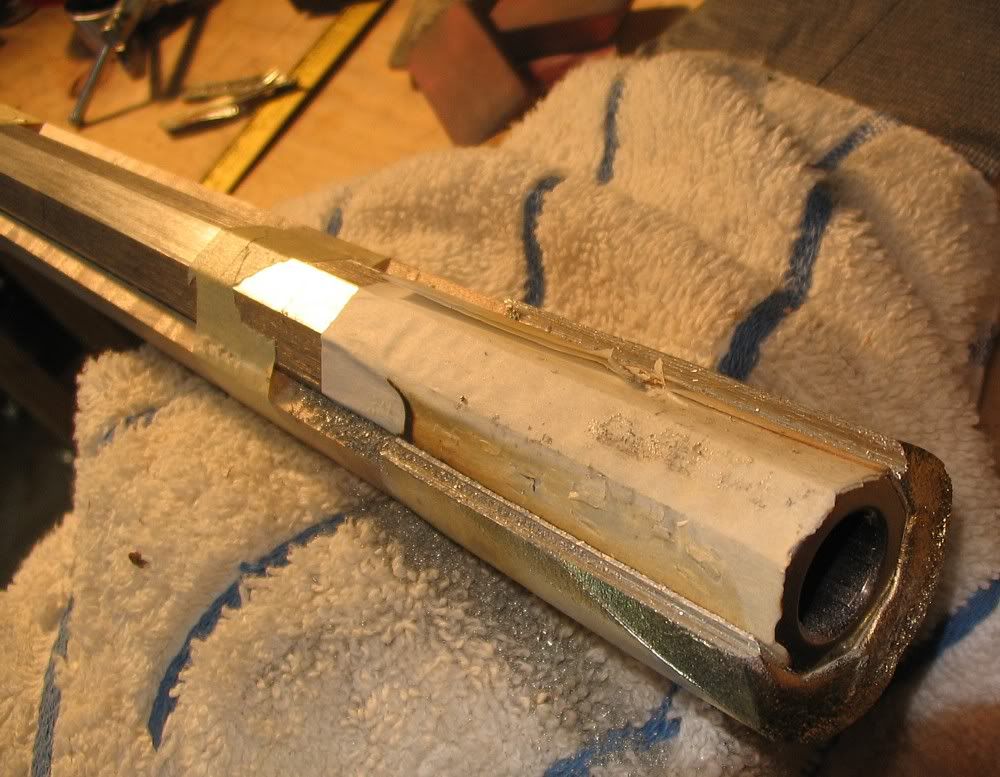
Anyway, things hardened up and I tore off the mold.
Believe me there's some breath-holding when you get to taking off that last layer :shocked2: - don't want to see any voids or bubbles!
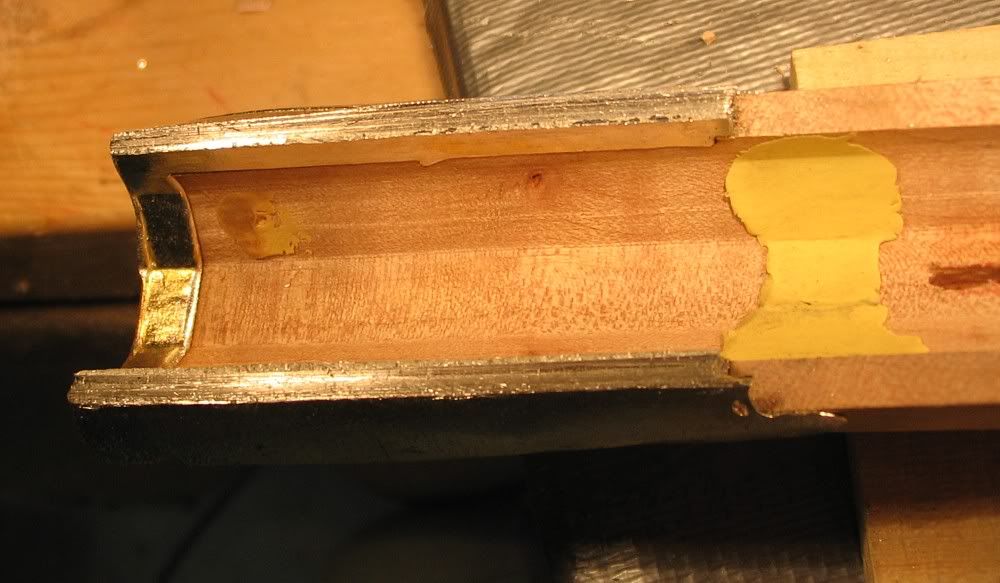
You can see the yellow clay 'dams' at the barrel-stock interface and around the sacrificial ramrod.
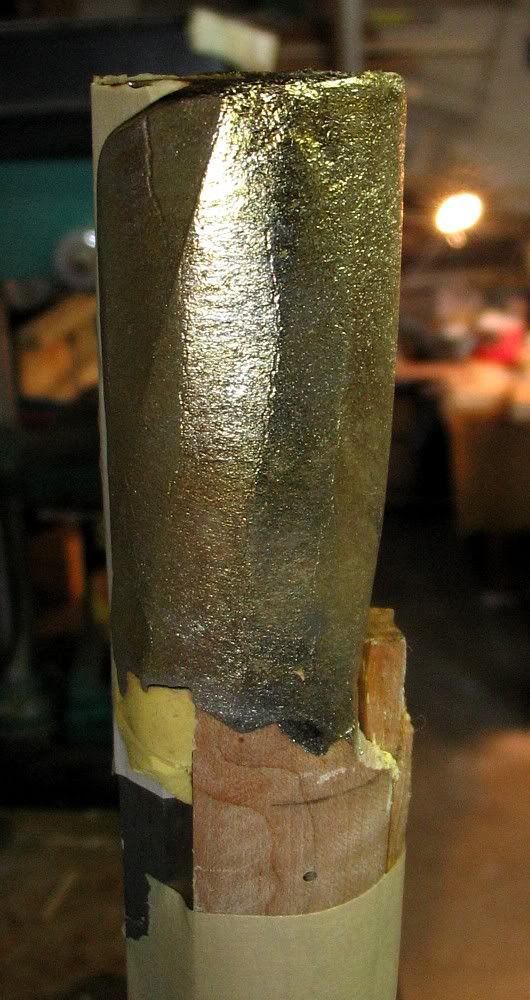
The barrel was trapped at first
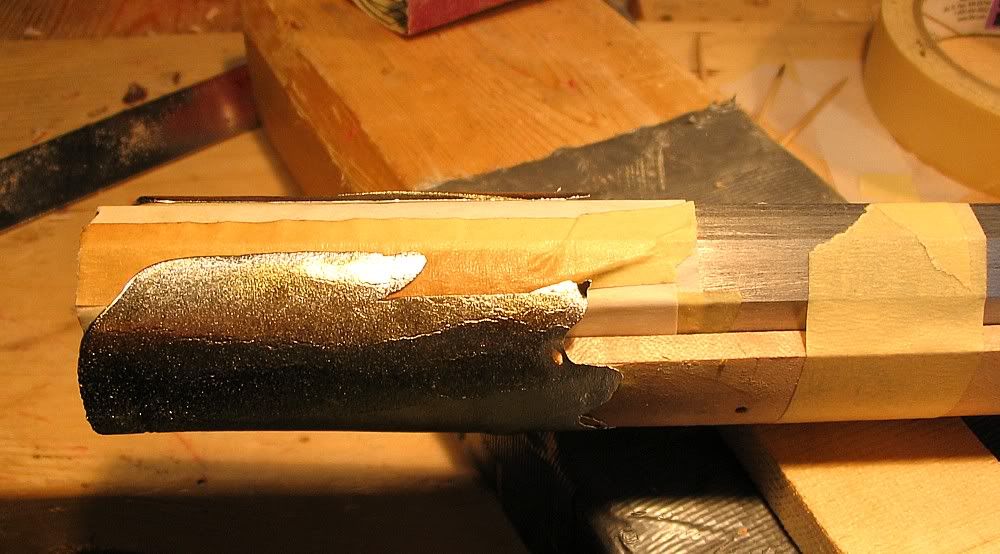
so I carefully cut away those overpour wings so I could remove the barrel
things looked pretty good inside - another thin clay dam on the inside so nothing could get down into my barrel lugs and inlets.
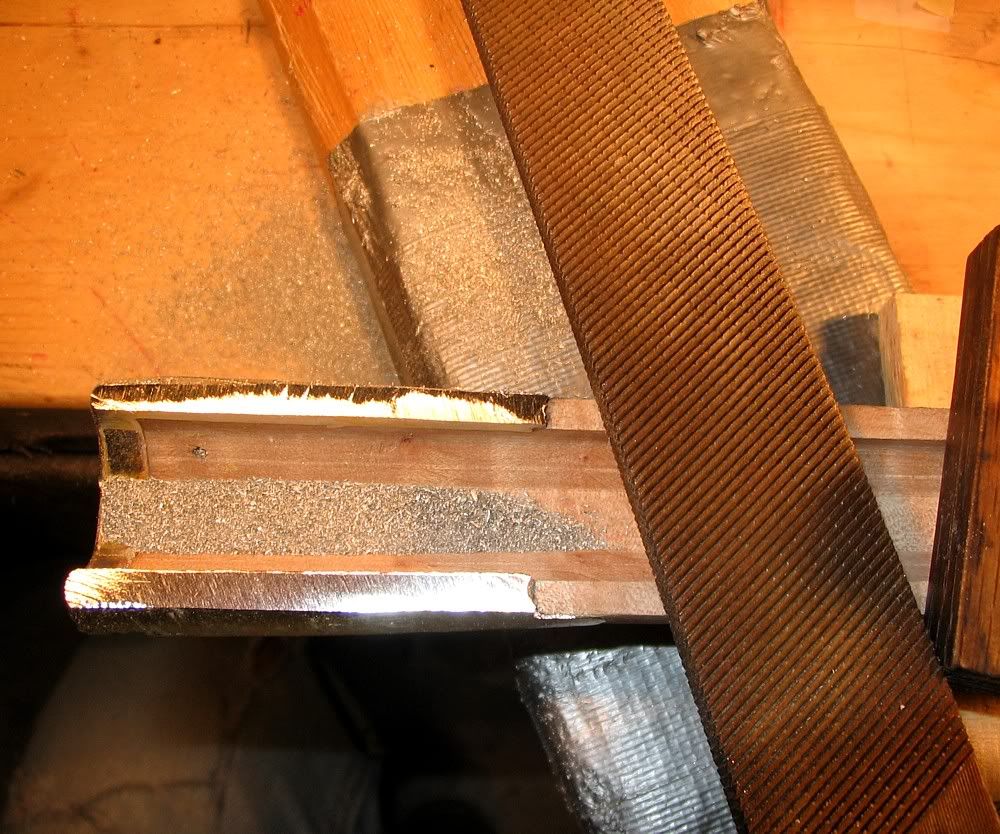
Then comes the hard part. Filing off about 80% of the material you poured on. :cursing:
I have a big honkin' file I got for $1 in a box lot at an auction - it's still sharp and plows thru pewter pretty good.
That's it for now.
Leaving it kinda rough and oversized, until final forend finishing time, in a month or two.
Will post pics of finished product then.
Lessons learned: Take some time to make the mold as efficiently-sized as possible - I ain't kiddin' about having to file off about 80% of what I poured on.
But of course, a starved pour with gaps is even worse.
Kept it simple - straight nosecap - no designs for my first tme.
drilled some anchoring holes and undercuts.
a couple went all the way thru, some didn't.

Put modeling clay in all the nooks and crannies, smoothed it out, then taped on the mold - I used regular old file folder cardstock.
And a half a' roll of masking tape.
Wrapped the barrel in some of wifey's parchment paper from the kitchen. no thickness, easy release.


Dropped a screamin' hot bolt down the barrel to warm things up, as per tutorials (thanks Ken G.!), melted the pewter chunks in a $4 stainless soup ladle over my campstove, and poured it in.

Dang near had a disaster - almost an overpour that came close to going down the barrel. :barf:
When you're into the pour, that stuff develops a surface tension that, when it lets go, ya get more than ya bargained for.
(Kinda like when the ice in the glass lets go and ya get faceful of iced tea. :haha: )
I don't know if the bolt head woulda' saved me or not.


Anyway, things hardened up and I tore off the mold.
Believe me there's some breath-holding when you get to taking off that last layer :shocked2: - don't want to see any voids or bubbles!
You can see the yellow clay 'dams' at the barrel-stock interface and around the sacrificial ramrod.

The barrel was trapped at first

so I carefully cut away those overpour wings so I could remove the barrel

things looked pretty good inside - another thin clay dam on the inside so nothing could get down into my barrel lugs and inlets.

Then comes the hard part. Filing off about 80% of the material you poured on. :cursing:
I have a big honkin' file I got for $1 in a box lot at an auction - it's still sharp and plows thru pewter pretty good.

That's it for now.
Leaving it kinda rough and oversized, until final forend finishing time, in a month or two.
Will post pics of finished product then.
Lessons learned: Take some time to make the mold as efficiently-sized as possible - I ain't kiddin' about having to file off about 80% of what I poured on.
But of course, a starved pour with gaps is even worse.


