• This community needs YOUR help today. We rely 100% on Supporting Memberships to fund our efforts. With the ever increasing fees of everything, we need help. We need more Supporting Members, today. Please invest back into this community. I will ship a few decals too in addition to all the account perks you get.


    Sign up here: https://www.muzzleloadingforum.com/account/upgrades
  • Friends, our 2nd Amendment rights are always under attack and the NRA has been a constant for decades in helping fight that fight.

    We have partnered with the NRA to offer you a discount on membership and Muzzleloading Forum gets a small percentage too of each membership, so you are supporting both the NRA and us.

    Use this link to sign up please; https://membership.nra.org/recruiters/join/XR045103

Wooden patchbox tips

Muzzleloading Forum

Help Support Muzzleloading Forum:

This site may earn a commission from merchant affiliate links, including eBay, Amazon, and others.

Eterry

70 Cal.
Staff member
Moderator
MLF Supporter
Joined
Aug 15, 2010
Messages
4,509
Reaction score
4,117
Location
Between Red River Station and Doans Crossing, Tx.
After taking a year off for personal matters I'm back at my Isaac Haines early Lancaster. The stock is shaped, only final sanding needed.
I have the matching piece of maple to make the lid from. But not sure where to begin.
Ant tips to get me started and pitfalls to avoid?
Thanks for the help.
 
Yep....

Don't make a goofy looking lid.

No joke there's more to this.....lots of contemporary wood box guns have a lid that is...well goofy.
Study originals or...good contemporary work for the shape and orientation. Be careful with some originals as some of those have goofy lids too. A sure sign that the original was lost.


There's two main methods....
2 piece
the dovetail portion is a separate piece with the lid glued on
1 piece
one piece where the dove tail and lid are one solid piece of wood.

The only one I worked on was a Chambers and the dove tail was already formed.....pretty much just fitting.
 
Most lids are a single piece with dovtails already cut as mentioned above. One mistake to avoid that wasn't mentioned is, fit the box to the stock were the joints are not a tight fit, allow slack. This will allow compensation for expansion and contraction of the wood. To tight and you run the risk of splitting the doves on the lid or it seizing in place from swelling. Ask me how I know... :redface:
 
54ball said:
Yep....

Don't make a goofy looking lid.
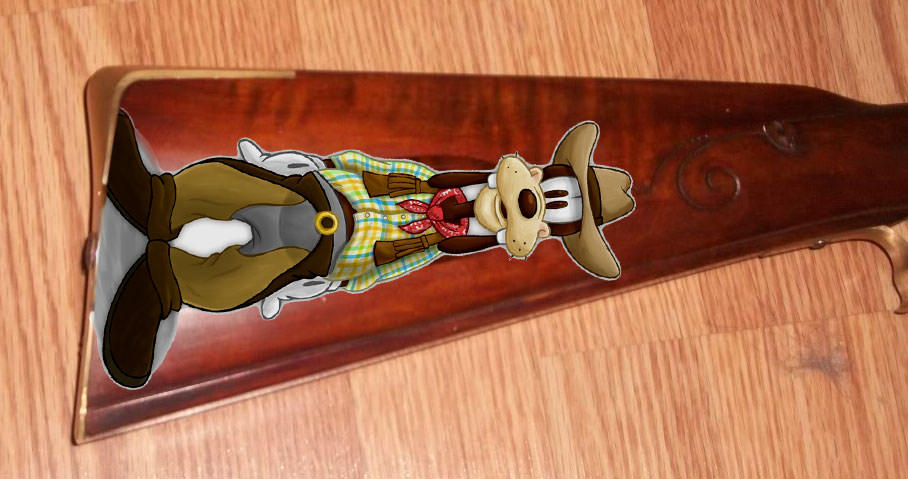
Like This one?
7z55DvC.jpg
 
Whichever method you pick to make your lid, make the dovetail with a slight inward taper from rear to front. As the latch catches, the dovetails should be snug enough there is no play in the lid, then as it begins to move to the rear upon opening the dovetails loosen and the lid will move freely.
 
THAT must have been made long after the gun was. :(

Cowboy hats and chaps weren't in style much before 1870.

Now, if Goofy had a nice coon skin cap and a fringed leather shirt it would have been much more appropriate for a long rifle. :thumbsup:
 
54ball said:
Yep....

Don't make a goofy looking lid.

No joke there's more to this.....lots of contemporary wood box guns have a lid that is...well goofy.
Study originals or...good contemporary work for the shape and orientation. Be careful with some originals as some of those have goofy lids too. A sure sign that the original was lost.


There's two main methods....
2 piece
the dovetail portion is a separate piece with the lid glued on
1 piece
one piece where the dove tail and lid are one solid piece of wood.

The only one I worked on was a Chambers and the dove tail was already formed.....pretty much just fitting.

Thanks for the tip.. I'm much more a fan of Bugs Bunny...

But seriously, i plan on using a single piece of wood, no dovetail has been cut into it yet.
 
Back
Top