• This community needs YOUR help today. We rely 100% on Supporting Memberships to fund our efforts. With the ever increasing fees of everything, we need help. We need more Supporting Members, today. Please invest back into this community. I will ship a few decals too in addition to all the account perks you get.


    Sign up here: https://www.muzzleloadingforum.com/account/upgrades
  • Friends, our 2nd Amendment rights are always under attack and the NRA has been a constant for decades in helping fight that fight.

    We have partnered with the NRA to offer you a discount on membership and Muzzleloading Forum gets a small percentage too of each membership, so you are supporting both the NRA and us.

    Use this link to sign up please; https://membership.nra.org/recruiters/join/XR045103

Virginia Rifle Progress

Muzzleloading Forum

Help Support Muzzleloading Forum:

This site may earn a commission from merchant affiliate links, including eBay, Amazon, and others.

pipascus

40 Cal.
Joined
Oct 18, 2005
Messages
274
Reaction score
148
Location
White Mountains, Arizona
Here are some pictures of the progress of my Virginia Rifle.

Here's the barrel getting the front sight dovetail by Barbie Chambers at the Chambers workshop:
GrabbedFrame13.jpg


A few pictures of the rifle on the bench just before getting started:
GrabbedFrame5.jpg

GrabbedFrame4.jpg

GrabbedFrame6.jpg


The tang after shaping:
GrabbedFrame8.jpg


The tang before bending:
GrabbedFrame9.jpg


And here is where I am as of today: 7/16/06 10PM:
GrabbedFrame12.jpg

GrabbedFrame10.jpg
 
Thanks
I'm working on a Tennessee Rifle and enjoy so much seeing other work
 
Well I got the barrel lugs in. A call to Chambers helped, since I was being overly cautious about peening the lugs.
I also got the pins in. Now I guess I have to cut them down and file them flat to the stock, but I'll wait 'till I get other things done.

Here are some more pictures taken today:

GrabbedFrame14.jpg


GrabbedFrame15.jpg


GrabbedFrame18.jpg


GrabbedFrame19.jpg


GrabbedFrame20.jpg


GrabbedFrame21.jpg


Next step: Fit buttplate.
 
Leave the pins long, you are gonna be pulling them and putting them in a number of times before you are finished. In fact I would recommend putting a 90 degree bend on one side to make it easier to pull and insert them. also file or grind one side to a point to help installing them. Bill
 
You might want to file the ends of the underlugs so the protruding material doesn't stick out beyond the barrel flats.

Admittedly, no one will see them when the barrel is installed but if they are flush with the barrel flats, you won't have to carve the wood away to clear them.

Zonie :)
 
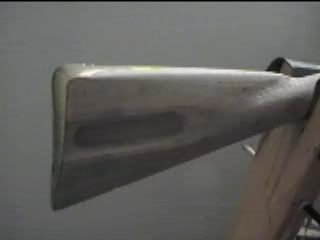
Ok, so I got the butt plate on.

HOWEVER, as I was tapping the trigger plate the tap broke! I was going slow, not forcing it, using oil, backing it up a bit, but the piece of $^!* broke, leaving a piece lodged inside the trigger plate!!!

The tip had hardly gone through, so I tapped it with a hammer and was able to back it out by the tiny broken sliver with pliers.!

The tap brand is Kobalt. I figured it was a good brand, but that damn thing broke like it was made of porcelain!!! It has a lifetime warranty, but I'd rather it just have stood up to even delicate work!
 
Sorry to hear that. I'm also glad you got it out so easily. Some folks aren't as lucky.

I'm not familure with the Kobalt name so I can't comment on it but your comments about it breaking like porcelain is a good description of how all taps break.
They are VERY hard and because of this, they break very easily.

I am sure you already know this however for those to whom making threads is a new adventure let me say the following:

I'm not sure what you were using to lubricate the tap with and I'm not sure how often and how much you were backing the tap out but here's ole Zonies take on tapping steel.

The tap absolutly must be lubed, and IMO, motor oil will not do the job.
I use a sulphated "thread cutting oil" that is available where ever they sell taps and dies.
I know there is another lard based oil that works well, but I forgot the name of it. Some of the other members have mentioned it by name before.

When starting the tap, keep it aligned with the tap drilled hole and give a steady downward pressure while carefully turning it.
If the tap starts crooked, do not push on it to straighten it back up. Back it out and try starting it straight.

When screwing the tap in, do not go over 3/4 of a turn without backing the tap back at least 1/3 of a turn. This "breaks" the chip and keeps it from binding the tap in the hole.
I go about 3/4 turn or until the tap shows some real resistance whichever comes first. Then I back it out 1/2 turn, advance it back to where it was and then go another 1/2 to 3/4 turn.
I repeat this until the tap shows little or no resistance.

So far, I haven't had the misfortune of breaking a tap in several years now (knock on wood :grin: )

Zonie :)
 
I was trained to turn a tap at most 1/2 turn, and then back it out 1/4 turn. It has always worked for me, and I have not broken a tap. You do want to use a very high grade oil made for this work. Besides breaking off the chips, so they won't seize the tap threads, backing the tap up also helps to make the threads smooth, without coarse, torn edges. This can be very noticeable in cold roll steels, and sometimes in brass.
 
Well the new tap worked. I was extra careful as you all advised, and I used a leather lubricant with bee's wax since the last lube was just oil. It seemed to work, 'cause nothing broke.

Here are a few more pictures, and a question:

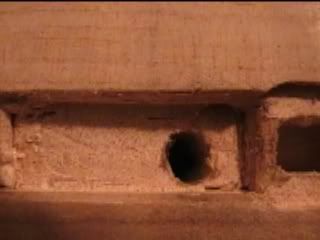
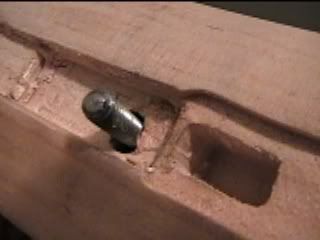
The hole for the tang/trigger plate screw came out, well, screwy. Here's a picture:
GrabbedFrame31.jpg

and another:
GrabbedFrame33.jpg

Should I leave it as is or glue a dowel in it and redrill?

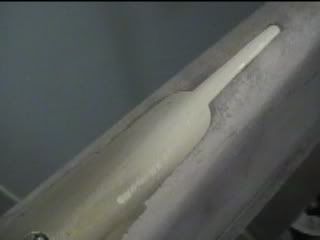
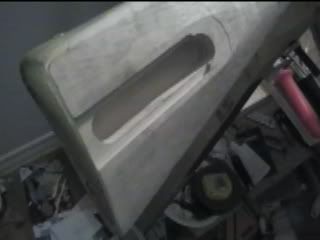
The rest of the pictures:
GrabbedFrame32.jpg


GrabbedFrame28.jpg


GrabbedFrame27.jpg


Thanks! :hatsoff:
 
Good job on the buttplate! Looks good.

In regards to the tang bolt hole....if it's close, I'd just open up the hole slightly with a rat tail file. If there's not too much to take off to straighten it out, it's not going to structurally weaken the area. Tap the trigger plate with the tap THROUGH the hole to make sure the thread angles line up properly. I'd also have the tail end of the trigger plate screwed in properly before tapping.

Good luck! Looks good!
geoff
 
Thanks!
Just about all of the good looks are a testament to the quality of the Jim Chambers kits. I'm new to this and so learning as I go, but these must be heaven to experienced builders! :)
 
Well, the next step is putting on the lock. This has me a bit nervous, but I will take my time. I am also worried about a nearing step: drilling and tapping the barrel for the touch hole liner (white Lightning)! :hmm: Any advice will be much appreciated!
 
Casador -- looks like you are putting a sliding wooden patch box on the stock. Did Chambers pre-cut those dovetails? If so, is the box lid pre-cut too?

Looking good so far :thumbsup: Thanks for the pics.
 
Back
Top