- Joined
- Nov 26, 2005
- Messages
- 5,017
- Reaction score
- 9,961
Hi,
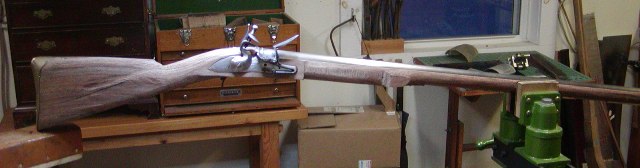
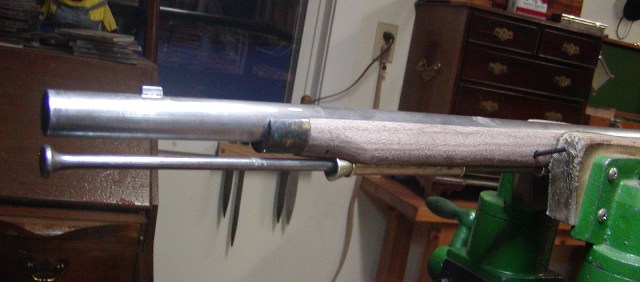
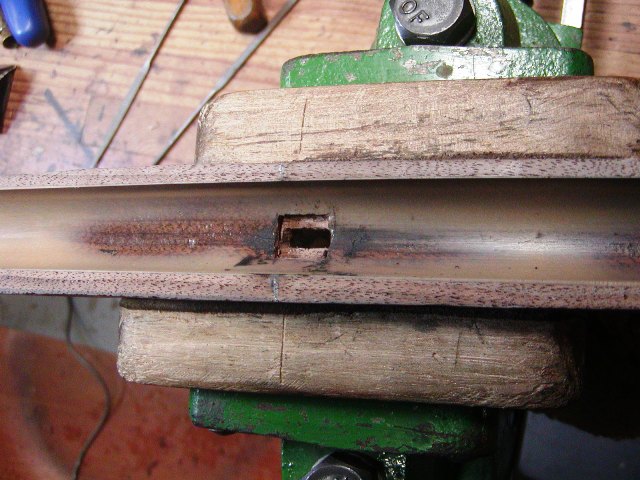
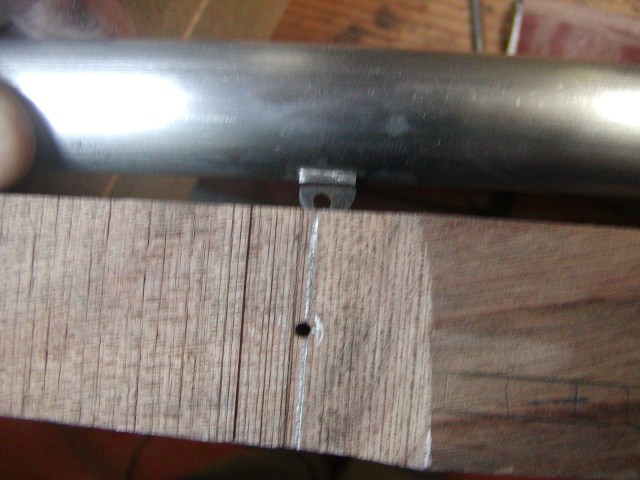
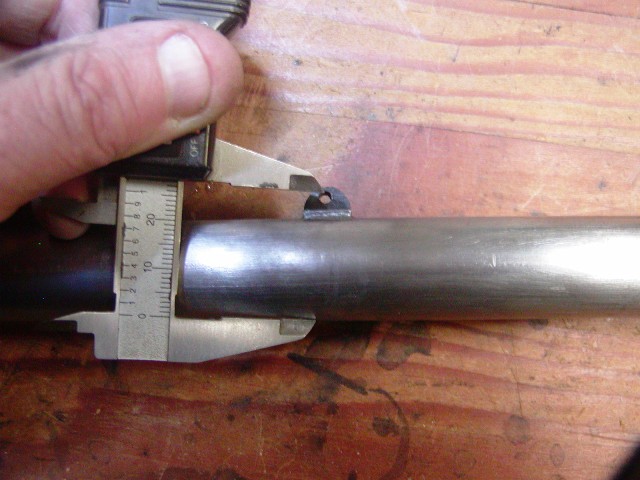
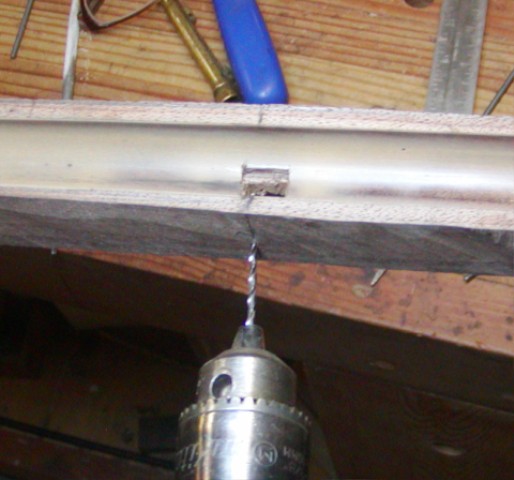
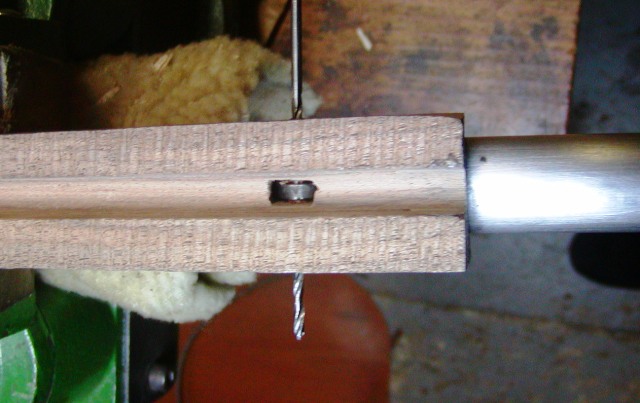
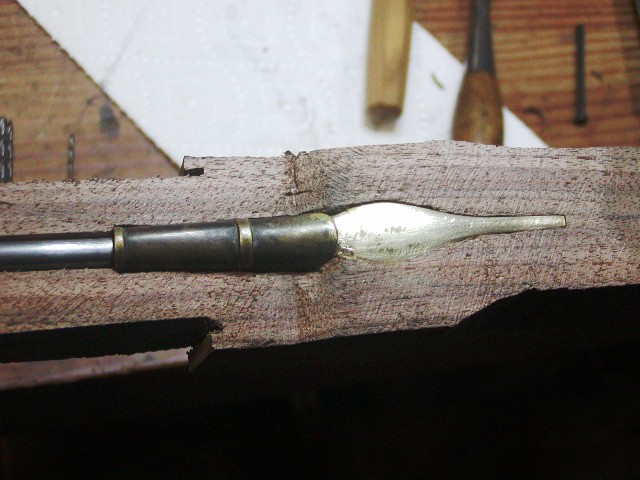
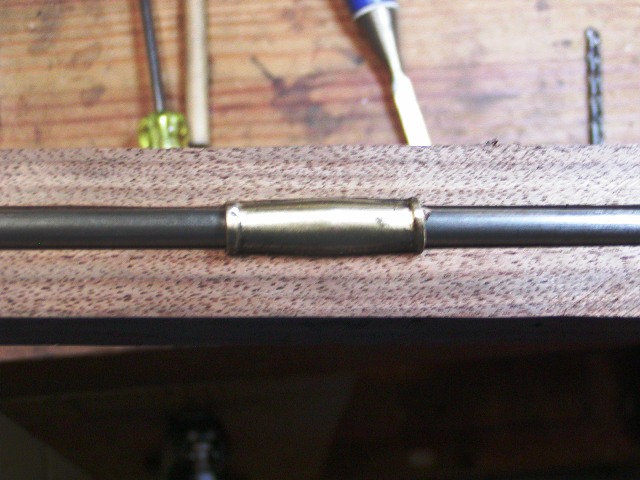
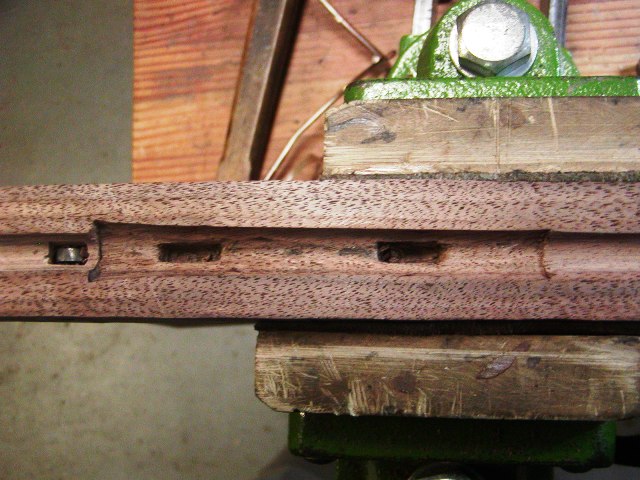
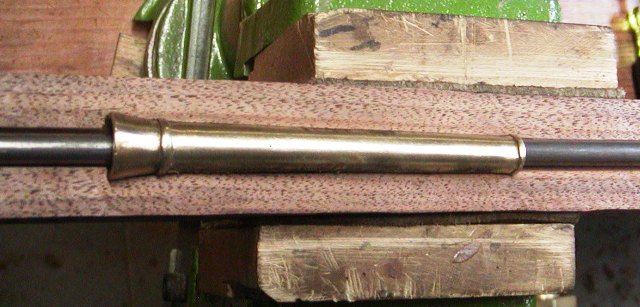
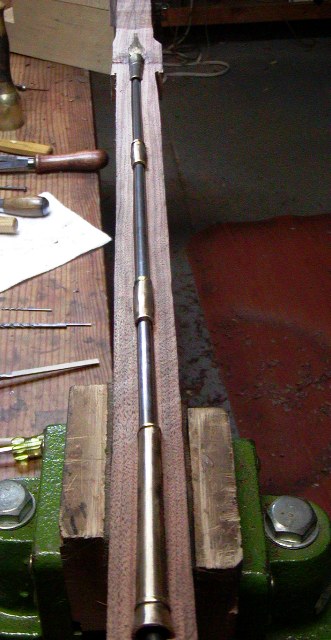
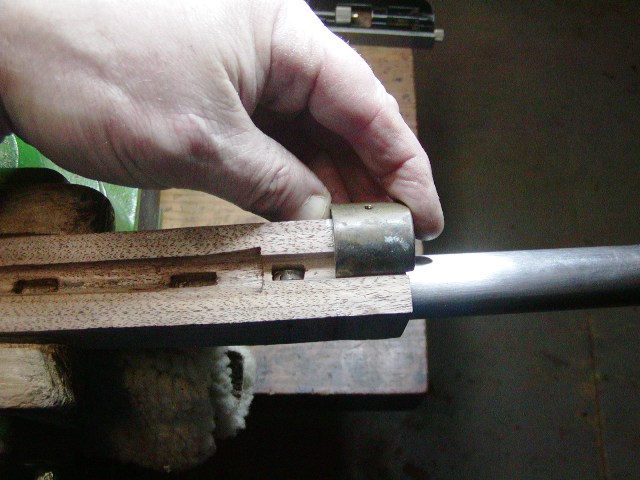
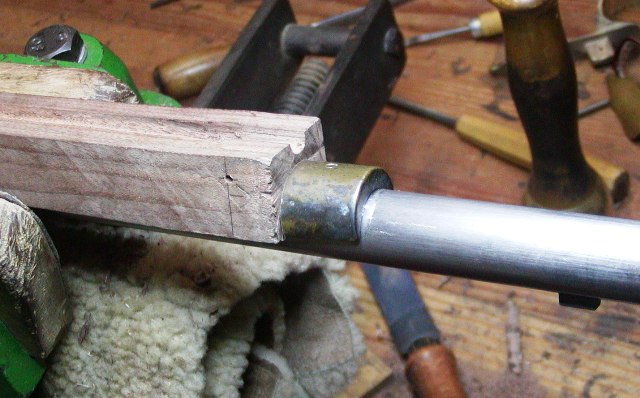
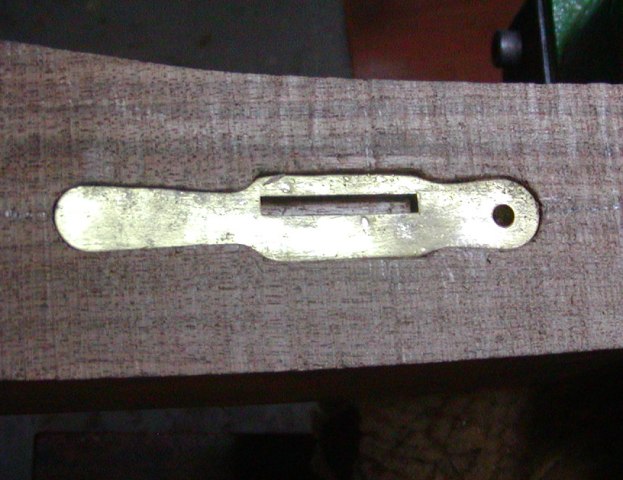
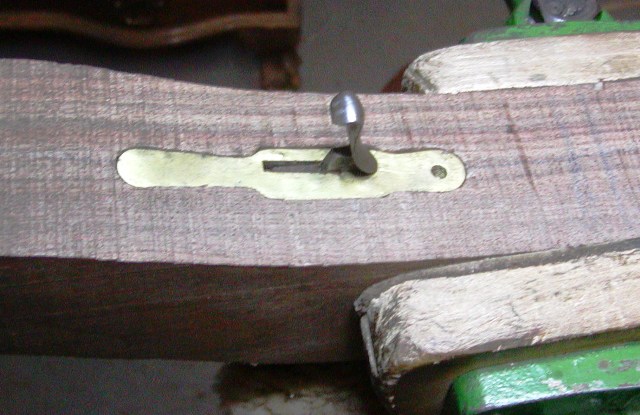
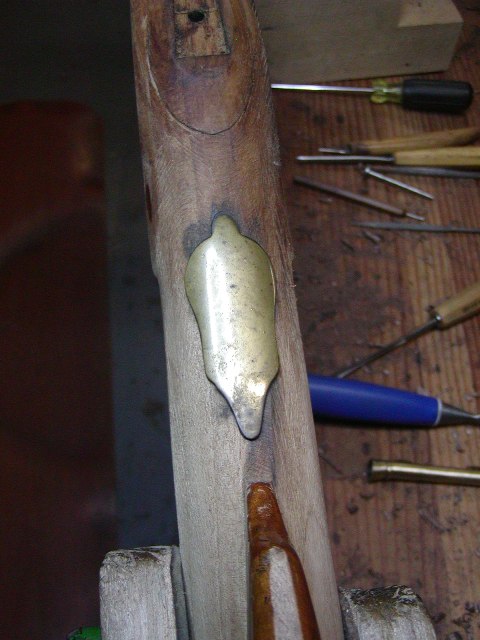
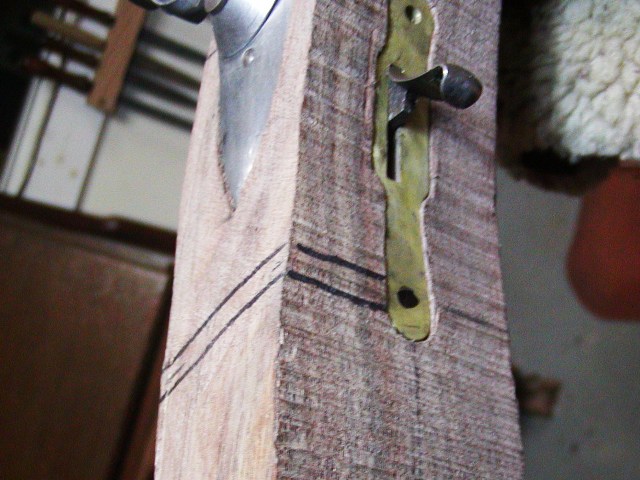
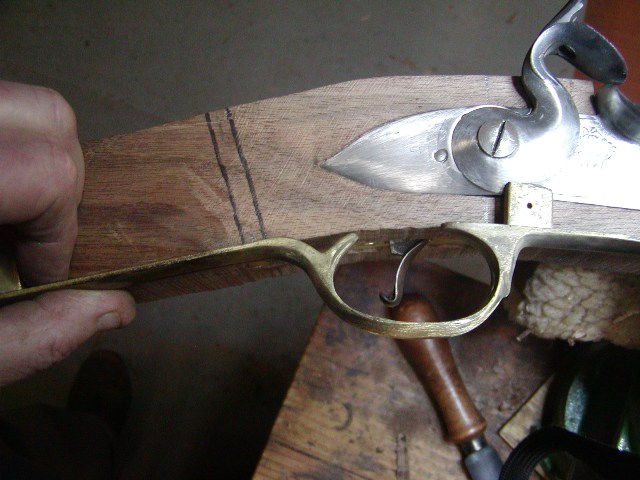
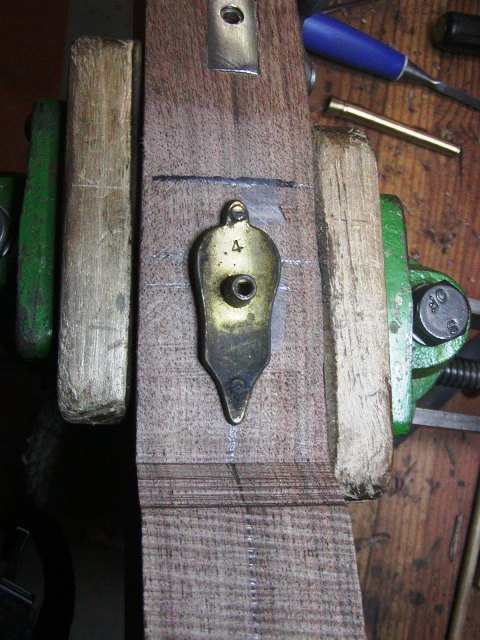
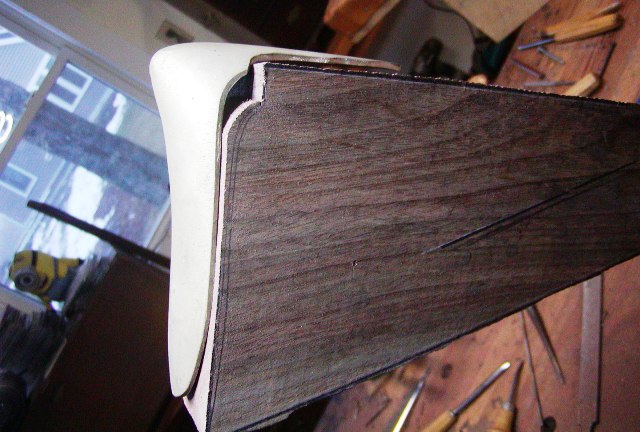
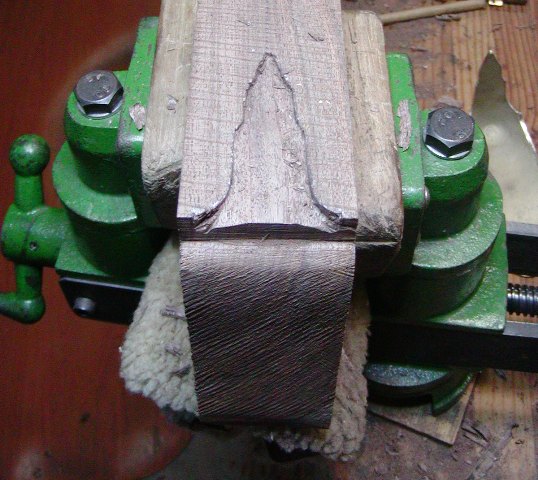
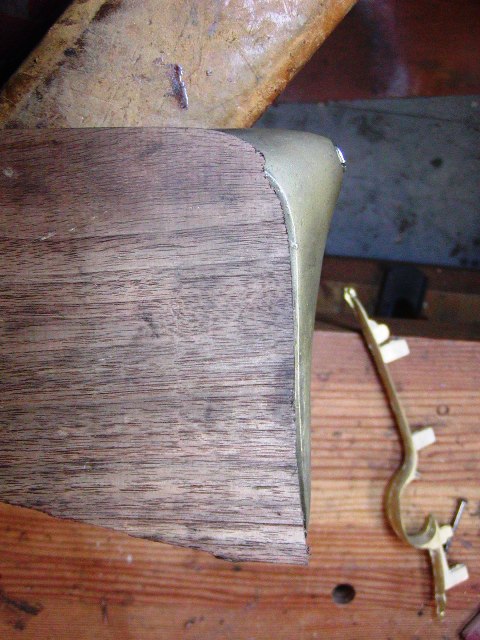
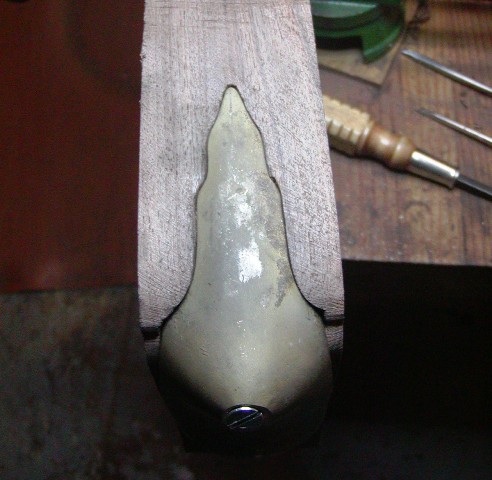
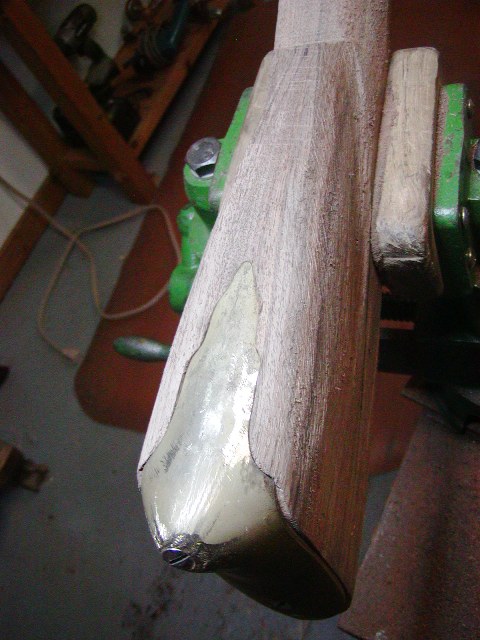
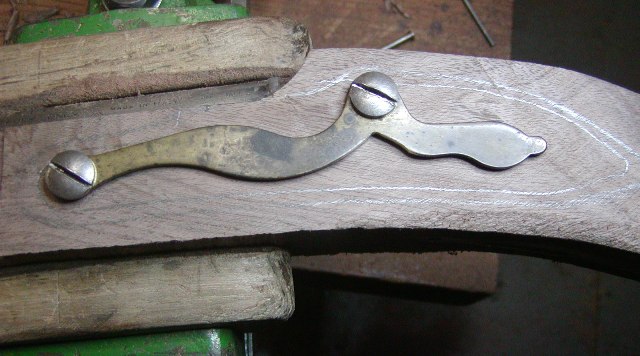
I am working over the rear ramrod pipe prior to inletting. The Pedersoli part has a narrow tang that needs to be widened. I annealed it and then peened the tang to widen the swelled portion. A little filing and it looks right. Then I made and temporarily fitted a ramrod retaining spring. Short land pattern Besses with steel rammers had these springs mounted in the rear pipe. Earlier patterns with big wooden rods did not need them. This a feature you will never find on any commercial repros.
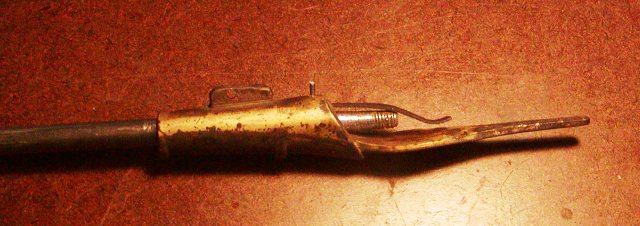
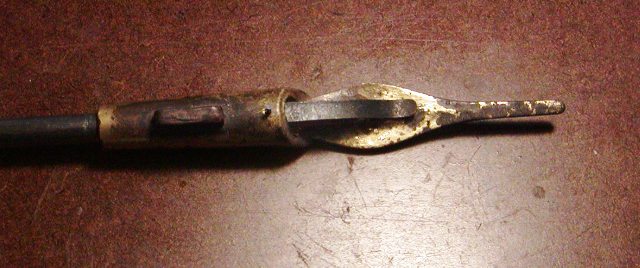
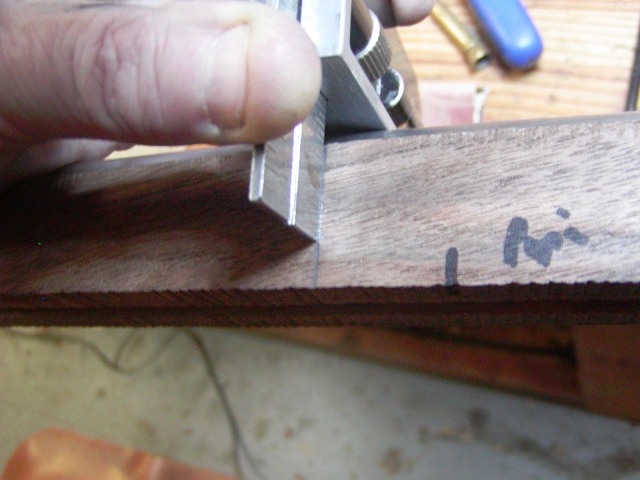
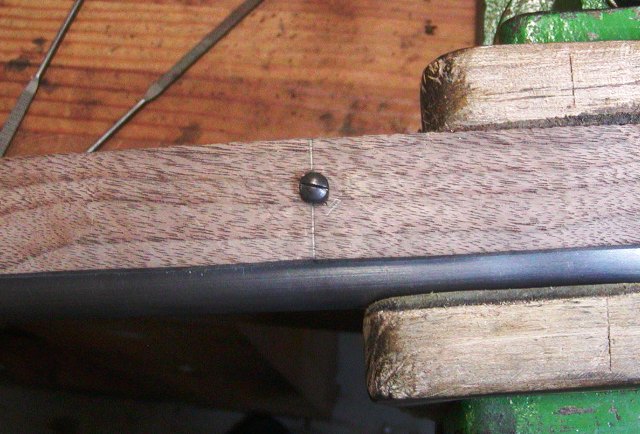
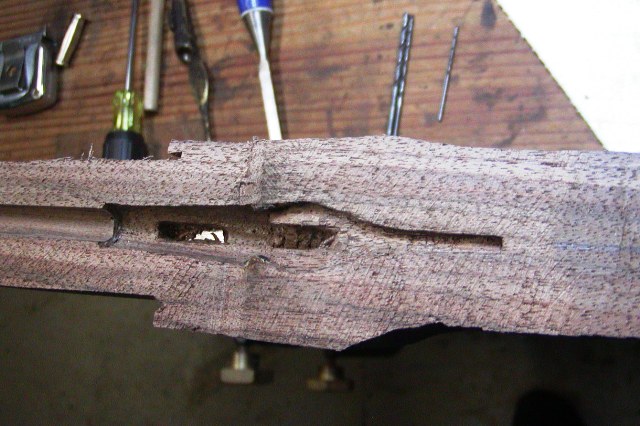
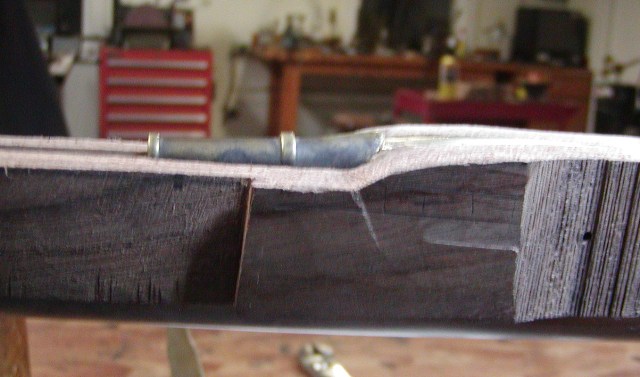
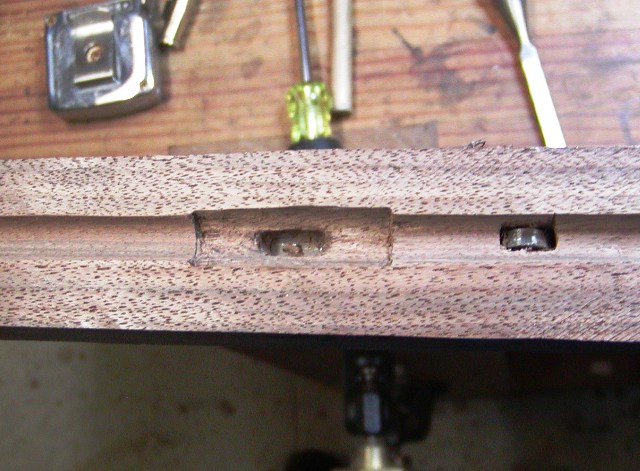
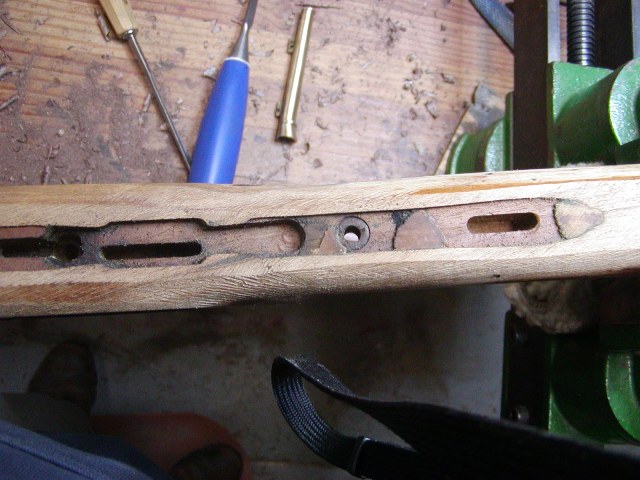
They are very simple to make. I use very thin spring steel stock (1/32" - 3/64" thick). I anneal it then cut a strip with metal shears. I clean up the strip, round one end and drill a tiny hole in the other. Then I drill out the back side of the pipe a little wider for a depth of 5/16" to accommodate the thickness of the spring and rivet on the inside of the pipe. I then drill the pipe for the rivet and use a tiny steel flat headed tack for the rivet. I bend the spring to suit and temporarily install it to make sure the rod clears the rivet and spring. I won't install it permanently until after I inlet the pipe and harden and temper the spring. When the pipe is inlet, there is a slot cut under the tang and into the ramrod hole to clear the full length of the spring.
dave
I am working over the rear ramrod pipe prior to inletting. The Pedersoli part has a narrow tang that needs to be widened. I annealed it and then peened the tang to widen the swelled portion. A little filing and it looks right. Then I made and temporarily fitted a ramrod retaining spring. Short land pattern Besses with steel rammers had these springs mounted in the rear pipe. Earlier patterns with big wooden rods did not need them. This a feature you will never find on any commercial repros.
They are very simple to make. I use very thin spring steel stock (1/32" - 3/64" thick). I anneal it then cut a strip with metal shears. I clean up the strip, round one end and drill a tiny hole in the other. Then I drill out the back side of the pipe a little wider for a depth of 5/16" to accommodate the thickness of the spring and rivet on the inside of the pipe. I then drill the pipe for the rivet and use a tiny steel flat headed tack for the rivet. I bend the spring to suit and temporarily install it to make sure the rod clears the rivet and spring. I won't install it permanently until after I inlet the pipe and harden and temper the spring. When the pipe is inlet, there is a slot cut under the tang and into the ramrod hole to clear the full length of the spring.
dave


 )
)